Daily Pour!
Daily Pour 02/25/2020
Well this one goes out to @silvertop, he said he wanted more pictures of the process. By the way give @silvertop a follow.
So when it comes to sandcastng, I am by far no expert. I can however tell you whats comfortable for me and show you how I do it.
1st.
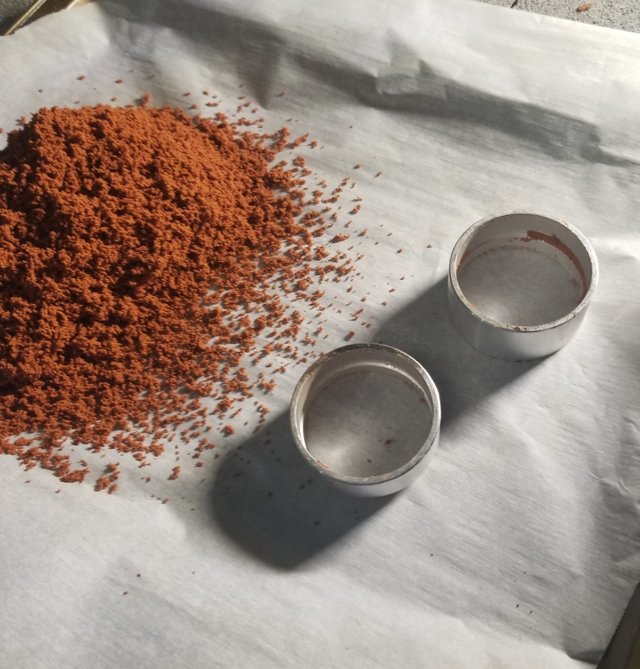
You gonna needs some casting rings or a flask. You will also need some delft clay or petrobond either one will work.
2nd.
Pick your piece you wanna mold. In this case it is a skull dof tag.
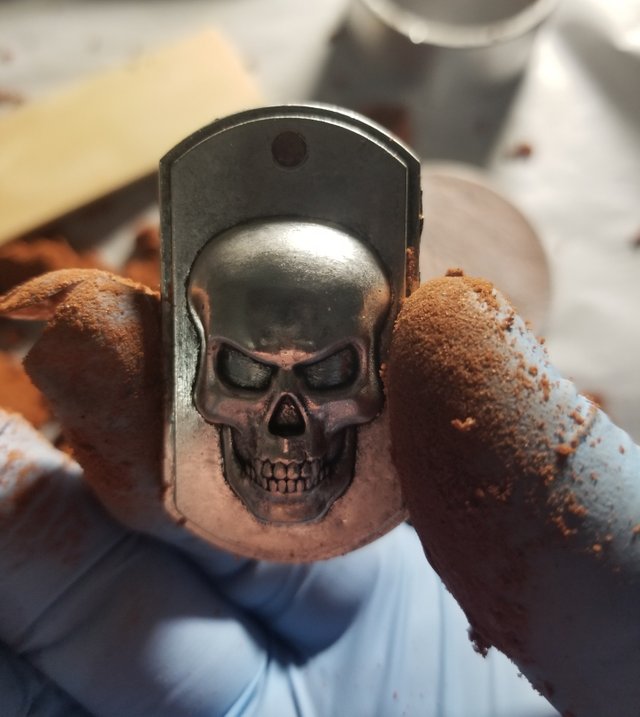
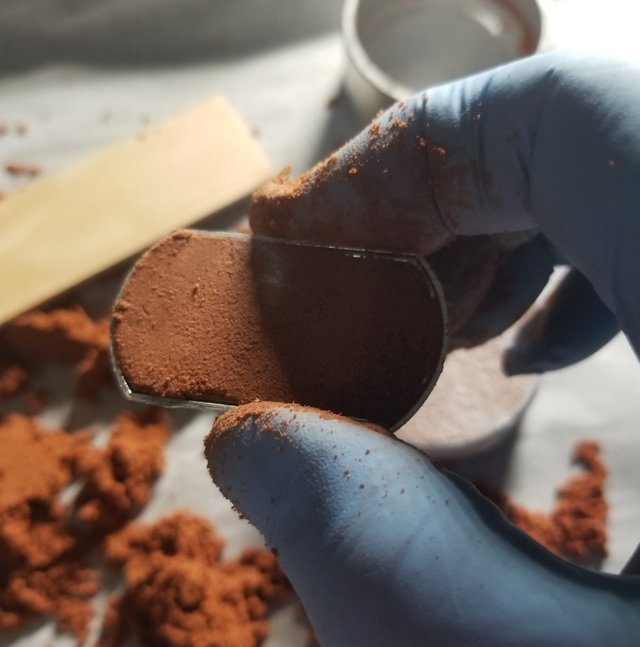
Now if the piece your are casting is hollow you can use the deflt clay to fill it in.
3rd.
You will need to either chop your clay or use a sifter, I use a sifter (its a little easier and produces a finer clay)
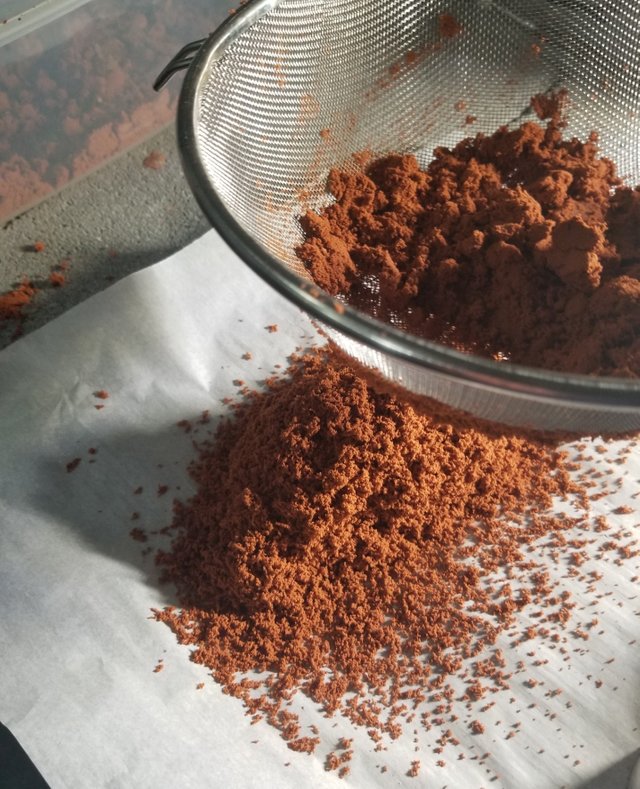
Once your clay has been sifted you are ready to pack your rings or flask.
4th.
Pack your top ring, the tighter the clay the more detail your item will be.
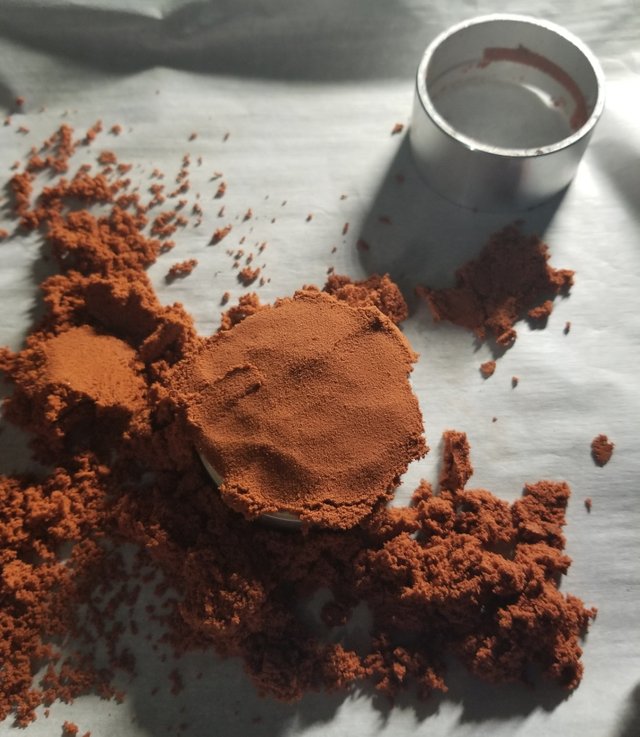
I use a small hammer to pack it in.
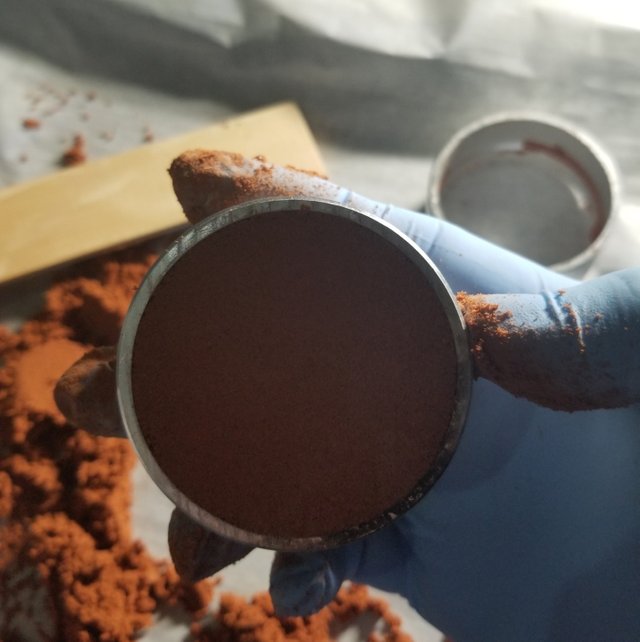
5th.
Use a straight edge to remove all the excess clay that it above your ring (I use a ruler)
6th.
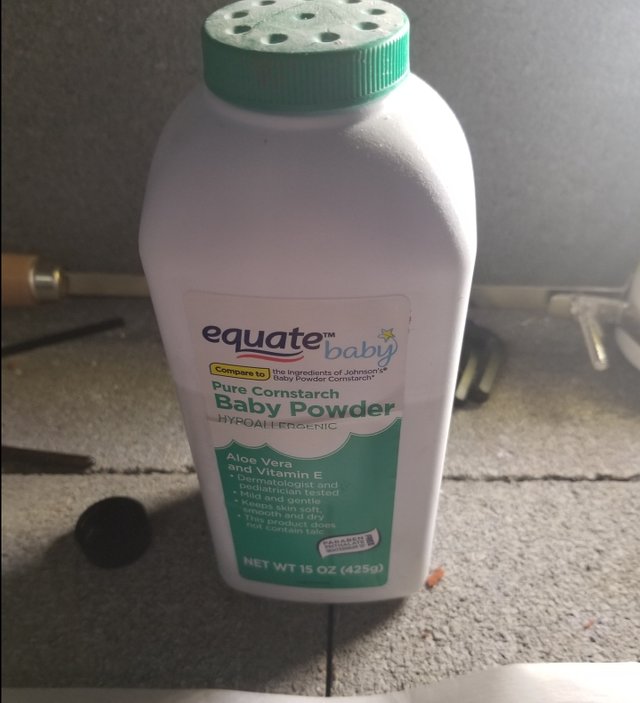
Dust the clay with release powder, I use Baby powder.
7th.
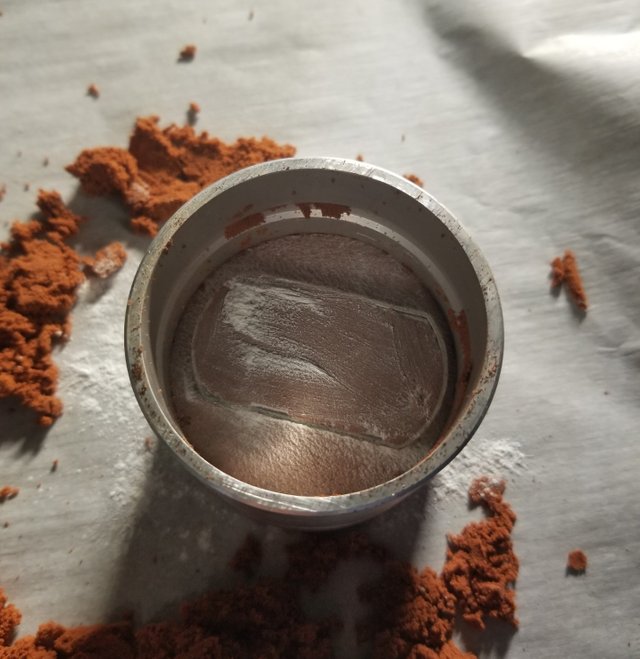
Press the item you want to mold into the clay. You want to go atleast half way.
9th.
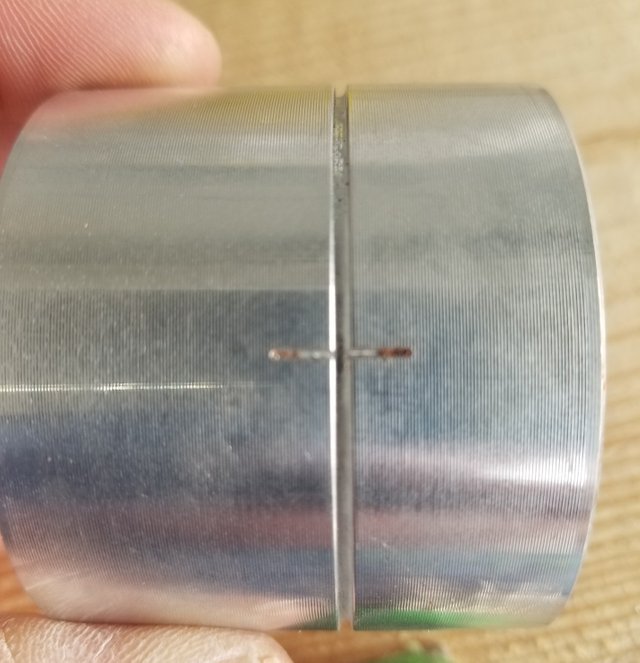
Line your bottom ring up with the marks on the side of the rings and connect the 2 together.
10th.
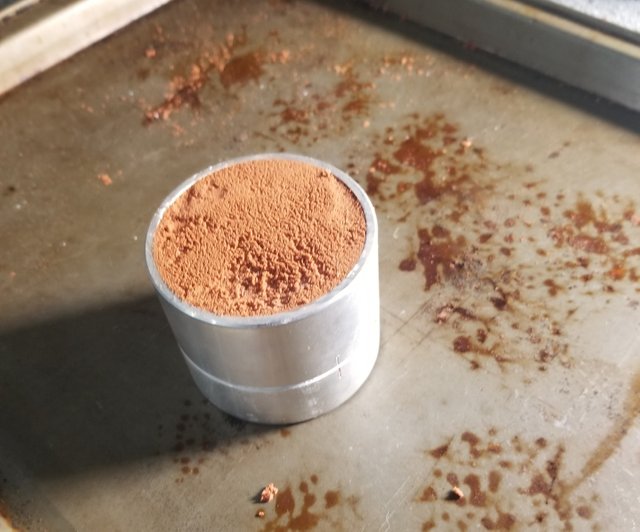
Dust the item your are molding. Fill the bottom ring up with clay, making sure to pack it as tight as you can. Once it is packed take a straight edge and remove any excess sand.
11th.
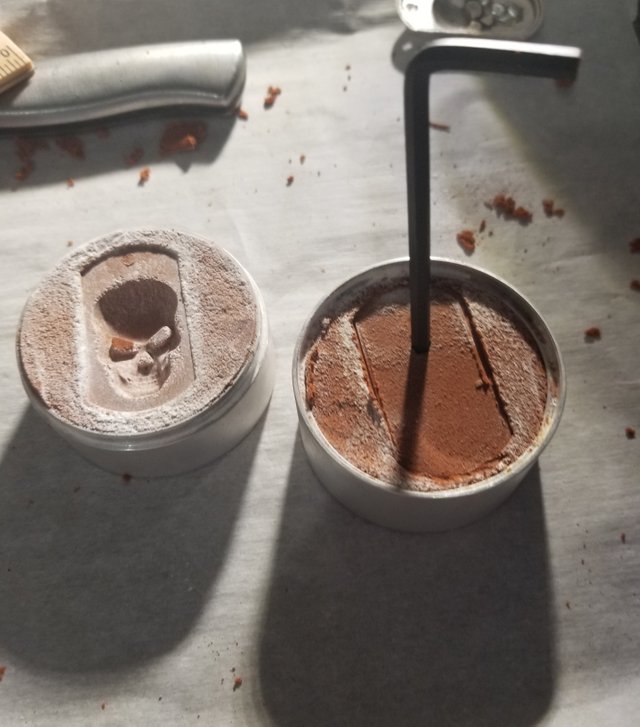
Gently pull your 2 rings apart.
12th.
Use a allen wrench or straw to make a pour spout on the bottom ring. You want you pour spout to be on the back of the item.
Take a knife or clay carving tool and make you a funnel for your spout, becareful not to dig down to far. You wanna leave about 1/4 of an inch from the bottom of your funnel and your pour spout.
13th.
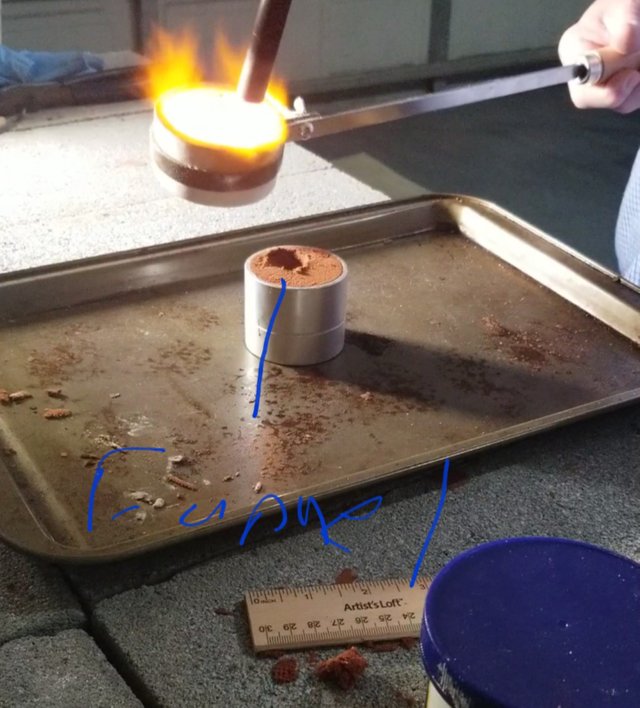
Pour your silver...
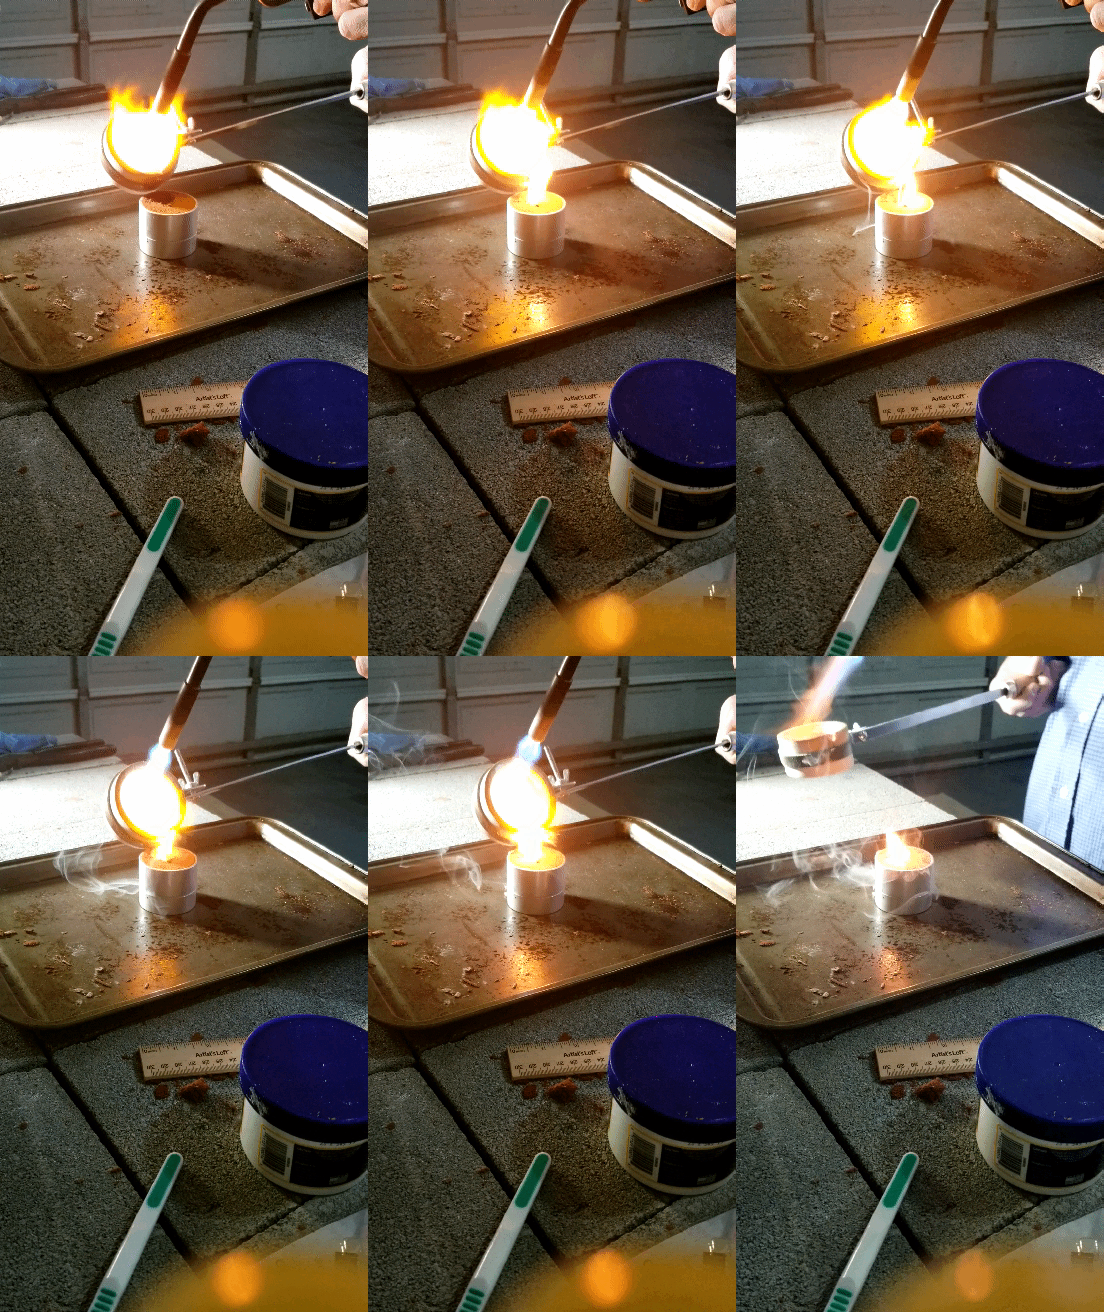
Now I use a 10oz crucible and Mapp gas to melt my silver. You can use a propane torch, it will just take a little longer to melt the silver.
Again I am no expert and I am just learning this process, so if anyone has any ideas feel free to drop me a message below.
Here is the results of this pour.
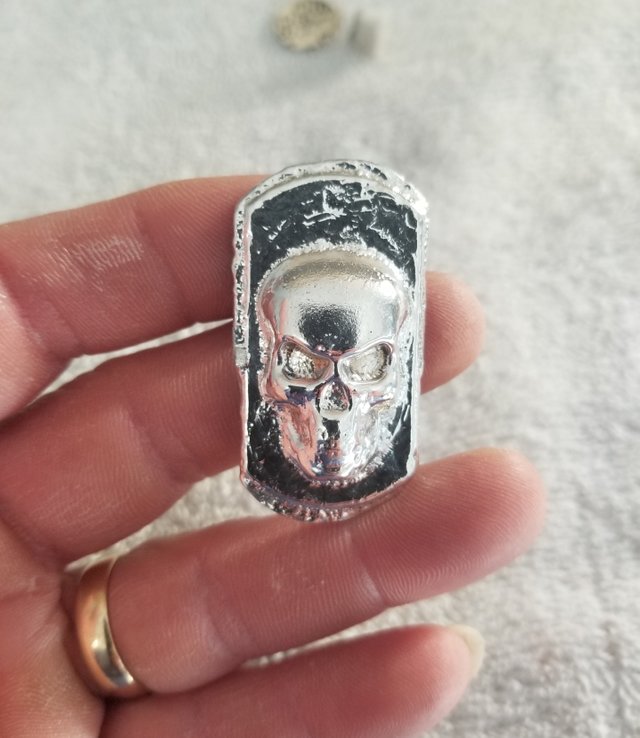
Rough weigh is 44 grams but as you can see there is still some clean up that needs to be done to the sides. So it will probably end up around 40 grams.
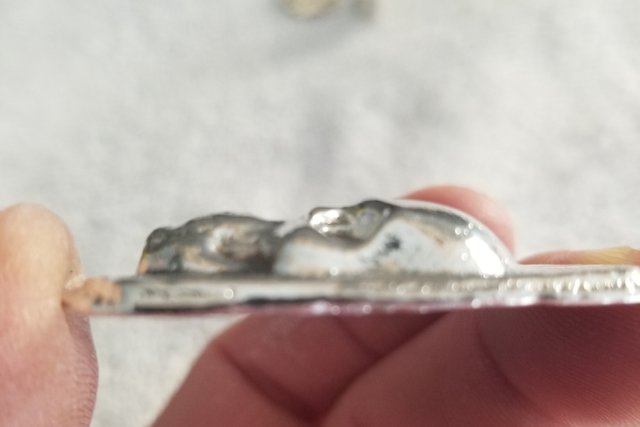
Not to bad at all.
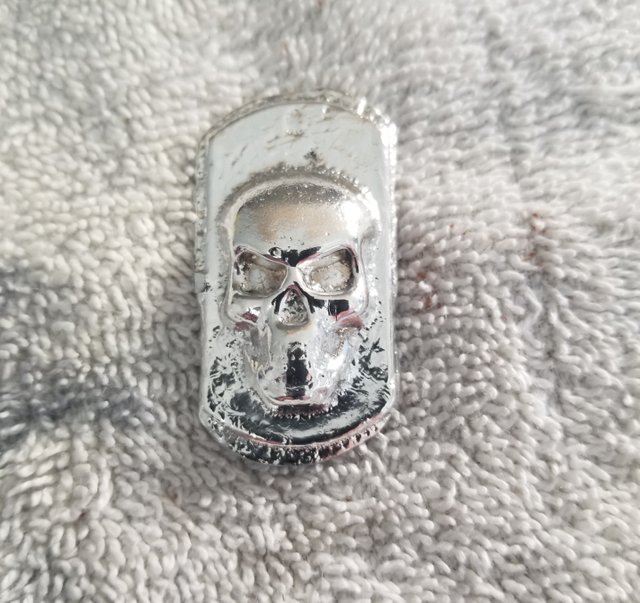
Thanks for stopping by!
Keep stacking!
That's sicknesses right there
Thanks Dave! 😎🍻
Considering the back side is completely flat, what's stopping you from just pushing the face into the sand, then pouring into the mould?
If I do an open cast, the silver will cool to quickly and not catch all of the detail. (I think)🤣🤣😎🍻
You are a pouring machine! AWESOME, @raybrockman! Keep going, my friend!
Take care 🥰🌺🤙
Thanks saver888. Trying to get ky skill leval up 🤔🤣🤣😎🍻
You are a natural, @raybrockman. Look at that sweet 🥰 looking skull bar!
Yeah I think you got this figured out = )
Nice work @raybrockman
Thanks anchormetals!😎🍻
Yeah you did! 👊😎
Whats happening BIG D? Its fun and a little relaxing!😎🍻
You got it down pat Ray. Nice work
Thanks d510, just needs some stamps now!😎🍻
That is so totally awesome Ray!!🤗😀
Everyone needs to give this a try (me included !!!)
Thanks for the very detailed step by step instructions, and I love the fiery pour!!!
I figured you were probably using Mapp gas, I always liked using this on old plumbing!!
Resteemed my friend!!!😀
Thanks for thr resteem. Yep, If I can do it, anyone can do ot. Thanks silvertop!😎🍻
Very cool! Thank you for showing the steps involved; very interesting.👍
Thanks elizabethbit! Its really not as hard as you would think!😎🍻
🙌 😎
You're getting good at this now Mr B. Loving seeing how you're getting on and what you come up with next.
Thanks welsh! I am having a good time doing it. 😎🍻