Contest Picture of the Day Week 30
Hello friends from home and abroad, warm regards to everyone. I'm Anthony from Nigeria, and it's a pleasure to have you on my post. I'm engaging in this week's amazing Contest titled: "SFS Contest! Picture of the Day," organized by @ashkhan; let's dive in!
First of all, I would like everything about the photographs I include here to be creative, and the theme of the pictures is "how a creative tiler without a degree puts tiles on the wall," classy and simple.
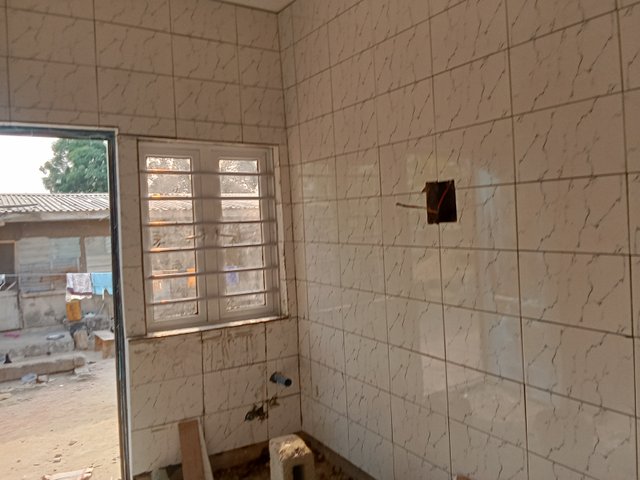
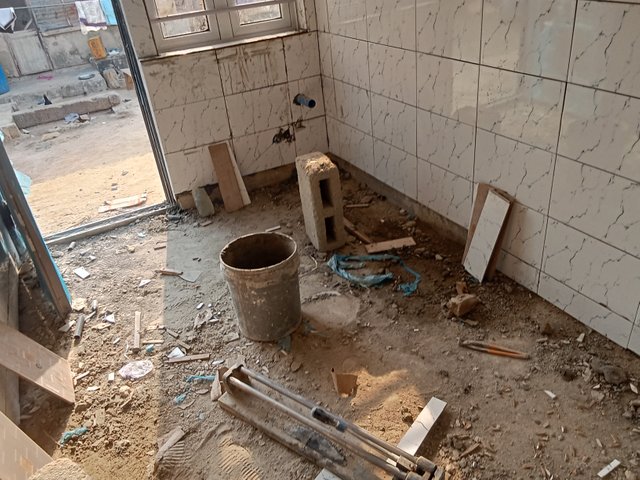
They are renovating some old buildings close to where I live so I decided to go take a look at how their work is going, I went there and your them fixing tiles on the apartment kitchen walls and it was interesting to watch, I stood ate door side and I was watching him do it, until I started a conversation with him, he was working as we were discussing, and I asked him if I can take pictures of the beautiful work he is doing and he said sure, and I appreciate that bcos he gave me the privilege to get some evidence of want I'm talking about, anyway, back to what the both of us was discussing, one the question I asked the tiler was "Is it that easy?" The nigga response was.
The tiler: firstly, I have been doing this job for 6years I guess you know what that means, I have had so much experience in these 6years, so experience made it easier for me, but a noobie will what I'm doing so difficult, and it would even take the noobie more time.
And I complimented him; I reminded him that he was doing a great job. I hope he earns more money from his work. Furthermore, I will write small on the tilling process.
The steps are as follows! Firstly,
- Preparation
- Clean the wall: Remove dirt, grime, and old adhesive.
- Fix any holes: Fill holes smoothly.
- Apply primer (if necessary)
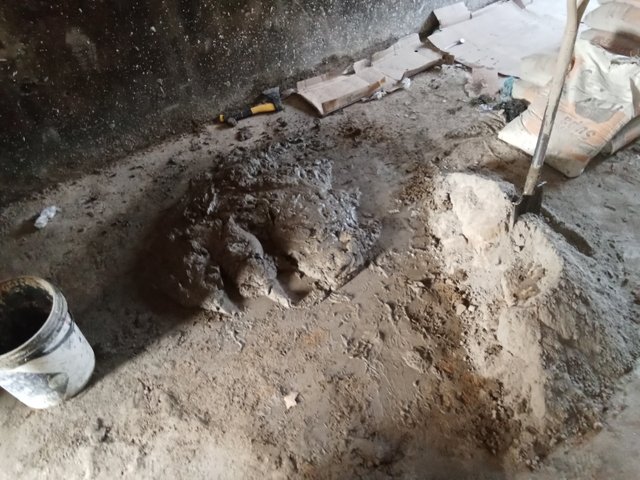
- Mixing Cement and Plastering
- Mix cement and sand
- Add water: Gradually add water to make a workable paste.
- Apply plaster: Use a trowel to apply the plaster-mixed cement to the wall.
- Smooth the plaster: then use a level and trowel to smooth the surface.
- Measuring and Marking
- Measure the wall: Calculate the number of tiles needed.
- Mark the wall: Use a level and pencil to mark the tile layout.
- Apply adhesive: Use the trowel and level to apply the adhesive
- Laying Tiles
- Start with the center tile: make sure to use a level to ensure it's straight.
- Lay tiles outward: Use spacers to maintain even gaps.
- Cut tiles as needed: Use a tile cutter or wet saw.

- Grouting
- Wait 24 hours: Allow the adhesive to dry
- Apply grout: spread grout between tiles
- Wipe away excess: Use a damp cloth to clean the tiles.
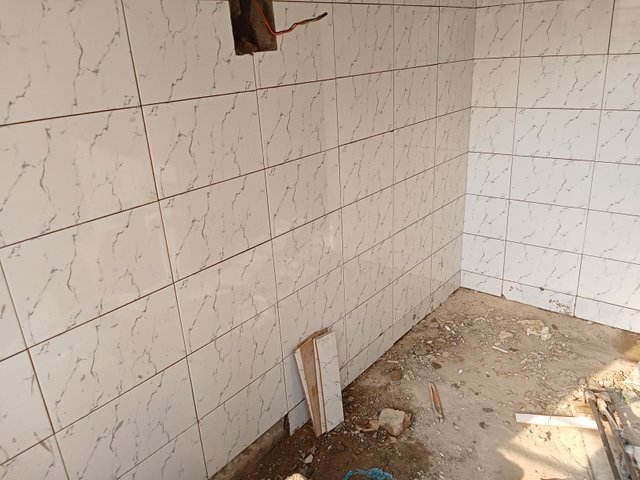
These are the steps he gave me, given by an expert as shown in the images you can see all the tiles on the wall are measured straightly.
I have come to the end of this fascinating article, thanks for stopping by.
I'm excited to invite you,
@josepha
@pandora2010
@saintpaul17, bye for now.
HAVE FUN AND STEEM ON!
I think say you don start kpokpo work😂