Club100 // Make Organizer and Pencil Holder at home// Art Craft with @aaliarubab
This is Aalia Rubab. I am coming back with a new fantastic art craft. As you know, I love creativity. Creativity is itself a skill. We do not need any degree to show our skills. Skills are something else. I was fully ready to participate in the monthly curation team. According to the Steemit blog update, I couldn't meet the requirements. With great enthusiasm, I formed a strong team.
— Henry Ward Beecher

I wanted to lead my team. From now on, I decided that I will work hard and make my quality the best. For the month of October, it might be possible that I get 2500 SP with 65 Reputation. My skills are related to art crafts, diaries, food, health. These are my experiences. Now, I'm fully ready to participate in Steemit Engagement Challenge Season 4. I increased my Voting CSI as well, which is necessary to support other real users.
Let's begin with today's art. It is going to be very interesting. We can say, this is Organizer or Holder. This is recreational for me to make new things. But things should be in use not just for creation. So I thought that k would make a beautiful Organizer or Holder. Let's start! This is not a difficult task. Stay with me. I will teach you how to make an organizer at home.
So guys, I am sharing with all of you the easy art of an adorable and beautiful organizer that's very easy to make at home. The best thing is that we can try it at home very easily. I hope whoever visits my post will definitely try it. So, let's start guy'z with artist Aalia Rubab;
✓ Papers
✓ Scissor
✓ Scale
✓ Glue stick
✓ UHU Adhesive
✓ Pencil
✓ Card board
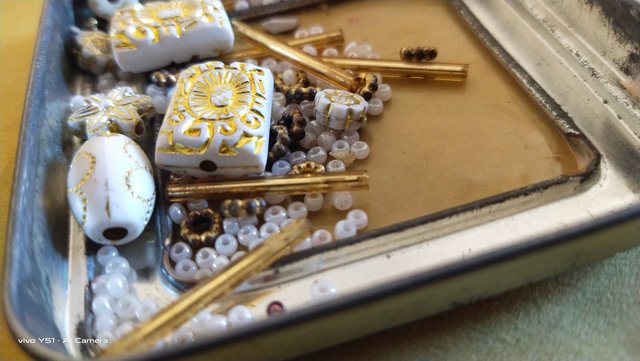
✓ Beads and pearls
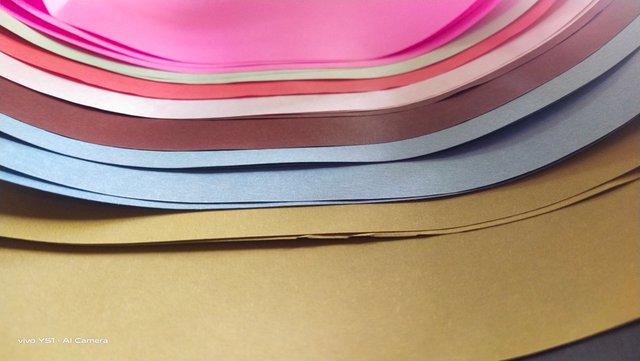
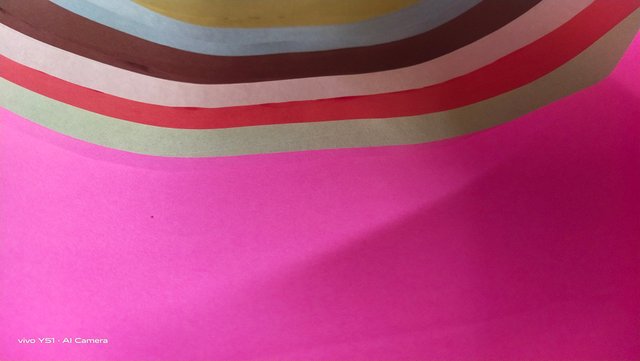
In this paragraph I will explain each and everything of this art creativity. So that you people may try it at home. I will try my best. So when I start, I have some sheets of different colours. As in every craft post, I mentioned that colour combination is not easy. So, it was a bit difficult for me to choose some colours for paper. I took papers in different colours. All the colours were unique.
 |  |
|---|
Here you can see the colours that I selected for my Creativity. After choosing that, I took a piece of paper and cut it.
 |  |
|---|
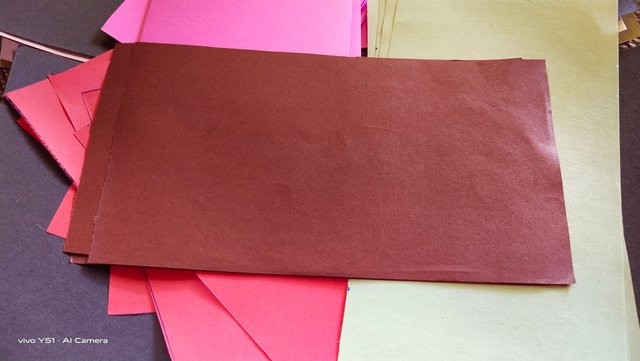
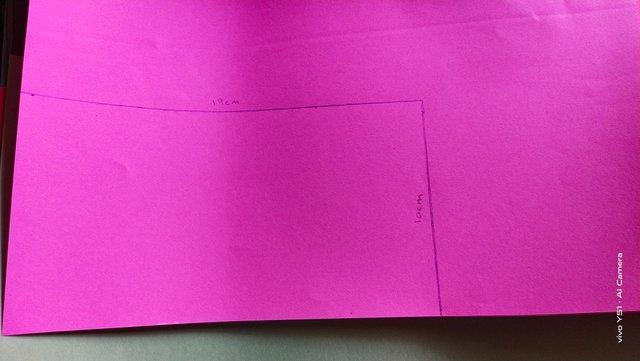
In this step, I took a single piece of paper and cut it according to specific measurements. length and width 10cm × 19cm. I drew it on paper. After that, I cut it with scissors. At that time, I had many papers.
 |  |
|---|
 |  |
|---|
 |  |
|---|
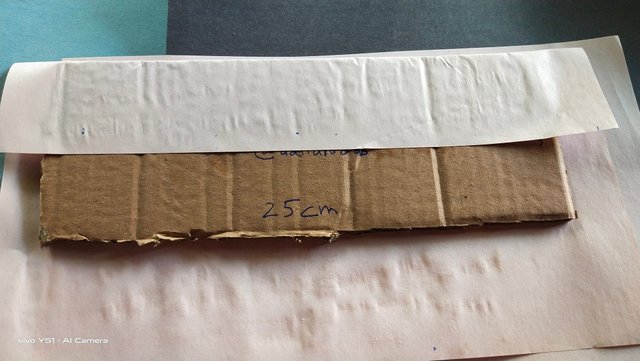
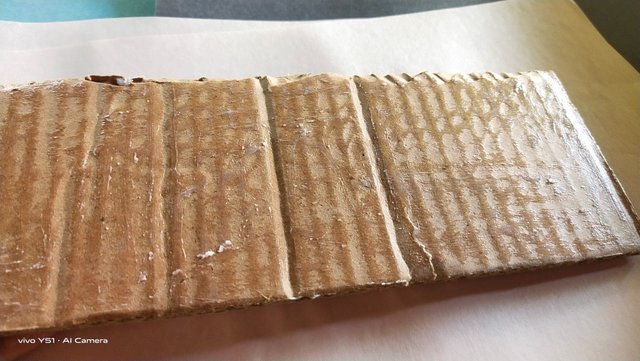
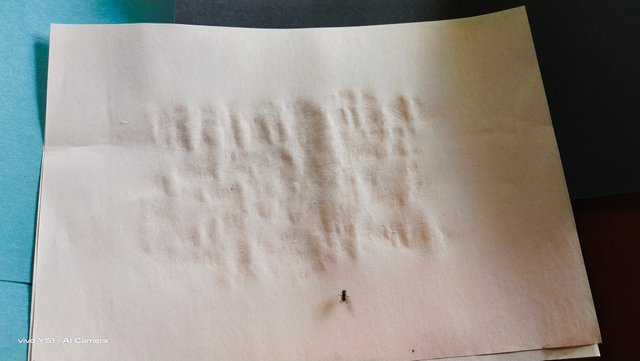
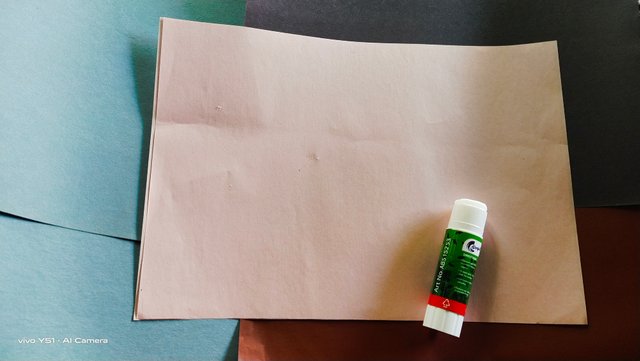
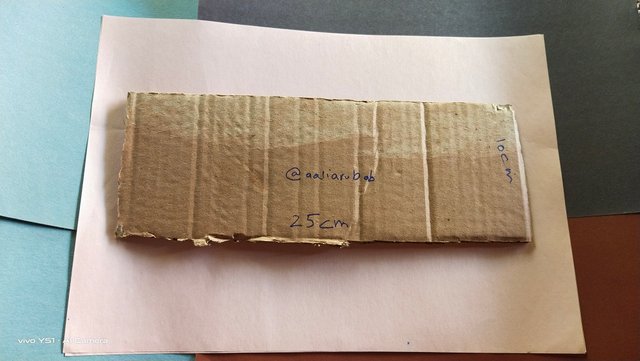
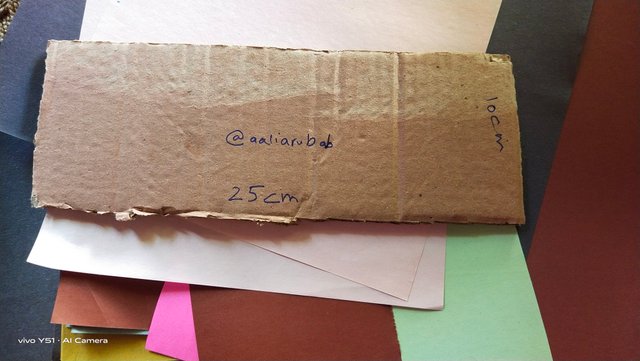
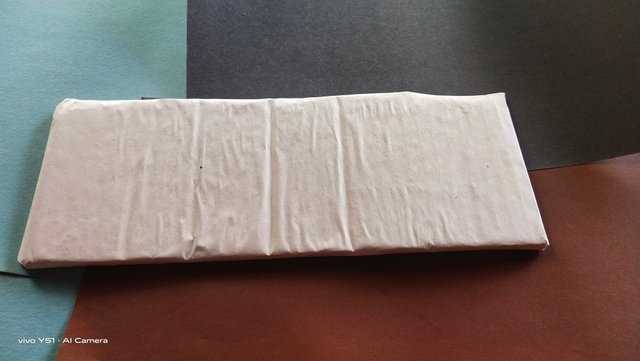
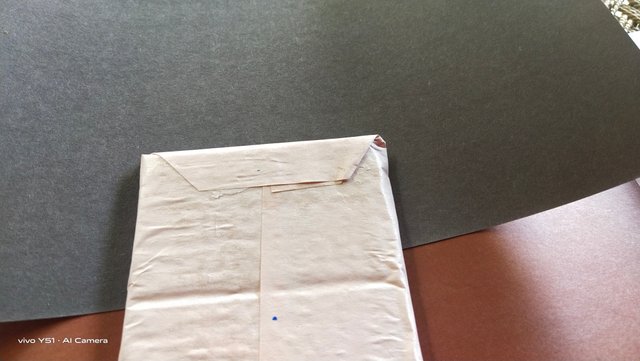
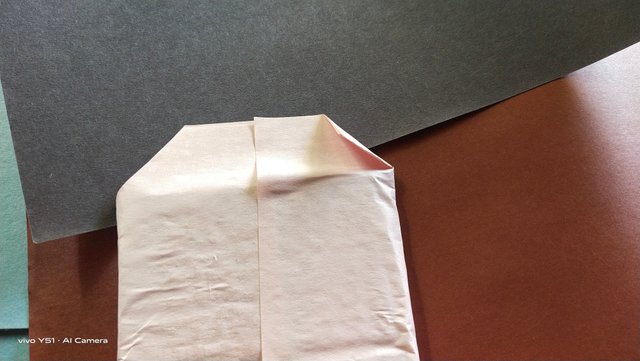
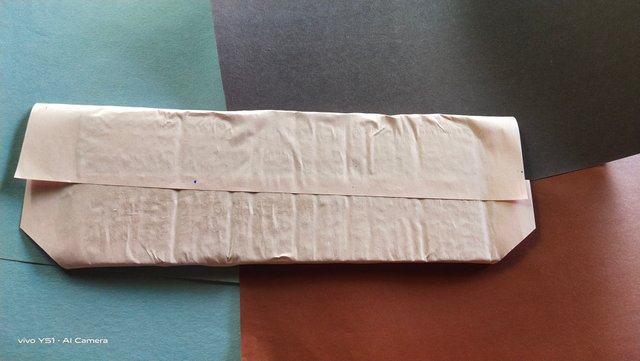
In this step, I cut a board with a scissor whose length and width are following 25cm × 10cm. After that, I used a glue stick on board and paper. Then I covered the sides of the paper and folded them. As you can see in these pictures that I have shared with you.
 |  |
|---|
 |  |
|---|
This step is actually the result of the above step. In this step I mentioned how to fold the ends of paper. So now it's very clear. I'm sure you are getting my points as well.
 |  |
|---|
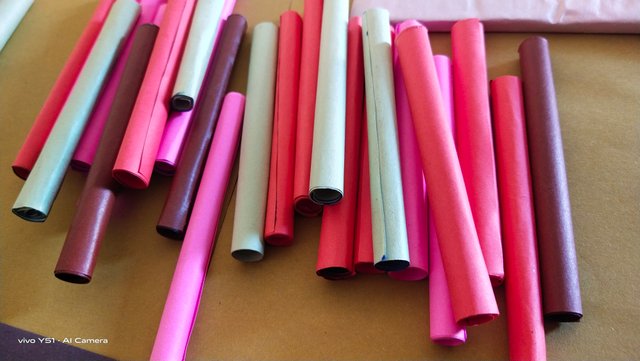
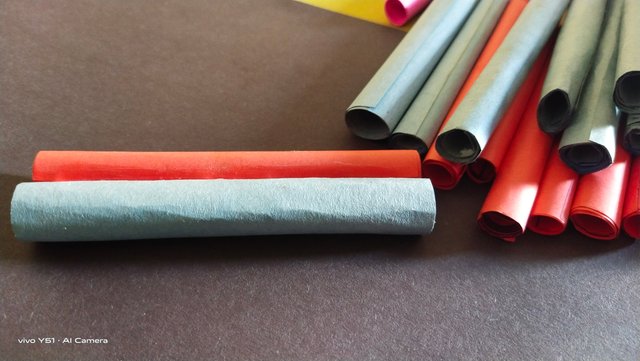
This step is related to formation. I took those papers that I have cut in step 2. After that, I folded these papers and glue at the end of each paper. After that, I assembled all the sticks on one side. So this step is totally related to the formation of Paper Sticks.
 |  |
|---|
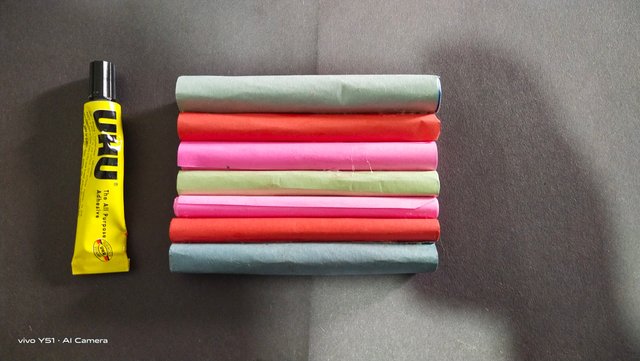
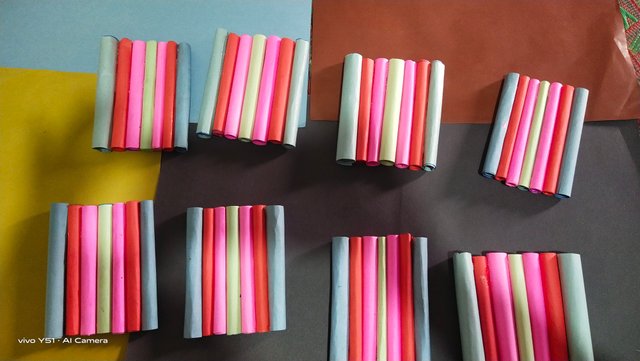
In this step, I used an adhesive UHU. Because for a thin layer we always use this kind of adhesive. I kept 7 Paper Sticks in a row. And stuck it with one another.
 |  |
|---|
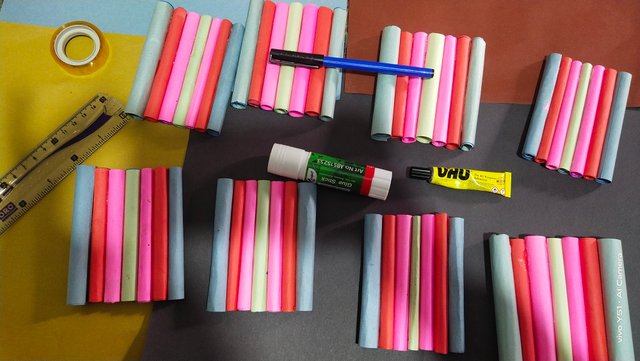
In this step I used 56 sticks. Yes guys, I used 56 Pepe sticks. Each row contains 7 sticks. 7 ×8= 56. I used UHU adhesive. You can see the above pictures. I'm sure these pictures will clear this step.
 |  |
|---|
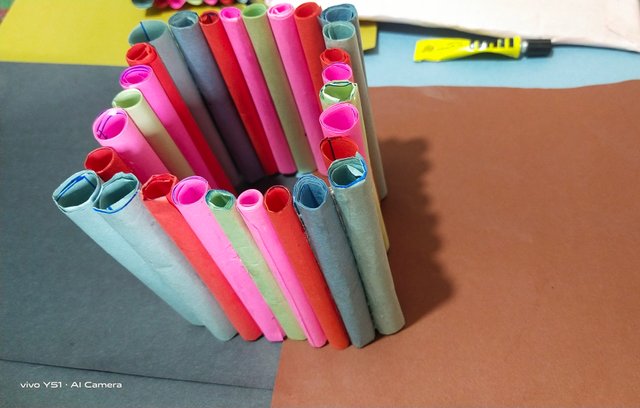
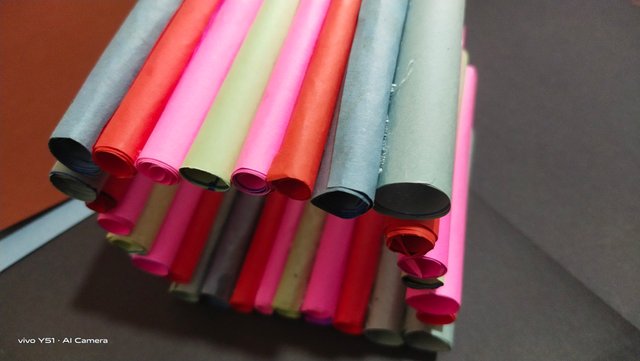
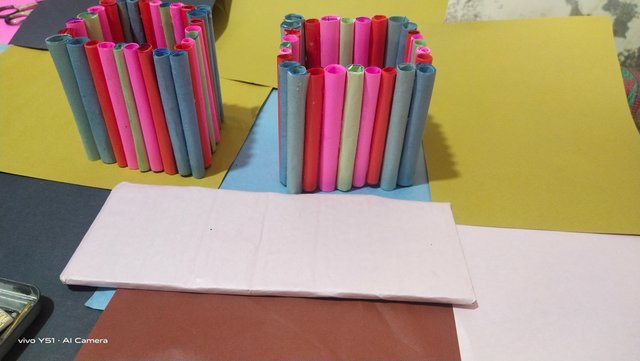
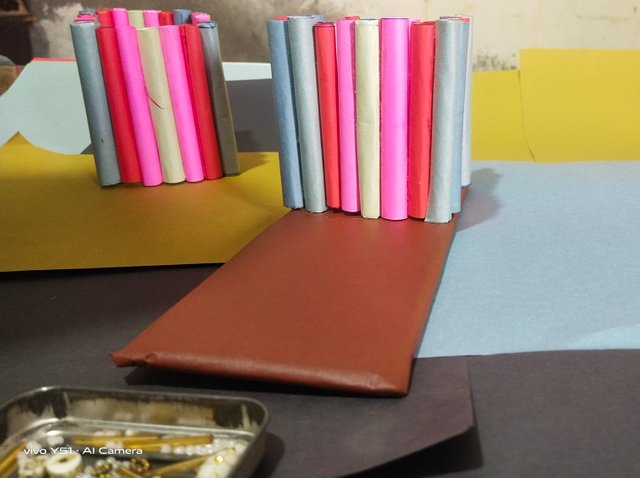
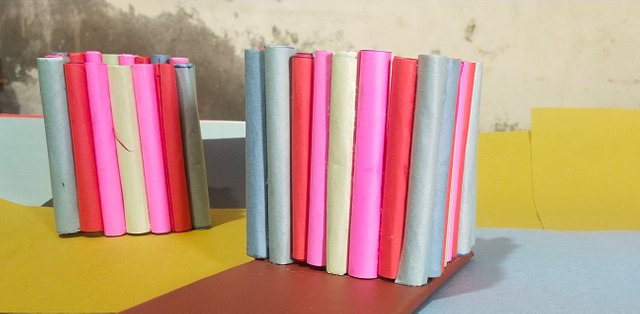
In this step I took on a row ( 7sticks). I stuck this row with 3 other rows to form a box. In the above pictures you can see clearly how we can stick them to form a box. The base board is already prepared. We just have to stick this box on board.
 |  |
|---|
 |  |
|---|
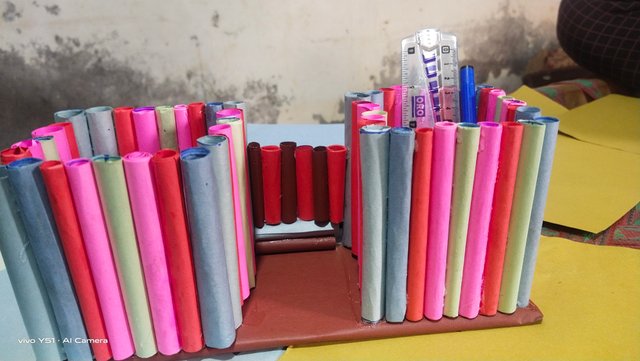
In this step, we took a box that we had preaped in the above step. We stuck both of these boxes on board. To make it more adorable, I filled the center of board with Paper Sticks. Here you can see in the images. How beautiful it is!
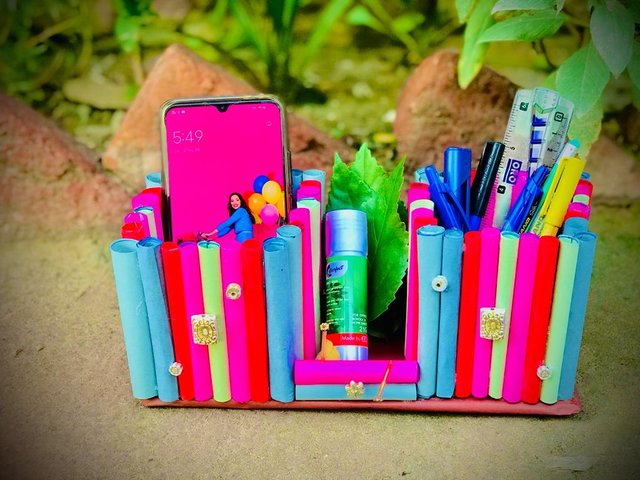
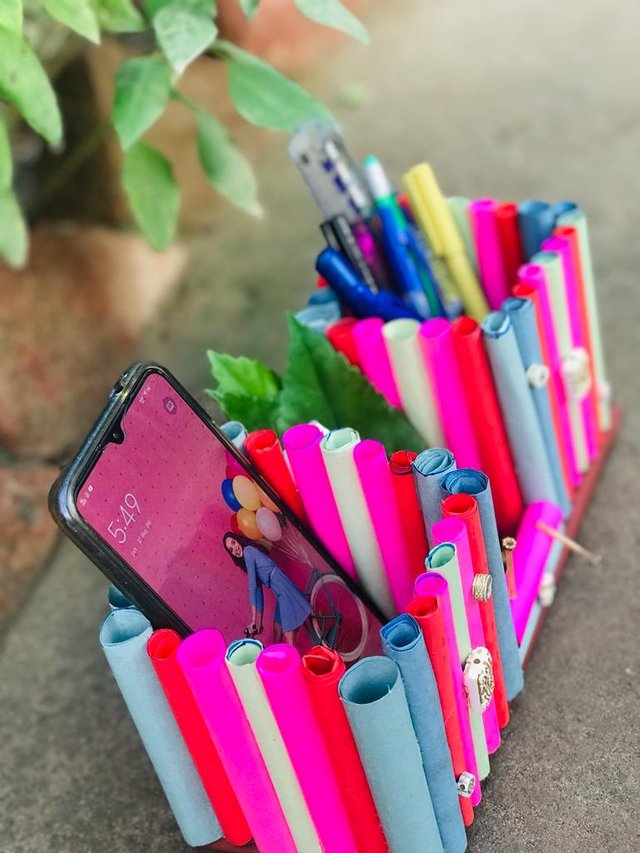
Finally, we have done it. It is so beautiful as you can see in the final images. Now it's very useful for me. Here are the images:
 |
|---|
 |
|---|

Here I end my post. So finally I have done what I wanted. Now you can try it easily. I have given every description, so it may be easy for you. You can use this organizer to hold up your pencils. You can hold your phones as well. I'm very excited about this useful craft.
Good bye. See you in the next post. We will meet with another interesting craft soon. Stay healthy. Stay happy and blessed. That's all from my side. Thank you so much to all of you.

Best Regards
Aalia Rubab

You can also use the these quick delegation links. Just click on your amount of SP that you want to delegate us and it will be done in Process of 1 minute.
Community
501002003004005001000200030004000500010000


Hi, @aaliarubab
Thank you so much for sharing your post at #steemit-graphics community. We are extremely happy to see your post.
Thank you so much for taking part in #club100.
Steem Power UP = 172.509
Transfer Out Steem = 0.000
Thank you so much for sharing a good post with us.
Thank you so much for this quick review.
Congratulations, your post has been upvoted by The Efficient Seven using @steemcurator04. We are supporting quality posts, so keep creating quality posts to get more support. #art theme
Account Used by: @suboohi
Congratulations, your post has been upvoted by The Efficient Seven using @steemcurator04. We are supporting quality posts, so keep creating quality posts to get more support. #art theme
Account Used by: @suboohi
Thank you so much for this support.
Woww you have made it so beautifully! Liked it alot! You have great creative skills indeed!
Best of luck for the contest ❤
Thank you so much for this Candid Comment. Skills are always appreciated.
More power to you girl!
I'm waiting for your entry.
Thank you so much for this kind remarks.
Congratulations your post has been selected as best pick by The Efficient Seven
That's a amazing and wonderful post. I like it...
Thank you so much :(