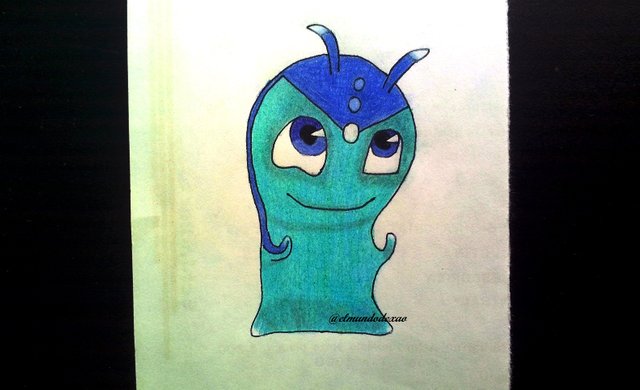
Hello welcome to my blog; I hope you are enjoying this beautiful day. Today I wanted to share this new drawing and it is about the Sparkle Slug which is a type of Phosphor Slug; one of its abilities is to light up in the dark and in battle it explodes when it collides with its opponent generating a shower of sparks and thus disorienting him besides mowing him down momentarily.
The materials I use are the following: White paper, pencil, 0.5 marker, eraser and colors.
I usually use video material or images to complement my learning of drawing, so at the end I leave you the link I used on this occasion.
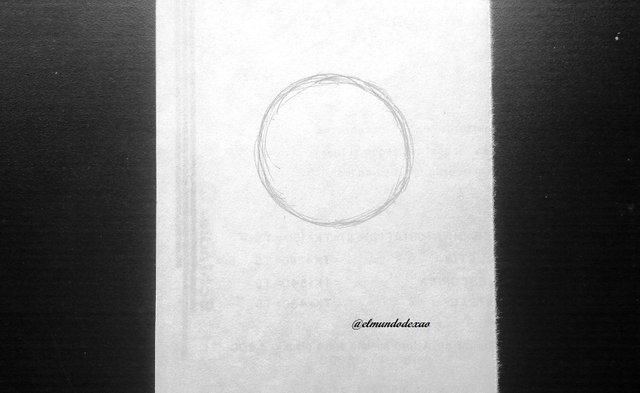
 I will start by drawing a circle and define the size of the head so I can make a silhouette with the right size according to my sheet of paper; so far this is the easiest way I have found to make my drawings.
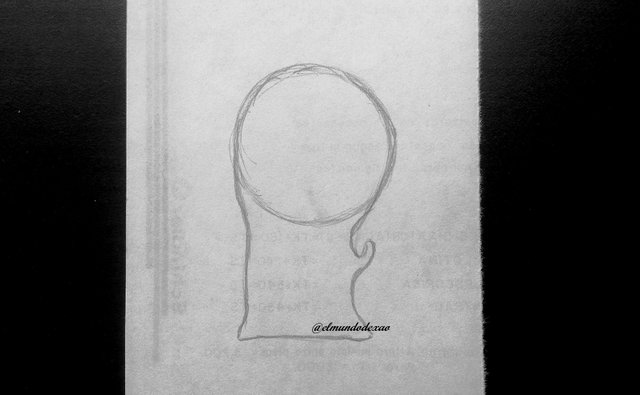 As I had already defined one of the hands that we can see outside the silhouette, now I draw the other hand that remains inside the silhouette of our slug; I also take the opportunity to make the lines that detail something like a kind of tiara on her head.
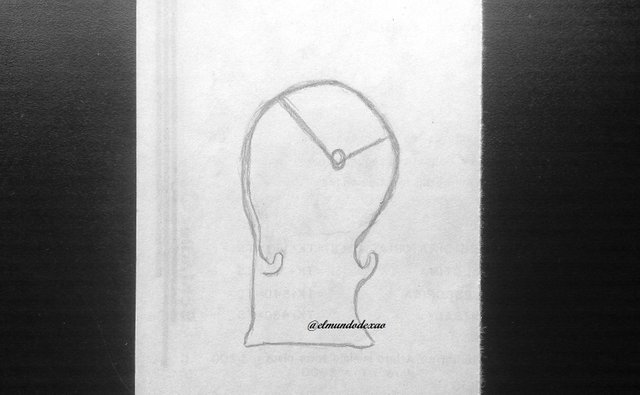 Now I make the antennae and two small circles that are between them; as for the eye sockets they caused me more work than I thought necessary and we must take into account that one looks bigger than the other since the slug has a half-side position.
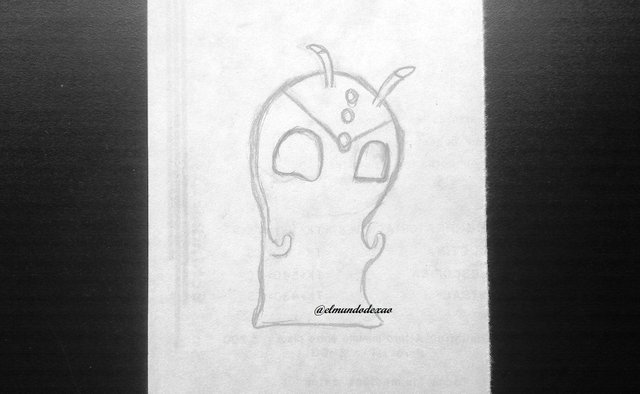 To finish with the sketch I draw the pupils of the eyes and place the mouth in the right place; this is another detail that sometimes causes difficulty because it depends on how you draw it changes the essence of the character.
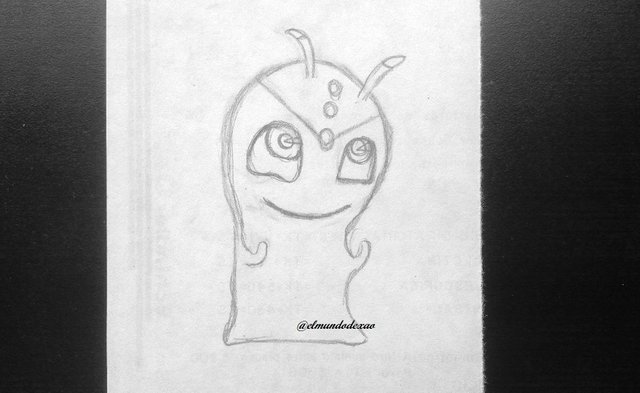 The next step will be to ink or label our drawing and thus be able to detect details that need to be fixed or added; once the ink is dry I proceed to erase all the graphite and wala is ready to color it.
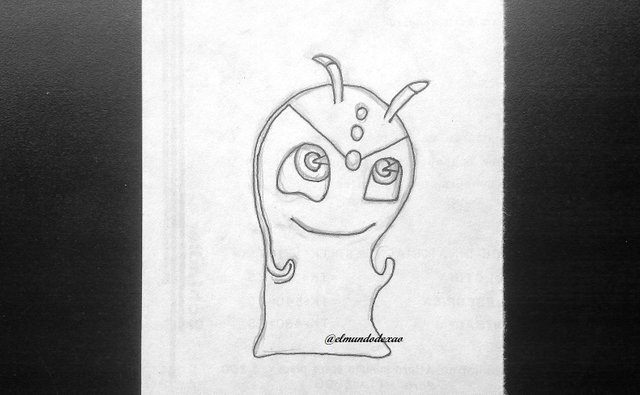
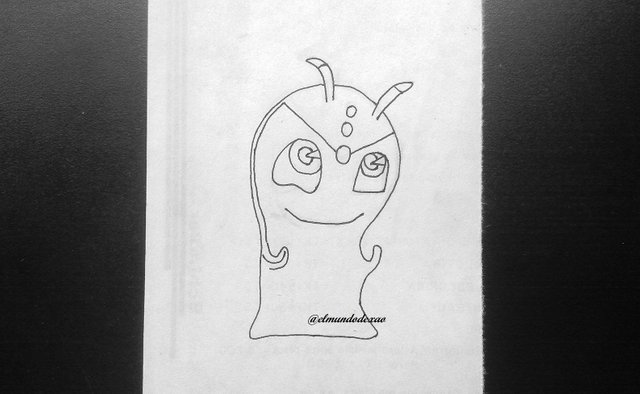 Light blue will be the color I will use for the head, part of the antennae and what we can perceive of the back; on the other hand for the front I use a lighter blue; but this is not all I must also make a shading around the eyes, mouth and neck and for this I use a gray color.
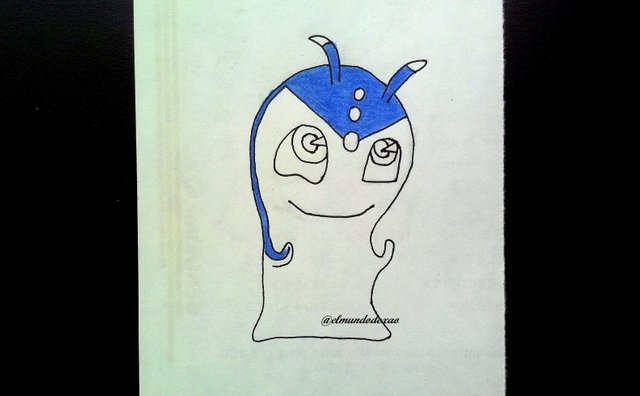
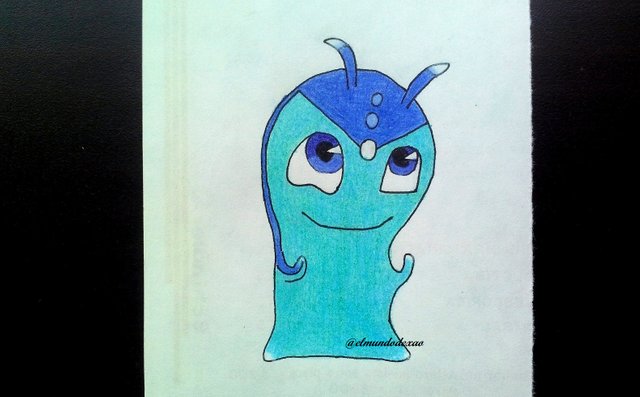

Photo Source: Own photos captured with a Síragon camera.
Modified size: With the Paint Program.
Well friends I hope you have enjoyed this publication I say goodbye wishing you all a great day, afternoon or evening depending on where you are.
Thanks for visiting my Blog… AH! Don't forget to vote, reblogear, and comment.
Translated with:

www.DeepL.com/Translator (free version)

Dibujando a la Babosa Destello.
Hola bienvenidos a mi blog; espero estén disfrutando de este hermoso día. Hoy quise compartir este nuevo dibujo y se trata de la Babosa Destello que es un tipo de Babosa Fósforo; una de sus habilidades es alumbrar en la oscuridad y en batalla explota al chocar con su oponente generando una ducha de chispas y así desorientarlo además de segarle momentáneamente.
Los materiales que utilice son los siguientes: Papel blanco, lápiz, rotulador de 0.5, borrador y colores.
Por lo general utilizo material de vídeo o imágenes para complementar mi aprendizaje de dibujo por lo que al final les dejo el enlace que utilice en esta ocasión.
 Para comenzar lo haré dibujando un circulo y así defino el tamaño de la cabeza con lo que podré hacer una silueta con el tamaño adecuado según mi hoja de papel; hasta ahora es la manera más fácil que he encontrado de hacer mis dibujos.

 Como ya había definido una de las manos que la podemos observar por fuera de la silueta ahora dibujo la otra mano que queda por dentro de la silueta de nuestra babosa; también aprovecho para hacerle las líneas que detallan algo como una especie de tiara en su cabeza.
 Ahora le hago las antenas y dos pequeños círculos que están entre estas; en cuanto a las cuencas de los ojos me causaron más trabajo del que creí necesario y es que debemos tomar en cuenta que uno se ve más grande que el otro ya que la babosa tiene una posición de medio lado.
 Para terminar con el boceto dibujo las pupilas de los ojos y ubico la boca en el lugar adecuado; este es otro detalle que en ocasiones causa dificultad ya que depende como se trace cambia la esencia del personaje.
 El siguiente paso será entintar o rotular nuestro dibujo y así poder detectar detalles que hagan falta arreglar o agregar; una vez esta seca la tinta procedo a borrar todo el grafito y wala está listo para colorearlo.

 Celeste será el color que utilizare para la cabeza, parte de las antenas y lo que podemos percibir de la espalda; en cambio para la parte frontal utilizo un azul más claro; pero esto no es todo también debo hacer un sombreado alrededor de los ojos, boca y cuello y para esto uso un color gris.


Fuente de Fotos: Propias capturadas con una cámara Síragon.
Modificado el tamaño: Con el Programa Paint.
Bueno amigos espero hayan disfrutado de esta publicación me despido deseándoles a todos que tengan un grandioso día, tarde o noche según donde se encuentren.
Gracias por visitar mi Blog… ¡AH! No se olvide de votar, rebloguear y comentar.


