Hello friends welcome to my blog; I hope you have a happy Wednesday; today I share with you a new version of the frozen slug. To reach a better level in drawing you have to practice daily and it is best to do it with simple drawings like these and then gradually incorporate more difficult drawings.
The materials I used are the following: White paper, pencil, 0.5 marker, eraser and colors.
I usually use video material or images to complement my learning of drawing so at the end I leave you the link I used on this occasion.
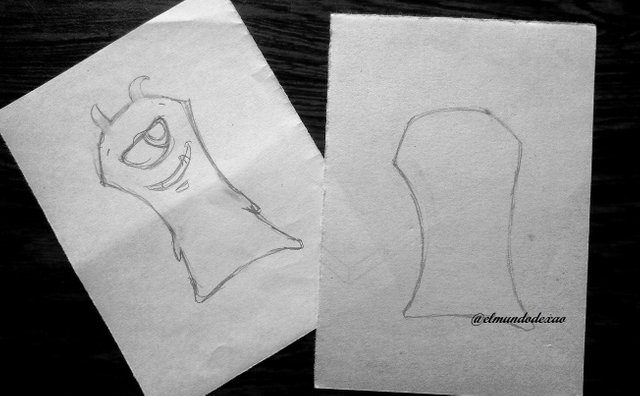
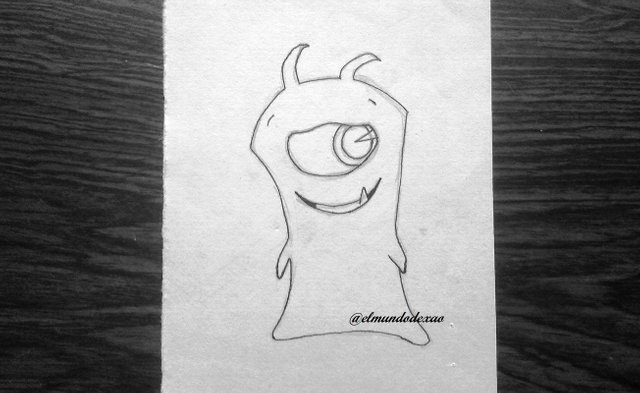
 This character seems simple to draw but it was not so I had to apply my technique of drawing first a sketch without getting distracted and then in the second sketch if I can dedicate myself to take the photographs. In this first part I dedicate myself to make only the silhouette which is a little sloppy as you can easily notice.
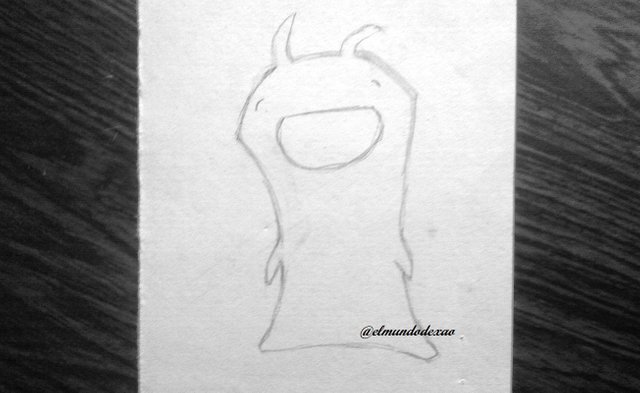
 Next I incorporate the eye; in this version if we can appreciate that it is a cyclops since in the previous version the fur prevented to appreciate this detail; in addition I draw the extremities and the horns.
 Now I can shape the edge of the eye as well as the pupil and then make the mouth with the protruding fang.
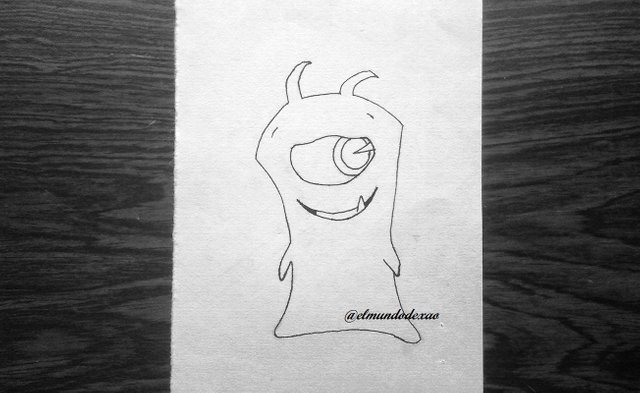
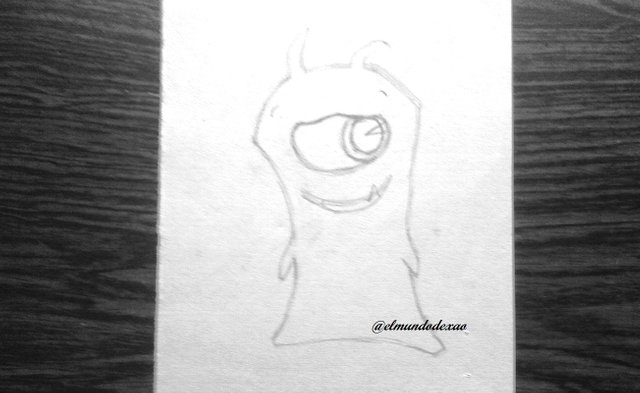 Well I have already finished the sketch so I will proceed to highlight it and then erase the graphite; a detail that I rarely do is to color or fill part of the drawing with the same marker but this time I used it to fill the dark part of the mouth.
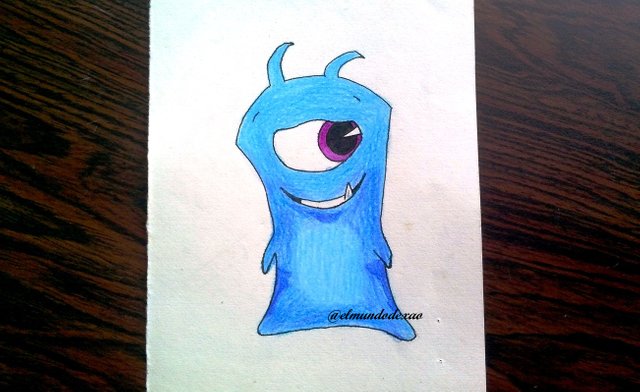
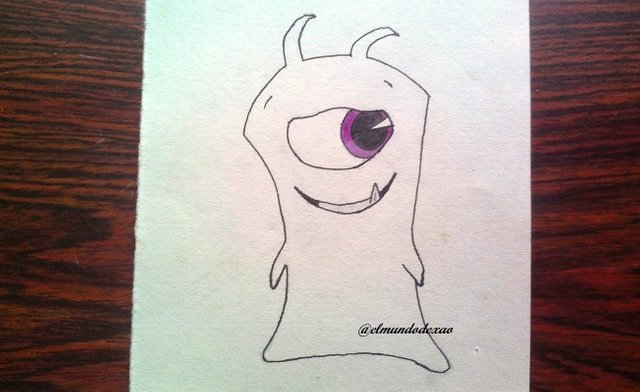
 Here I start to color it and I do it for the eye; the iris will have a purple color lightened in some parts with white while the pupil will be black; of course the reflected light ray must not be missing.
 The fang and the teeth have a slight gray tone and the whole body I put a light blue as a base and then with a darker blue to define the shadows of some parts and in this way I end this publication and now I say goodbye wishing you all a great day, afternoon or evening depending on where you are.
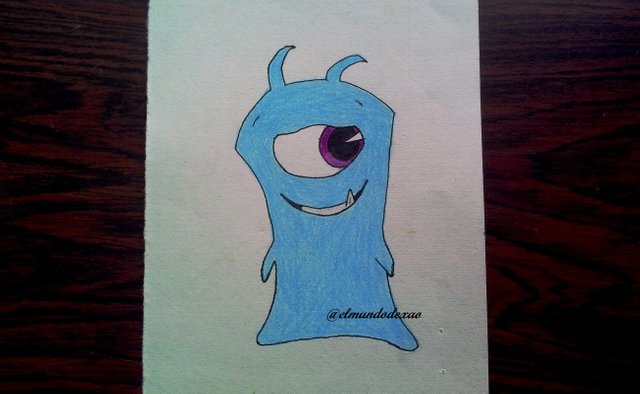

Photo Source: Own photos captured with a Síragon camera.
Modified size: With the Paint Program.
Thanks for visiting my Blog… AH! Don't forget to vote, reblogear, and comment.
Translated with:

www.DeepL.com/Translator (free version)

♥♥ Dibujando Otra Versión de la Babosa Congelada.
Hola amigos bienvenidos a mi blog; espero tengan un feliz día miércoles; hoy les comparto una nueva versión de la babosa congelada. Para alcanzar un mejor nivel dibujando hay que practicar a diario y lo mejor es hacerlo con dibujos sencillos como estos y así poco a poco ir incorporando dibujos más difíciles.
Los materiales que utilice son los siguientes: Papel blanco, lápiz, rotulador de 0.5, borrador y colores.
Por lo general utilizo material de vídeo o imágenes para complementar mi aprendizaje de dibujo por lo que al final les dejo el enlace que utilice en esta ocasión.
 Este personaje parece sencillo de dibujar pero no lo fue por lo que tuve que aplicar mi técnica de dibujar primero un boceto sin distraerme y luego en el segundo boceto si puedo dedicarme a tomar las fotografías. En esta primera parte me dedico hacer solo la silueta la cual es algo descuadrada como pueden notar fácilmente.
 Paso a seguir incorporo el ojo; en esta versión si podemos apreciar que se trata de un cíclope ya que en la versión anterior el pelaje evitaba apreciar este detalle; además dibujo las extremidades y los cuernos.
 Ahora si puedo darle la forma que tiene el borde del ojo además de la pupila para luego hacer la boca con el colmillo sobresaliente.
 Bueno ya he terminado el boceto por lo que procederé a remarcarlo y luego a borrar el grafito; un detalle que muy pocas veces hago es colorear o rellenar parte del dibujo con el mismo rotulador pero en esta ocasión le utilice para rellenar la parte oscura de la boca.

 Aquí comienzo a darle color y lo hago por el ojo; el iris tendrá un color morado aclarado en algunas partes con blanco mientras que la pupila será negra; por supuesto no debe falta el rayo de luz reflejado.
 El colmillo y los dientes llevan un leve tono gris y a todo el cuerpo le coloco un azul claro como base para después con un azul más oscuro definir las sombras de algunas partes y de esta manera doy por terminada esta publicación y ahora me despido deseándoles a todos un grandioso día, tarde o noche según donde se encuentren.


Fuente de Fotos: Propias capturadas con una cámara Síragon.
Modificado el tamaño: Con el Programa Paint.
Gracias por visitar mi Blog… ¡AH! No se olvide de votar, rebloguear y comentar.


