SEC-S18W5/Share your brilliance- (Photo/Editing Tutorial)
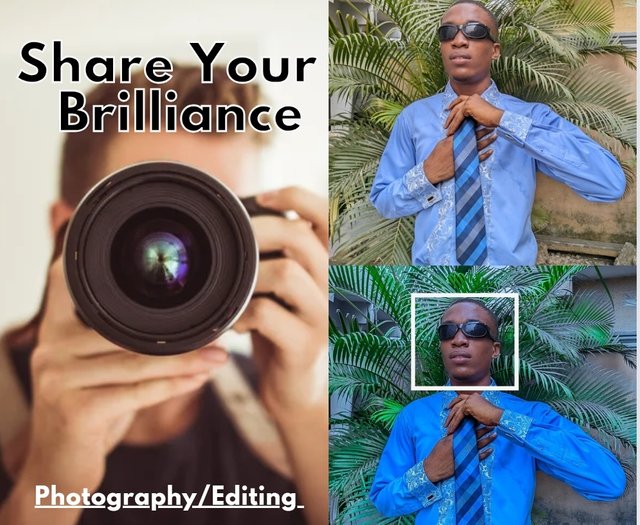
edited using canva
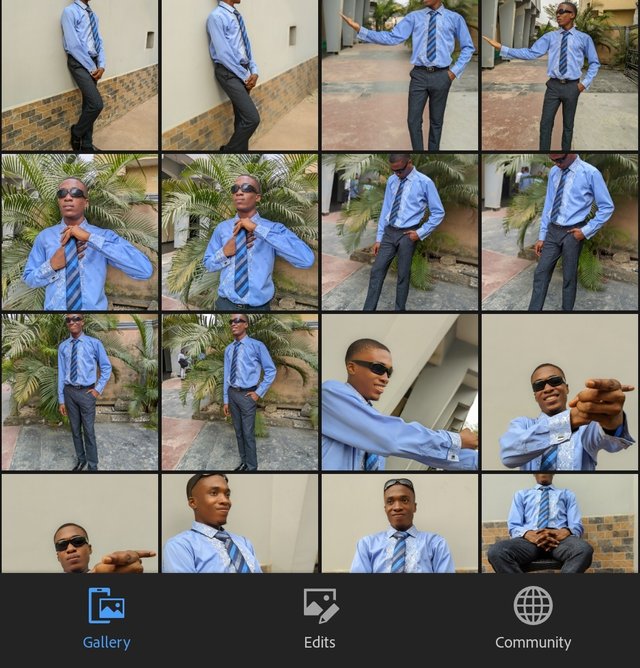
It's actually obvious that most of us on this platform know I'm into photographing and editing from the pictures I've been sharing on the platform lately. Every good camera man gives the best of shots and every good photo editor creates moments in edits and changes from the known to the unknown. People love edits because it makes them look and appear even more beautiful than the original thing. You'll say it's fake life right?. It's not. It's called photo enhancing.
So today, I'll be taking you on some beautiful editing moments you'll forever be impressed when you see the changes. Every organiser would want to see the works of the person he or she will hire for this job. So these are my works. I don't just gives best shoots but also edit and it's that editing I want to teach you guys.
 |  |  |
|---|---|---|
 |  |  |
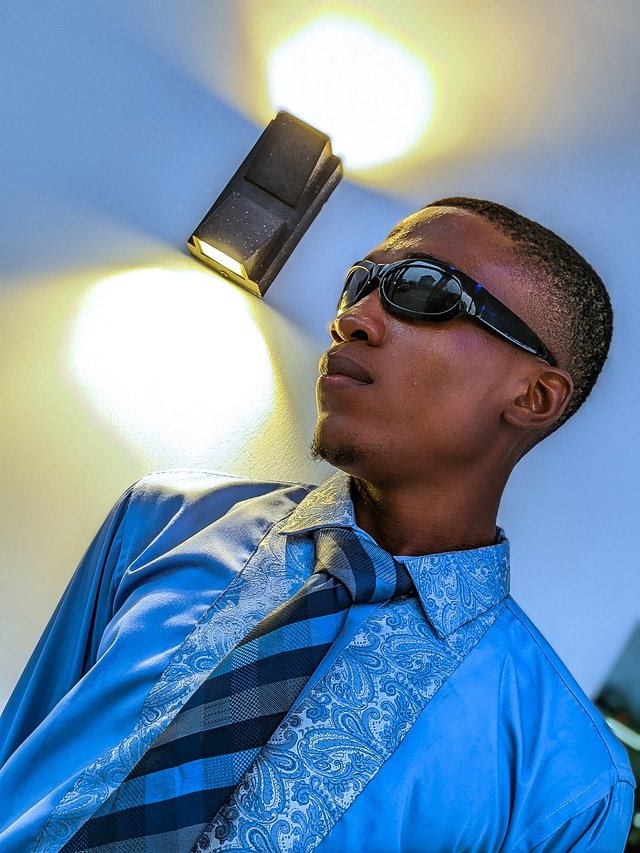
You may ask, Am using a professional camera or what?. I don't use a camera. I use my phone to make these captures and then I edit them as if they are studio pictures.
| Redmi Note 12 Pro | Device |
|---|---|
| Editing App | Lightroom |
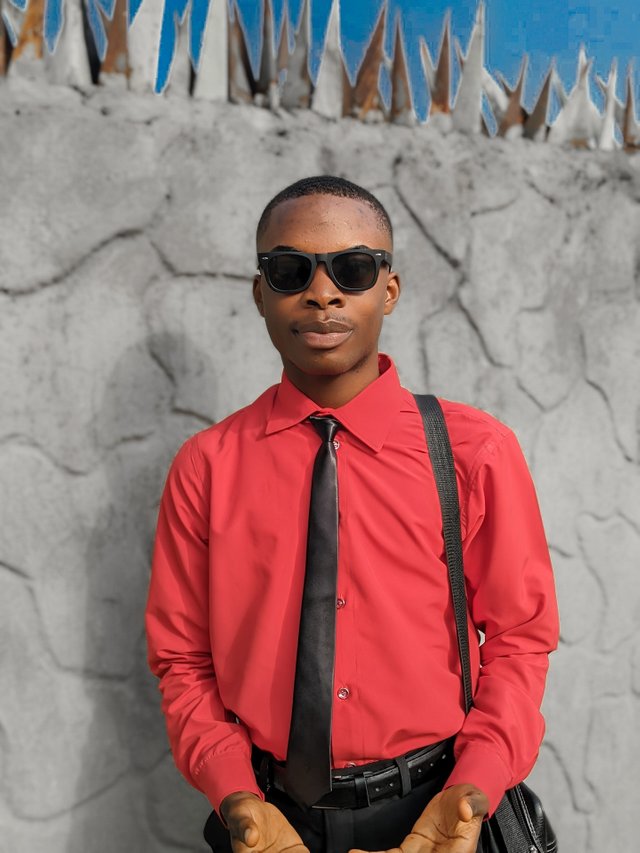
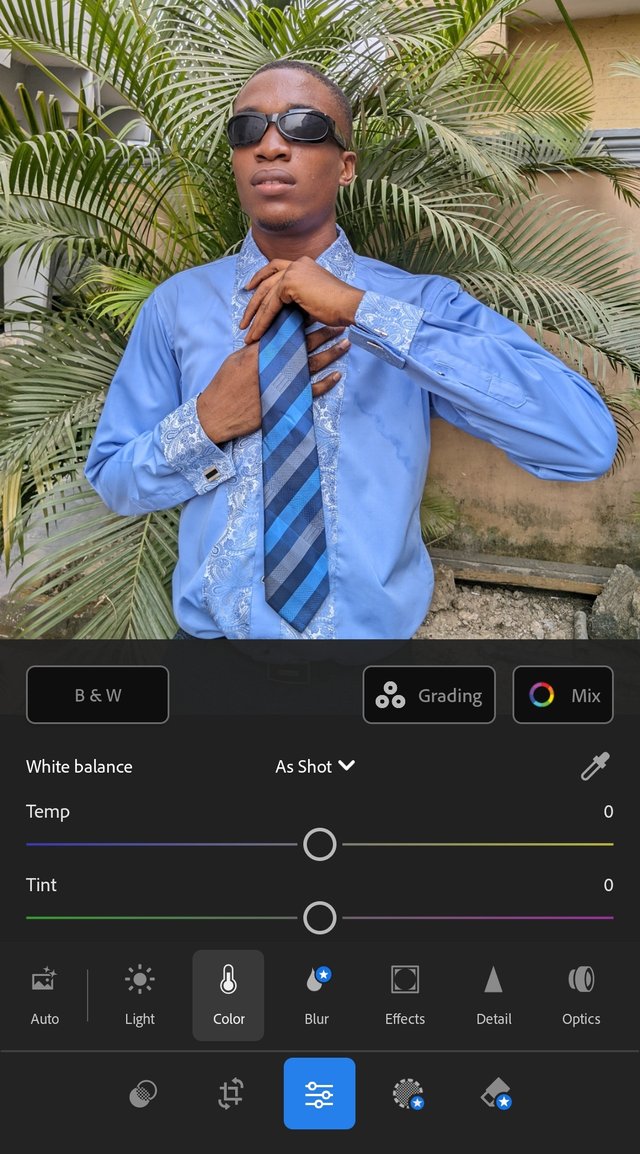
Ohkay guys, download your lightroom editing app and follow these process after creating an account. This is the picture I'll be using for this editing tutorial. I've selected and gone through my album and decides to use this as my editing photo.

Features of the App and Steps in Editing |
|---|
This lightroom has lot of features that can enhance the quality of a photo. The secret behind this enhancement is a good camera. You'll need a clear picture to get something unique and these are the steps I used in editing the clear picture shown above.
 |  |
|---|---|
 | The app features. |
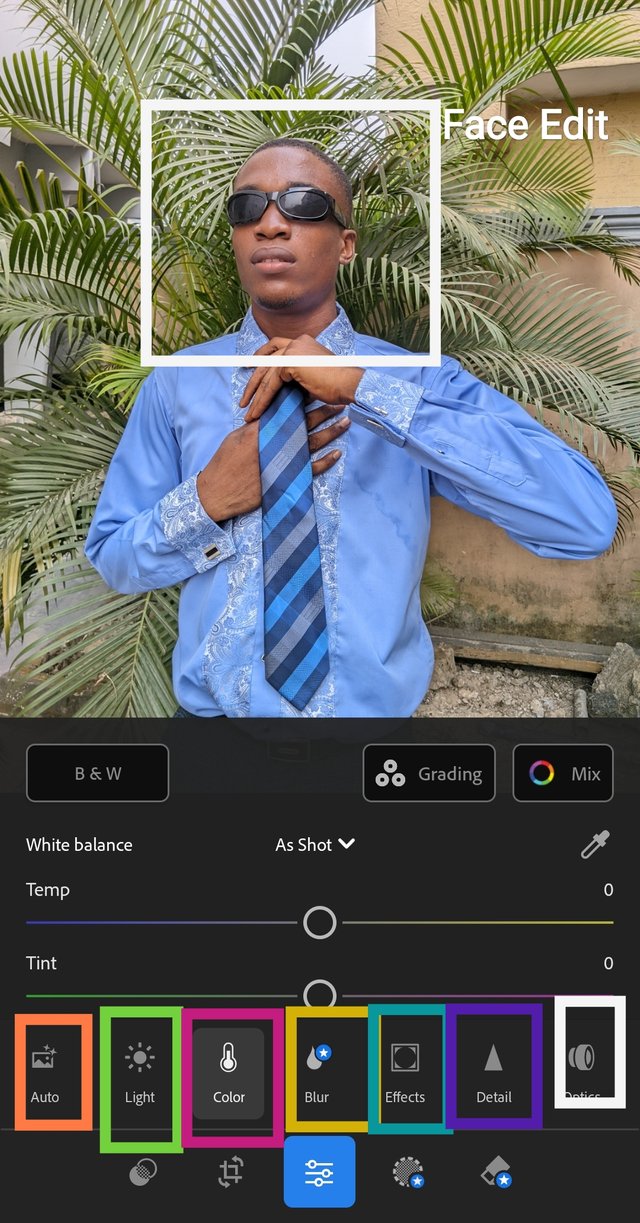
This editing app has lot of features like the;
- Light: Used in reducing the brightness of the photo and for creating shadows
- Colours: Used in changing background in pictures and for enhancing things round the environment
- Effect: Used in correcting the face in terms of pimples and black spots.
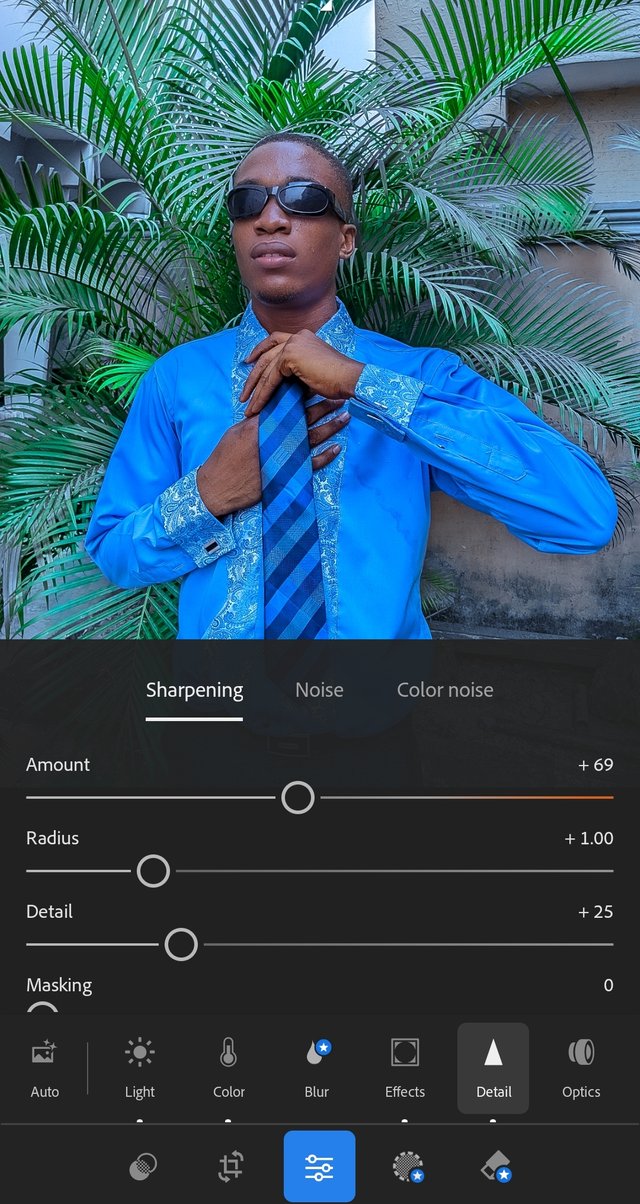
- Detail: Used in battling blurry views
I'll start with the first feature which is Light. From the look of the picture above, you can agree with me that there's more light on the picture and should be reduced. So I used this icon and then reduced the Highlight slider. This is to avoid making it too bright. The pictures below shows the before and after view.
| Before | 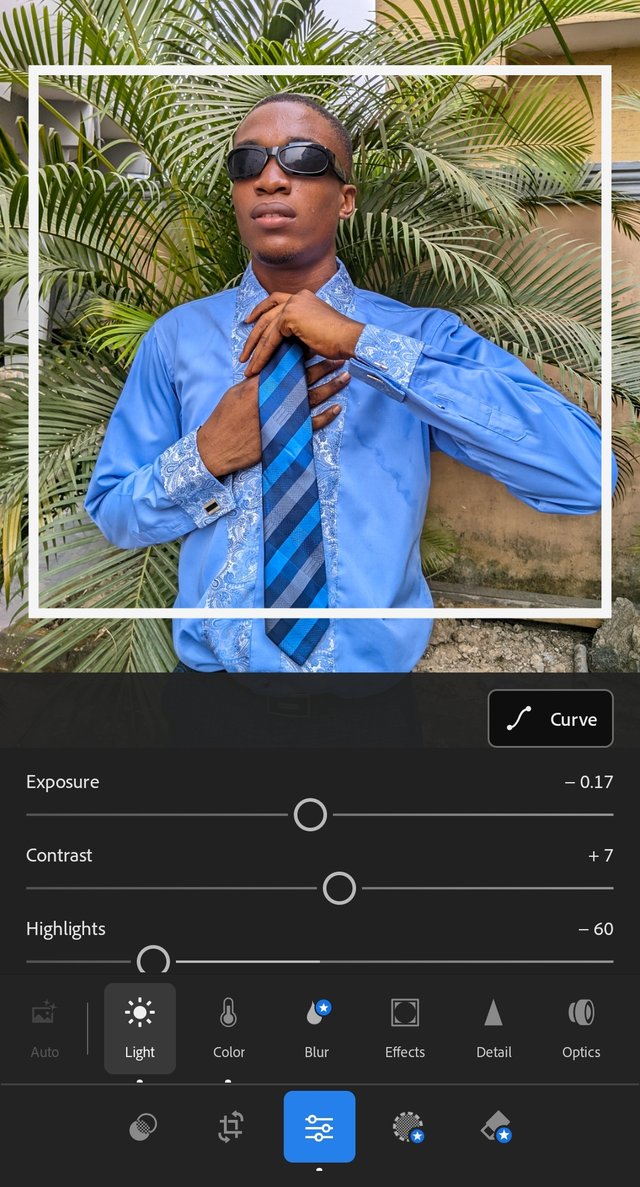 After After |
|---|
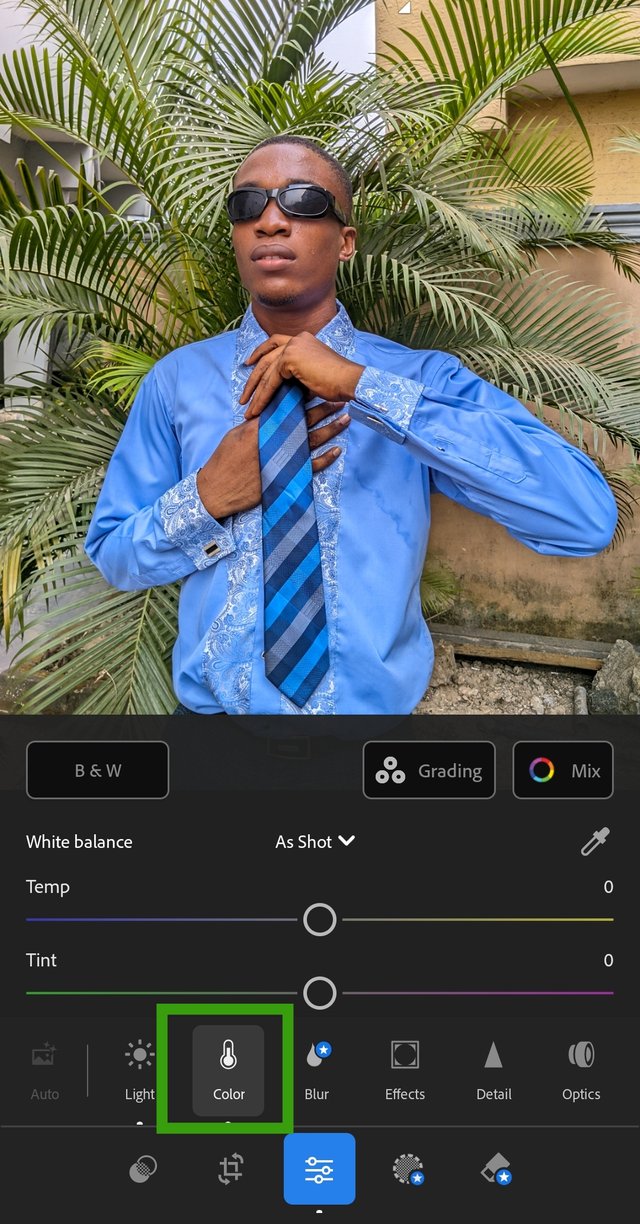
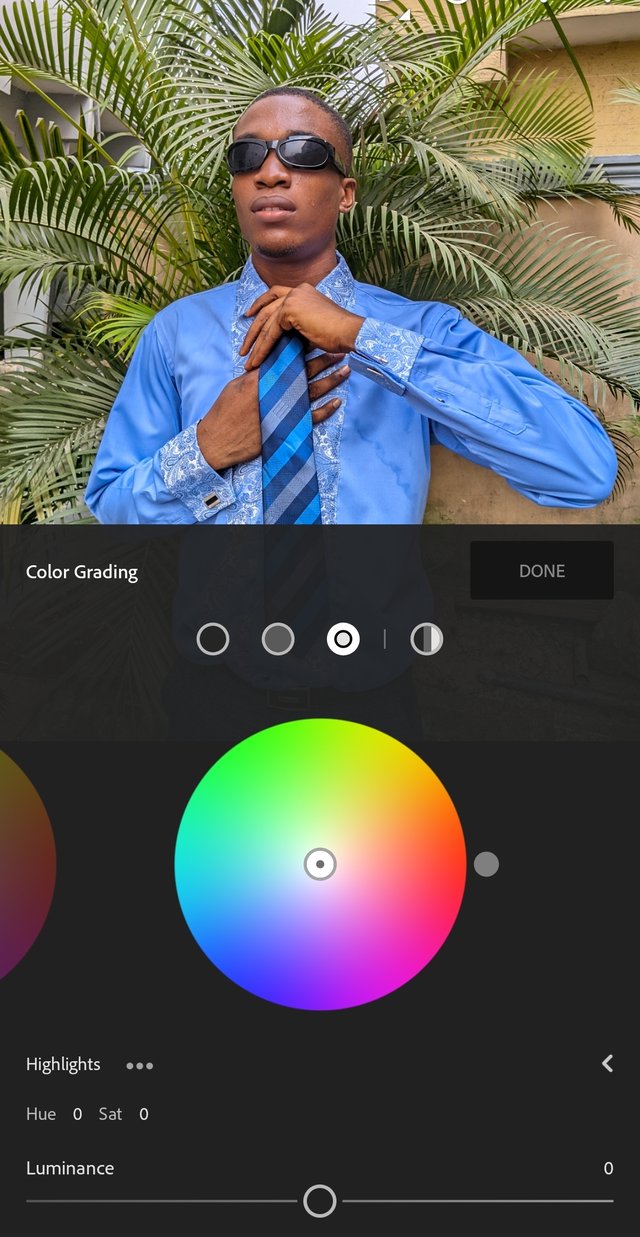
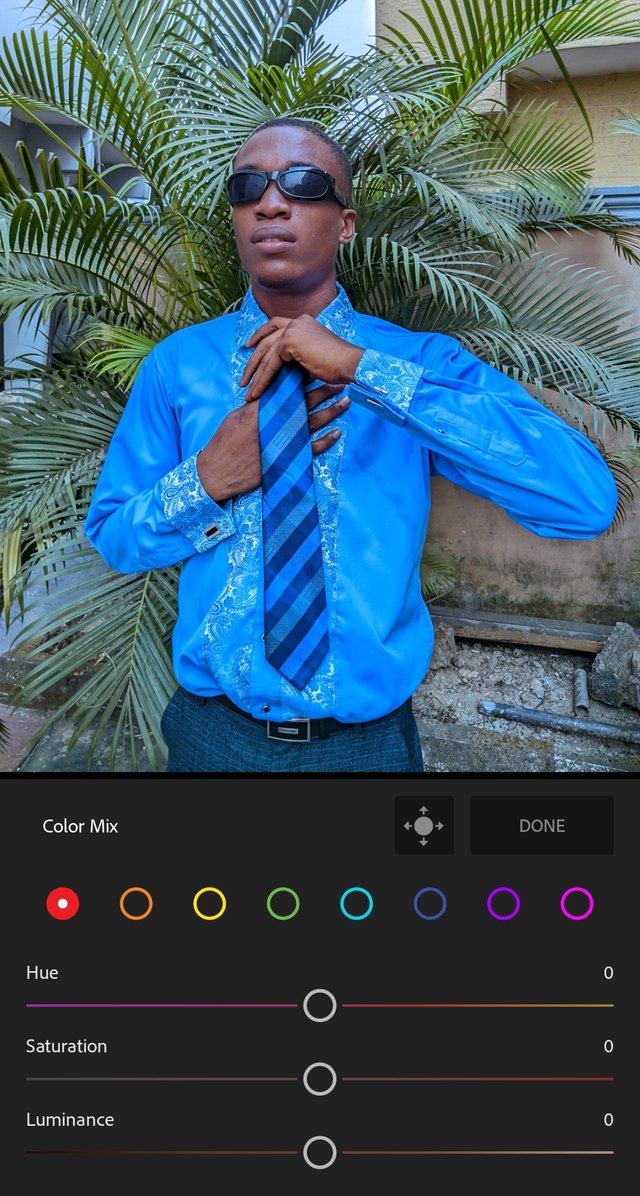
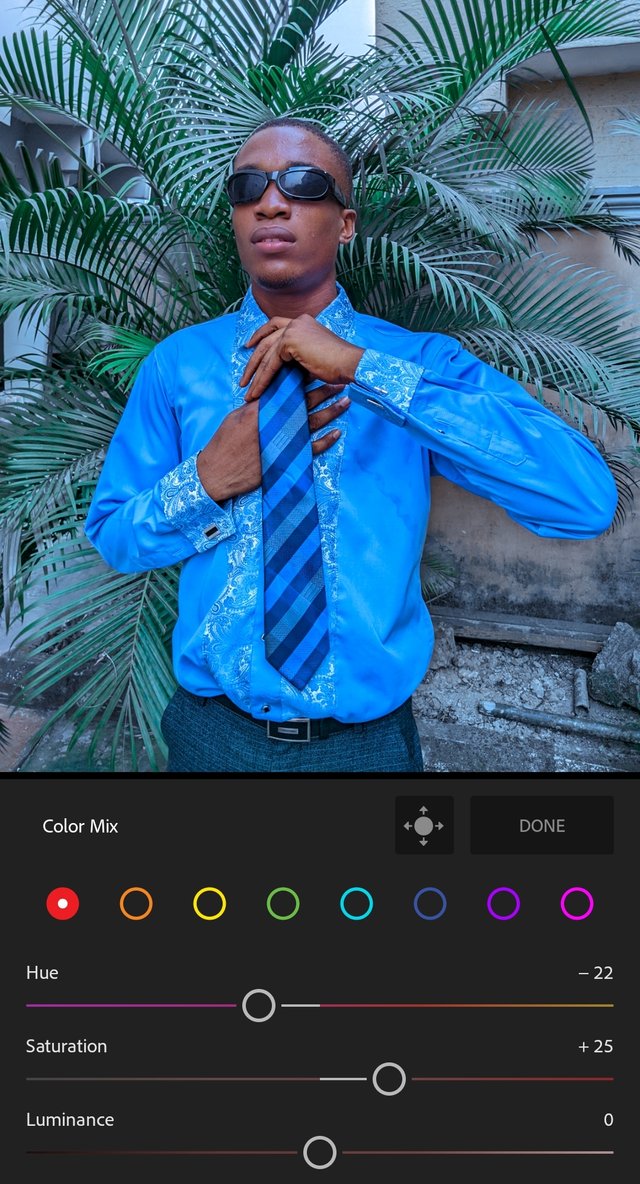
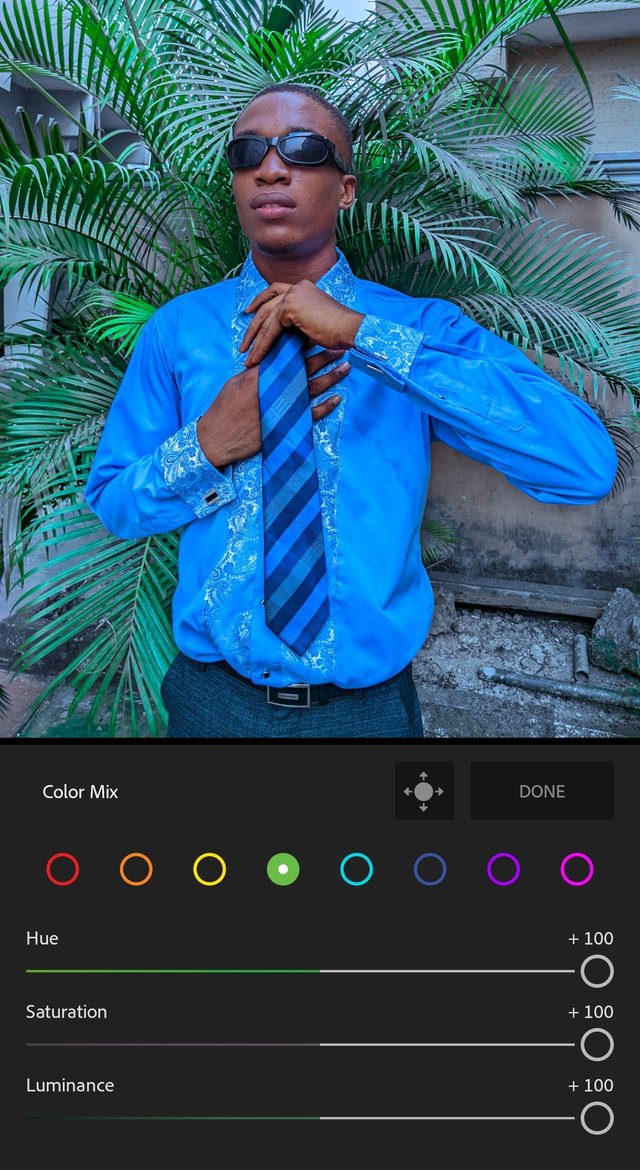
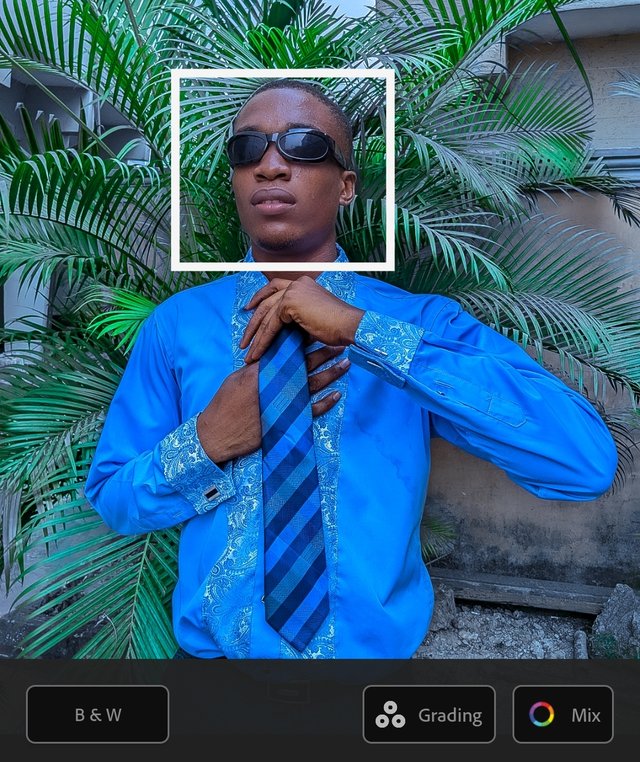
Colors: After reducing the light of the image, I took to changing the background, deepening the colour of his clothes and also change the things behind the background. I started by using the colour mix to change the colour of the background from dusty brown color to sky blue. After ensuring these have changed with the colours mix, I ensured it's very moderate and not too much.
 |  |
|---|
After editing with the colour mix, I took to checking the single colours row and then select green colour to change the colour of the tree. This really makes the picture exclusive and more like studio..The colour blend and mix was neither too much nor too small. It was very much moderate.
 |  |
|---|---|
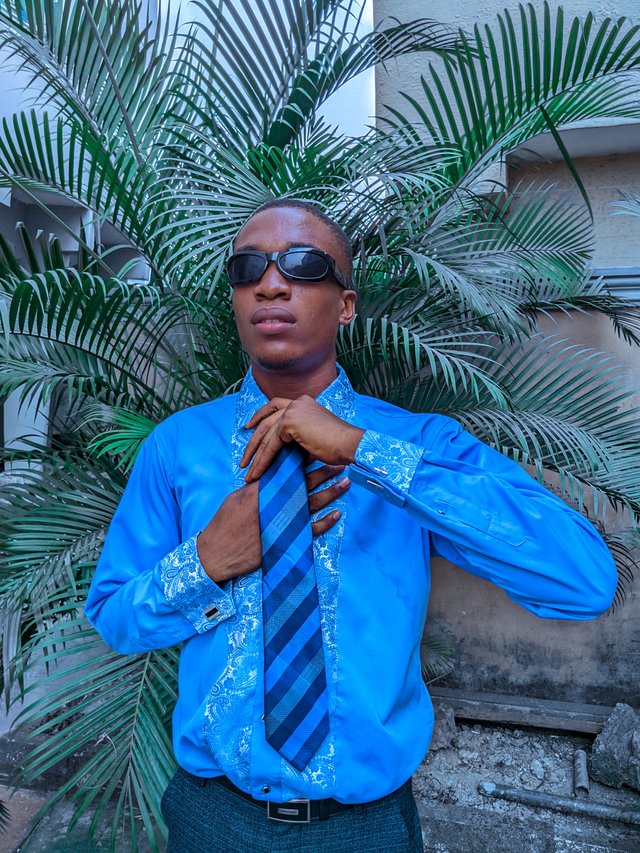 |  |
The aftermath of the colour mix is shown in the before and after.
_Effects: Used in removing spots, pimples and obstructions on the face and also used to make something very clear and unique. I seldomly use these effects though they are crazy effects for different pictures and not for this type of picture. The pictures below shows the before and after and that's how exclusive it is.
 |  |
|---|
I moved a little so as not to make it took like the wrong type of editing I've been seeing lately..
 | A wrong type of edits with errors in colours and effects❌❌❌❌❌❌ |
|---|
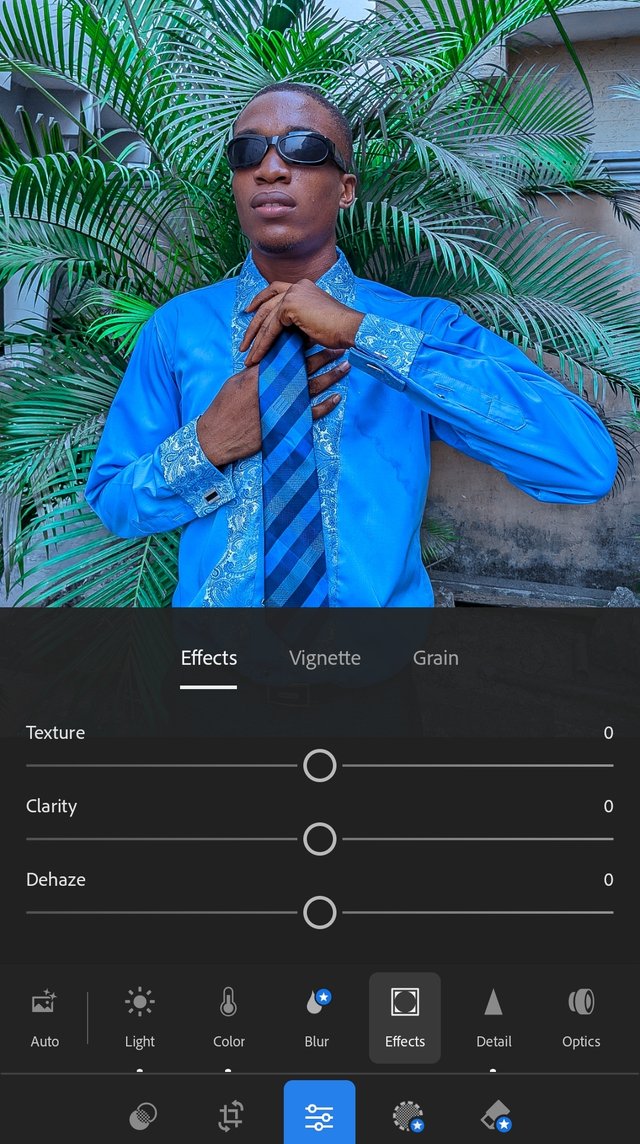
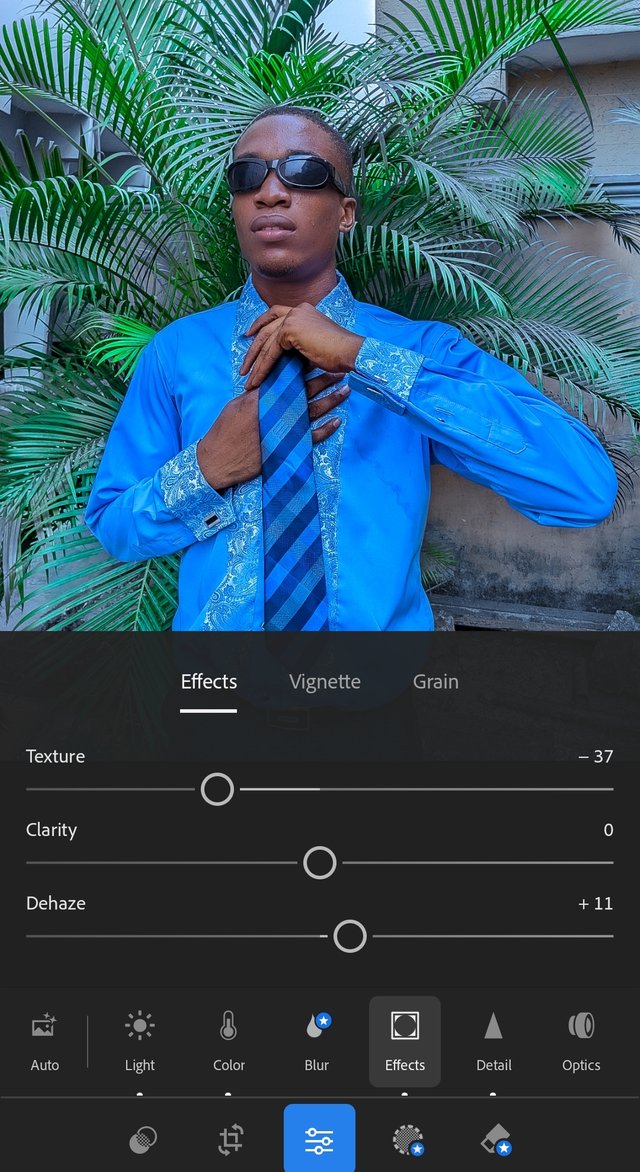
Details icon makes it possible for pictures to be clear and sharp thereby preventing blurry pictures which may spring from a camera setting etc.
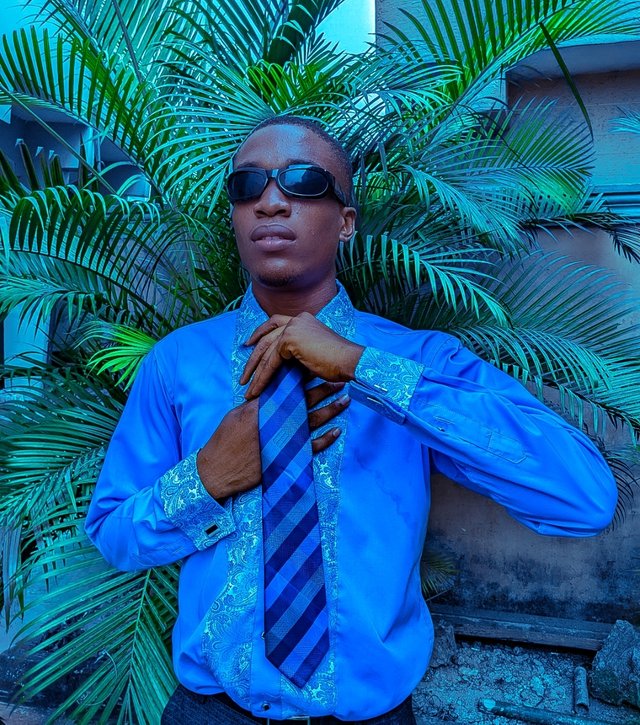
This is the final product of my editing. It looks very professional.
| Before | .jpg) After After |
|---|
If you find this helpful, relate it on the comments section
In conclusion, I'll be hosting personal lessons on this editing so we don't need to go places to get ourselves pictures for birthdays and other minor celebrations. While a picture gives life, editing enhances the life. I Invite @vivigibelis @inspiracion and @whizzbro4eva.
This is interesting tutorial lesson the way you outline everything makes it easier and simple to understand.
I think I need more of this lesson if there is anything remaining I need to know about editing a photos.
Thanks for sharing with us as for your pictures it really looks nice.
It's actually interesting to see you like my tutorials. What you'll need to work on is how to snap a picture clearly and visibly. This is where the work it first before editing. Anyways, I'll take you through series of photo editing soon.
Wow that will be interesting. Anywhere, thanks for the tutorial. Success in this contest.
Saludos amigo
Que buen tutorial una manera muy práctica de mejorar nuestras fotos.
Me encantó la manera como explicaste muy fácil de entender.
Te deseo éxito
Thank you so much dear friend. I really appreciate. If you'll want me to edit any photo for you, I'm very much available to do the job. Can't wait to read your entry to see what you have install
Gracias por tan buen tutorial el cual ocupa un lugar en la sección diseño y edición de la Biblioteca Shine.
Buen trabajo Boss.
I really appreciate. Thanks
@bossj23
Dear I read your post and I really like it. It's really a wonderful presentation and it's a wonderful art. This art is very rare and not everyone has such skills like you did in photo editing. What else did you guide us step by step. Very awesome. I read your entire presentation and I will also try it next time by following the step by step and hope that what you have guided today. The line is given, it will help me a lot. Thank you so much. I will take care of you.💗🌹
@mona01
Can't wait to see you come up with a good edits. Anyways, I'll love to read your own entry to see what you have install for us. Thanks for visiting my post and reading through to the end.
Upvoted. Thank You for sending some of your rewards to @null. It will make Steem stronger.
https://twitter.com/bossj23Mod/status/1804049579245011219?t=hXGLv4w4aos07awX1nLkYA&s=19
بہت اچھا طریقہ کار ہے اس پر ایڈیٹنگ کا ۔
آپ کمپوٹر پر کونسی ایپ استعمال کرتے ہیں ویسے ایڈیٹنگ کیلئے ۔
اور یہ تو کمال ہے
I have been hearing about this app from you, the way it makes all your pictures sharp amaze me , if care is not taken someone can mistake you to a trained professional photographer. Thanks for teaching us steps to snap and edit out pictures using light room app.
You produce extraordinary photos just from simple editing, the editing steps you explain are also very easy to understand, Thank you for sharing an interesting post.