How to Make a Teddy Bear from a Flannel Cloth

One's creativity depends on how the person often trains it. Many ways to hone and enhance creativity, one of them is by making handicrafts.
Many handicrafts you can make, ranging from those made from expensive materials, to the materials we can look around the house, or even the craft of used goods. All the materials you can use to hone creativity to make us more creative. One of the handicrafts you can make is a doll.
There are puppets whose ingredients and equipment are very easy to get, the dolls of flannel. You can get material in fabric shops or specialty craft stores near your home. Once the material in the can, stay in action deh make a funny doll. Well, right now, we're going to make a teddy bear from flannel. For the tools, materials, and steps to make it, you can see below.
Tools and materials.
Before you start making a teddy bear, first you need tools and materials. There are several tools and materials to prepare.
- Flannel.
- Thread and needle.
- Dakron.
- Beads.
- Ribbon.
- Glue shot.
- Marker.
- Scissor.
After all the necessary equipment is ready, it's time we act to make a funny teddy bear from flannel.
Make Puppet Patterns.
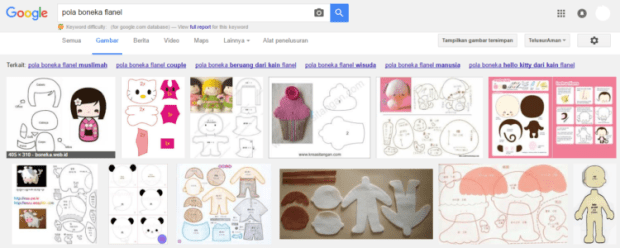
Patterns to create a doll is very necessary, because with the pattern, we will be easier to do the next step. If you are confused and difficult to make your own doll pattern, just try to search on google with keyword "flannel doll pattern". Well, there, you'll find the idea to create your own doll pattern.
Cut Flannel Cloth Appropriate Pattern.
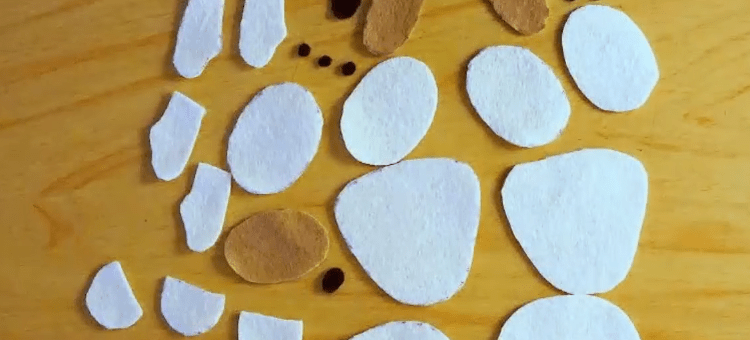
Once the pattern is created, the next step is to move the pattern onto the flannel. You can cut the pattern first, then draw the pattern on the flannel by following the cut pattern.
Once the pattern is drawn on the flannel, then you cut the fabric following the drawing pattern that has been made. Try as neat as possible so that the results of the dolls to be neat.
Creating Hand Parts.
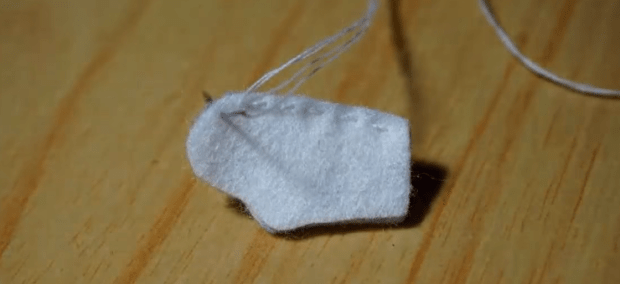
Well, then, the first part that we will make is doll hands. Take the pattern of the hand we have made before, then put together two similar patterns of shape and sew the sides. But, leave a little side to insert the dakron.
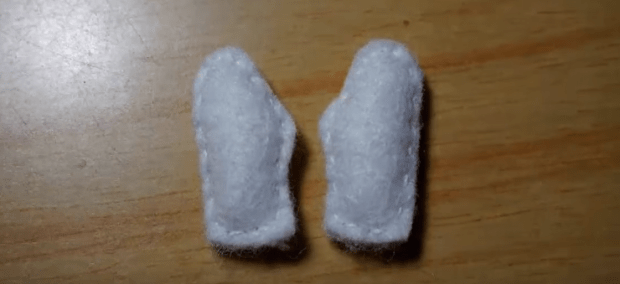
After the sides are stitched and put in a little hole, insert the dacron from the perforated side. Fill until full and compact, then sew the hole until it is covered neatly.
Creating a Doll Agency.
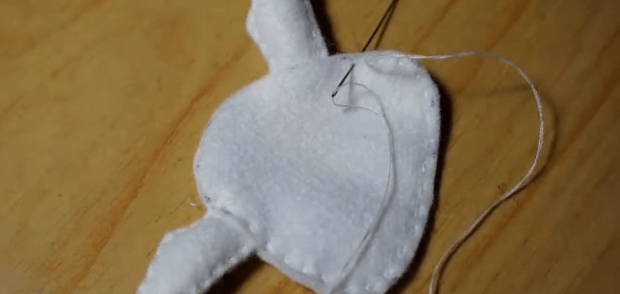
When the doll's hand is finished, it's time to put it on the body. Take two patterns for the body, place the hands in the middle between the two patterns. After that, sew the body with the doll's hand, remember, leave little to include the dacron.
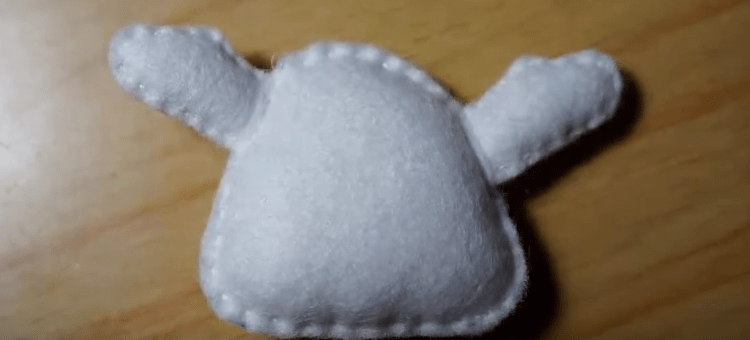
After that, then enter the dacron and solid until the doll body is formed. Then, sew the hole to put the dakron neatly.
Make Section Head.
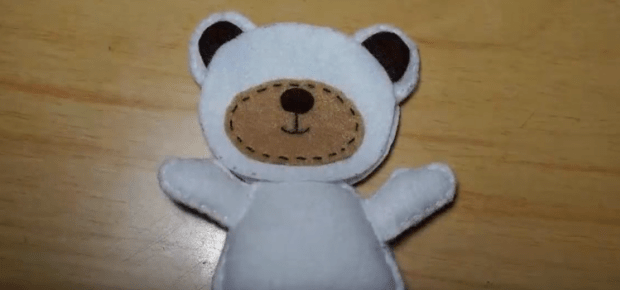
Then, go to the coconut, take the pattern made for the doll's head. First, make first ears, sewing and fill using dakron, then sew on the head.
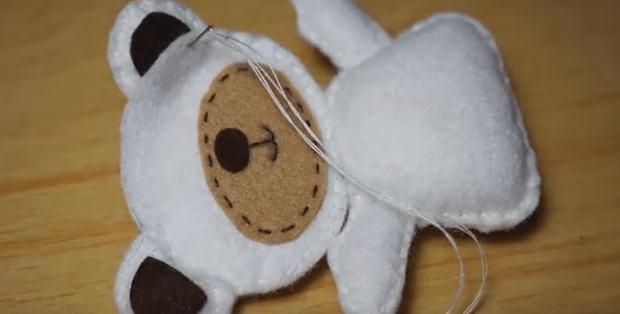
After ear, paste the mouth and make a pattern like the mouth using sewing thread. Then, unite the head with the body, sewing between the two parts neatly. Leave the top side of the head to insert the dacron.
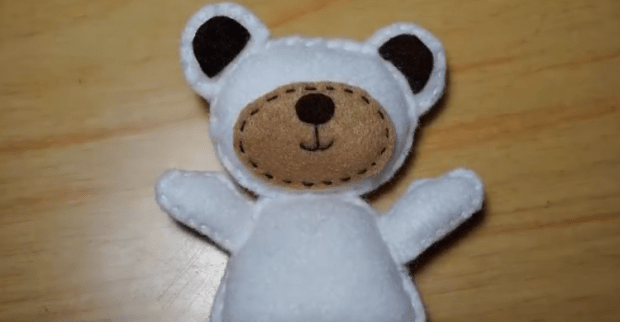
Like the previous stage, fill the head with a dacron, do not forget to solid until the head bubble. Then sew the hole to insert the dacron neatly and tightly closed.
Sew the Doll Eye.
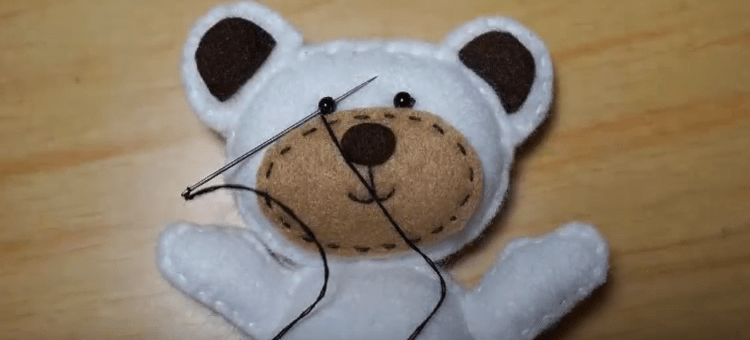
Take the prepared beads beforehand, place them on the head just in place of the doll's eye. Then, sew the beads neatly, or you can stick it with a glue gun.
Sew the Legs.
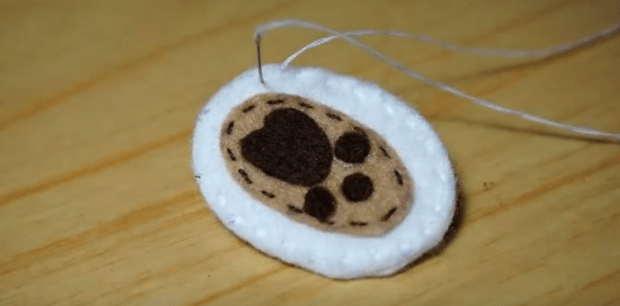
Prepare the pattern of the legs, unite some patterns and paste using glue shoot, or sewing patterns that do need a sewing.
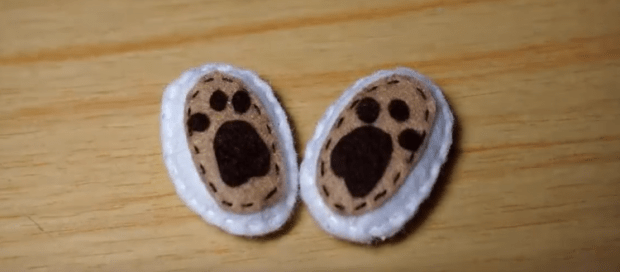
After stitching the parts, fill the legs of the doll with the dacron until it is fully charged and solid. Sew the sides of the foot neatly.
Pasting Feet On Body.
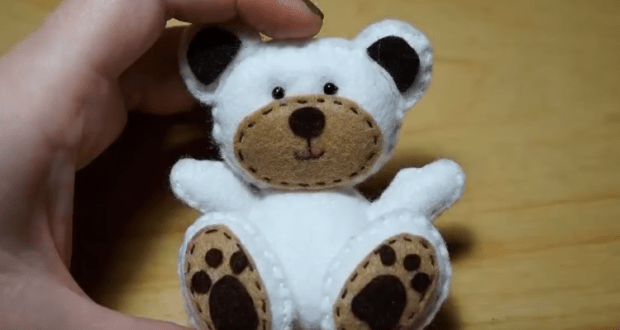
Once the doll's legs are so, stick them on the doll body using a glue gun. Or, if you want to be sewn to the doll body.
Adding Butterfly Necktie.
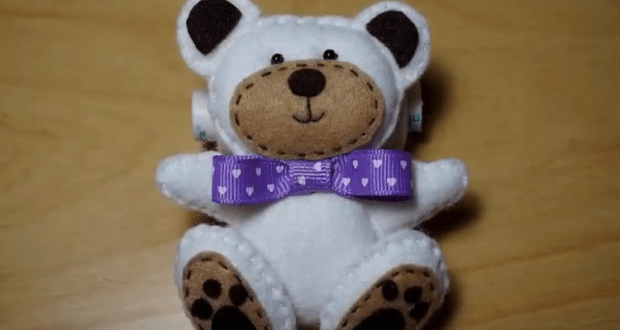
To add decoration to the doll, make a bow tie using a ribbon. Simply grab the ribbon, the shape resembling a bow tie commonly used by people.
Well, it's been a teddy bear from flannel. Easy is not it? I was assisted by my mother in the process of making this doll and in the process of writing this article I am in help my father @jhonmaks to tidy up this paper so easily understood for the readers of this article. Sweet greetings from me @little-jhonmaks hopefully this article useful for all of us.