Devil Gundam: Connecting Arms and Hands [Arm Modification - Part 24]
Hi guys!
Today I will finish the other arm on my Project Devil Gundam and start looking for ideas on how to modify the legs of the Devil Gundam. So here are my updates today for the Project Devil Gundam!
Today I will finish the other arm on my Project Devil Gundam and start looking for ideas on how to modify the legs of the Devil Gundam. So here are my updates today for the Project Devil Gundam!
Cement cured overnight

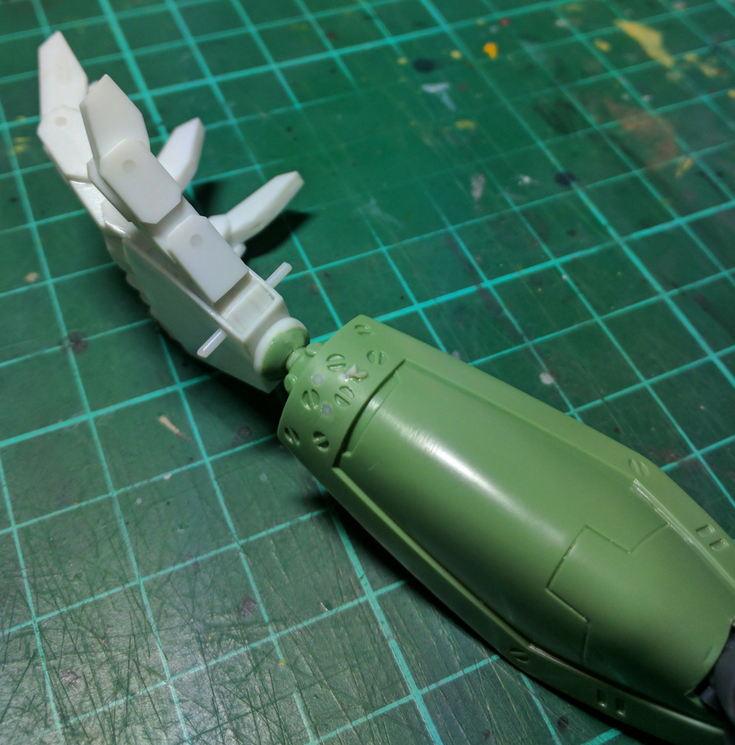
I've let the cement cured overnight and now I will clean up the excess. This is going to be the a simple routine.
File slowly as I always say then polish the rest using sanding sponge with small amount of pressure as possible. Since I don't want to lose any details on that arm.
I might as well do some test fit the hand scratch build here.
Although, I could start thinking about how to detail the arms and the hands but I prefer to leave it until later when the kit can stand on its own 2 feet. It sort of capable of doing that right now but I really to modify those legs. I mean they are just so stiff and bulky.
Finishing touch

This is going to be final check for this particular arm. The surface looks clean and polish.
Also, there is no sign of any holes left and the details on the arm are still there which is good. So far all the goals for this arm modification is achieved.
Also, there is no sign of any holes left and the details on the arm are still there which is good. So far all the goals for this arm modification is achieved.
Moving on to the legs

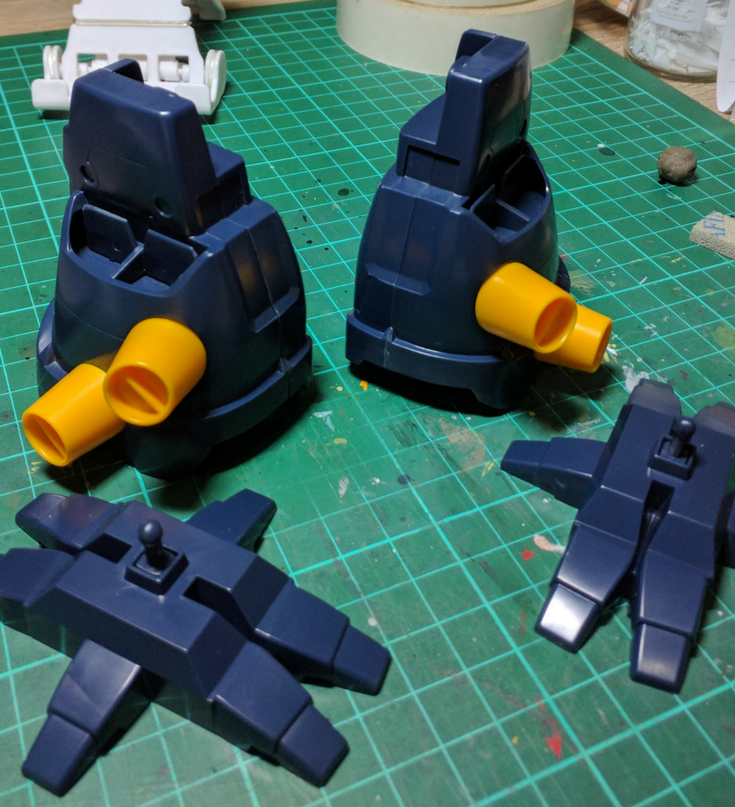
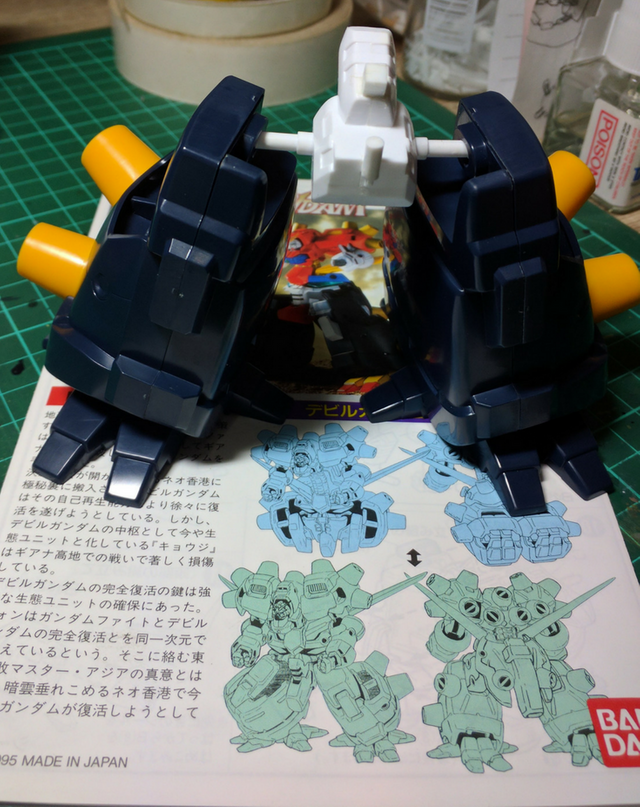
These legs are going to need a lot of work to be done to it. I have quite a few ideas on my head already.
First of all I will rebuild or more like scratch build the knee with articulation of course.
After that hand scratch build I'm confident I can do it. The question is how long it's going to take me and how much effort I have to put into it.
I have to start looking for inspiration on leg builds and joint also knee articulation. I might try to make some piston like structure like the MG Delta Plus have on its legs.
Other than that I have to keep looking for more.
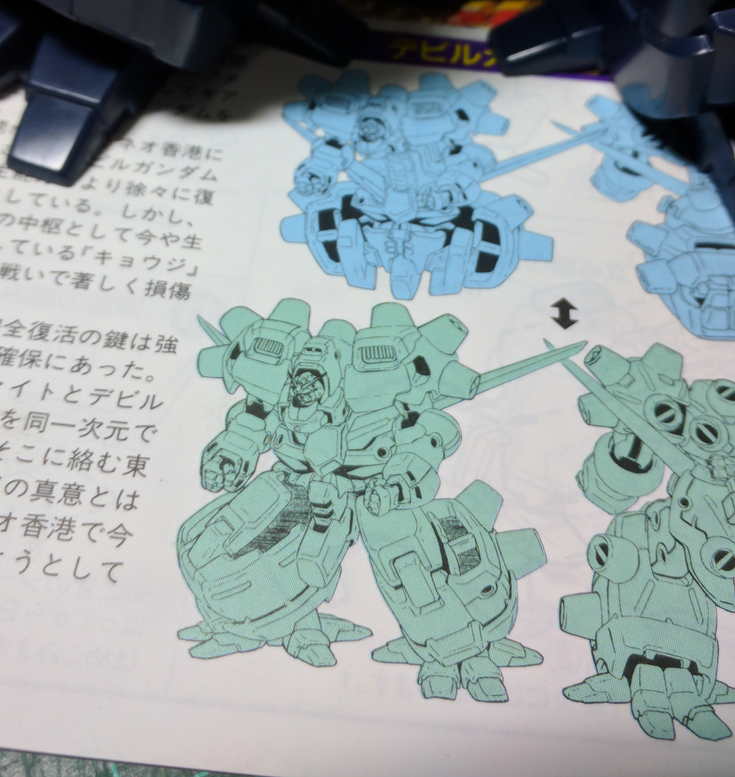
Original art work on the manual

The art work from the manual is sort where my inspiration come from. That knee joint and articulation is what I want to build for this modification.
The next modification is going to be toes! I will have to cut each of the current toes then make a similar structure like the hand scratch build earlier.
There will be several joints on each of the toes. I'm guessing about 3 each and there are 12 toes so this is going to take even longer when I made the fingers for that hand scratch build.
Also, I want to detail each of the under toes as well. I have been seeing this modeler detailing under part of the foot for a while and I want to try them as well. This detail is going to be either simple pla plate patterns or some kind of 3D detailing. I will share this later for sure.
Final artwork close up

As for detailing the leg, I do want to rebuild that small gaps on the lower legs there. But so far I still have no idea on how to do this!
I'm thinking about cutting off the lower part then extend it? But I think behind those section there are some pegs so I will have to think more about it later.
My main focus right now would be that new thigh, knee and toes articulation. The rest will come together later.
I do have a habit of drifting away in my head on how to detail these kit so maybe at some point I will find that inspiration I am looking for!
So those are my updates so far for today.
Keep on building! Keep on steeming! Have a nice day!
Quick access tutorial:
You just planted 0.39 tree(s)!
Thanks to @devytan
We have planted already 6220.82 trees
out of 1,000,000
Let's save and restore Abongphen Highland Forest
in Cameroonian village Kedjom-Keku!
Plant trees with @treeplanter and get paid for it!
My Steem Power = 18702.09
Thanks a lot!
@martin.mikes coordinator of @kedjom-keku