Gundam Modification part 2 (Waist section)
Hello steemians, i have some another modifications and for today, the part that i am going to modify is the waist section.
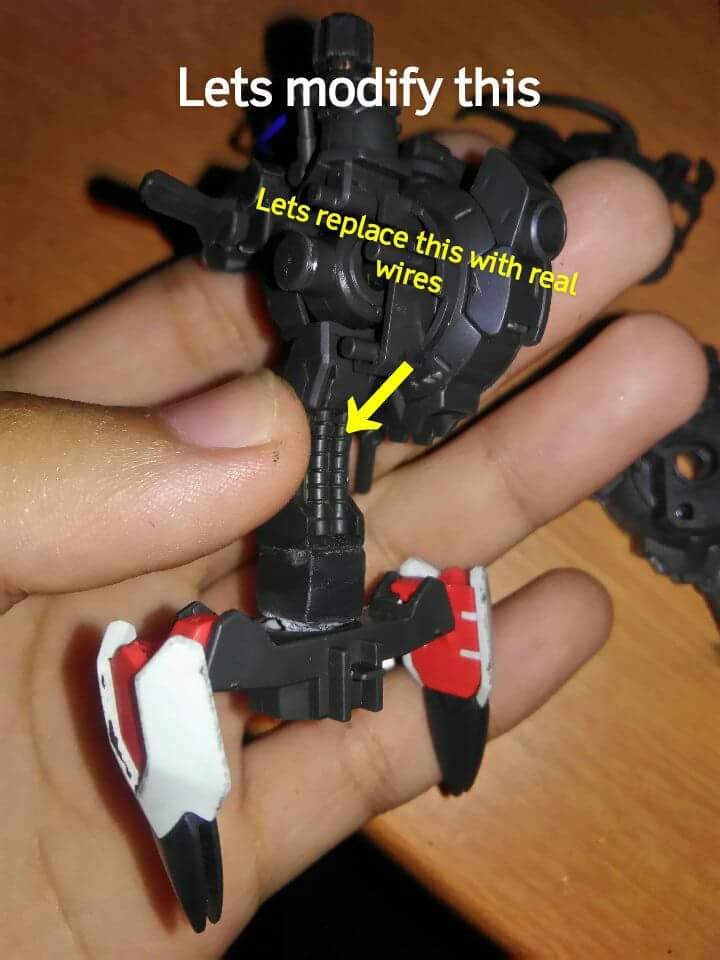
I just found out that waist section piece part is cannot be seened because of its color, because of its dark gray color, i want to paint it but i dont have some paint,because im out of bugdet.
Well lets put some a little bit realism on to it, with out further lets get started.
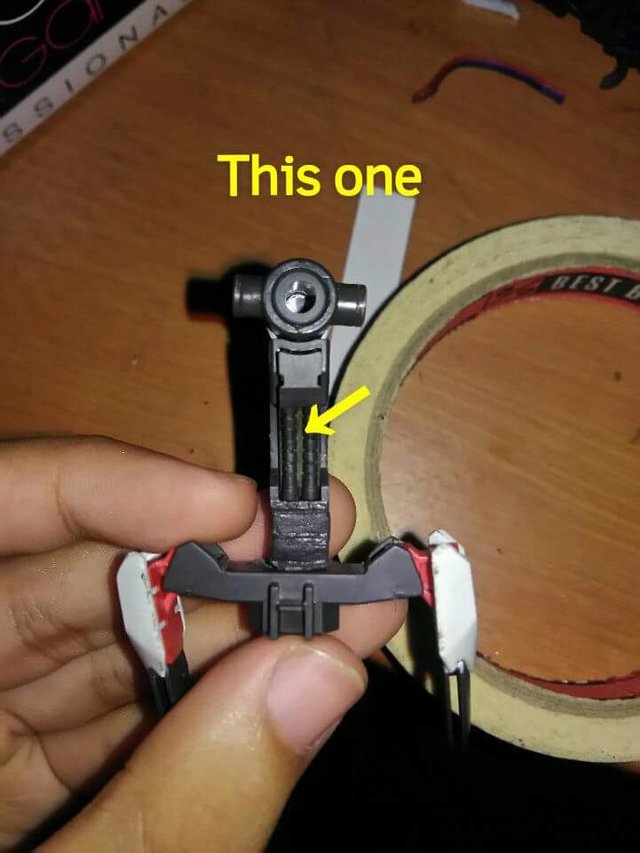
So first i pull out the all the armor plates and disassembled the inner frame. So our goal is to modify this piece. And put some real wires on to it.
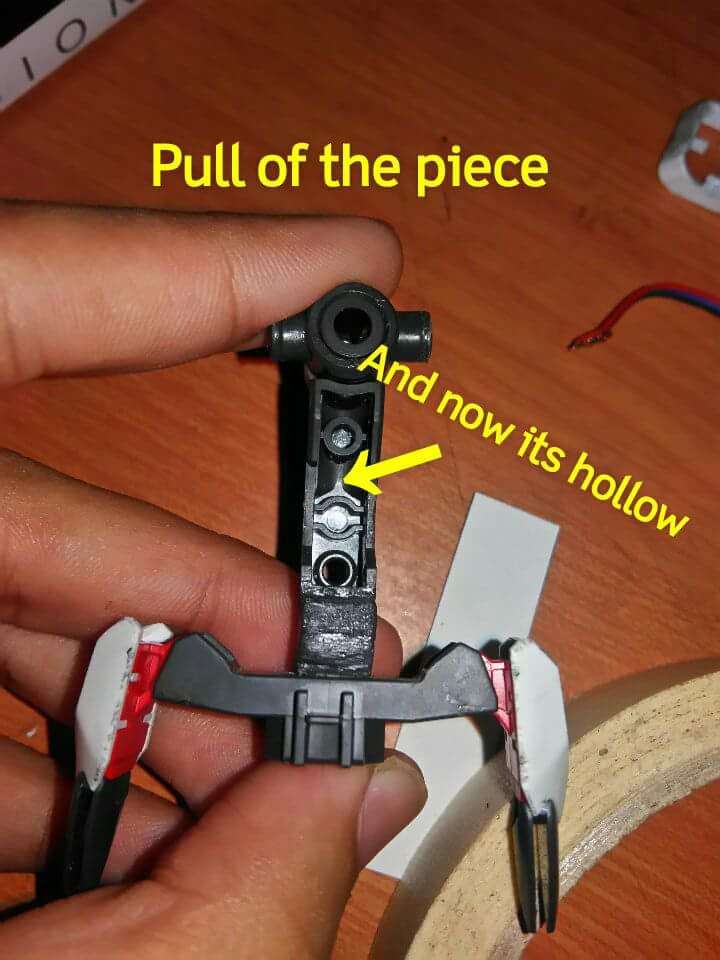
I pull off the piece that we're going to be replaced.
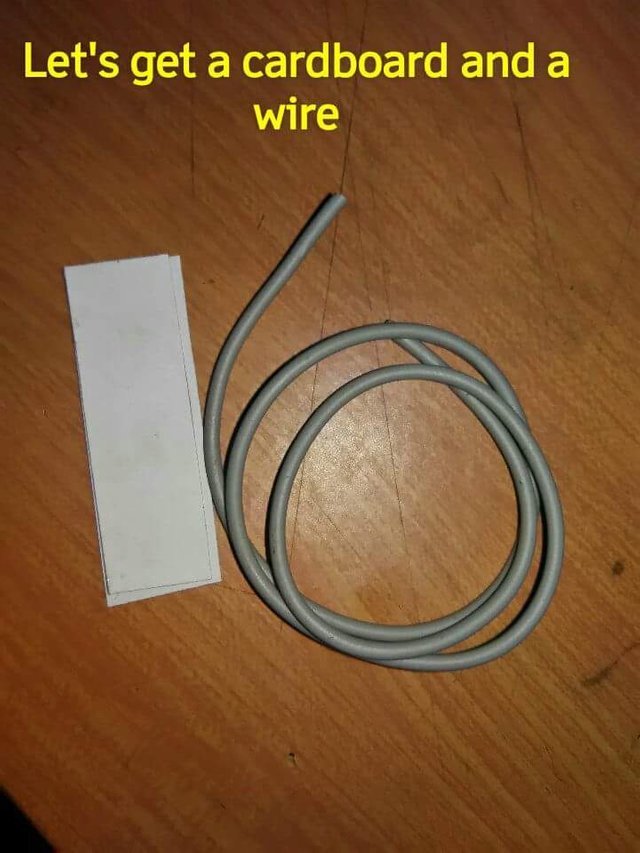
And i get myself a cardboad and a wire with a light gray insulator.
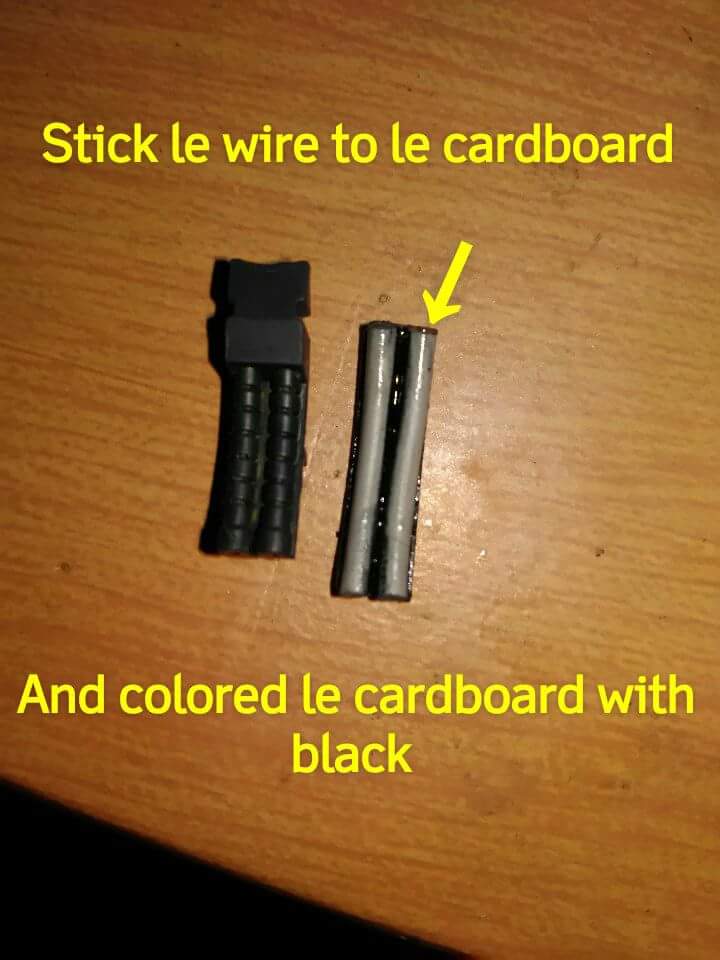
And i collored the cardboard and stick the wire using superglue and cutted out the carboard as the same size of the piece and bend it a little bit because the piece is kinda curvish (sorry for that "le" there it totally means "the")
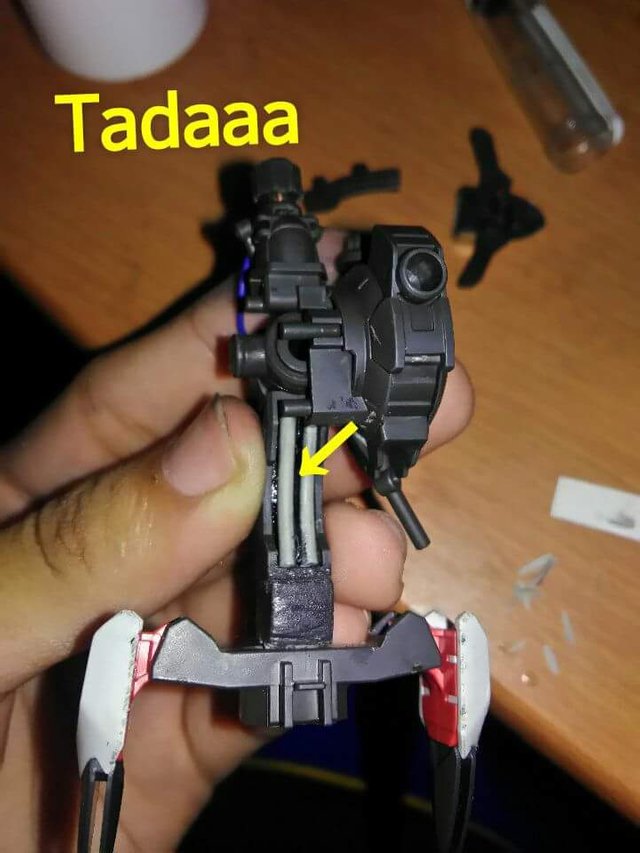
And i replaced it and its done. Im actually really pretty happy about the result, the modification is not hard yet pretty simple, its not expensive, all you need is effort, patience, skills and the will to work.
Thats it for my blog today, i hope you've gather some techniques and ideas today and i hope you like reading my blog for today. There will be comming more soon so stay tune
Be sure to upvote, resteem and follow my account. Have a good day steemians and KEEP ON STEEMING!!!.