Running a Node on Gravity Protocol's Testnet Using a Cloud Server [Tutorial]
Before proceeding
You should have some familiarity with command line. Not much is needed, but basics are a plus.
Also note, using a cloud server does cost money. Be prepared to spend ~$20 USD a month.
Table of Contents
- Setting up a cloud server
- Using SSH to log into the server
- Building Gravity
- Connect to the Testnet
- Installing and Using Docker
- Common Troubleshooting
- Helpful Links
1. Setting up a cloud server
Starting out, you are going to need a way to run the @gravity-protocol node 24/7. I recommend using a cloud server for this purpose. There are a couple of different options to do this (an easy google search for cloud servers), but the one that I like using is Digital Ocean. Set up an account on Digital Ocean using either of the links below (one is a referral and one is not).
(referral link) Digital Ocean $10 credit
(non-referral link) Digital Ocean
Once you've made an account, you need to create a droplet. The button for creating a droplet is in the upper right corner of the dashboard.
Now, there are many different options here for your droplet. These are the absolute basics to get it up and running.
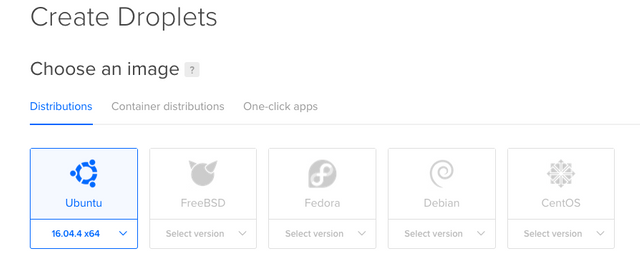
For the operating system, choose Ubuntu 16.04.
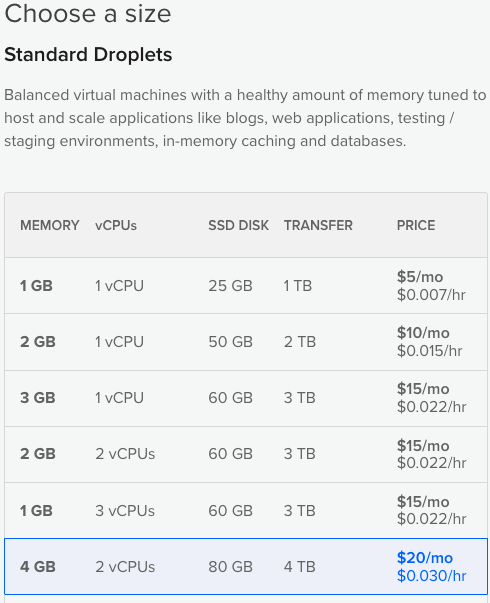
Next you have to choose how much memory you want. The developers' recommended minimum amount of memory for a node is 4GB. Do not choose any memory option lower than 4GB.
.png)
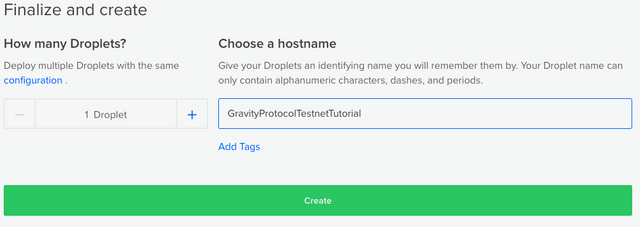
Towards the bottom, there will be a section with the header Finalize and Create. Here is where you'll name your cloud server something relevant and useful. In this example, the server name is GravityProtocolTestnetTutorial. Next, click create.
.png)
The page should redirect you to the dashboard where you can see your cloud server being created. This is usually a pretty quick process since a server this size requires less to set up. Allow up to five minutes.
Once the loading bar is done, you should see something like the image below (with your server name). The blacked out portion covers the IP address. That is where your IP address for your server will be. Take note of this IP address.
.png)
Since the SSH keys were not used in setting up the cloud server, Digital Ocean will email you the root user password. As mentioned before, this tutorial covers the absolute basics of getting a server running. Adding SSH keys will not be covered in this tutorial. However, adding SSH keys are vital to maintaining a secure server, so establishing some familiarity with them will be necessary in the future.
2. Using SSH to log into the server
You should now check your email to see if Digital Ocean has contacted you. This is an important step because you need the root user password to log into your cloud server. You CANNOT proceed past this point if you do not have the root user password. This goes for any cloud server service. Take note of the password and the IP address if you haven't already.
Up until this point it hasn't mattered what operating system you are using. But now, it kind of does. If you are on a Mac, you can use terminal with the ssh command. If you are on Windows, you can download PuTTY.
In Terminal on Mac by typing:
ssh yourServerIPAddress -l root
You are using SSH to log into your server, based on its IP address, and logging in as the root user. It will now ask for the password. You will not be able to see what you are typing, so copy/paste are going to come in handy.
The server will realize that you are logging in for the first time as root and require you to change the password. Again, you will not be able to see what you are typing. Create a new, secure password and take note of it.
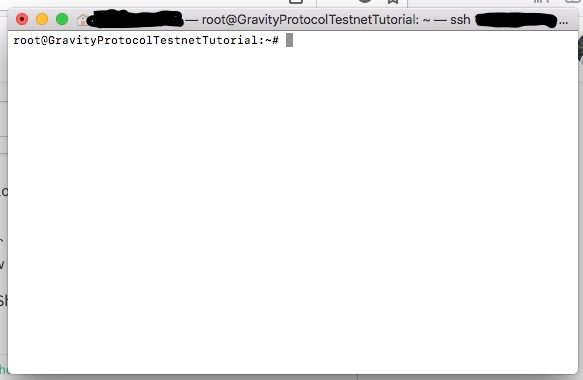
Type clear and enter to clear the screen of those extra distractions.
Should look something like this:
.png)
Congratulations, you are now logged into your cloud server that will soon be a node!
3. Building Gravity
To start out on your server, let's get things up to date and install the required packages:
sudo apt-get update
sudo apt-get install git cmake openssl libssl-dev autoconf automake libtool libcurl4-openssl-dev libboost-all-dev build-essential
Next, navigate to the home directory using:
cd ~
You can verify if you are in the home directory by using
pwdcommand (present working directory). Should print out as/root
Now copy, or clone the Gravity-Core code from github and all of its subfolders:
git clone https://github.com/GravityProtocol/gravity-core
cd gravity-core
git submodule update --init --recursive
These three lines above shouldn't take more than 2 minutes to finish downloading what they need
Prepare package for libtool:
libtoolize
Delete, or remove, the CMakeCache.txt file and the folder named build:
rm -f CMakeCache.txt
rm -f -r build
Use cmake and give it the path to ssl libraries on your server:
cmake -DOPENSSL_ROOT_DIR=/usr/lib/ssl/openssl -DOPENSSL_LIBRARIES=/usr/lib/ssl
If everything worked correctly, you should see:
-- Build files have been written to: /root/gravity-core
Now, build Gravity:
make
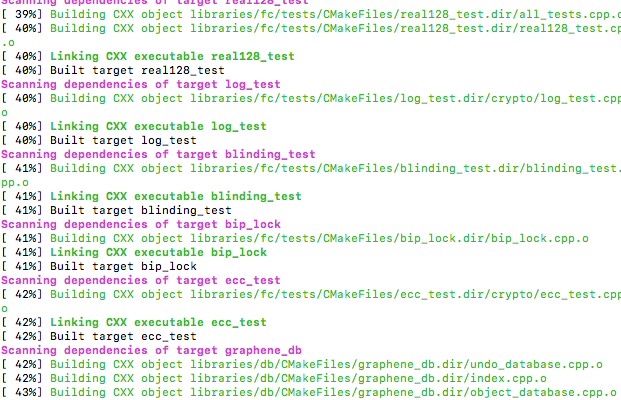
This can take upwards of 30 - 60 minutes, depending on your server configuration. While writing this tutorial with the configuration above, it timed at about 100 minutes. Keep in mind, these are the minimum requirements for a node.
Another time I have built Gravity after writing this, it only took 40 minutes with the same configuration.
.png)
Once the process above finishes, you have built Gravity!
4. Connecting to the Testnet
Create a folder, or make a directory, to run your testnet node and copy the witness_node:
mkdir ~/gravity_testnet
cd ~/gravity_testnet
cp -r ~/gravity-core/programs/witness_node .
cd witness_node
Start the node so the correct files are generated:
./witness_node --data-dir=data --resync-blockchain
Stop the node by pressing ctrl + c
Use a text editor of your choice (in this case nano) and edit config.ini:
nano data/config.ini
Add the seed nodes to the P2P connections section of config.ini:
# P2P nodes to connect to on startup (may specify multiple times)
seed-node = testnet-seed-0.gravityprotocol.org:10111
seed-node = testnet-seed-1.gravityprotocol.org:4623
seed-node = testnet-seed-2.gravityprotocol.org:4623
seed-node = testnet-seed-3.gravityprotocol.org:4623
seed-node = testnet-seed-4.gravityprotocol.org:4623
seed-node = testnet-seed-5.gravityprotocol.org:4623
seed-node = testnet-seed-6.gravityprotocol.org:4623
seed-node = testnet-seed-7.gravityprotocol.org:4623
seed-node = testnet-seed-8.gravityprotocol.org:4623
Make sure there are no "#" in front of the seed node addresses.
Save the file with ctrl + O
Exit nano ctrl + X
This is all that needs to be done here, the rest will be done using Docker.
5. Installing and Using Docker
The instructions to install Docker are here: How to install Docker. MAKE SURE YOU FOLLOW STEP 2: DOCKER WITHOUT SUDO. If the second step is skipped, this will cause major problems.
The instructions to install Docker Compose are here: How to install Docker Compose
Make sure both are installed correctly before going beyond this point.
To have the correct docker-compose.yml file, copy the code from github:
git clone https://github.com/GravityProtocol/gravity-testnet-docker
cd gravity-testnet-docker
Get the latest Docker image:
docker-compose pull
Start your new Gravity Protocol Node:
docker-compose up -d
This will start the node in detached mode. This allows us to do other things while it's running.
One way to see what your server is doing is this command (while in the 'gravity-testnet-docker' folder):
docker logs --tail 3 --follow gravity-testnet-docker_gravity_node_1
This follows the logs of your node! If you want to get out of following the logs, simply press ctrl + c.
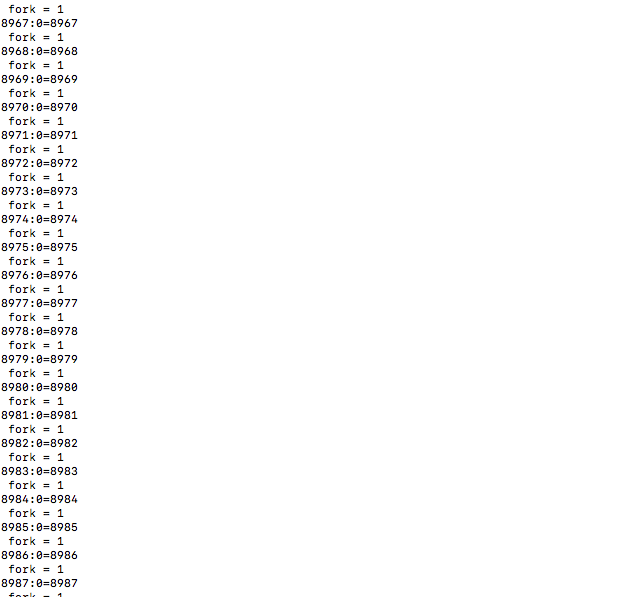
The picture below is what the console will look like while it is catching up:
.png)
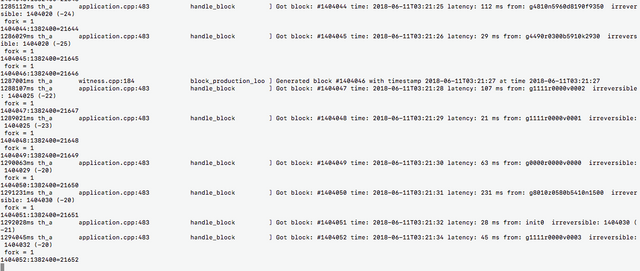
Picture below is what a node looks like when it is fully synced and receiving blocks in real-time:
.png)
Congratulations! You now have a cloud server that is a node for Gravity Protocol's testnet!
6. Common Troubleshooting
- SSH will not connect for an unknown reason.
If you are outside the US and it will not connect to your cloud server, try using a proxy for your SSH. There have been reports of users outside of the US having trouble using SSH with DigitalOcean.
- The user isn't correct when using ssh
wrongUserName@yourCloudServer password:
When logging into your cloud server, you need to use the
-loption withroot. Ifrootis not specified, it will use your current username of the machine you are on.
There were unauthenticated packages and -y was used without --allow-unauthenticated
Run the command again, except use the
--allow-unauthenticatedoption. This is caused if you did not import the GPG key forDockerand tried to install it.
7. Helpful Links
- Gravity Protocol Steemit
- Gravity Protocol Telegram
- Gravity Protocol Website
- Gravity Protocol Twitter
- Gravity Protocol Testnet Instructions
- Gravity Wallet
- Gravity GitHub
- Gravity Testnet Docs
- How to install Docker
- How to install Docker Compose
If you benefited from the tutorial, consider giving me a follow on Steemit.
You can also vote for my witness in the Gravity Testnet wallet, witness address is g2270k0890d2290e2410
A good manual! We recommend it for use. Thank you very much, friend!
Okay, i will try to install the Ubuntu first