Vermiculture 101 - Worm Composting Bucket
This is a cool and cost effective design to construct for a worm composting bin that is compact and easy to care for. With this simple two bucket design, both worm castings, which is worm poop, and worm tea, which is a great liquid fertilizer, can be harvested for use in the garden. Red worms are composting worms, and the only kind of worms recommended for this project.

When finished, the bin is small enough to fit in most spaces and should not smell if cared for properly. The garage is a great place to keep the worms, but any dark, warm place will work fine. The worms are sensitive to daylight, so it is best to keep them in a dark space for them to be most comfortable and productive.
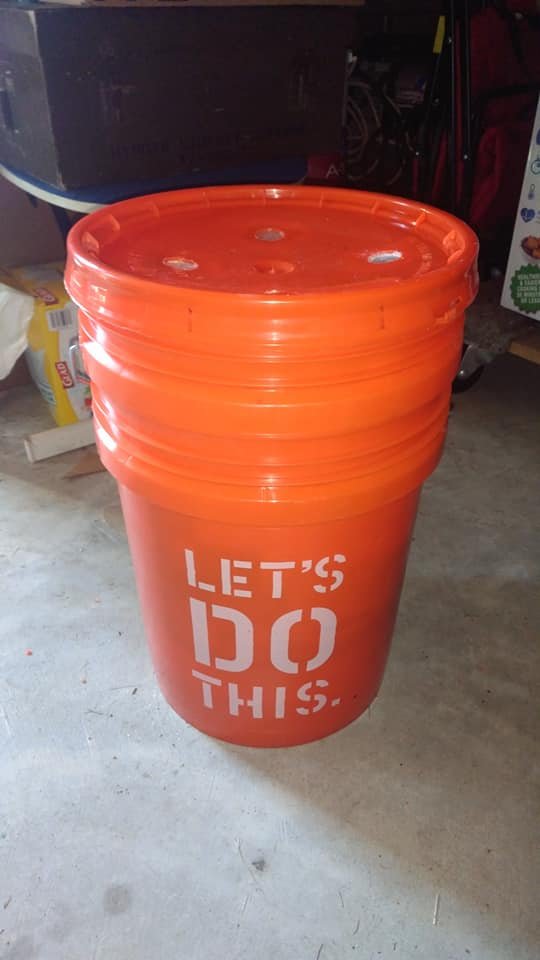
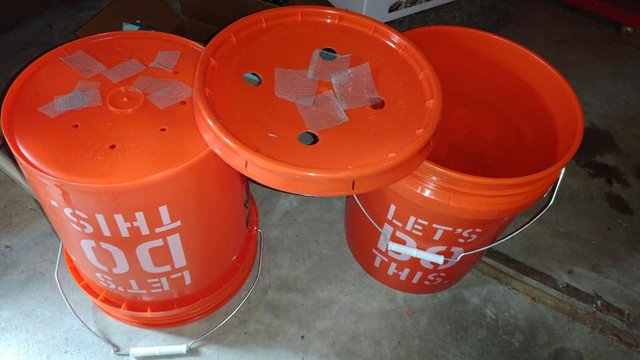
This project will need two 5 gallon bucket, a lid, a screw driver, scissors, waterproof caulk, plastic gloves and bug screen. Start by screwing some large holes in the lid for air ventilation. Secondly, one of the buckets needs small drainage holes drilled in the bottom. The other bucket will remain untouched as it is the reservoir for the worm tea.

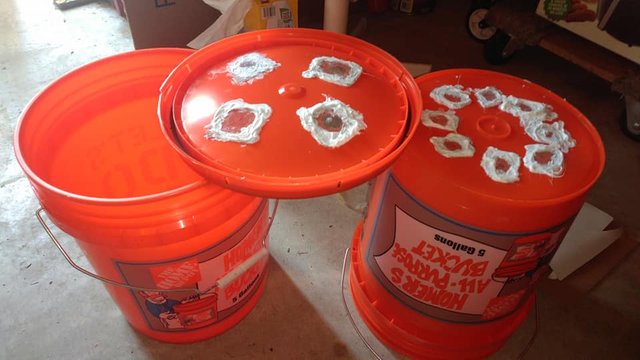
Now that the bucket and lid have been drilled, the next step is to cover the holes with a fine mesh screen to keep unwanted bugs and flying insects out of the worm bin. Using some scissors, carefully cut out patches of screen somewhat larger than the holes that will be covered. Keep the screen flat and try cutting it so that there are very little loose wires. Put on the gloves and place a screen over one of the holes. Hold the screen flat and apply a generous amount of caulk. Be careful not the get the caulk over the center of the holes, we need the screen to be clean in order for the holes to do their jobs. Work the caulk into the screen with your fingers, making sure that the screens are flat as possible and all the corners get covered. Let the caulk dry for 24 hours.

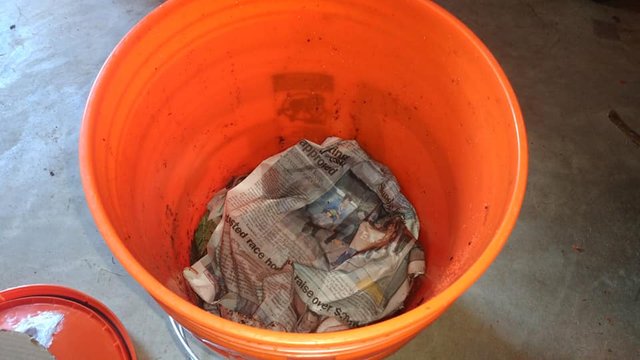
The worm bin is now finished. All that needs to be done is for the top bucket with the holes to be stacked onto the bottom bucket and add the lid on top. It is ready for the bedding to be added so that the worms will have a nice new home with plenty of moisture and food to eat. There are some important steps to take to ensure the worms are happy and healthy. You can read the next blog post to learn how to set up the worm farm.

Worm composting is easier to care for than compost piles for part time gardeners since they require very little maintenance. The most difficult task would be harvesting the worm castings. When the time comes, and the worm bin is getting full, the bucket must be emptied so black gold, or worm castings can be harvested. There will be organic matter mixed in with the worm castings as well as a host of worms. Separating the castings from the organics will require another, separate project that will be shown on this blog in the future.
Whether the goal is to reducing food waste going to the landfill, harvesting free and natural fertilizers for the garden, or simply caring for a worm farm, this easy to construct and care for vermiculture composting bin is a great project for any household.
Start small then grow big, adventure is in the journey, learning from nature one step at a time.
Congratulations! This post has been upvoted from the communal account, @minnowsupport, by permaculturedude from the Minnow Support Project. It's a witness project run by aggroed, ausbitbank, teamsteem, someguy123, neoxian, followbtcnews, and netuoso. The goal is to help Steemit grow by supporting Minnows. Please find us at the Peace, Abundance, and Liberty Network (PALnet) Discord Channel. It's a completely public and open space to all members of the Steemit community who voluntarily choose to be there.
If you would like to delegate to the Minnow Support Project you can do so by clicking on the following links: 50SP, 100SP, 250SP, 500SP, 1000SP, 5000SP.
Be sure to leave at least 50SP undelegated on your account.
Your timing couldn't be more perfect. Thanks for this post!
You are welcome! Are you going to try worm composting?
I am! I'm becoming a compost fool, and worm compost fits my goals perfectly.
I have had a compost tumbler now for a while, it works well. I was not adding enough browns and it wasn't getting hot, so recently I added horse bedding pellets which is pine shavings. It fluffed up my compost a lot, and it is starting to warm up again with the right ratio of greens to browns.
I have a friend who does cold composting and just uses buckets with no drainage. It smells and it attracts flies, but boy howdy does it make some nice compost tea. His garden is quite impressive with all those great microorganisms.
I bought my worms online, but bait shops usually have red wigglers to sell. I hope you have success in your compost foolery.
Congratulations @permaculturedude! You have completed the following achievement on the Steem blockchain and have been rewarded with new badge(s) :
Click here to view your Board of Honor
If you no longer want to receive notifications, reply to this comment with the word
STOPDo not miss the last post from @steemitboard: