Wonderful Winter Vegetables
After the autumn harvest, it’s time to prepare for the bounty of winter vegetables.
After you’ve picked the last green tomatoes from the shrivelling vines to ripen on a sunny windowsill, and beaten the frost to the last of your cucumbers, zucchini and melons, it’s time to anticipate those fabulous winter vegies.
Naturally, seasons vary around Australia and tropical gardeners have very different growing conditions to those in temperate and cold regions. A planting guide for all of Australia is beyond the scope of this column, but google to tailor planting to your local area.
Warm season crops need summer temperatures and are quickly killed by frosts. Cool-season crops often tolerate warm temperatures but yield is poor, so you aim to have them grow and mature in cool conditions (16-18 degrees) – gardeners in very cold areas may be able to plant them almost all year round, whereas gardeners in very warm areas will have a correspondingly short growing window. Intermediate season crops are those for spring, early summer and autumn conditions. They’ll tolerate low winter temperatures, but do best in 16-25 degrees.
Which winter vegies?
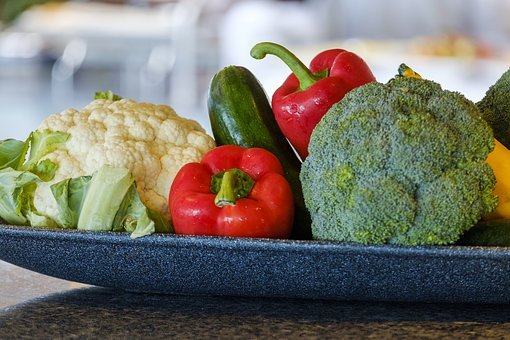
Cool season crops include asparagus, broad beans, broccoli, cauliflower, kohl rabi, peas, Swedes and turnips. Intermediate season crops, many of which can be sown now depending on your climate, include beetroot, cabbage, carrot, celery, endive, leek, lettuce , onion, parsnip, radish, silverbeet and spinach.
Site and soil preparation
The sun is lower in the sky in winter, so consider that when siting your winter vegetable beds to ensure they’re not shaded by trees or buildings to the north and west. All vegies listed need full sun, except for rhubarb which tolerates more (but not full) shade.
Of course, you’ve prepared your beds ahead of time with plenty of organic matter, lime (in acid soils) and gypsum (in heavy clays), haven’t you? If not, never mind: still plenty of time to do so in warmer climes. In cool southern regions, prepare your beds but consider buying seedlings for slower-growing crops rather than planting seed. Remember that root vegetables require much less nitrogen than leafy crops – too much manure, and your root vegies will look beautifully lush above the ground, but spindly below!
Crop rotation, whereby you don’t plant the same kinds of vegies in the same place more often than once every 3-4 years is an essential management tool for long-term vegie beds to avoid the buildup of soil pathogens, so remember this when arranging your rows of vegies (see weblinks below). Groups of vegies include the cucurbits (zucchini, pumpkin, squash, cucumbers), the solanums (tomatoes, capsicum, chili, eggplant), the brassicas (caulis, brussel sprouts, broccoli, turnip), and the legumes (beans, peas).
Planting winter vegies
As I’ve said, the timing of planting for any particular vegetable crop will vary depending on your climate, microclimate and the nature of the particular season (is it early?late?warmer or cooler than usual?). Many winter vegies are actually sown in late summer and autumn to mature in the cold months, but plenty can still be sown or planted now. Most of the following dates are all for transplanting seedlings, not sowing seed – seed should be sown 6-8 weeks earlier). Here are a few of my favourites.
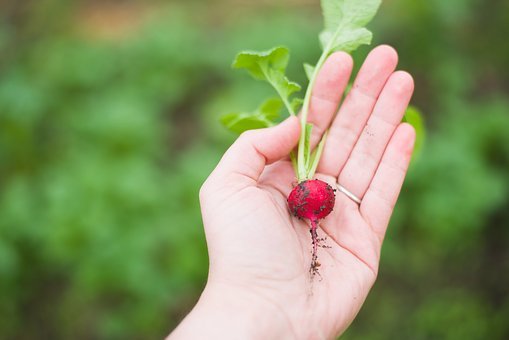
Radish (seed):
Radish is the rabbit, the bombproof member of the vegie family. If you’ve never grown vegetables, plant radish and you will succeed. Radish grows any time of year, is ready to pick in just 6 weeks, and can be sown as broadcast or in rows (follow packet directions). They need regular water to keep them juicy and mild. Choose the Chinese daikon ("Long White Icicle") for a radish that’s carrot-sized, slower to harvest but delightfully mild.
Broad Beans (seed: March–July in my region)
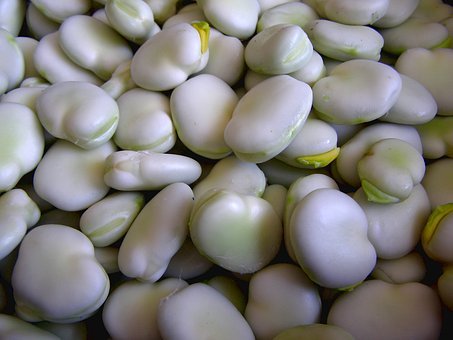
I guess this is a love-em or hate-em vegie but if you’ve only ever eaten frozen or store ones, give home-grown a try – you’ll be amazed at the difference! Harvest them in spring while still young when they’re sweet and tender (you can eat the entire pod of young broad beans!), later and older with the beans double hilled (pod and skin) or – as I like them – old and conventional and tasty. Irresistible with onion, garlic and rich meats like duck, bacon or pork. They’re delicious, nutritious, frost-tolerant and easy-to-grow. They freeze well and, as nitrogen-fixers, improve the soil. Sow 3-5cm deep (deeper in sandy soils, shallower in clay) 10cm apart into damp soil but no need for heavy watering, which can cause rotting. Space rows at 60cm apart. Protect seedlings from slugs and snails. Place stakes at each end of rows and, once plants grow, stretch string around them to support heavily-laden plants and to prevent them being blown over. Harvest every 3-4 days to keep plants producing. Dig spent plants into the ground as a green manure crop.
Asparagus crowns
Thorough bed preparation is essential as this is a perennial vegetable that will be in the one spot for up to 20 years! Deep sandy soils in a warm spot are ideal (improve clays with sandy loam, gypsum and organic matter). Buy crowns from garden centres or mail-order nurseries to save the extra 1-2 years of growth needed from seed. Plant crowns 40cm apart into a trench 25cm wide and deep. Spread roots and backfill, mounding up soil as shoots emerge. Harvest from 3 year old plants, cutting just below the surface when the spear is 20cm tall. Cease harvesting in late spring so energy reserves can be replenished. Fertilise heavily twice a year after harvest and again as tops yellow. Cut back plants to a few cm after leaves yellow.
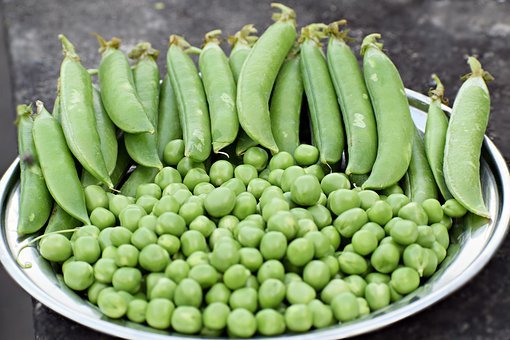
Peas (sow seed March-September).
Peas might not be highly productive in terms of weight/sq.m but, if you want your children to eat vegetables, plant a row of peas, snow peas or sugar snaps… and watch those greens be devoured straight from the bush! The flavour is incomparable to frozen or canned ones, and every child knows this by instinct.
Choose bush, climbing or dwarf varieties depending on your available space. Ensure soil is well-prepared and well-drained (raised beds are helpful in heavier soils). Following seed packet directions, sow seed into "dark-damp" soil and avoid heavy watering immediately afterwards to avoid rot. If you have children, harvesting will not be an issue because you will be convinced none ever ripen - otherwise, pick peas every few days. Store in the crisper but use as soon as possible for best flavour.
Winter Lettuces (seed)
Salad lettuces are great in summer but some varieties grow perfectly happily in the cooler months. Give them full sun, well-drained neutral-alkaline soil, regular water and plenty of regular high-nitrogen fertiliser. Choose winter varieties such as the good old Imperial Triumph, Imperial D, Winterlake or others whose planting dates on the pack correspond with your climate.
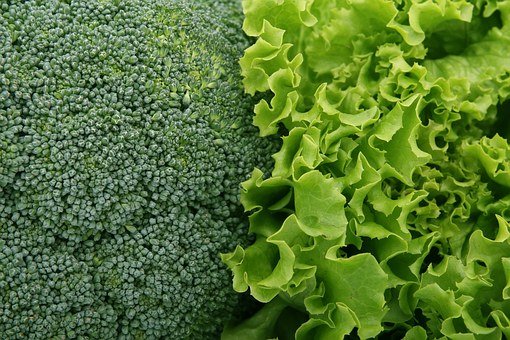
Direct-seeded lettuces grow and perform better than transplanted ones, so be patient. Sow seed in small clumps 10mm deep in rows 30cm apart. Thin to strongest plant when 5cm high (transplant removed seedlings to another row if you wish).
Harvest lettuces early in the morning when they have their highest water content for best storage life.
Onions (brown are more resistant to onion smudge). Also leeks and shallots.
Plant the right variety at the right time, control weeds and water regularly. Provide alkaline soil, good drainage, cool conditions during establishment and warm conditions on maturing.
Sow according to packet instructions using FRESH seed, or transplant. Water and weed regularly and fertilise early and mid-growth with complete fertiliser. Harvest with at least 3cm of stalk when tops have dried off. Harvest any that bolt early, and eat them before the main crop is harvested.
Garlic
Another one of the easiest vegies. Plant plump, healthy cloves (smaller ones give smaller knobs) into a trench about 5cm deep and 15cm apart, in rows about 40cm apart. Backfill the trench so the tip of the clove is just exposed. Keep weeds away and lift bulbs once tops start to yellow and dry completely before storing in a cool, dark, dry place.
Broccoli (transplant seedlings in mild regions now).
Broccoli is easier to grow than cauli but soil preparation is again essential, with plenty of organic matter and fertiliser added.
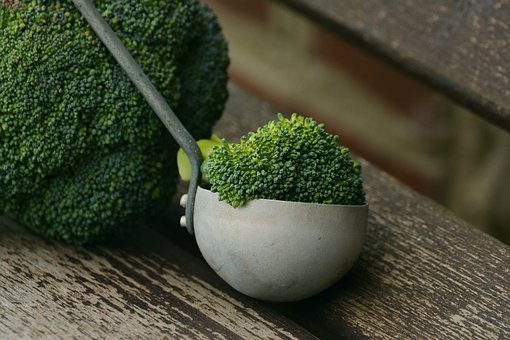
Water seedlings regularly and then ensure regular water when heads are forming. After harvesting the main head, sideshoots will develop that can also be harvested (sprouting varieties allow a yet more extended harvest period).
Grey aphids are a major pest and difficult to control without chemicals, but keep on top of them from the beginning, wash heads thoroughly before cooking, and you will enjoy your meal!
Cauliflower (seed or transplant depending on your region – choose early or late varieties to suit)
Caulis are the trickiest of the brassicas to grow, but you’ll succeed if you time them right for your region (it’s a bit late for very cool regions). They prefer alkaline, well-forked and well-manured soils, and regular fertiliser (eg Complete Manure D) and water.
So there you have it: the trusty winter vegies for your garden – enjoy your harvest!