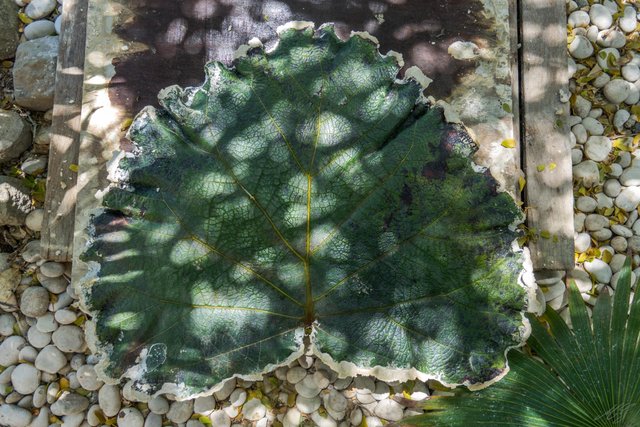
Moulage feuille Coccoloba pubescens leaf Silicone RTV molding
Bonjour a tous !
Dossier Musca OO1 :)
c'est avec plaisir que je vous présente ma première contribution au réseau et à la communauté Steemit.
Voici les 7 grandes étapes d'un truc qu'il me tenait à coeur de réaliser depuis fort longtemps... le moulage d'une "feuille géante" ou plutot comment obtenir un moule en silicone RTV pour faire des fossiles en ciment ou des répliques en résines et même en aluminium selon le choix du silicone.
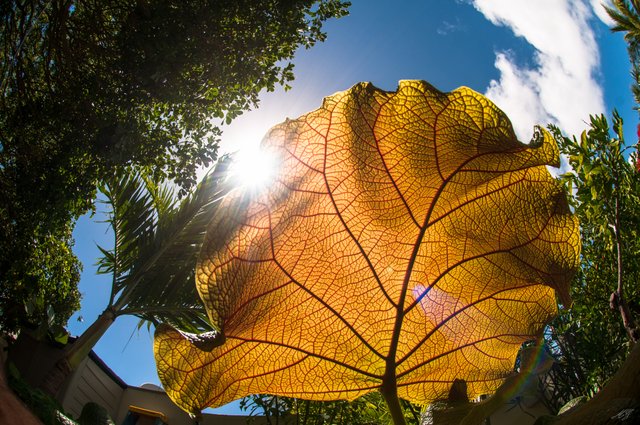
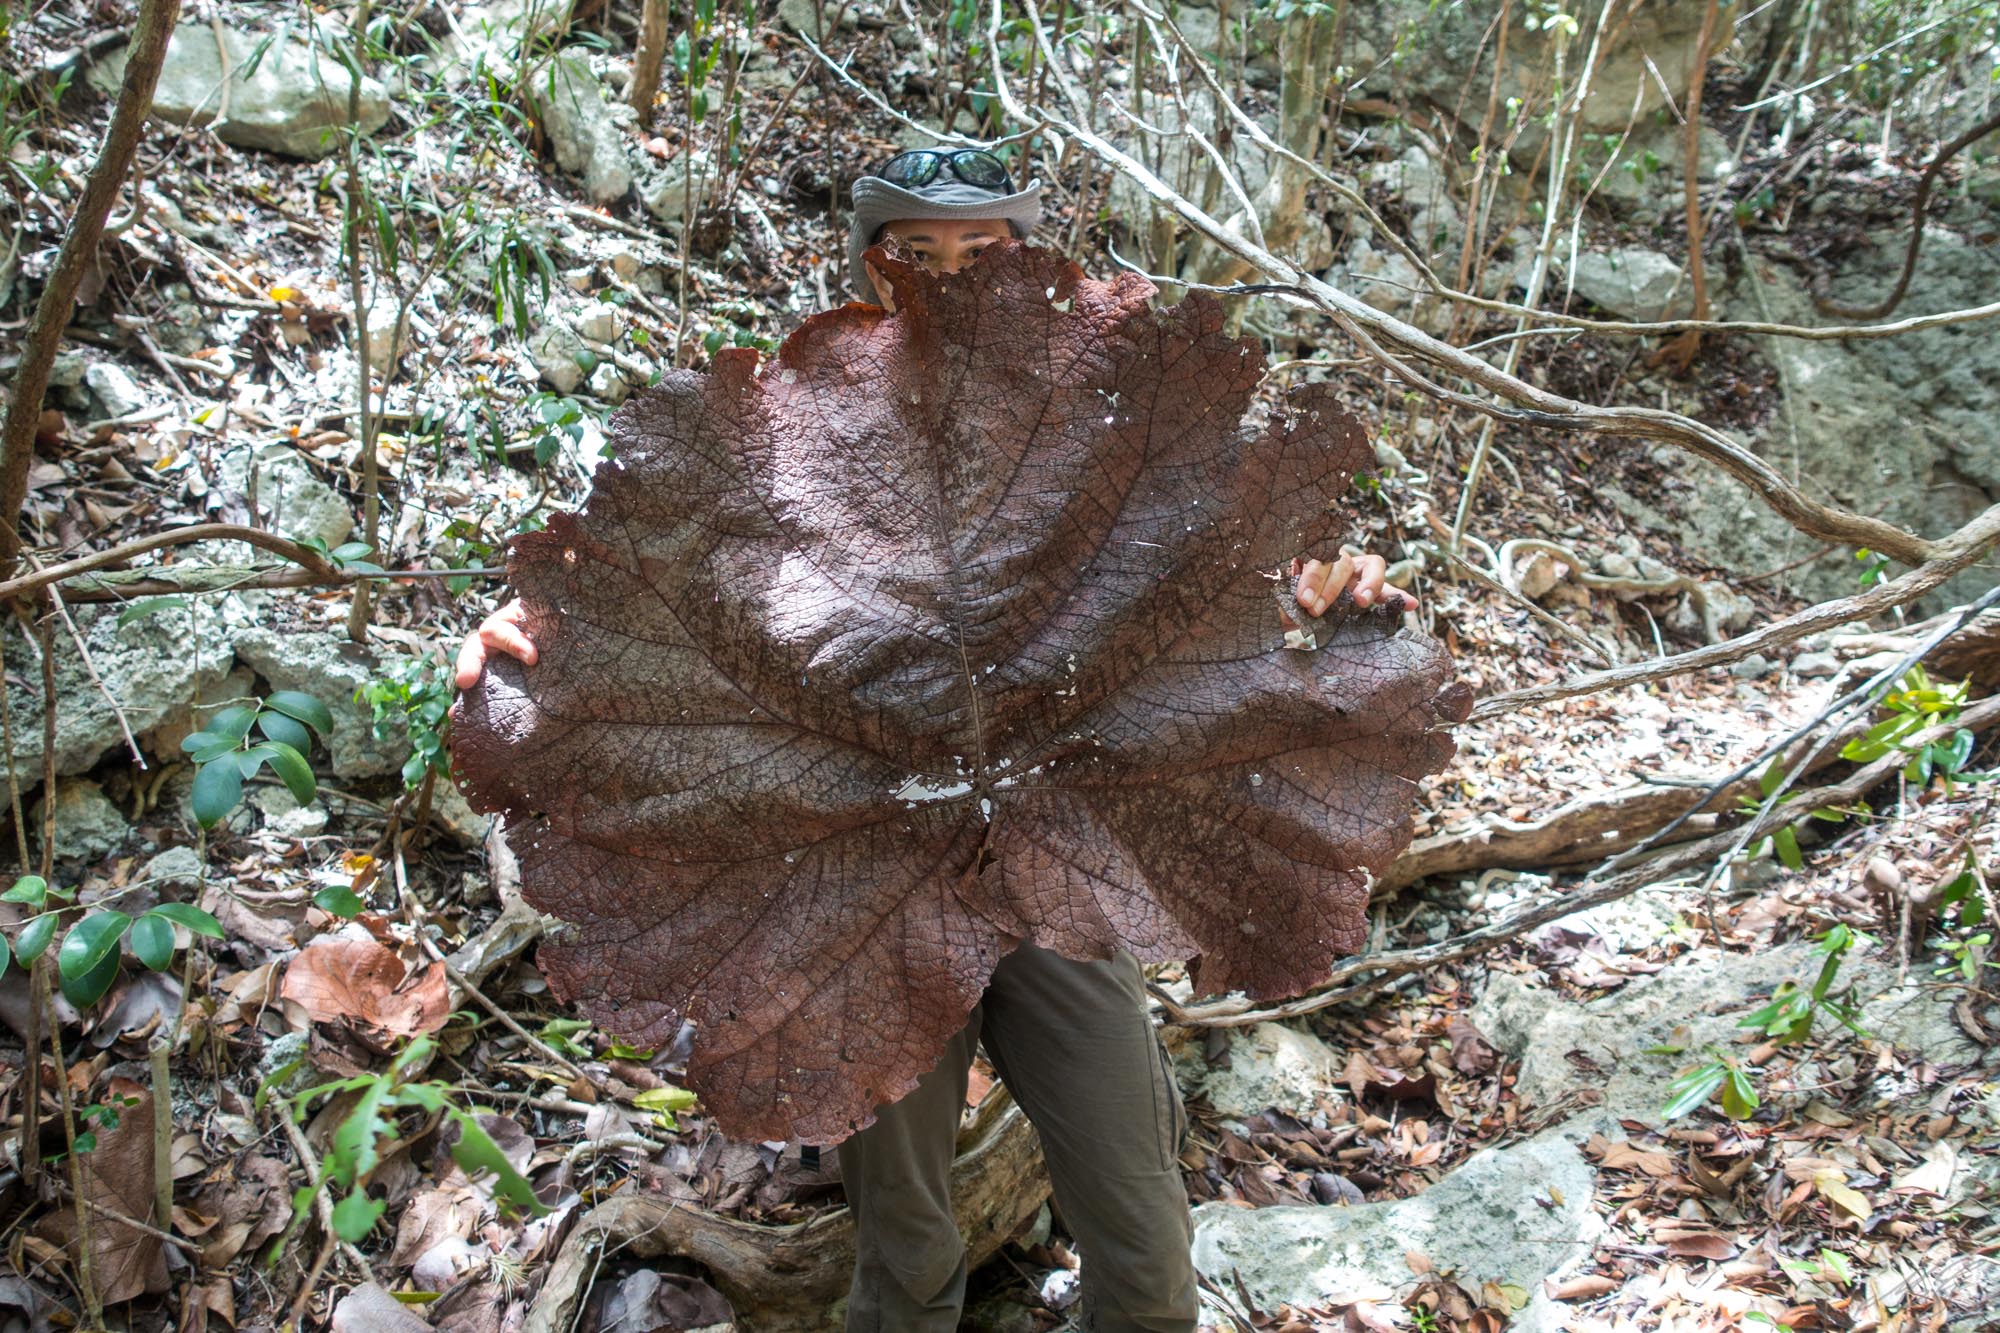
Le Coccoloba pubescens ou Coccoloba Mountain est un arbre que l'on trouve dans les Caraïbes, il est exceptionnel par la taille de ces feuilles pouvant atteindre 85 cm de diamètre ainsi que la couleur rouge des nouvelles feuilles. Épaisses, rigides et fortement en relief, il me parut le candidat parfait pour ce projet.
Hello everyone !
Musca File OO1 :)
it is my pleasure to present you my first contribution to the Steemit network community.
Here are the 7 big steps of something that I wanted to do for a very long time ... The molding of a "giant leaf" or rather how to obtain a RTV silicone mold to make cement fossils or replicas in resins and even in aluminum according to the choice of silicone.
The Coccoloba pubescens or Coccoloba Mountain is a tree found in the Caribbean, it is exceptional tree by the size of these leaves, max diameter i know is 85 cm and nice withe the red color of new leaves. Thick, rigid and strongly raised, he seemed to me the perfect candidate for this project.
Étape 1 : réaliser une premiere matrice en ciment fibré polyéthylène.
Deux choses :
- il faudra prendre soins de bien incruster le ciment dans les moindres recoins des nervures, afin d'évité des bulles d'aire qui sont très longues à corriger sur la matrice, donc massez, poussez le ciment directement à la main avec des gants puis par vibrations en secouant précautionneusement la planche de support.
- bien penser à répartir les ondulation du bord de la feuille au fur et à mesure de l ajout du ciment, de façon à ne pas avoir de plis, car une fois sous plusieurs kilo de ciment toute tentatives de rectification deviens très délicate.
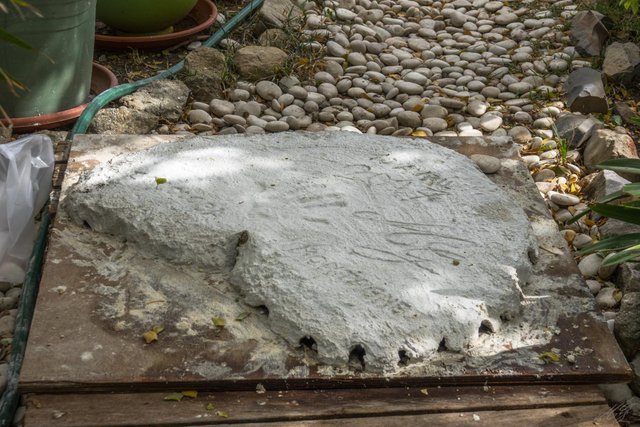
Step 1: made a first polyethylene fiber cement replica.
Two things :
- It will be necessary to take care to well embed the cement in every corner of the relief, to avoid bubbles , that are very long to correct on the matrix, so massage, push the cement directly by hand with gloves and after by vibration with carefully shaking the support board.
- Also, think well to distribute the ondulation of the edge of the leaf in same time of the progressive addition of cement, for as not folds or crack, because after, under several pounds of cement any attempts to rectify that become very delicate.
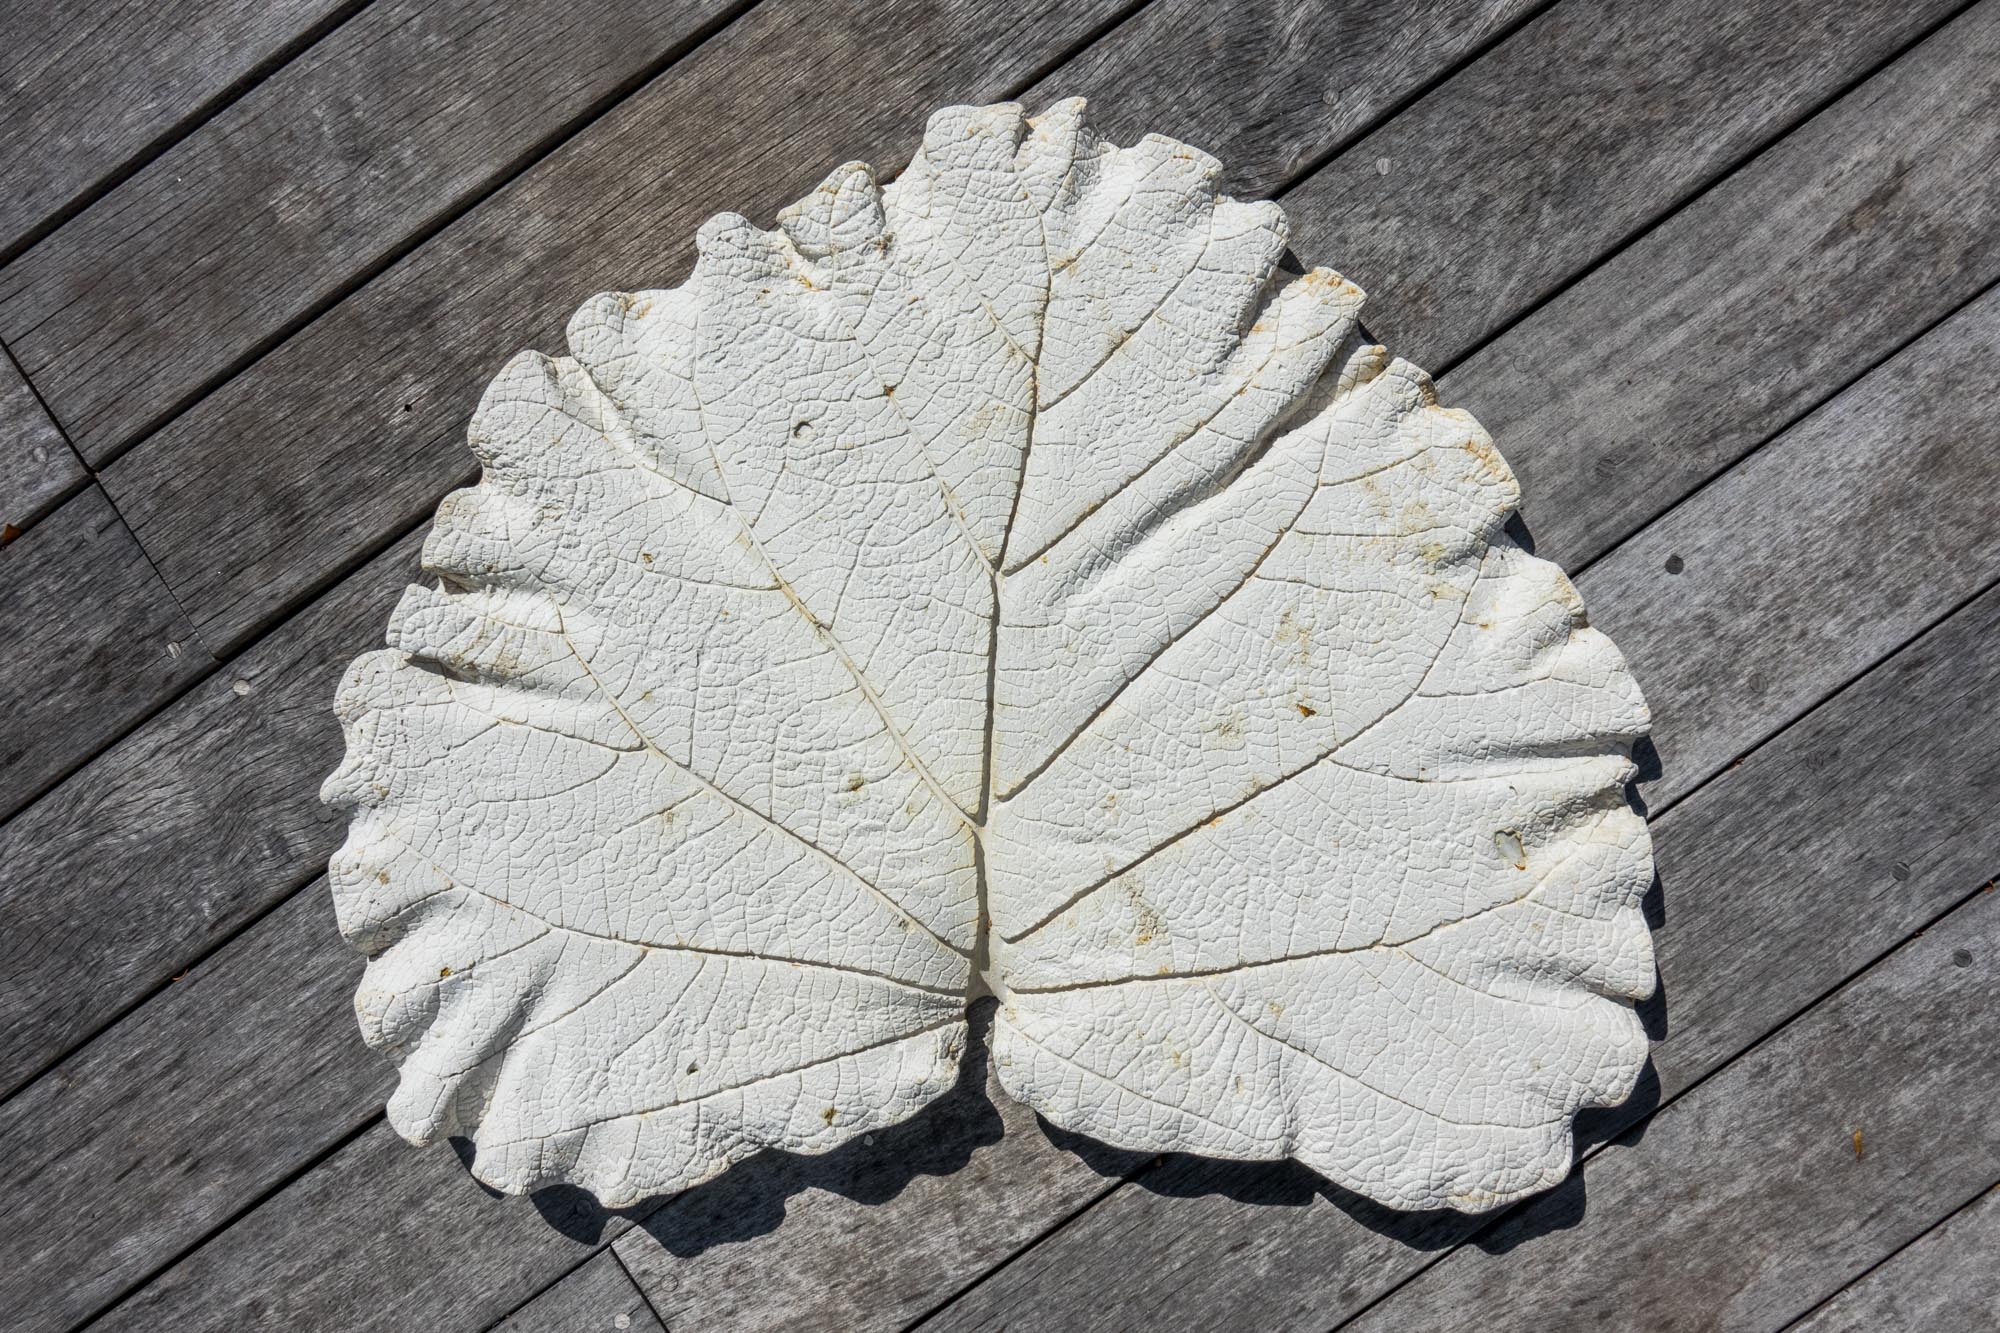
Etape 2 : Enlever la feuille.
Le lendemain retournez la matrice pour commencer à enlevez la feuille, il est possible qu'elle soit fortement collé au ciment, si il suffisamment dure il est possible d utilisé un karsher pour enlever le plus gros et gagné du temps... mais pour la suite ce sont de petits outils qu'il vous faudra. Cette étape de décapage est surement la moins fun et prendra du temps .
Step 2: Remove the leaf.
The next day return the matrice to start removing the leaf, it is possible that it is strongly glued to the cement, if it is hard is possible to use a karsher to remove the biggest part and saved big time ... but for the finish is small tools that you will need. This stripping step is probably the least fun and will take time.
Etape 3 : consolider les bord et renforcer le dessous de la matrice.
Maintenant il va falloir choisir l'épaisseur final désiré . Positionnez la fine et fragile feuille de ciment parfaitement de niveau sur une planche elle aussi de niveau, à la hauteur final voulue, puis remplissez soigneusement tout autour avec du ciment. Le lendemain retournez à nouveau la matrice pour finir de remplir et de niveler le dessous avec du ciment.
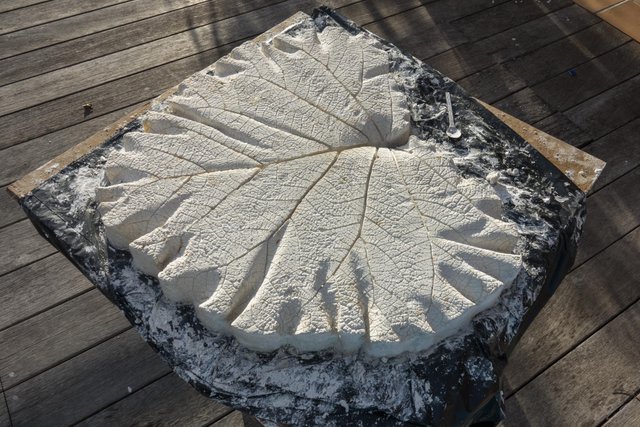
Now we will have to choose the desired final thickness. Position the thin and fragile concret leaf in perfectly level on a level board, at the desired final height, then carefully fill all around with cement. The next day return the matrix again to finish filling and leveling the underside with cement.
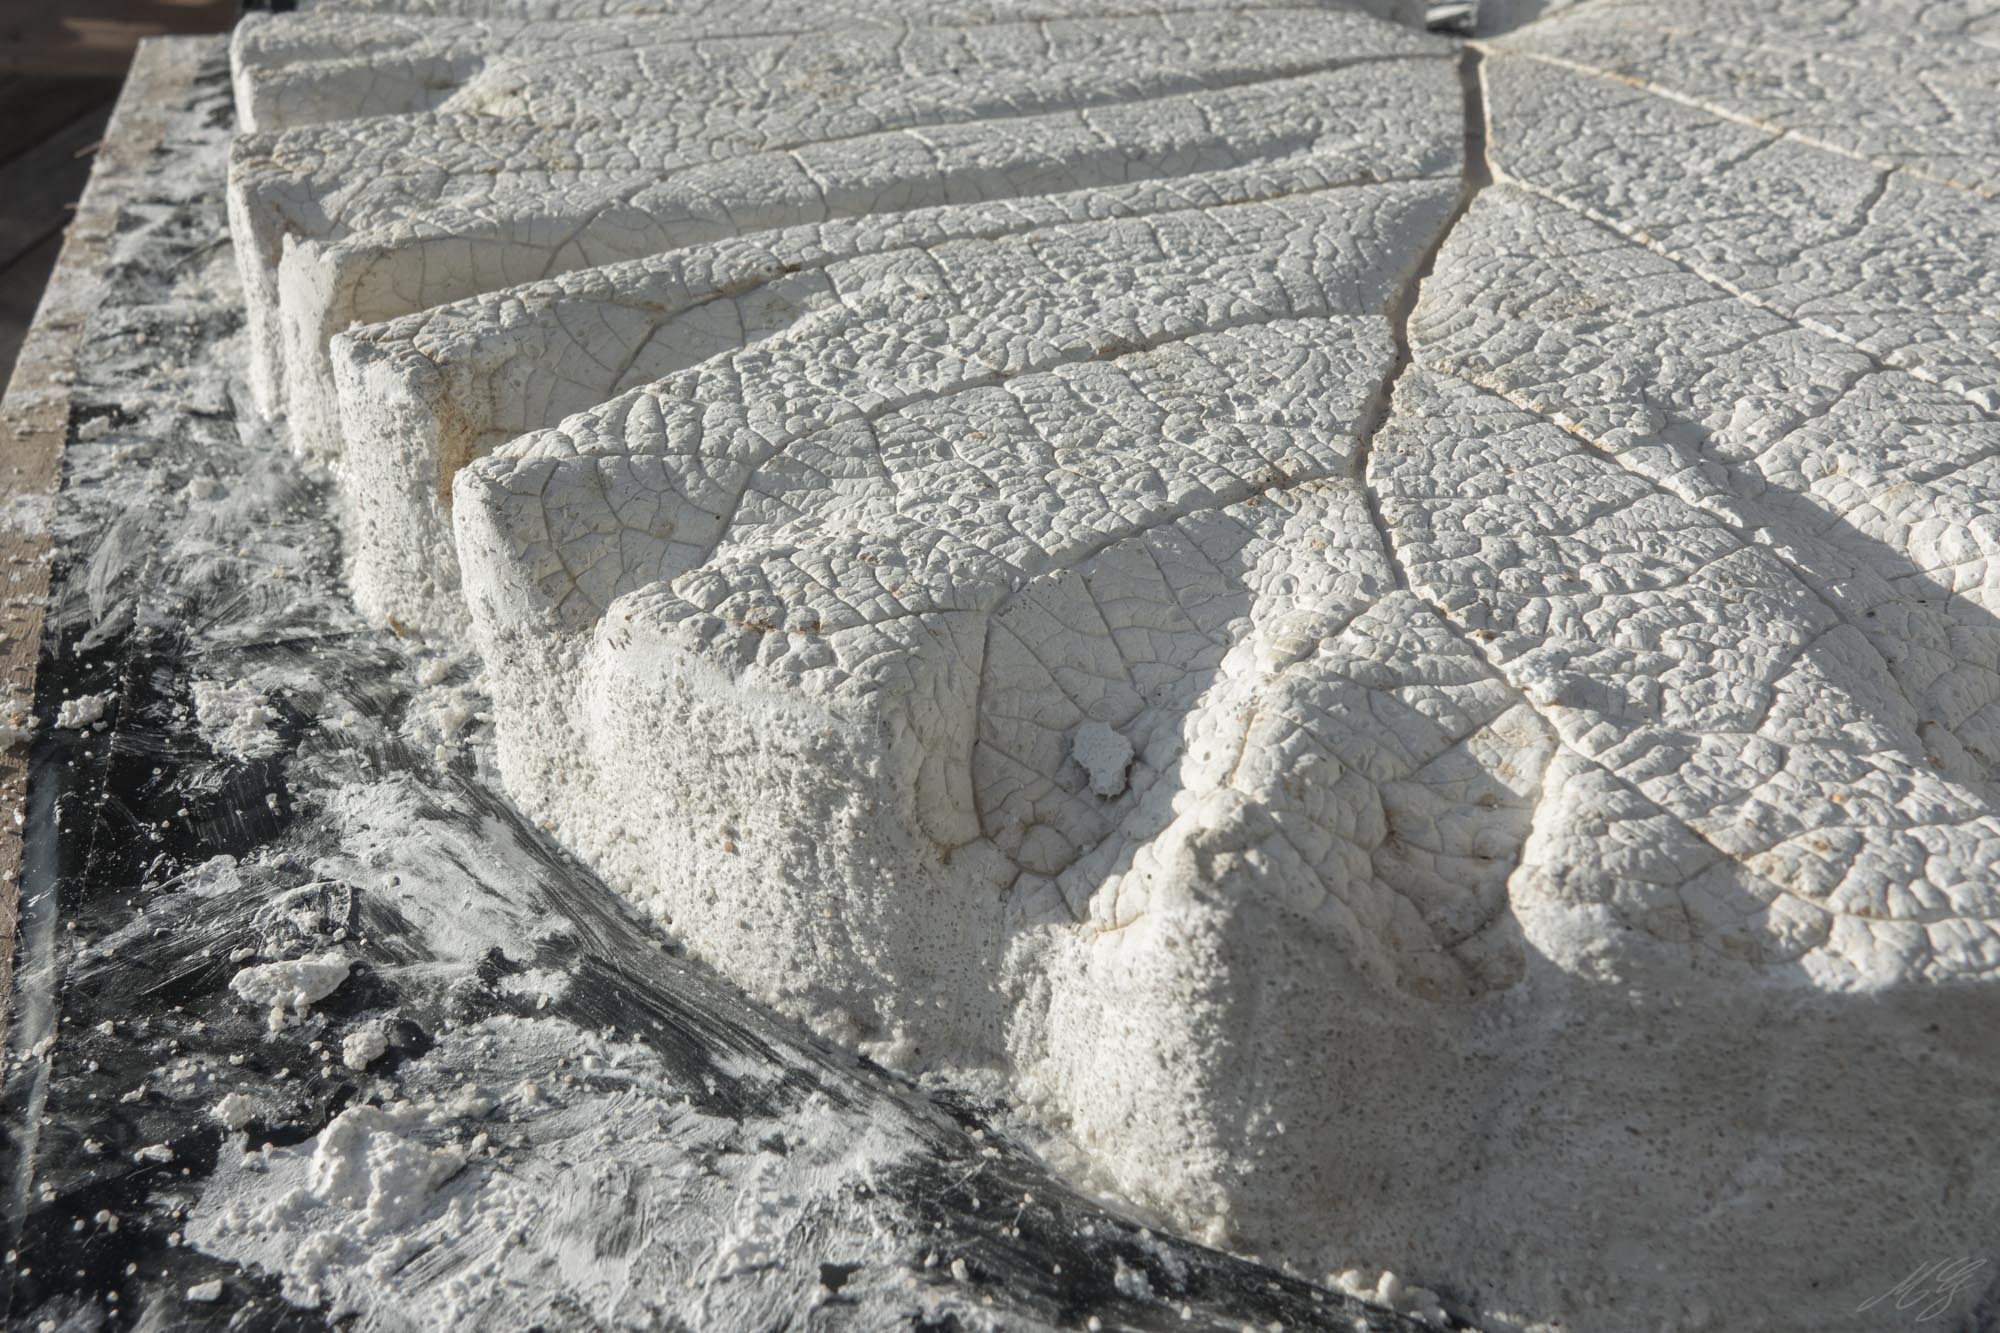
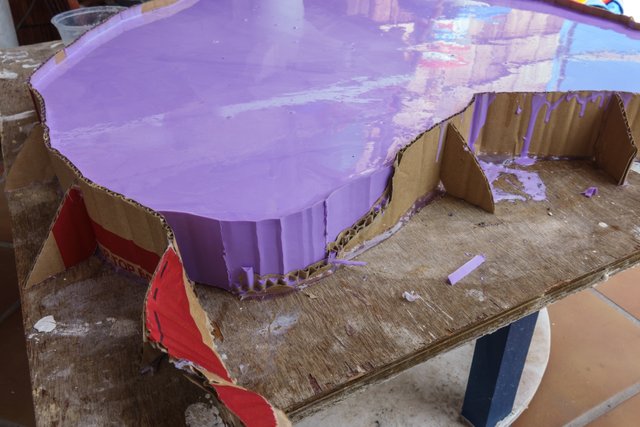
Etape 4: le coffrage pour le silicone.
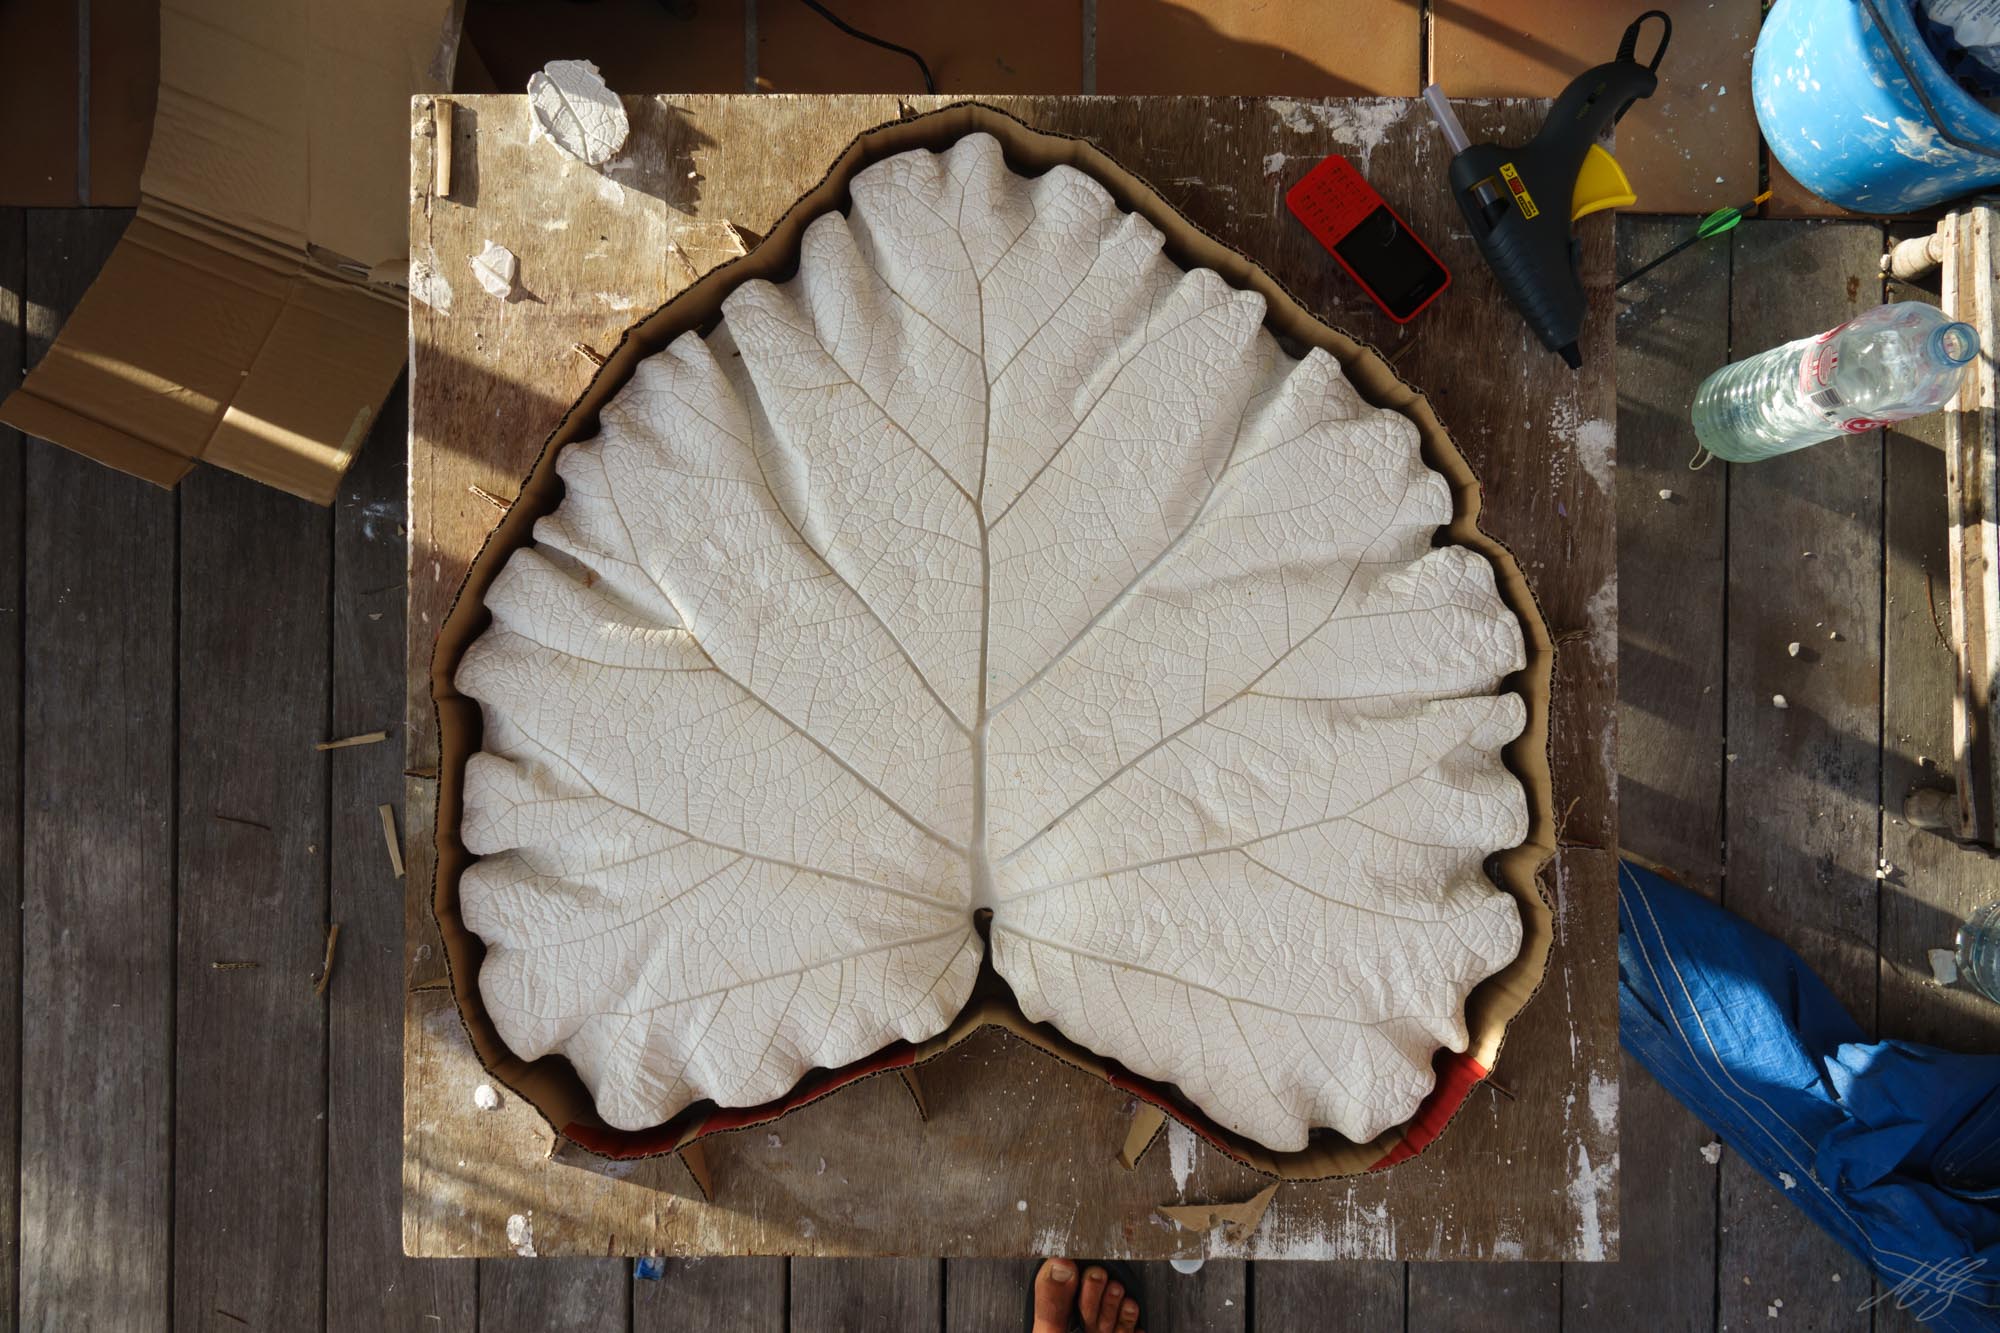
L'idéal et d'avoir un pistolet à colle chaude pour sa capacité de sechage très rapide et facilement rectifiable . Mettez vous au propre, fini avec la poussière. Réalisez en premier lieu un joint d'étancheité à la colle chaude tout autour entre la planche et la matrice pour que le silicone liquide ne s'infiltre pas en dessous. découper des bandes de carton qui seront 2 ou 3 cm plus haute que votre feuille, et commencer votre coffrage.
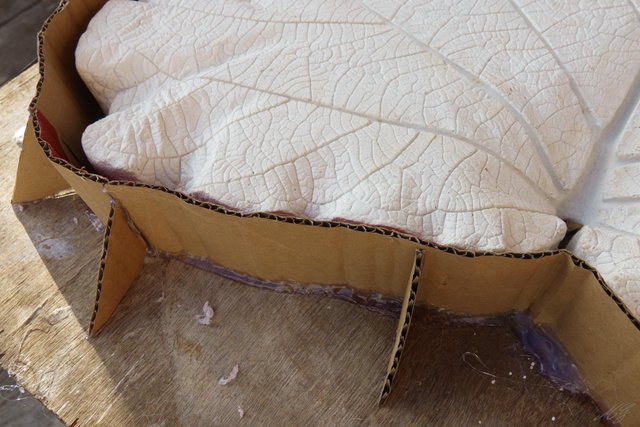
The best for that is the hot glue gun, for its ability to dry very fast and easily rectifiable. Put your work place clean, finished with dust. First, make a hot glue seal all around between the board and the new fossil so that the liquid silicone does not seep down. cut cardboard strips that will be 2 or 3 cm higher than your sheet, and start your formwork.
Étape 5: couler le silicone.
Tout est pret ? aucun trous n'a été oublier ?
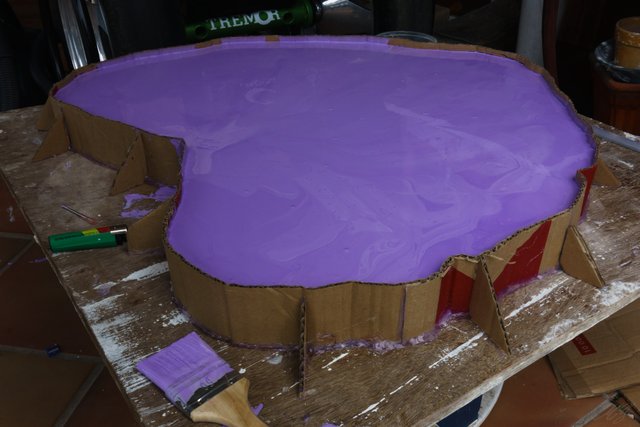
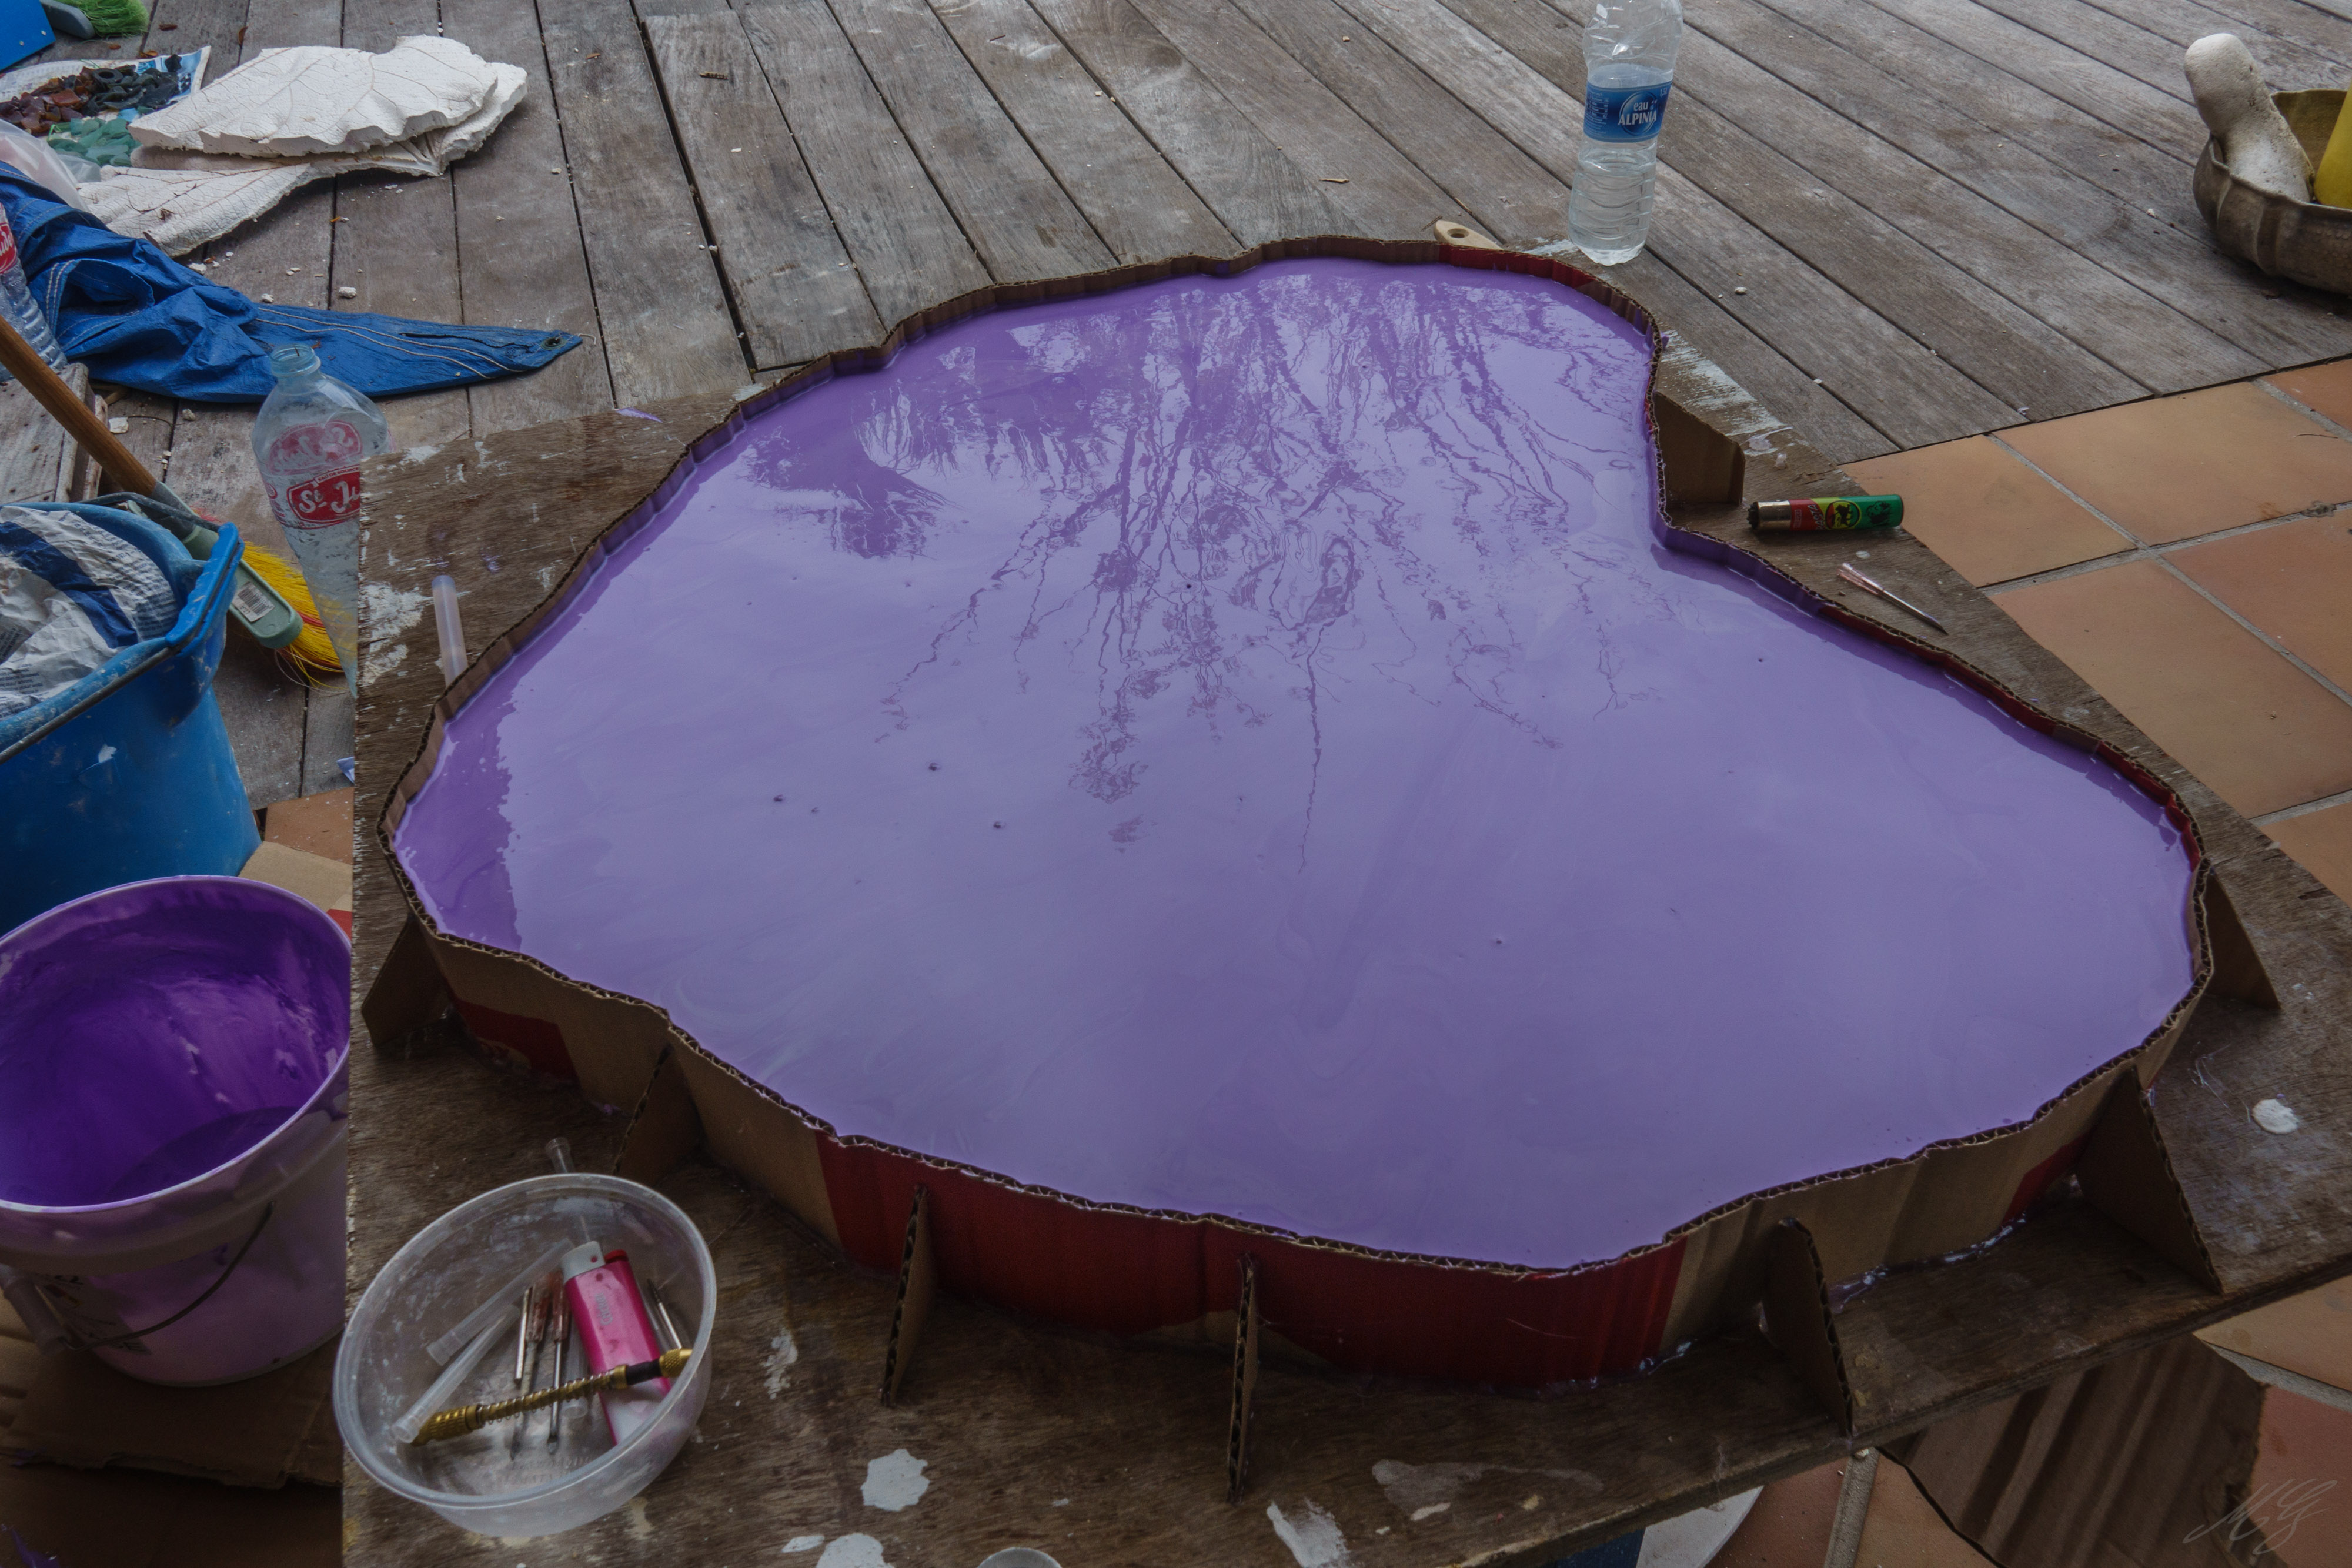
préparer votre mélange de silicone bi-composent comme décrit sur la notice et déversez le lentement dans le coffrage.Il n y a pas besoin de graisser ou de cirer le ciment, le silicone ne colle sur rien excepter lui meme
step 5:
Everything is ready ? no holes have been forgotten?
prepare your silicone mix as described in the package and insert it slowly into the formwork.
There is no need to grease or wax the cement, the silicone does not stick to anything except itself
Etape 6: Le démoulage !
le lendemain le moment tant attendu est enfin là :)
Step 6: Unmolding !
the next day the long-awaited moment is finally here :)
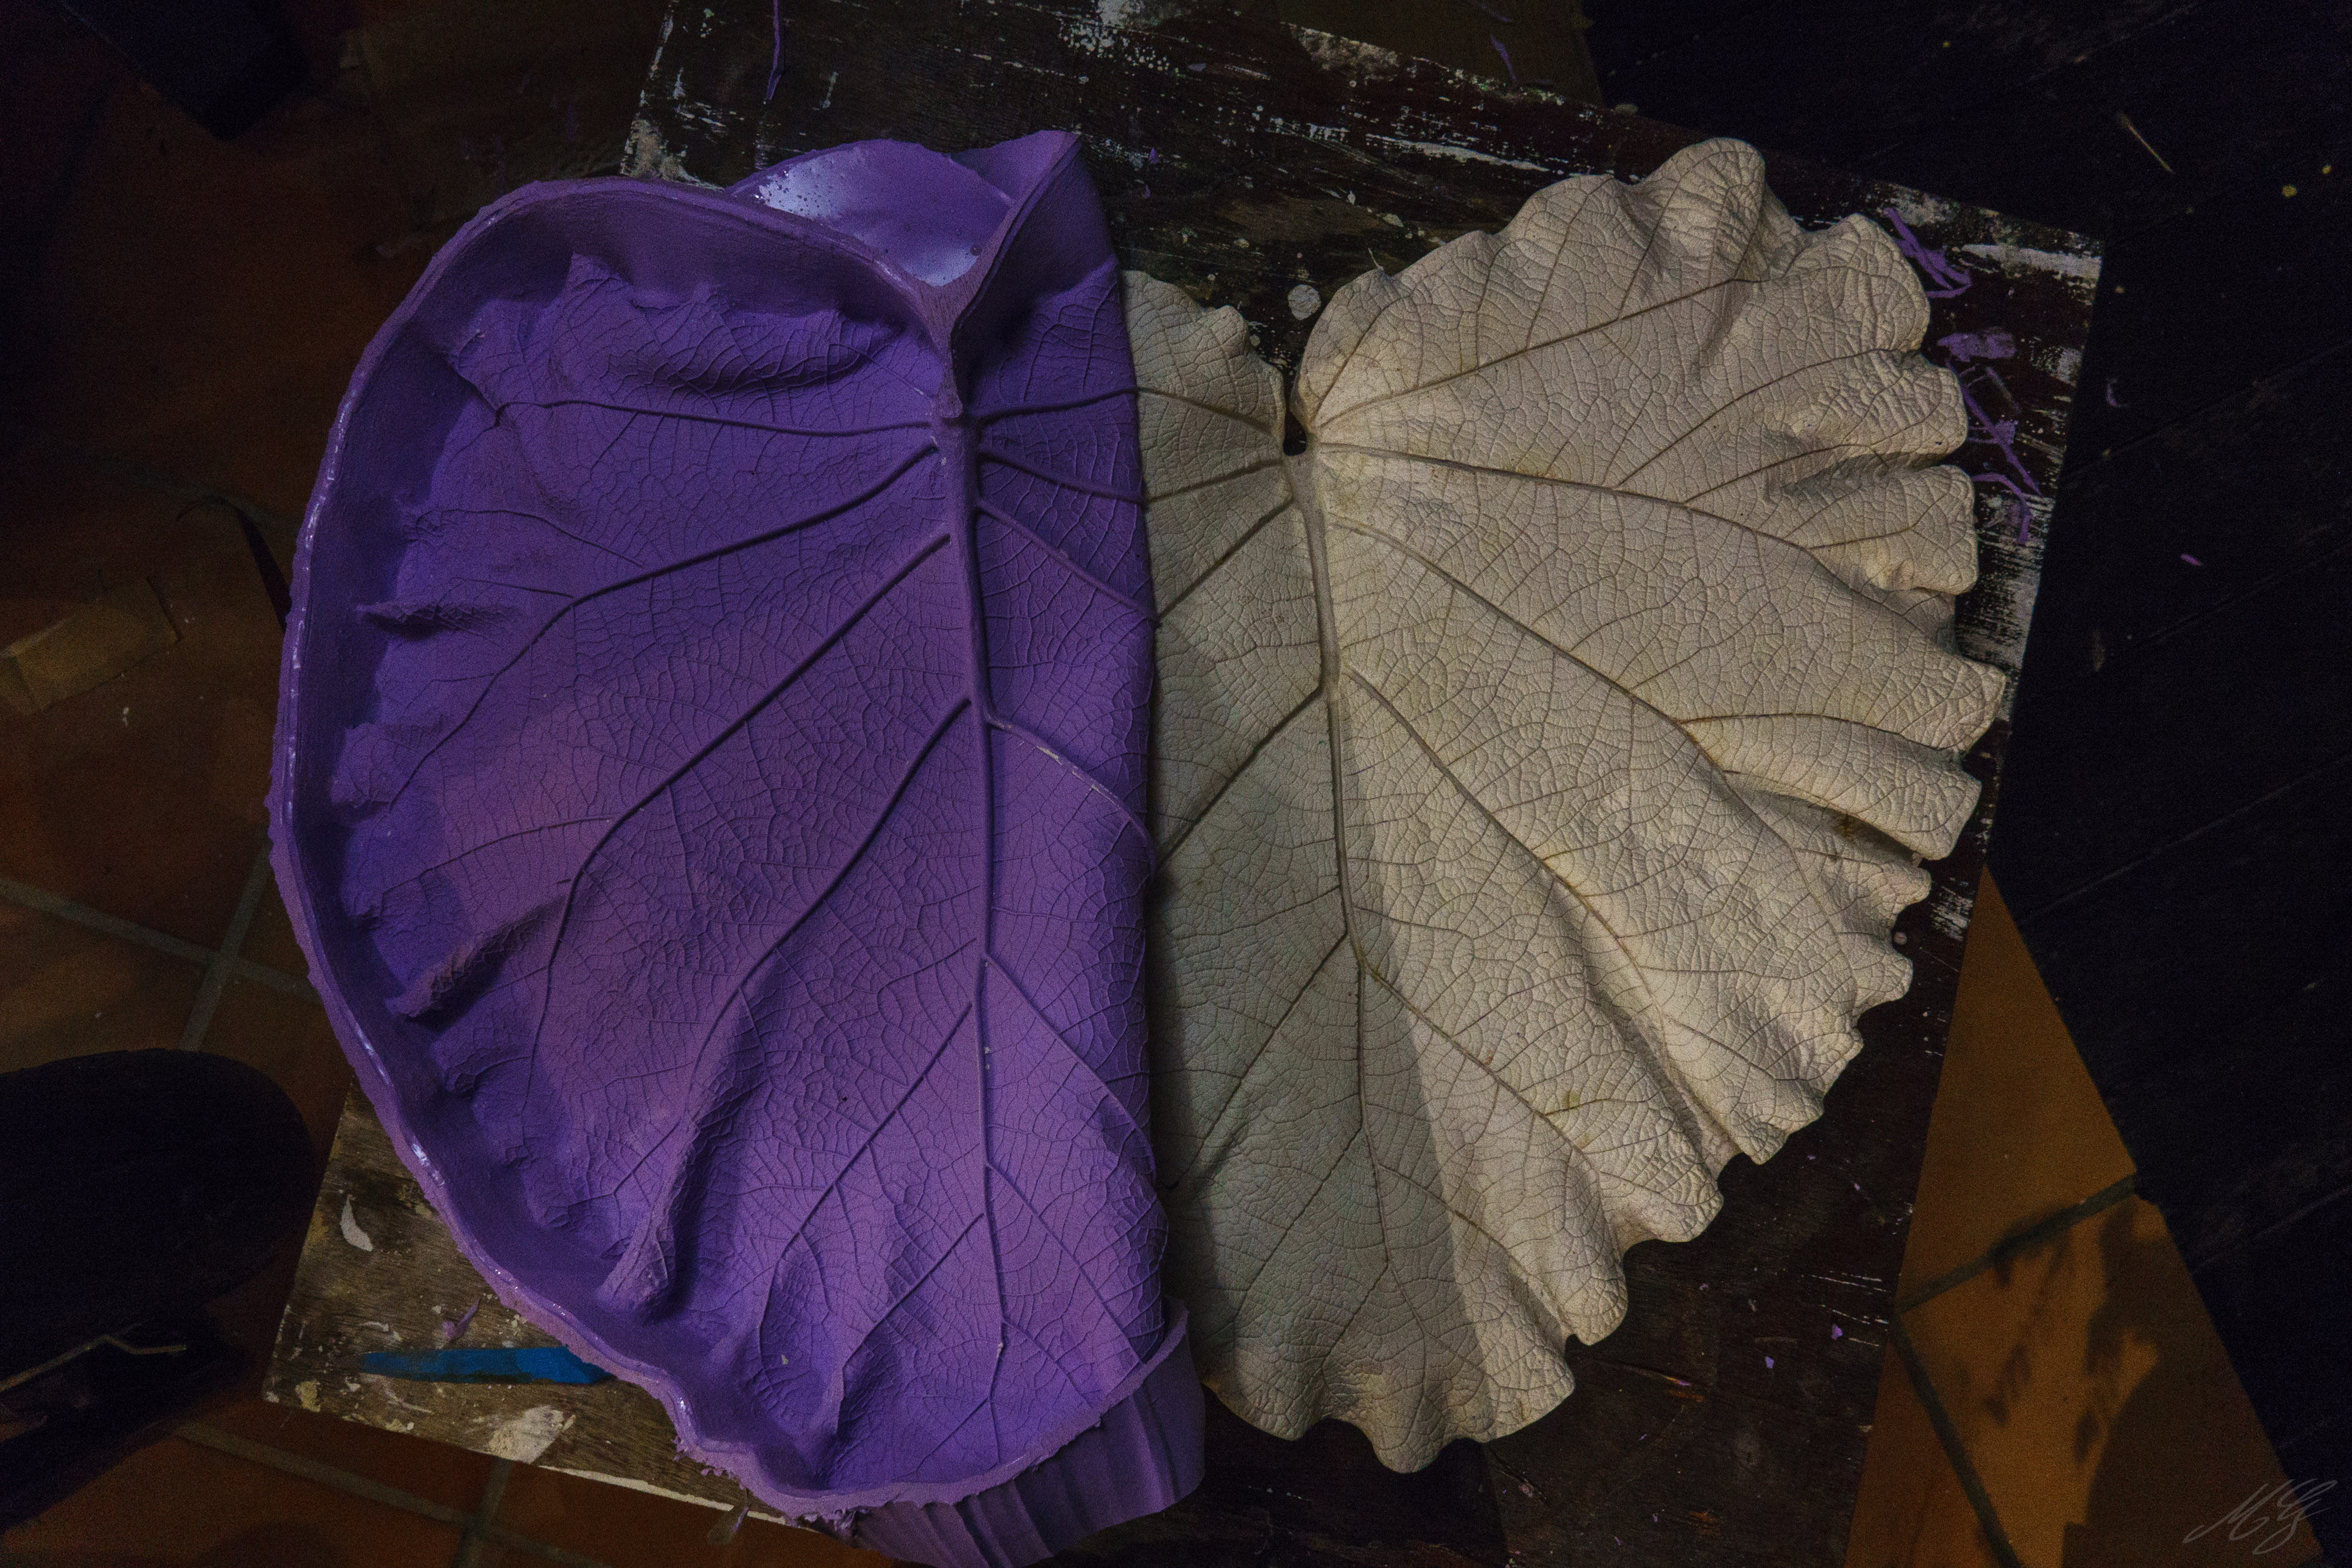
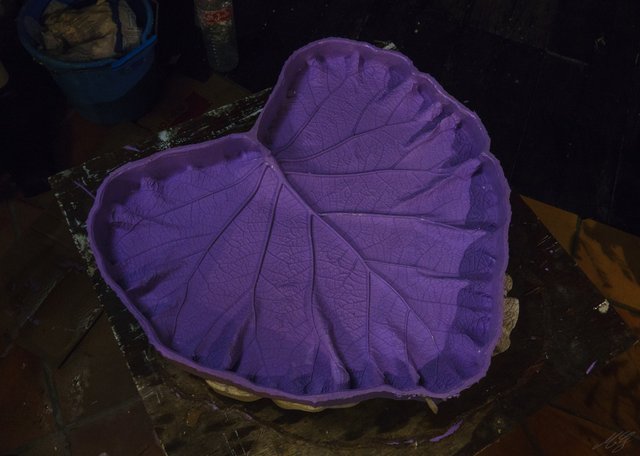
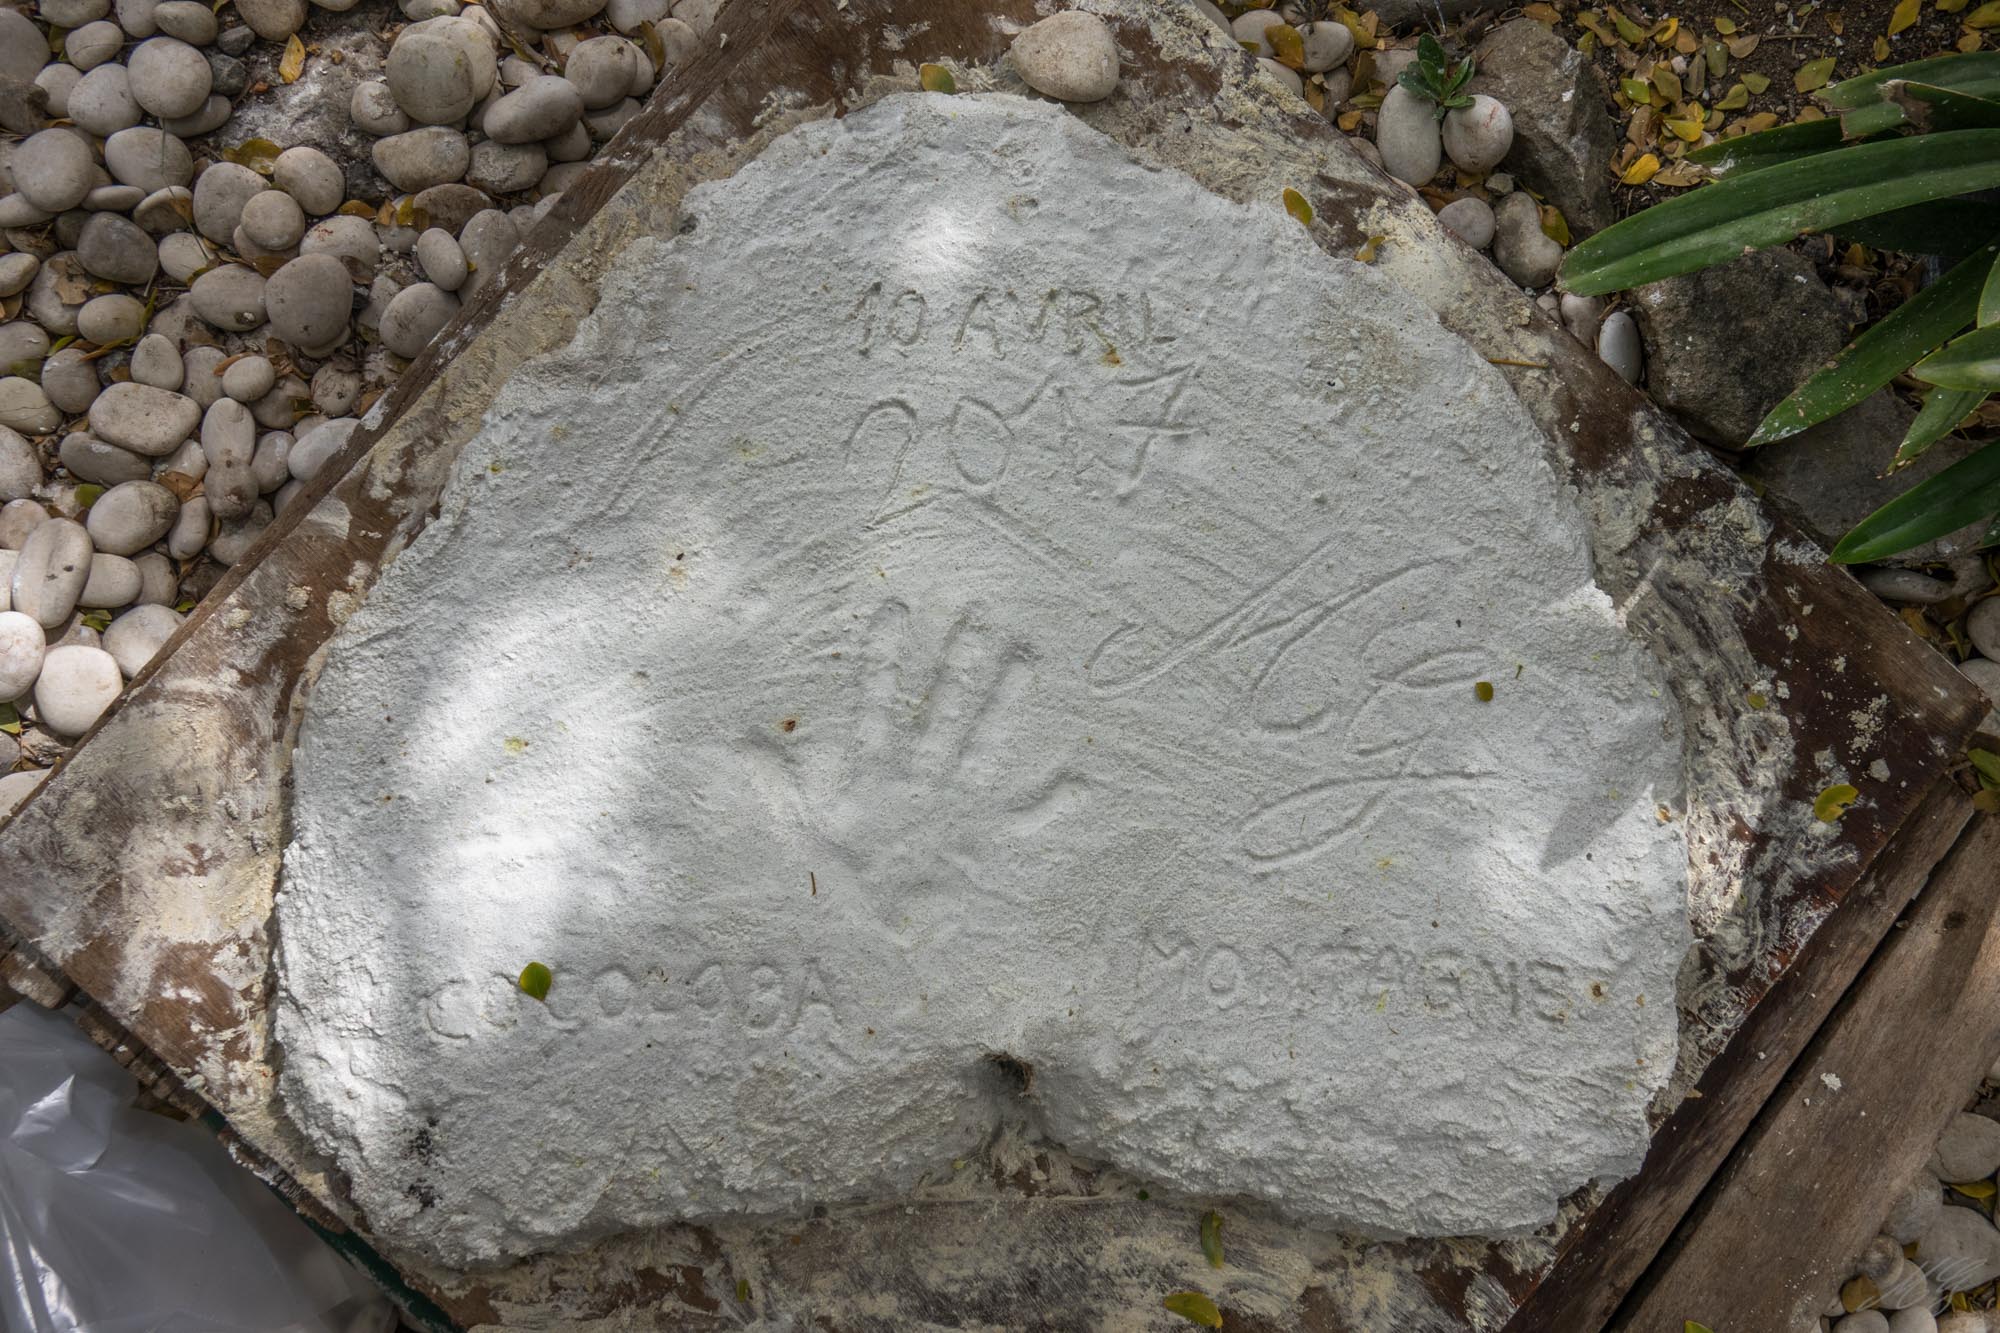
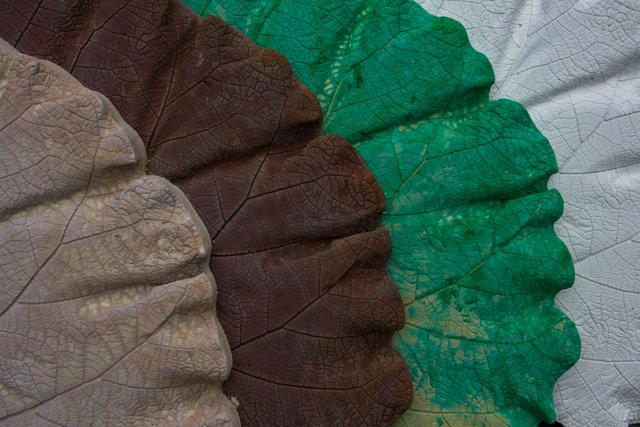
Etape 7: Fossiles de Coccoloba Mountain en serie !
voila, je sait qu'à cette niveau du projet je n 'est plus beaucoup de conseils à vous donner car vous moulez deja de vos propre ailes !
enjoy ;)
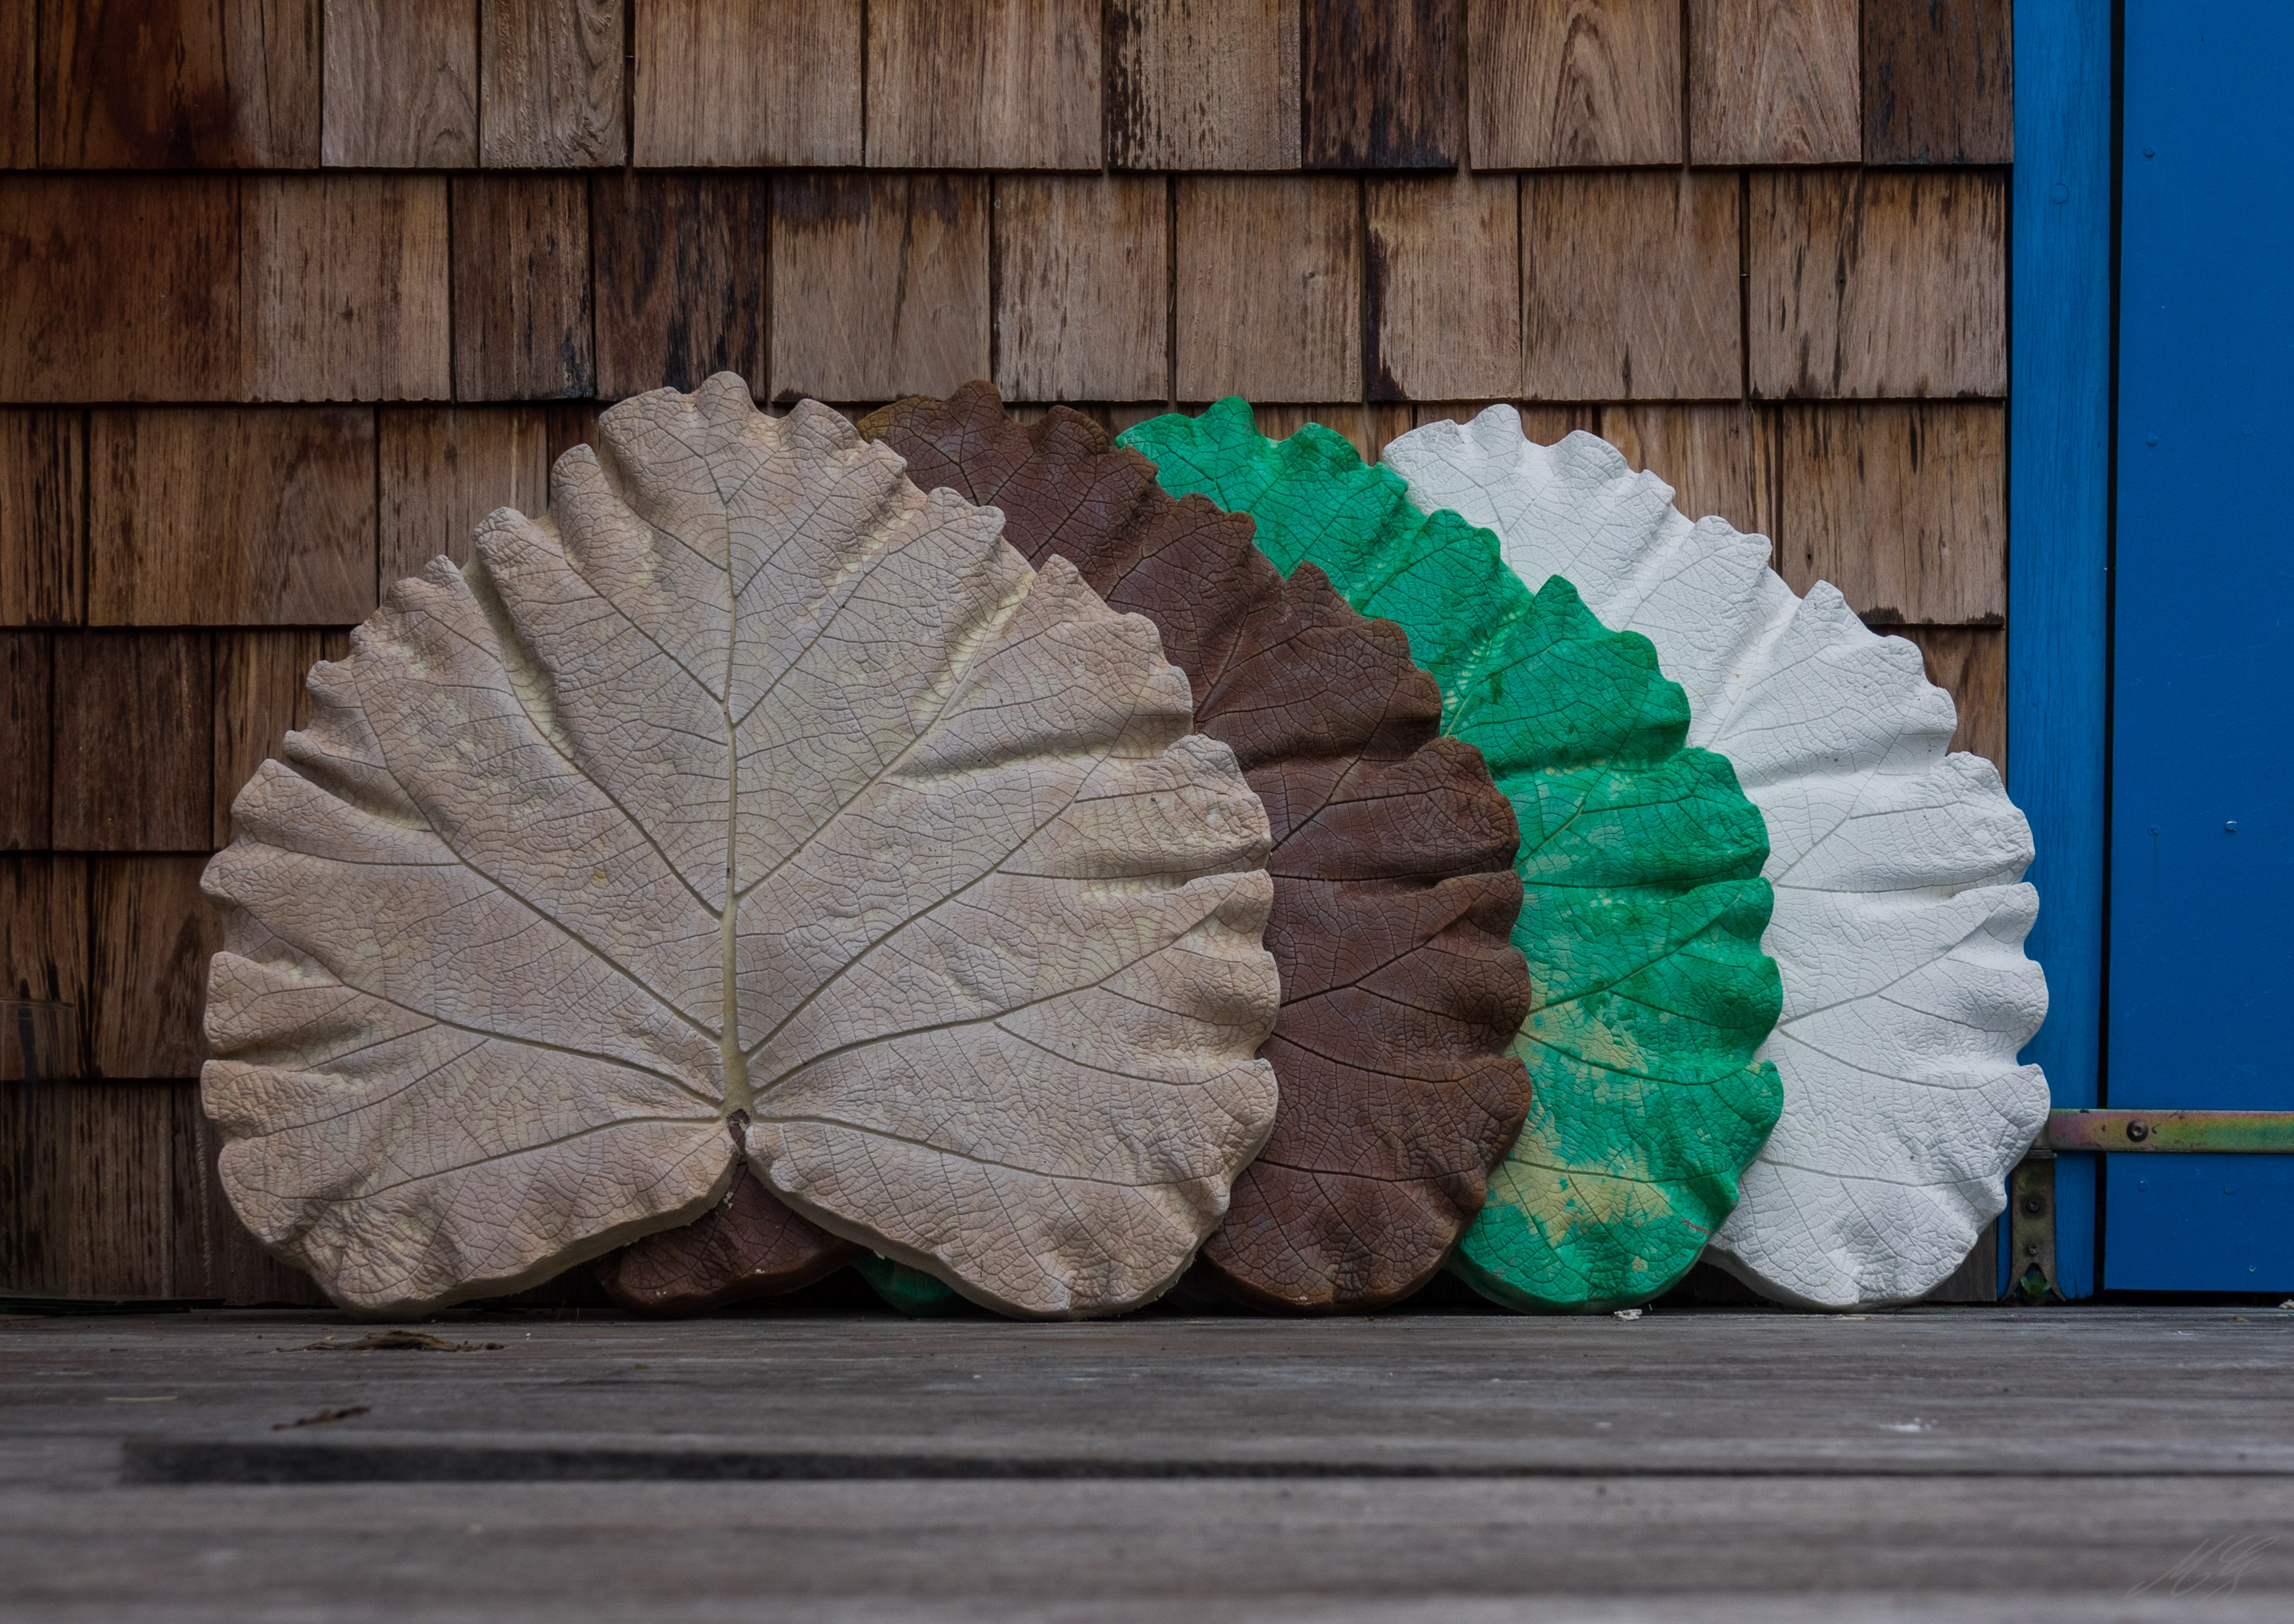
Step 7: Fossils of Coccoloba Mountain in series !
here, I know that at this level of the project I do not have much advice to give you because you already mold your own project !
enjoy ;)
![_DSC5784.jpg]
( )
)
Merci pour votre attention.
J'espere que cet article pourrat etre utiles à certains d'entre vous qui aurait envis de tester les aventures du moulage.
Loins d'etre un expert du moulage, si vous avez des remarques, des questions ou besoins de conseils...
on se retrouve dans les commentaires ;)
Muscapix
Thank you for your attention.
I hope this article will be useful to some of you want try molding adventures.
Far from being a casting expert, if you have any advices for me, questions or need détails rendez-vous in the comments ;)
Muscapix
Magnifique réalisation. Quel usage faites-vous de vos feuilles géantes? Décor personnalisé, parasol Home Made ?
merci duke77
pour le moment pour faire des pas japonais et pieds de parasols en projet ;)
mais avec une très grosse on doit pouvoir faire une table basse.
aussi, couler de facon concave en disposent le moule sur un tas de sable ca donne un petite abreuvoir
bientôt des images d'exemples d'utilisations ;)
Congratulations @muscapix! You have completed some achievement on Steemit and have been rewarded with new badge(s) :
Click on any badge to view your own Board of Honor on SteemitBoard.
For more information about SteemitBoard, click here
If you no longer want to receive notifications, reply to this comment with the word
STOPThank you very much ;)
C'est génial. J'admire votre travail et votre patience. Le rendu est magnifique.
Merci ofildutemps.
ce fut un chemin très intéressant à parcourir, pour obtenir le moule il faut entre 20 et 25 d'heures de travail grosso modo, après pour obtenir un nouveau fossile grace à ce dernier ca prendra très peut de temps ;)
Interesting
I will follow you to see your future posts!
Congratulations @muscapix! You received a personal award!
Click here to view your Board of Honor
Congratulations @muscapix! You received a personal award!
You can view your badges on your Steem Board and compare to others on the Steem Ranking
Vote for @Steemitboard as a witness to get one more award and increased upvotes!