How to make a Delicious and Spongy homemade Cholocate Cake!! Step by Step
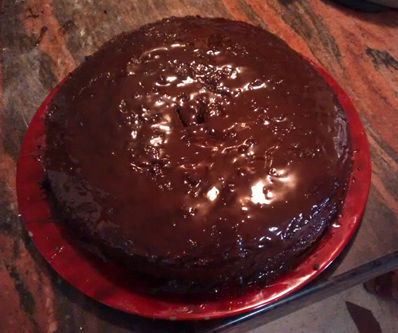
Hello Steemit friends, today I bring to you a Delicious Homemade Chocolate Cake Recipe. Here you can see the final result of this recipe:
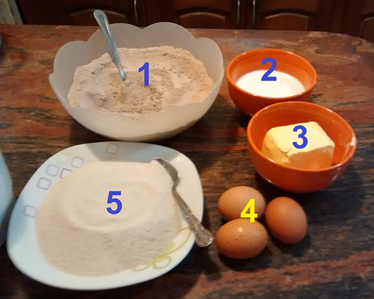
Ingredients:
3 Cups Wheat flour (1)
1 Cup cocoa powder (1)
3 teaspoons baking powder (1*)
¾ cups milk (2)
250gr butter (3)
3 eggs (4)
2 ½ cups sugar (5)
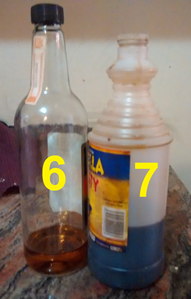
3 tablespoons rum (6)
2 tablespoons vanilla (7)
¾ cup hot water
PD: *Mix the 3 ingredients in the same
Steps:
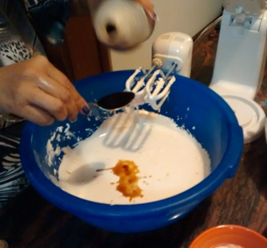
Step 1: Beat the egg whites until stiff, adding the half of sugar little by little.
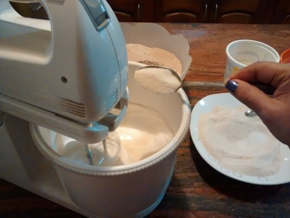
Step 2: Put the mix of step 1 in a large bowl to beat it.
Paso 3: Beat the egg yolk part, adding the rest of sugar.
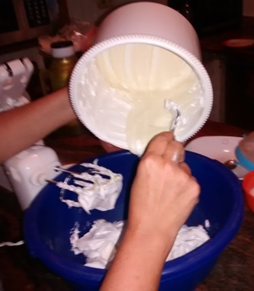
**Step 4:** Mix the result of part 2 and 3 and add the vanilla and rum.
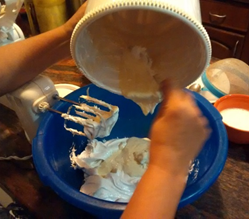
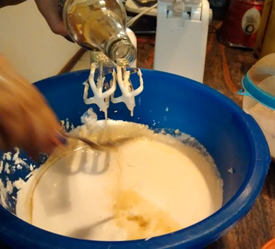
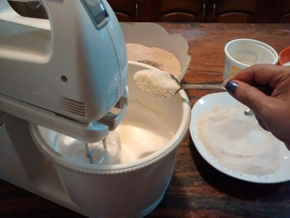
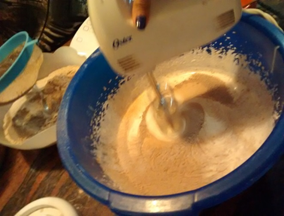
Step 5: In another bowl mix flour, cocoa powder and baking powder. Add this mixture little by little to the result of step 4, the same with the milk.
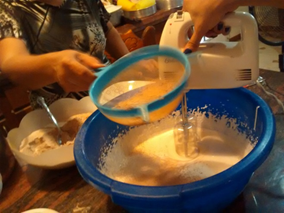
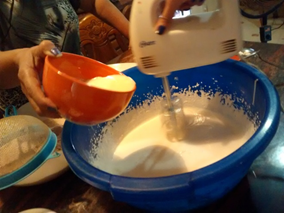
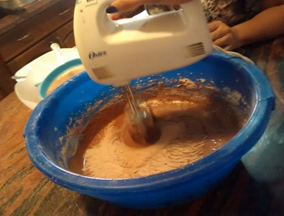
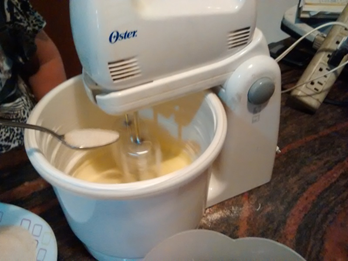
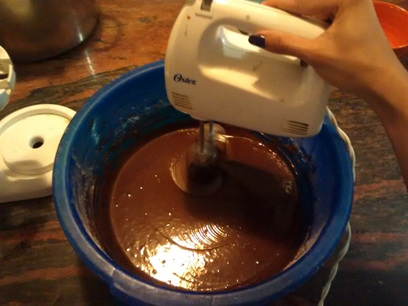
Paso 6: When the milk is finished, add butter, beat it and continue adding the flour until it is finished. Mix everything well, add the hot water and beat for a few more minutes.
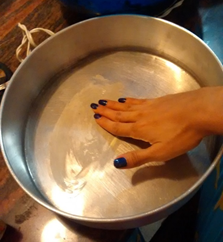
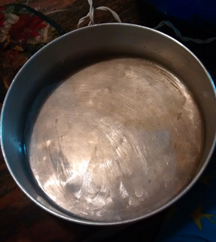
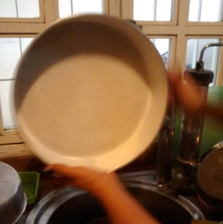
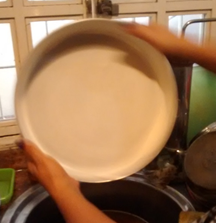
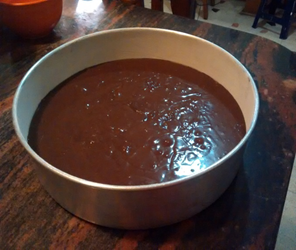
Paso 7: The cake pan is greased with margarine and then flour is powdered.
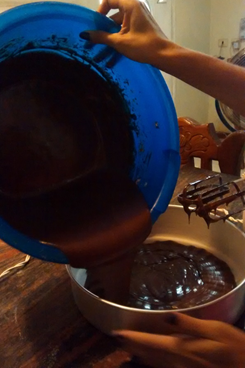
Paso 8:
Finally, the mixture of the cake is added to the cake pan and put into the oven at medium heat.

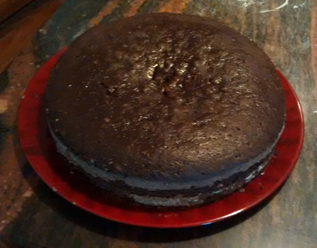
Paso 9: After a few minutes we have a delicious chocolate cake.
Decoration:
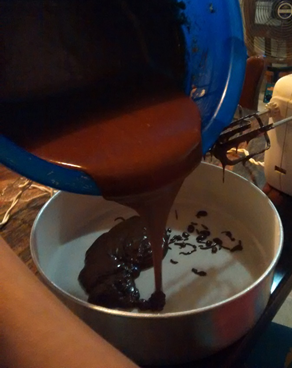
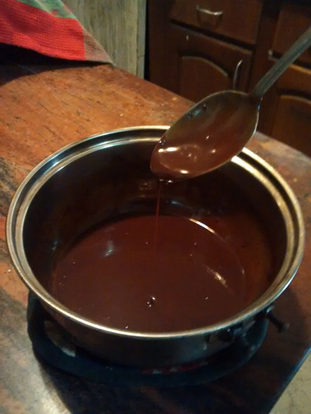
In our case, We use a chocolate bar and melt it to cover and decorate the cake
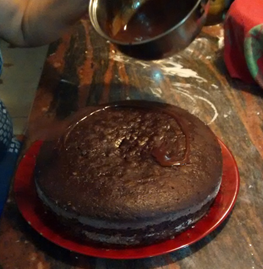
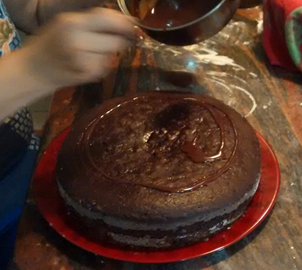
Finally, we have a delicious, soft and spongy chocolate cake
Bon Appétit

Resteemed to thousands of photography lovers.
Great recipe, keep them coming!
Thank you (:
I love the recipe, the cake is spectacular, very good photos and the excellent explanation
Thank you, all pictures were taken by me and I try to make the explanation easier with pictures step by step
You got a 35.90% upvote from @bid4joy courtesy of @valery24!
Upvote ^_^
h014, s0y 31 b0t d3 @luiscordon, y0 r3g410 upv0t3s