Garlic Planting
Hi Steemers Good to have you with us.
This years planting is done.
Four days 4 days or so of hard work by the Skye Farm crew. Has got the job done for another season
Field prep
Before we started planting we had to do several major things.
First we had to add 5 large truck loads of manure to the field. We used dry as it is far better for our soils than liquid. There are two main problems for our soils. As we are basically old river bottom the liquid manure simple drains away into the water table. Which of course contaminates it. What we put on the land is year old dry manure. This manure contains a much higher quantity of organic material that is needed for the soil. 5 large dual axle truck loads. Usually this is done just after harvest. Keeping regular tilling controls weeds and thoroughly mixes the manure to ensure all organisms have contact with food.
Just before planting the rows are laid out. The Skye farm system is to plant in the last year in-betweens This system give 4 years on a plot of land with garlic in a given space two years apart.
There are two sticks cut to the with of the row and in-between. A metal stake is driven into the ground and a string attached that crosses the field defining the edge of the row.The stick is then placed against this stake. on the other end of the stick another metal stake is driven in. This stake is the next row. The stick is moved to touch this stake.
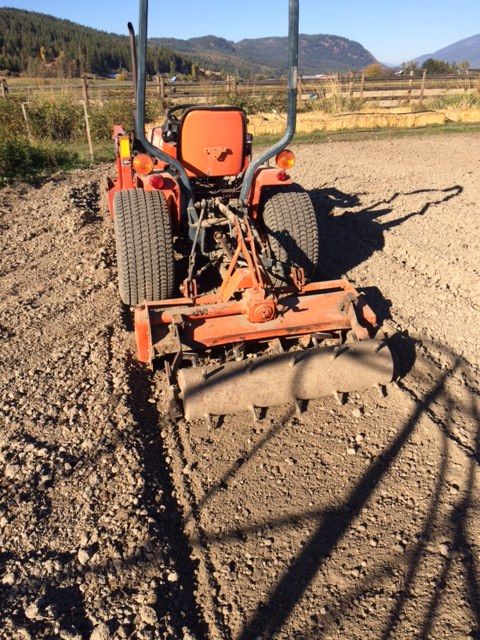
The tractor with the tiller behind fallows the string defining the row.
This process take two people. One on the tractor. The other walking to the other end of the field as the tiller is tilling the row. The sting is removed to the next stake. The original stake just tilled is moved to the end of the stick and driven in. The tractor then tills the row coming back to the original side. The walker returns to move the stake and stick for the next row. Repeat till done.
Planting day
Here you will need the fallowing tools.
- Enough straw to mulch the row. In our case we use 5 bails.
- Cracked garlic to fill rows sorted by type. You have to be diligent with this as you need to always keep varieties separate through to sales.
- Enough stakes to mark the start and end of each variety.
- Coloured ribbons One colour for each variety. You will mark the being of each row and the end if the garlic ends before the end of the row Here you will have two stakes one marking the end of the variety the other marking the begin of the next
- A dribbler to mark the placement of each bulb.

- Rye seed and a seeder to seed the in-betweens
- gloves knee pads and lunch for the crew.
Preparing the row.
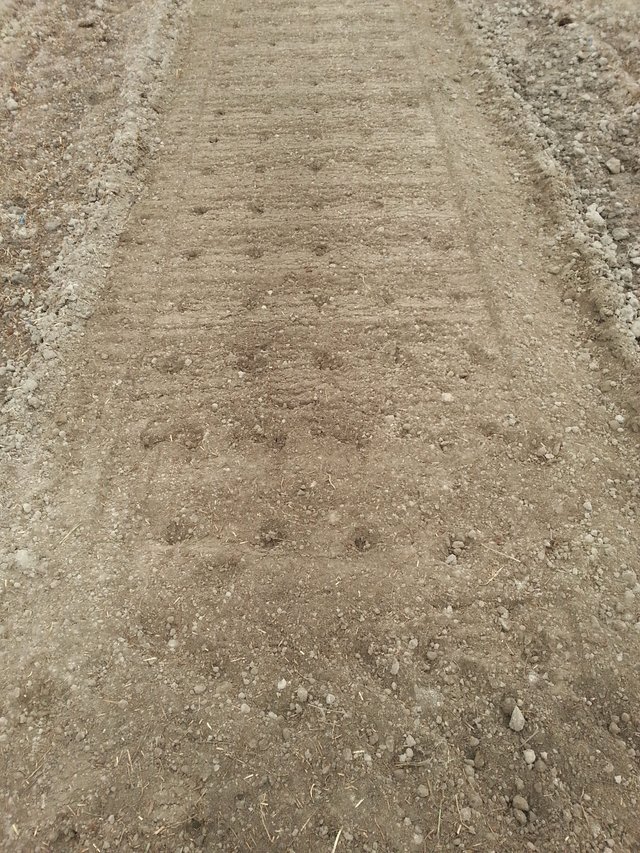
Dibble the row with the tiller with the dibbler attached. This preps the bed for easy planting. The tiller for softening the soil so it is easy to push in the garlic. The dribbler sets the placement of the garlic. This is important for growth, weeding and eventually harvest.

Placing the garlic
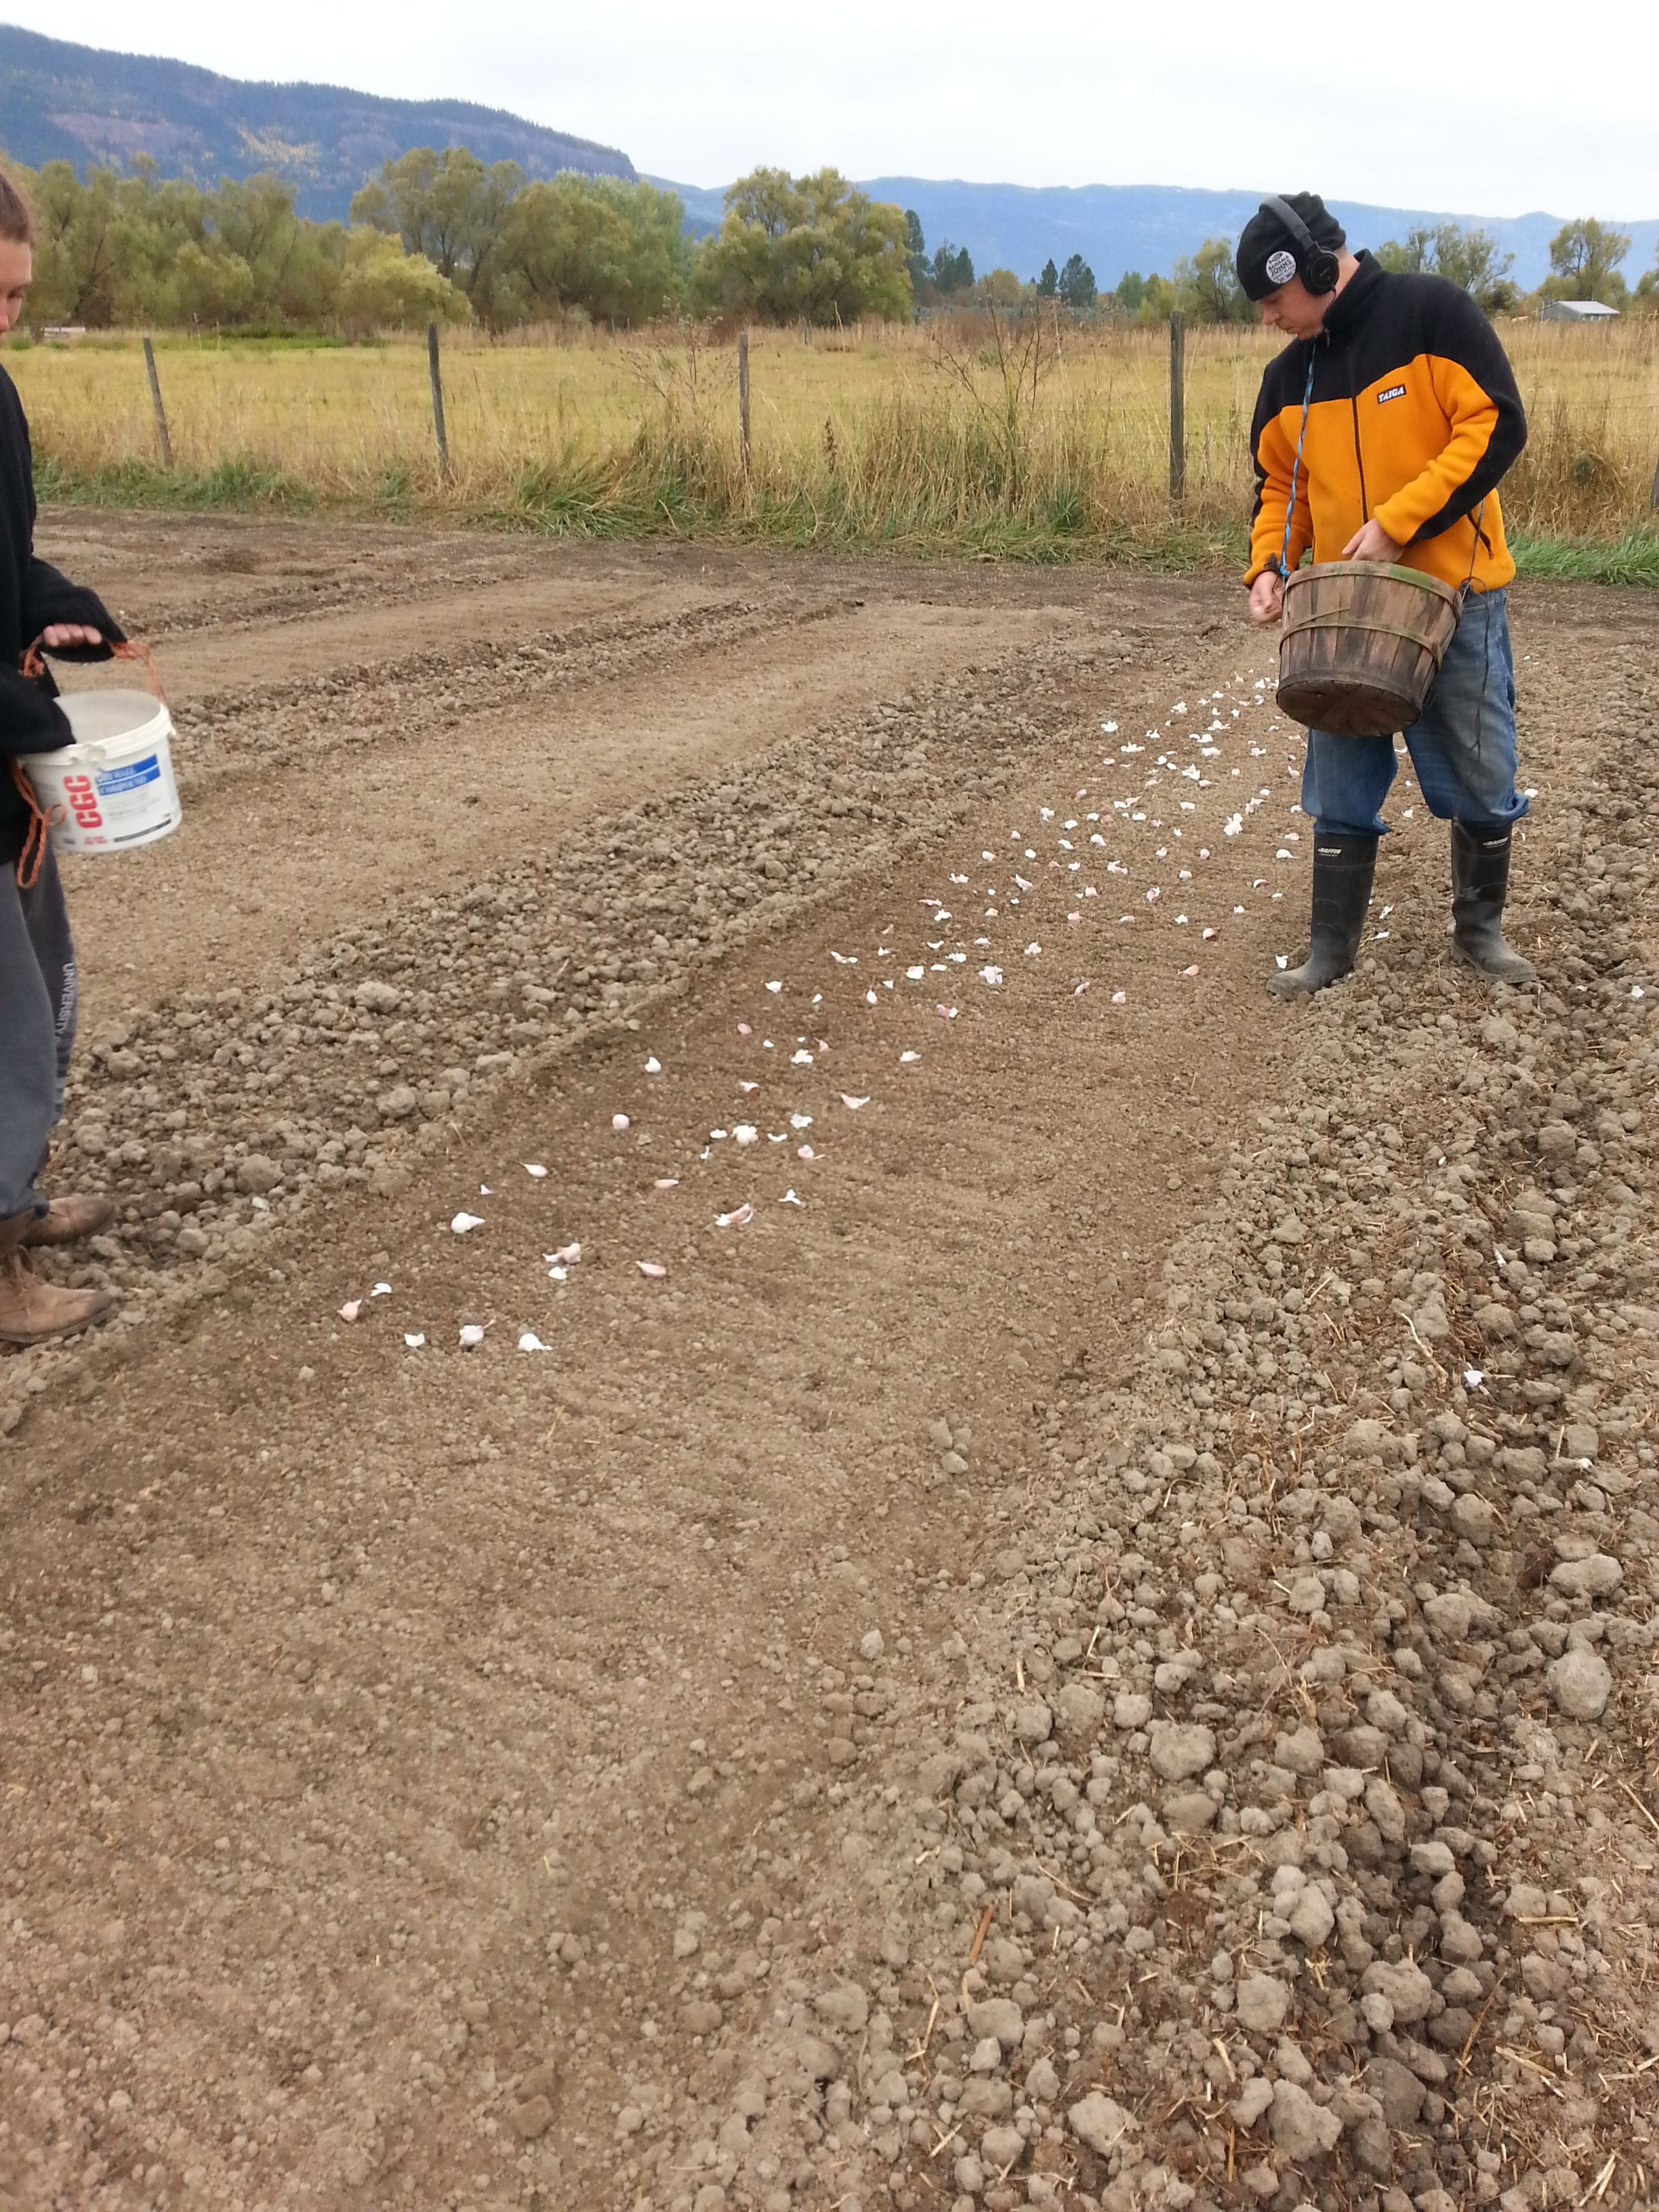
This is done by walking along the row and dropping a garlic clove in the dibble mark.

Pushing the garlic in.
This is the hardest step as the worker in on their knees the entire time. The garlic is pushed into the soil about and inch to two inches below the surface. If one pushes it in the hole left by the dribbler this is quite easy and can be done with a thumb or finger. Be VARY careful you put the pointy end up. This creates a properly formed garlic on harvest. upside down or on the side deforms the bulb making it less saleable. Brush the soil over the garlic
 )
)
MARK the row as you finish planting.
Seem like a no brainier but if you miss it you will not know what was planted and to were. Mark it as soon as you start the row on dropping the garlic and end if it is in the middle of the row. The coloured tape is you index for the season. From planting to sales. This is especially important for those who sell seed. On the retail side it improves sales as you can intrigue buyers with the differences between varieties. They indeed taste different and have different culinary properties.
Mulching
Place your Straw bails evenly down the row. Put the bail down on the row about in the middle of the area that the bail will cover. Fluff the straw as you spread so it evenly covers the garlic with a light and fluffy layer about 6 or 8 inches thick. Make sure there or no wedges of closely packed fibers. The garlic will have trouble pushing though these in the spring.
Mulching is important for your garlic. It keeps moisture in the ground, helps control weeds and feeds the soil for the next crop in that row 2 years from now.

I had no idea what garlic fields looked like before this post, thank you for the sharing this, it's very interesting to see. :D
Thanks for the comment. We are not the norm most don't mulch or dibble.
A lot of intense work but well describe hope you have a great crop :)
Thanks. That depends on next year's weather.