Asparagus for breakfast?... It's in the garden, waiting for the pan.. How to grow your own
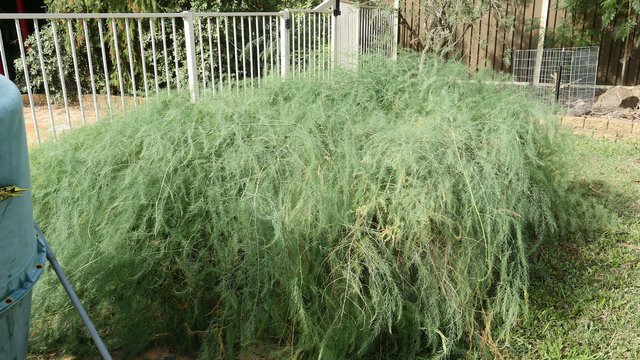
It's autumn and the summer flush of growth, though looking healthy is now starting to die back, so the time has come to renovate the Asparagus bed so we get a good harvest in a few months time.
We've been growing Asparagus for 5 yrs and every year we love the 3 months of cropping, fresh for breakfast or a quick pick for a dinner risotto, it's all good and a special period of the year.
This year is a bit different, the bed needs a major overahaul and some of the crowns need to be dug up and split, others are female and only produce spindly shoots so are going to be replaced with male crowns which produce the fat succulent shoots.
But before I start on the renovation process, let me show how the bed was built as it is a bit different from a normal garden bed.
Living in Australia, the climate and rainfall can be a bit unpredictable, weeks of hot, rainless weather can challenge the vege patch, so a self watering bed helps overcome the dry cycles as it only needs watering every other week.
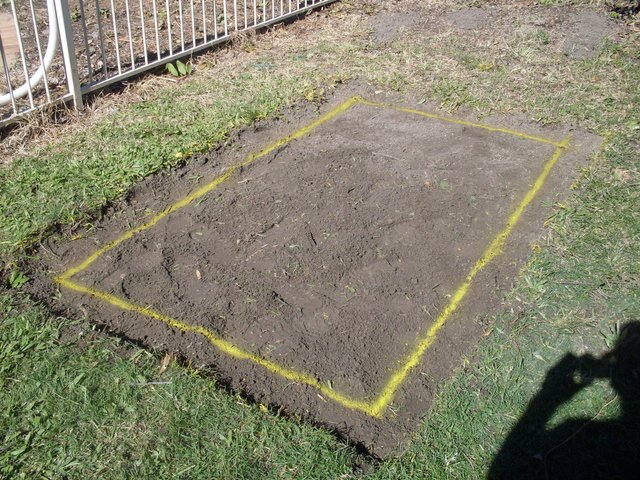
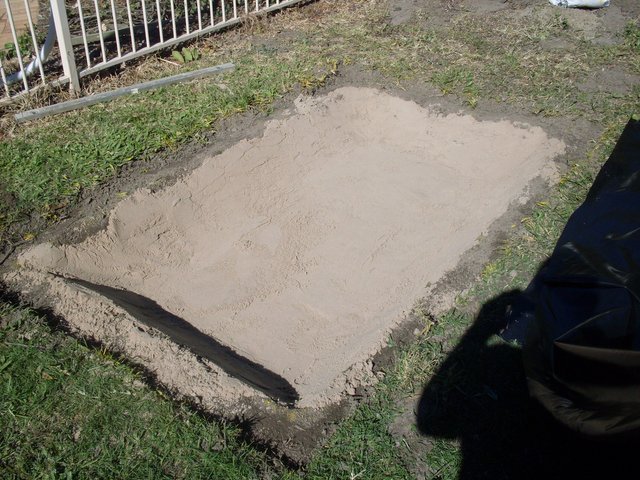
First the ground was scalped and the dig area parked out, then the centre was dug out and lined with sand to protect the liner.
The liner was laid and partially filled with water to hold it in place.
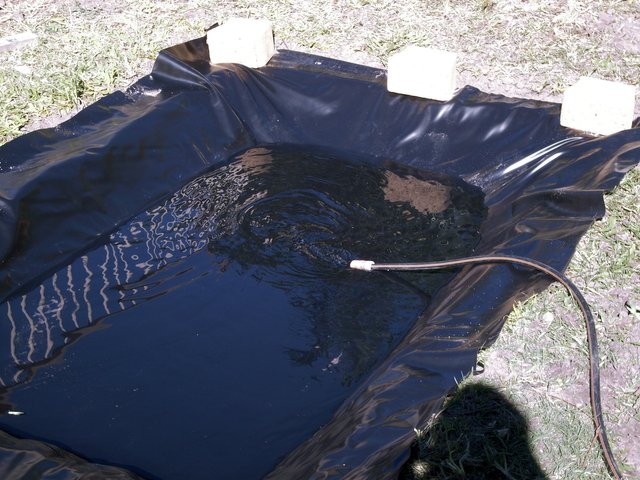
The water fill pipe, perforated on the underside was held in place while the reservoir was filled with a coarse sand.
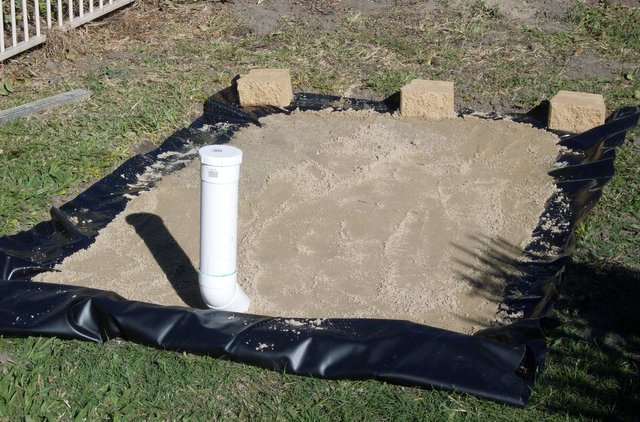
To protect the reservoir from soil contamination, the surface is covered with geofabric and this is held in place by blockwork around the bed. This forms the wall to contain the soil and asparagus crowns.

Finally the bed is filled with a cood compost mix and the crowns planted.
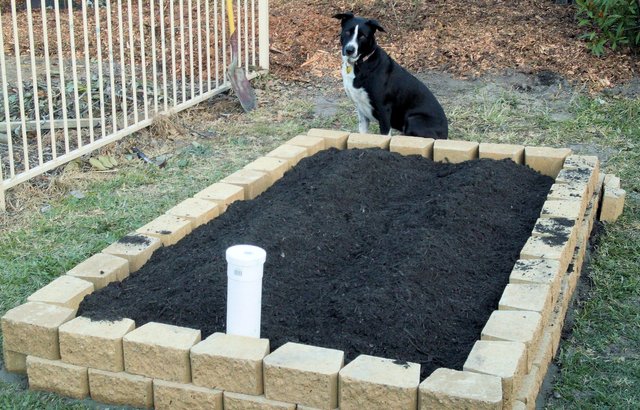
After a couple of years we had to increase the height by adding sleepers around the edge since the increased bulk of annual manure additions and straw was building the height well above the two courses of blocks. The crops were awesome though.
This year we decided to take a step back and improve the design. So having cut back the summer growth, we removed the timber frame and the first row of blocks. We had also found that Asparagus spears had decided to grow sideways between the timber and the blockwork.
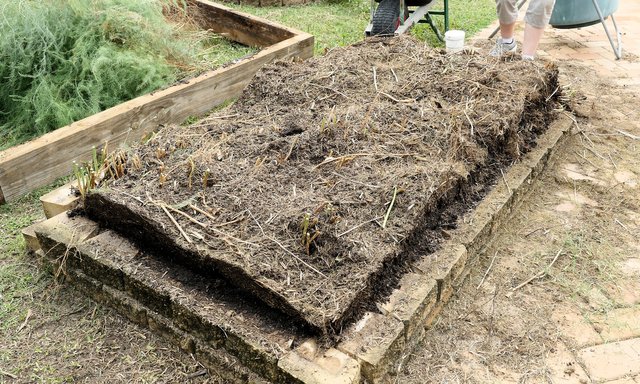
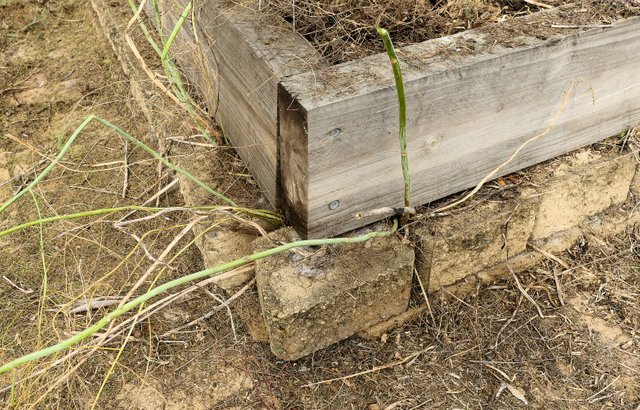
We then built a new timber frame on the base course of blocks and added a plastic barrier to try and prevent the sideways shoots.
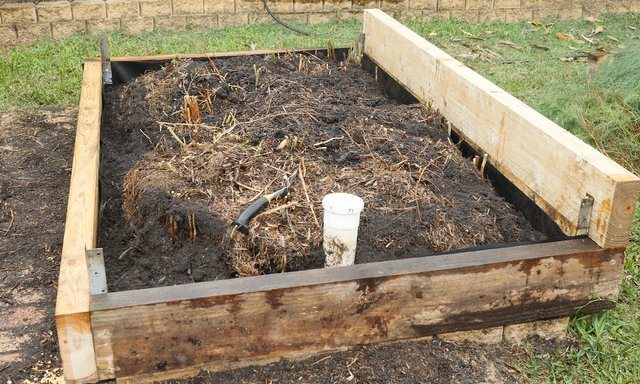
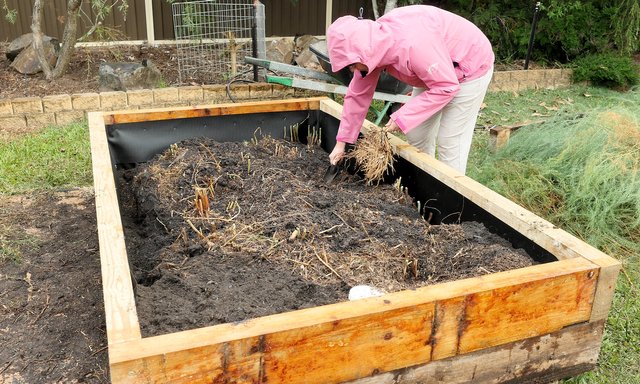
An additional layer of plastic was added to stop the shoots growing between the timber.
We removed some of the crowns and split them between the growing nodes before replanting in the new bed.

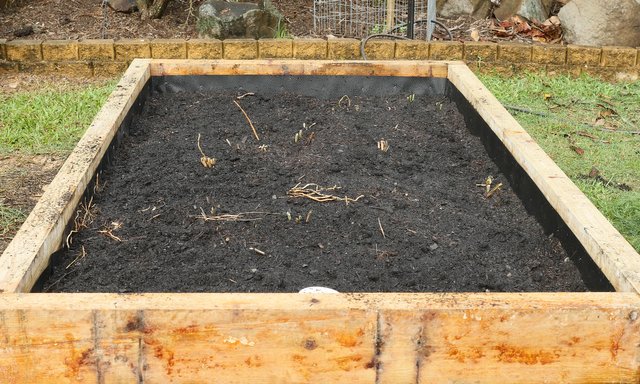
Finally the bed wass filled with compost and a manure mix and left for the rain to settle the whole mix overnight.
The final step was to cover the bed in a good layer of finely chopped straw, we use sugar cane mulch but any straw will do provided it is loosened up, otherwise the shoots will have a hard time pushing through, lucern chaff is an excellent alternative as it also feeds the soil as it breaks down.
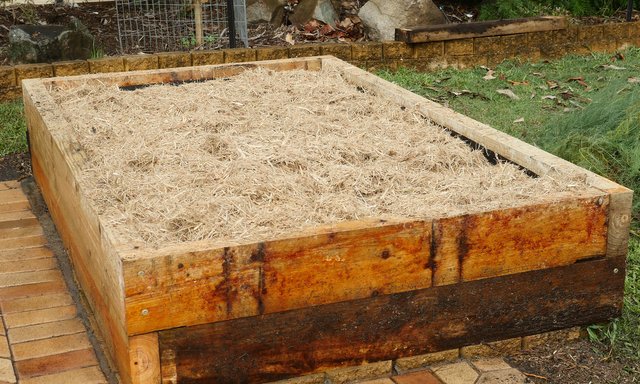
So now we wait for the first shoots to appear in a couple of months time, then it's 3 months of cutting every other day.
The bed refresh is an important part of growing Asparagus as it's a hungry plant, but overall it's simple and highly productive. When starting don't expect a crop in the first year, you need to let the crowns get established by allowing the fronds to grow then die back at the end of summer, then it's the cut back, fertilise with manures and compost, mulch and wait. The second year will give you a crop and it will increase each year. You do need to lift and split the crown every 4 or 5 years to prevent overgrowth and keep the bed producing well.
Overall a great addition for those wo like to grow their own produce.
Great post! I love asparagus.
Congratulations @mungus! You received a personal award!
You can view your badges on your Steem Board and compare to others on the Steem Ranking
Do not miss the last post from @steemitboard:
Vote for @Steemitboard as a witness to get one more award and increased upvotes!