Homemade Apple Pie From Scratch - Autumn Baked Goodies
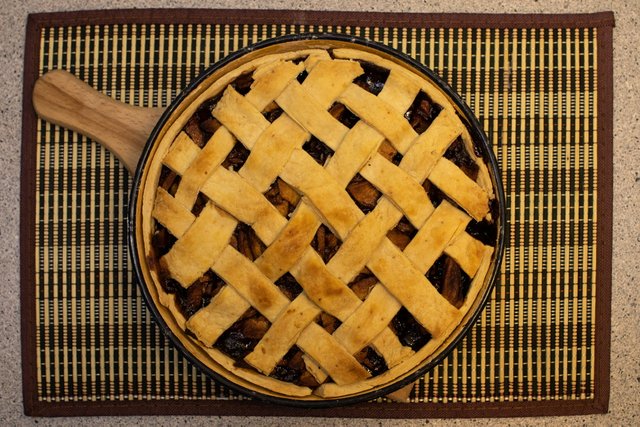
Hello, dear Steemians!
As Autumn is approaching loud with its vibrant warm colors, the time of homebaked goodies is right around the corner. That favorite cinnamon fragrance brings up a lot of memories, coziness and the compelling desire to stay at home until the winter is over.
Here in Bulgaria it is not that common to prepare pies at home but we do have other similar pastries. I don’t remember my grandmother preparing an apple pie but I do remember how my mom was constantly experimenting with some sweet things at home. Especially at that time of the year.
This is why now when I am older I try to create my own traditions for me and my partner in life and in crime.
Today I am going to share with you my first ever homemade apple pie that I made from scratch. The truth is that I rarely use pre-made dough and I do prefer to make everything at home. So this is not one of the fastest recipes but I guarantee it is one of the best I have ever done.
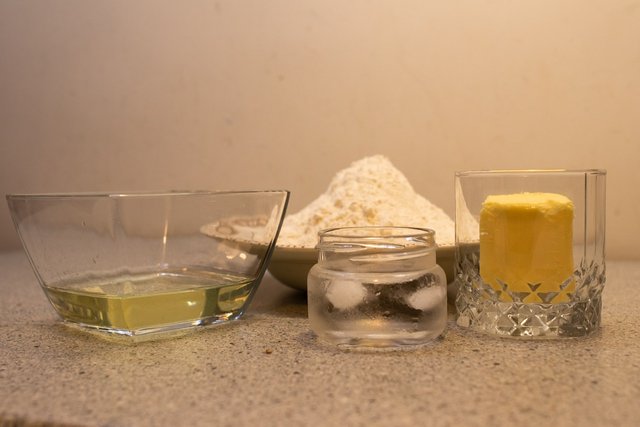
Here is a list of all of the ingredient that you are going to need for the pie dough:
• 70 gr. melted unsalted butter
• 1 teacup melted coconut oil
• 2.5 teacups white flour
• 1 tbsp. salt
• 50-100 ml. ice-cold water
• 3 tbsp. brown sugar
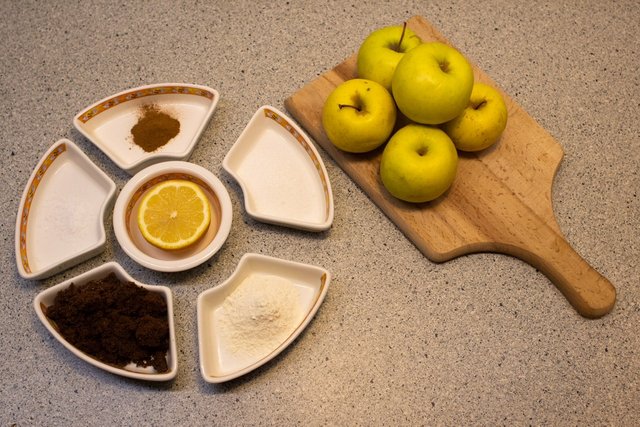
And here is the full list of all of the ingredients that you will need for the filling. No, it’s not only apples inside. It’s never only apples.
• 5 medium-size Granny Smith apples
• 3 tbsp. white sugar
• 1 tbsp. salt
• 1.5 tbsp. cinnamon
• 3 tbsp. lemon juice
• 2 tbsp. white flour
• 1.5 teacup brown sugar
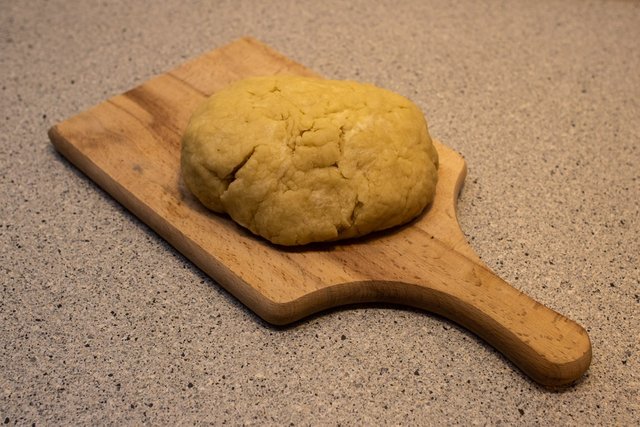
Let’s be smart and start with the dough first. Put the flour and the salt into a large bowl and mix them with a fork. After that start adding both the melted butter and the melted coconut oil and continue mixing with the fork. Then you would have to slowly add the ice-cold water and mix well until you have a soft crunchy dough. It should look like the one on the photo. Put it in the fridge to cool down - it should be ready in about 15-20 minutes.
While the dough is cooling down it is time to prepare the apple filling. First, you have to peel the apples and cut them into thin and small pieces. Yes, I know that this part might be a bit frustrating but when you will thank me later when you see how good they have soaked up the divine sauce.
Place them in a bowl big enough to mix them later.
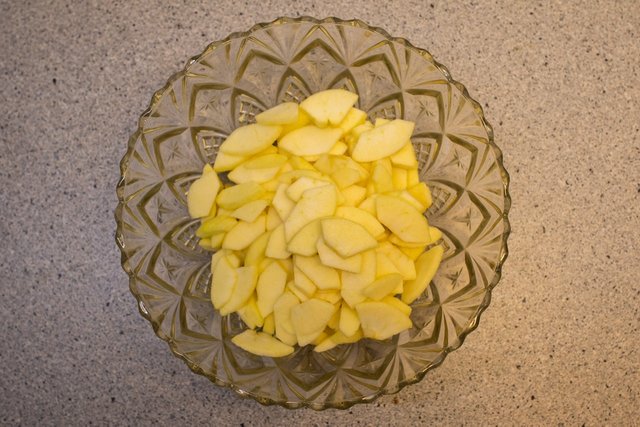
After that, pour all of the ingredients in the bowl.
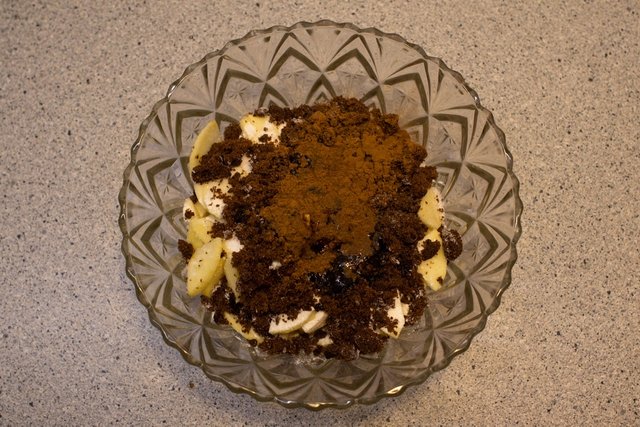
Then stir everything well until you see no clean apple slice. They should be evenly covered in the sticky liquid-ish mixture of brown and white sugar, lemon juice, cinnamon, flour, and salt.
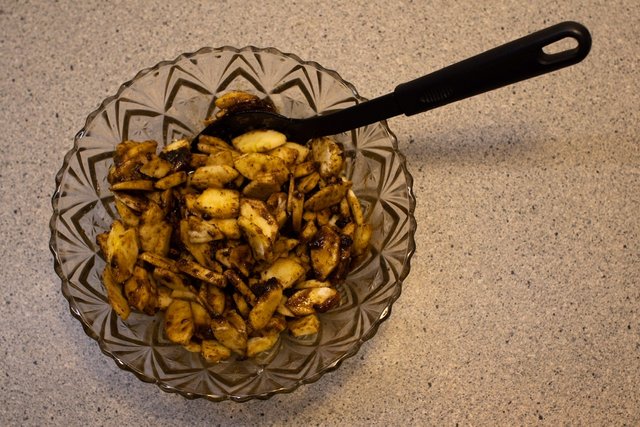
Leave that mixture in the fridge for 10 minutes to cool down as well.
It is time to take the dough out of the fridge and preheat the oven to 200℃.
Divide the dough into two parts - one should be a bit bigger than the other. Then, with the help of a rolling pin, roll out the dough - it should be big enough to cover your tray. Cut a circle shape and place it in the tray (if you are out of baking paper as me you can just pour some oil, spread it around the tray with your fingers and pour some flour on top of it to create a layer that will prevent sticking).
Then cut some strips from that same dough and place them on the sides of the tray.
You can now take the filling out of the fridge and spread it evenly on top of the lower layer.
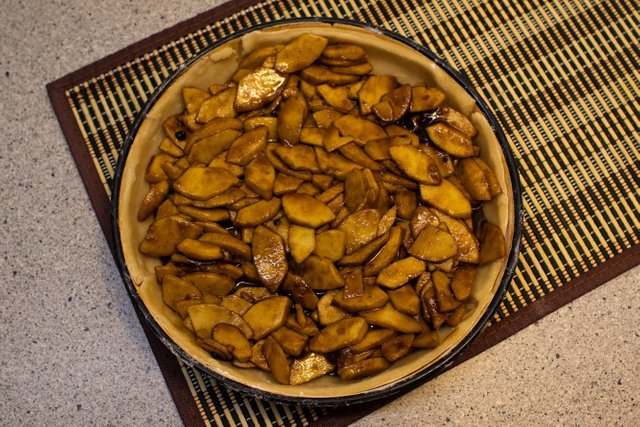
Now take the second “smaller” half of the dough and roll it out. You have to again cut it into long strips - long enough to cover the surface of the tray and create the iconic pie pattern.
Of course, if you want to go creative, there are many different ways to decorate the upper layer of the pie but I prefer to go traditional with that. Your final piece should look like this:
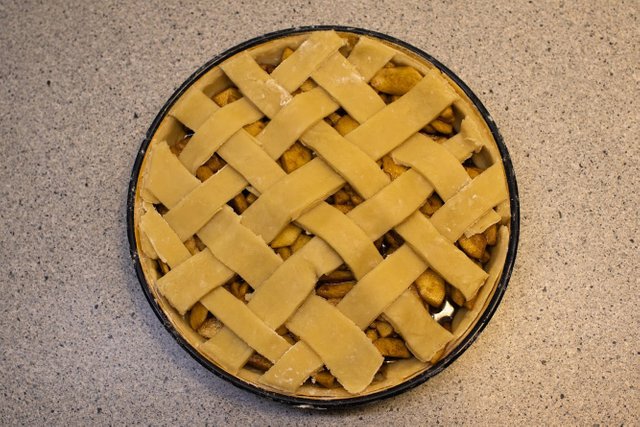
Put it in the preheated oven and baked for 40 minutes. If the filling still has some liquid, you can use the fan option on your oven and leave it like this for 10 additional minutes. If you don’t have that option, you can just lower the temperature to 100℃.
You baked pie should smell heavenly and look like this:
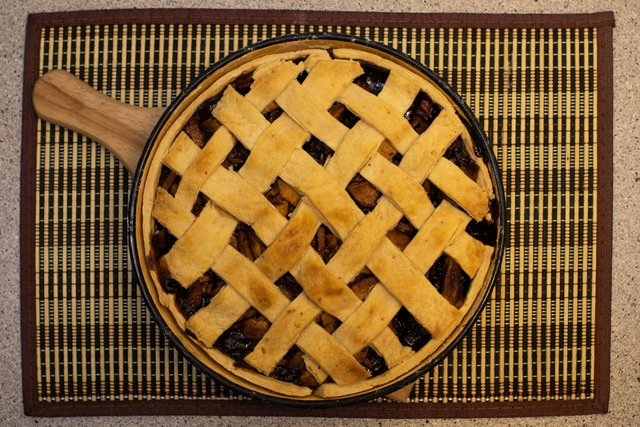
For the presentation, I have decided to go with a simple flower decorated plate and put a scoop of vanilla & cookies ice cream on top. This is going to soften the taste and of course, ad some serious amount of sugar to your dessert but not to worry.
Although it is better to wait a little bit to cool down before serving, you can just go for it and cut a piece in the first 10 minutes as we did at home.
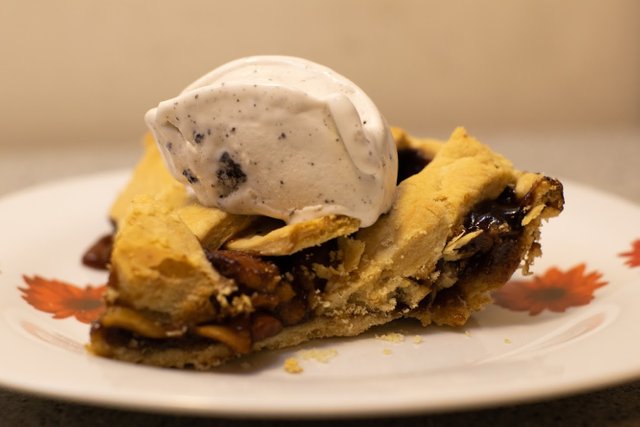
Of course, if you want to be totally traditional you can just serve a piece of the pie on its own without any decorations or additional things.
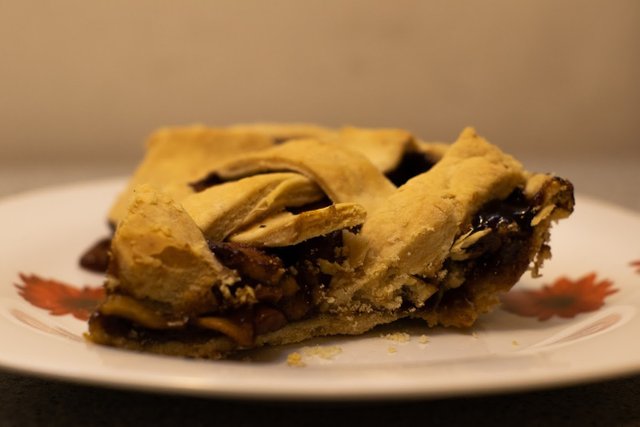
Well, this was the recipe and I do hope some of you prepare it at home for yourself and your family. I will be more than happy to see some photos and hear what do you think about it.
Enjoy life and stay delicious,
Chef Dimitrova
(All of the photos for this recipe are original and are shot by @rorxco. Thank you for those highly professional photos, Roro!)
Sounds and looks yummy. You can also make apple dumplings with much the same recipe. The difference is that you dice the apples and roll the dough a bit thinner, cut it into six inch squares. You place about 1/4 cup or less of the apple mixture in the center, then fold the dough over the mixture, pinching the edges together. When you fold the dough together, leave as much space between it and the apple mixture as convenient to still firmly sealing the folds together. Lay the packet on a cookie sheet with baking parchment, fold-side down. Then, baste each packet generously with clarified butter, and bake until golden brown. Dust lightly with cinnamon and baker's sugar after cooling.
Wow, @momzillanc , thank you for sharing! You sound like a person who do love apples.
Some time ago I have also tried preparing little roses from from fill pastry and apple slices and they also turned out to be crazy delicious:
https://steemit.com/colorchallenge/@misskate/apple-filo-pastry-roses-monday-color-challenge
Nice recipe! Can I try it free? I mean can come and eat if it is safe and delicious? 👌🤪
Posted using Partiko Android
Hello, @parth7878, I can say that my food is non-poisonous as last night me and my boyfriend @rorxco tried them and we have managed to wake up this morning.
Also we are always open to have guests at our place but of course we try to focus on non-creepy people! 🙂
Have a wonderful day!
Please forgive for my rudeness. And hello to your bf @rorxco, I had experimented by my cousin little sister. She tried a traditional dish called dhokla😬 once! I can't forget the taste she made. But she is cute. I couldn't say single word to her.😅 Omg! I can't blame same taste to others! sorry 🙈💛! She often call me when she tried to make new dishes.
Thanks for your generosity for welcoming nature towards guests. And I think my impression is bit creepy here.😅 Believe me I'm little bit talkative. Nothing more. I can't help myself by being silent.
Wishing you good time. 👌👀
Questo post è stato condiviso e votato dal team di curatori di discovery-it.
This post was shared and voted by the curators team of discovery-it
Thank you very much, @discovery-it! 🙂
Congratulations @misskate! You have completed the following achievement on the Steem blockchain and have been rewarded with new badge(s) :
You can view your badges on your Steem Board and compare to others on the Steem Ranking
If you no longer want to receive notifications, reply to this comment with the word
STOPTo support your work, I also upvoted your post!
Do not miss the last post from @steemitboard:
Vote for @Steemitboard as a witness to get one more award and increased upvotes!
This post was shared in the Curation Collective Discord community for curators, and upvoted and resteemed by the @c-squared community account after manual review.
@c-squared runs a community witness. Please consider using one of your witness votes on us here
Hey @misskate! We've manually upvoted your post with both accounts, @build-it.assist and @build-it.curator.
As a matter of interest, there's a tribe on the steem platform known as Build-it that accommodates all DIY, How-to tutorials, and life-hacks respectively.
Your DIY/how-to tutorials get rewarded with the tribe's token known as BUILD upon posting via our website or by using one of the recommended tags; #diy, #how-to, #build-it, #build, and #doityourself. Chat with us on our discord and telegram channels Discord, Telegram. Are we adding value ? your witness vote will be appreciated! Click here to vote