Vegan Homemade Dairy Free Coconut Ice Recipe
Sorry for the delay in posting this recipe for you @essensdurst.
So it is really simple.
The usual (dairy) recipe would look something like this
1:1 ratio of caster or icing sugar to desiccated coconut
condensed milk
red food colouring
In my version I substitute the condensed milk for a can of coconut cream and lower the sugar to coconut ratio.
1 can of Coconut Cream
Icing or Caster Sugar (less than 500g)
Desiccated Coconut (500g or less depending on batch size)
Red Food Colouring
Step 1.
Make your dairy free condensed milk. To do this empty a can of coconut cream into a small pan and get it simmering over medium heat. Add 'a bunch' of caster sugar. Sorry my measurements aren't exactly accurate. You'll want to pour enough in to create a bit of a 'sugarberg', the bottom will begin to dissolve into the cream but you'll have an inch or two sticking out at first. Something in the region of a large cup worth.Control the heat to make sure no burning occurs on the bottom. Stir every so often. Simmer the mixture until an inch or so of water content evaporates off.
Taste the mixture - does it taste as sweet as condensed milk? Add more sugar if not. Don't be scared if it tastes far too sweet, but you should be able to scoff a few spoonfuls without feeling sugared out :)
Remove from the heat and let the mixture cool to room temperature.
Step 2.
Dry Ingredients. In a bowl measure out 2:1 ratio of desiccated coconut to icing/caster sugar. For the tray and quantity I use I tend to us one 500g bag of coconut to around 250g of sugar. Again the sweetness level is up to you so if you really want to make it sweet add another 50g of sugar or more and if you want it less sweet put in less sugar or add more coconut. It's not rocket science. he he.Once your condensed milk is cool enough pour in bit by bit until you get a firm, sticky mixture.
You may not need the whole pan of condensed milk depending on your choices with the sugar and coconut.
Step 3.
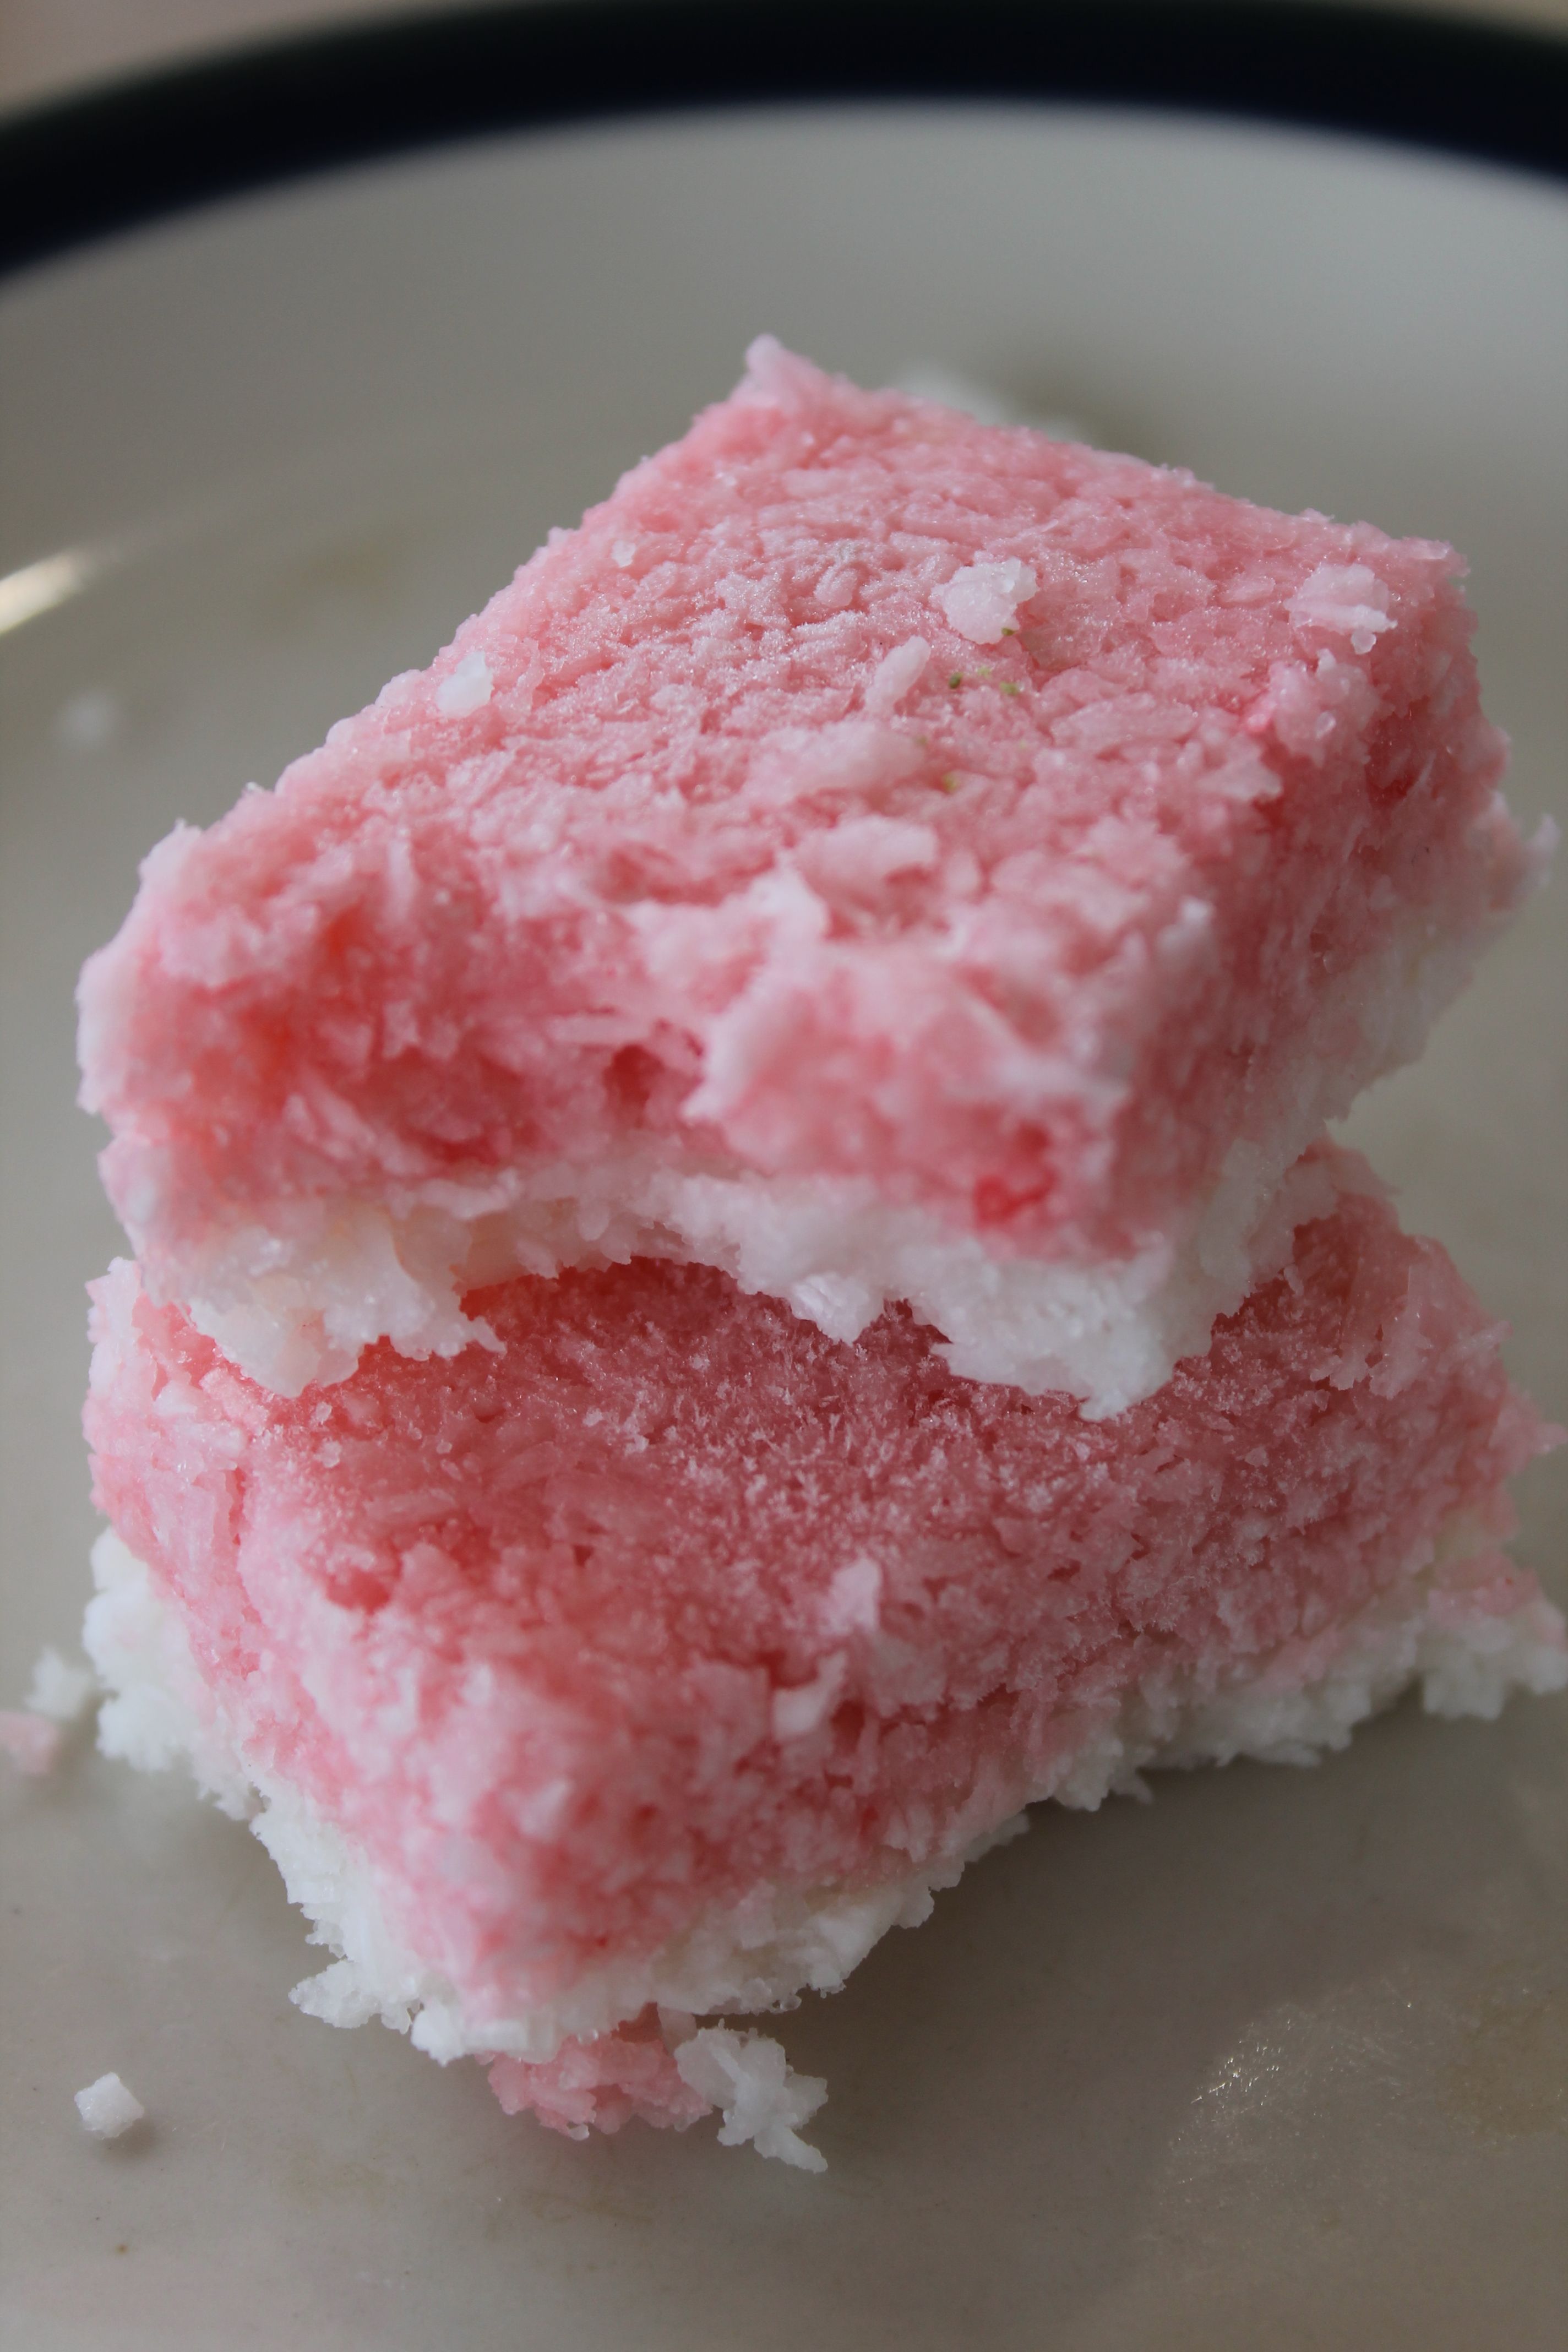
Creating the slice.Seperate the mixture into two equal amounts. Spread one in the bottom of a baking tray lined with baking paper until about and inch ,give or take, thick. Then using the back of a spoon continue to lightly press and smooth the layer until you have compacted the coconut together nicely.
Take the other half of the mixture and add a few drops of red food colouring. Stir well until an even pink colour is achieved. Pour this mixture on top of the first layer and repeat the same method for spreading an compacting it as before.
Step 4.
Cooling. Place the tray into the refrigerator for at least 8 hours.Step 5.
Cut into 1 or 2 inch squares and EAT!We like to freeze the batch and enjoy them straight from the freezer for extra firmness and pleasure :)
I'm sorry I do not have any photographs of me actually making this. If you feel like this would benifit from more photograps and instruction please feel free to comment below.
For more recipes check out my partner and I's food truck business account @piratefoodco along with useful homesteading and gardening advice.
Have a SWEET day Steemians!
thanks for to take recipe step by step. i will try it . it seems very healthy and delicious