TUTORIAL ON HOW TO CUT JUMP SUIT WITH BELL HANDS
Hello Steemians, it’s a beautiful sunny afternoon here and I`m glad to be on this great community once again to offer you the very best in the fashion world. So sit tight and enjoy another amazing tutorial from your most loyal and original Fashionista @fashionlink.
Today I`m going to be making a detailed post on how to cut jump suit in a very easy way if not the easiest possible way, and I promise you that by the time you finish reading this article you will have known and master the act of cutting jump suit without any problem.
Fashion on its own is an investment because looking good is a good business.
Jump suit is one of the latest preferable styles for our ladies these days because it offers us the chance to move and walk freely without any hindrance which wearing separate skirt and blouse or trouser and blouse may cause us and just as the wearing is so easy such is the cutting too, so sit down tight and let set the fashion world on fire.
THE NEEDED MEASUREMENTS TO BE TAKING AND CUTTING MATERIALS NEEDED
Measurement needed: full length, half-length, burst, waist, shoulder/back, trouser-length, hip, tight, kneel, ankle, sleeve and round-sleeve.
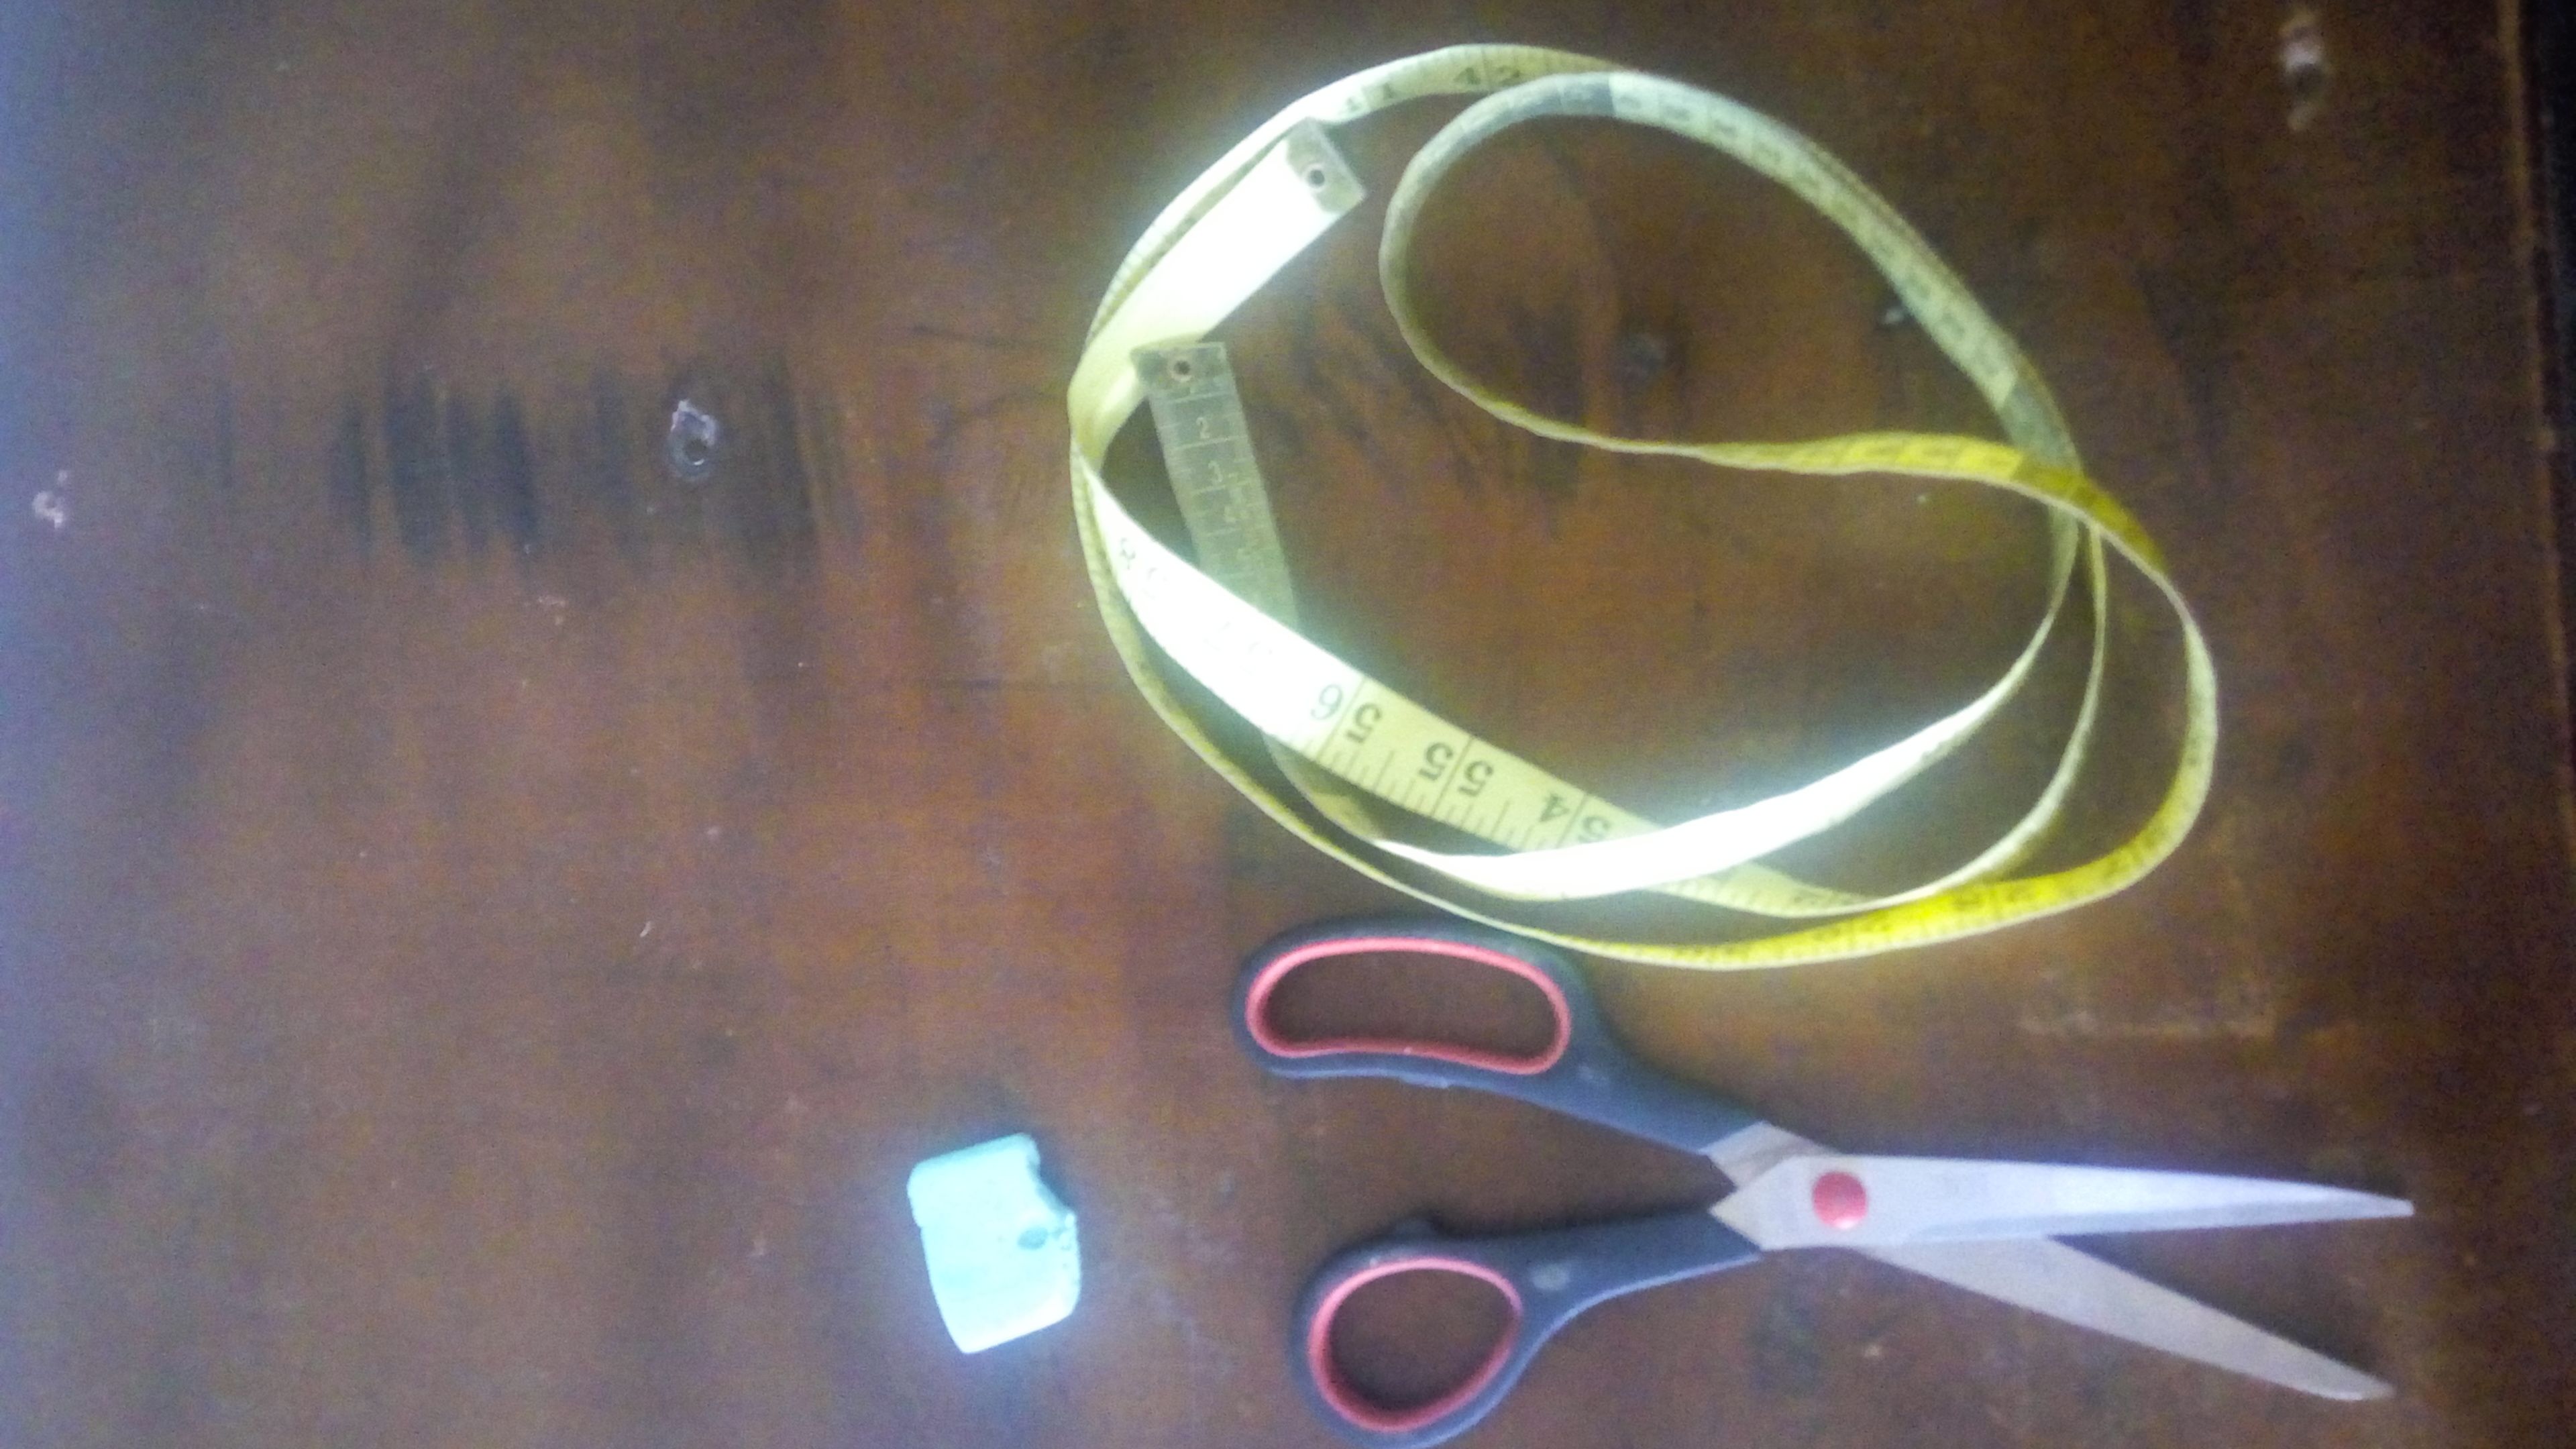
Scissors
Tape rule
Tailor chalk
THE MEASUREMENT TO BE USE FOR THE TUTORIAL
Full length: 57
Burst: 36
Waist: 29
Hip: 38
Back: 14
Sleeve: 18
Round sleeve: 10
Half length: 15
Trouser length: 42
Tight: 22
Knee: 20
Ankle: 18
CUTTING OF THE JUMP SUIT UPPER PART
Step 1
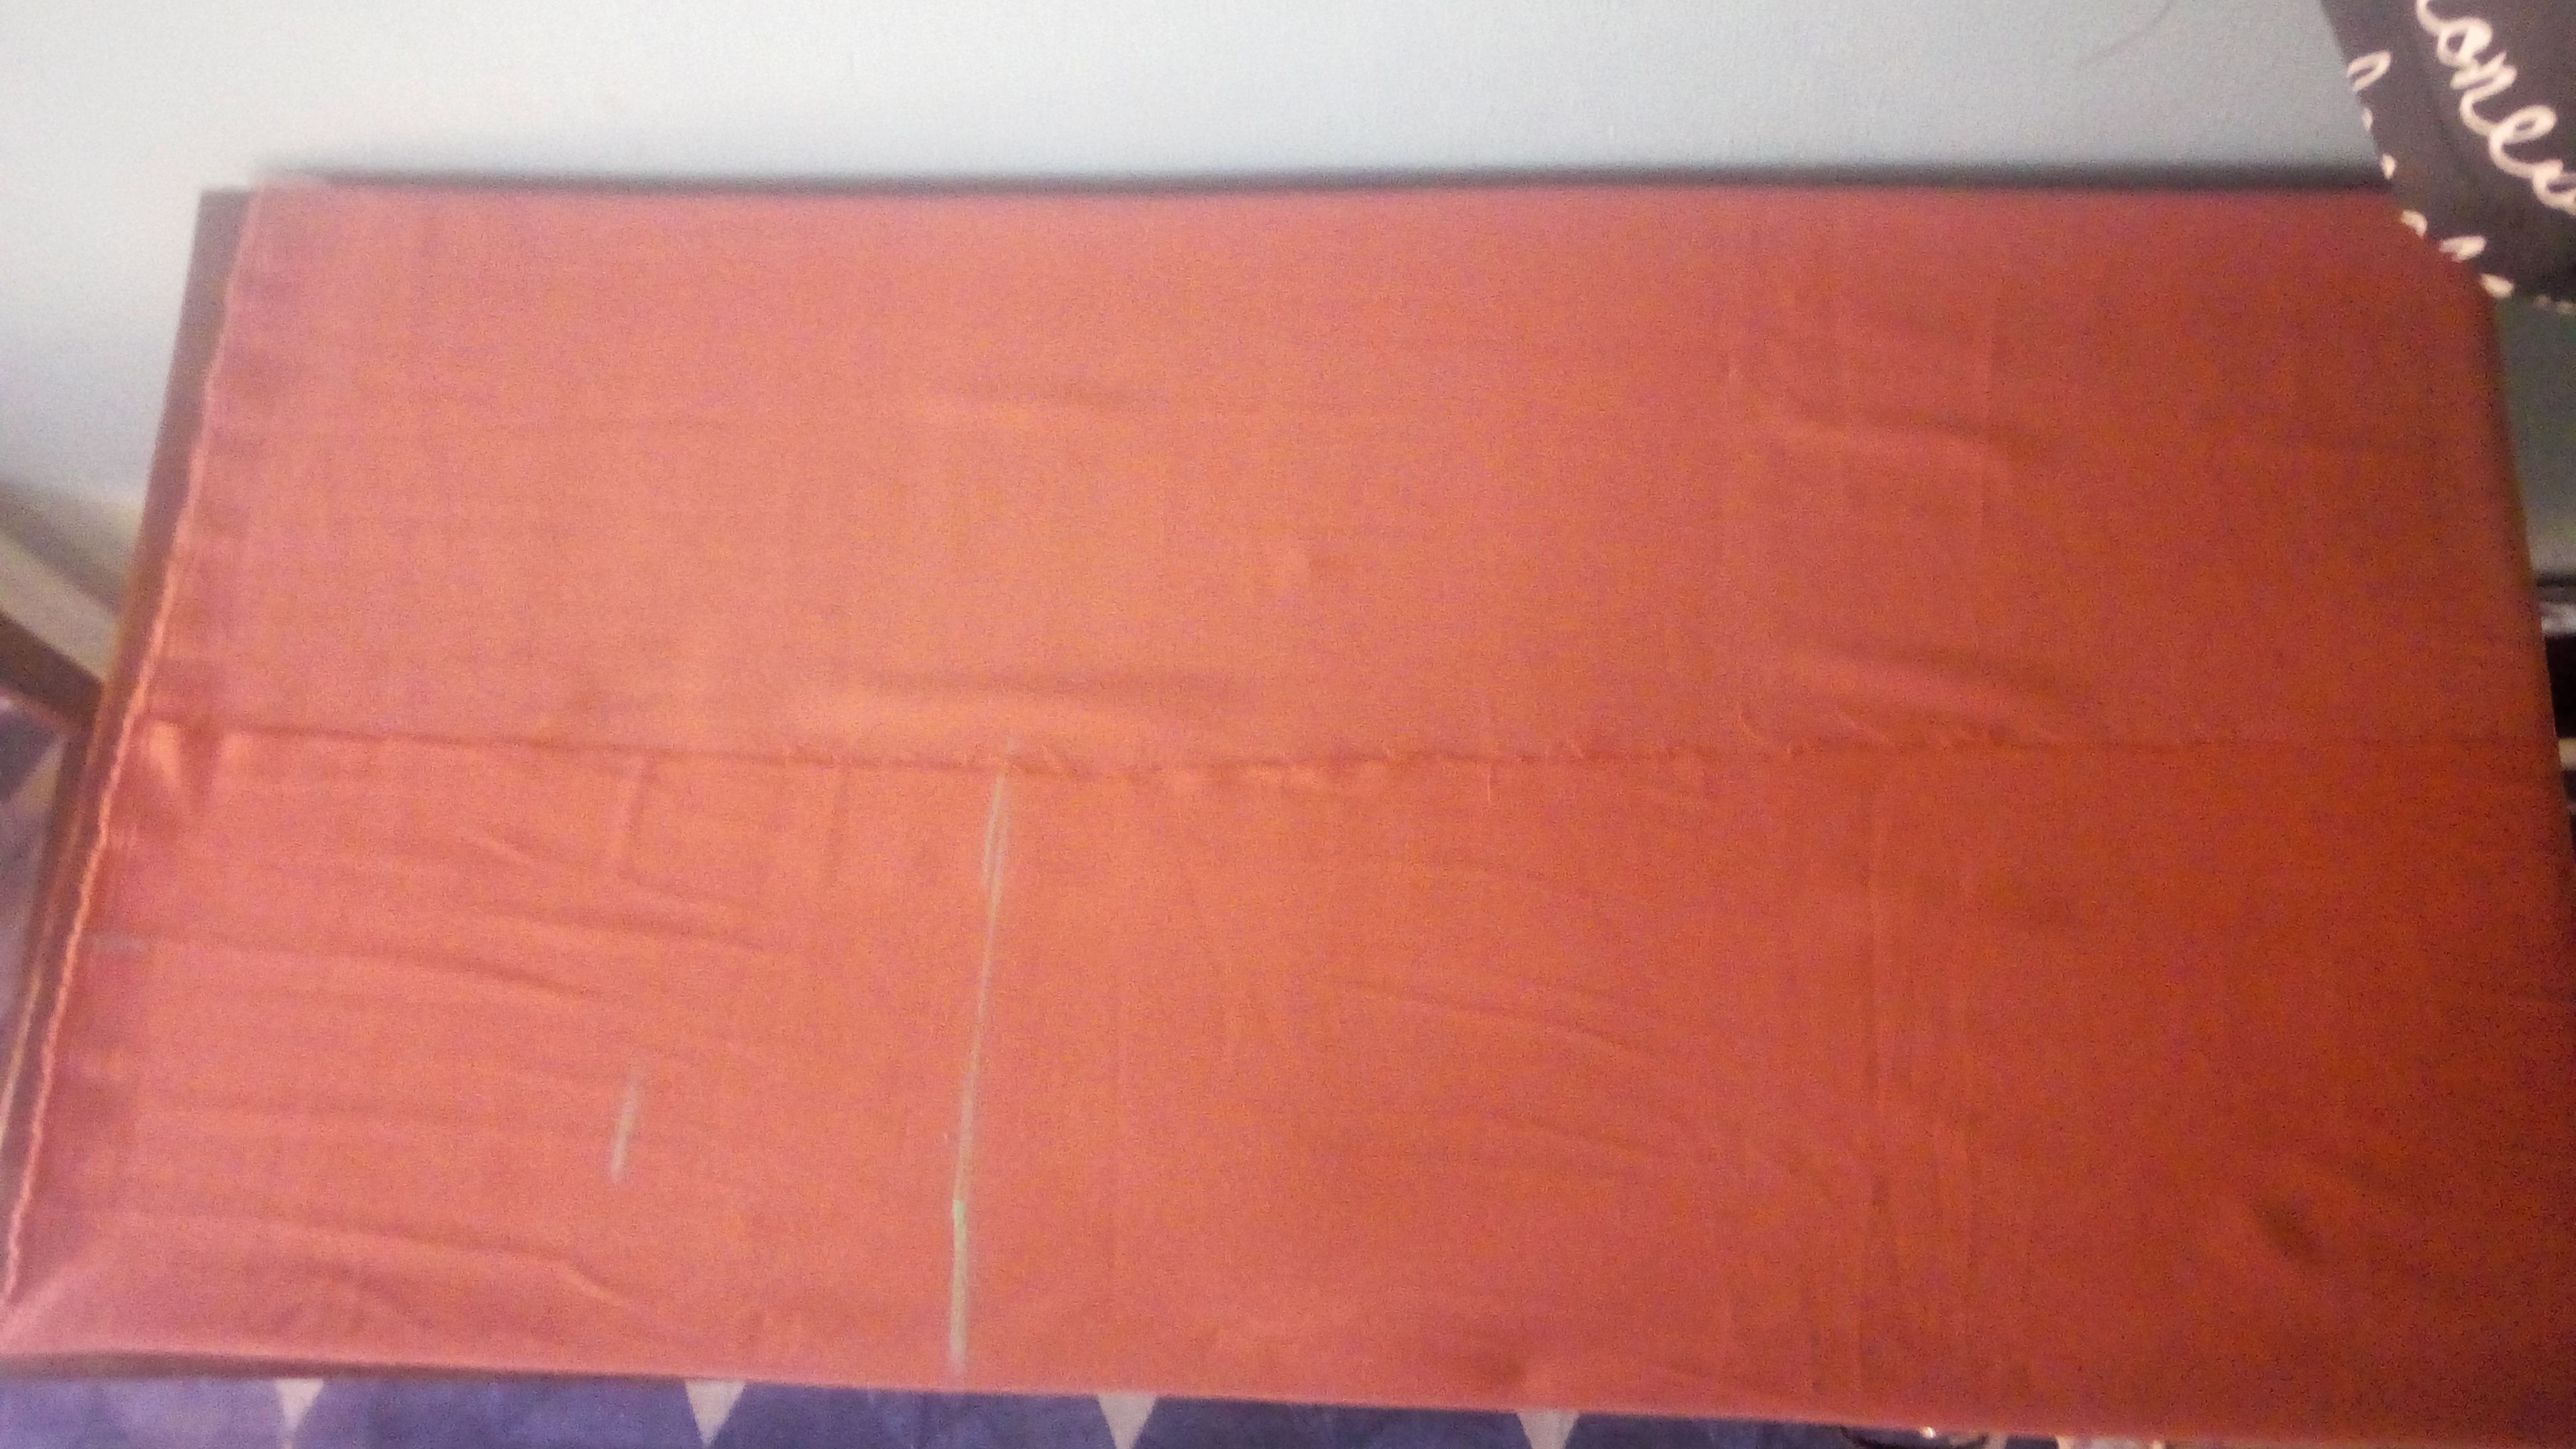
To cut the front part, lay your material on the table and fold it into two equal places depending on the size of burst measurement taken plus 2inches allowance, then locate your half-length from the shoulder “averagely your half-length should be in-between 15inches to 17inches” depending on the measurement taken.
Step 2
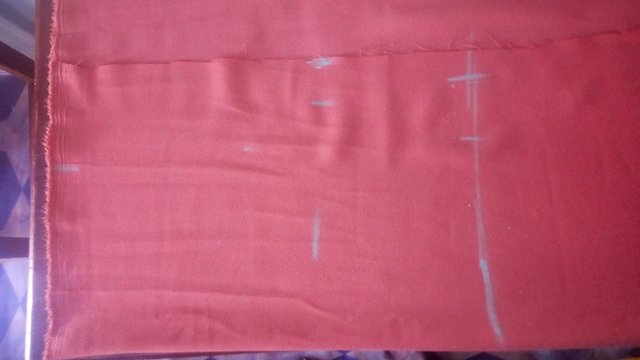
Locate your shoulder/back, burst, waist. The length of the burst should be 10inches from the shoulder and waist should be 16inches. Measure your burst on the 10inches located using your measurement divided by four. For example; if your burst is 36inches, divided by 4 it will give you 9inches. Mark your 9inches on the cloth and add 2inches for your allowance. Do the same for the waist by dividing your measurement by 4 and add 2inches as the allowance.
Step 3
Then the next thing is to locate your armhole, you will locate it from your shoulder/back, I mean the 14inches you folded into two that give you 7inches, place your tape-rule on the 7inches and measure it down to 8inches before the 10inches for the burst.
Then make a straight line from the shoulder straight down to the 8inches notch before the burst 10inches and curve it to the 2inches allowance added to the burst.
Then use the tailor chalk to Shape out the armhole, burst and waist located and cut it out at the half-length.
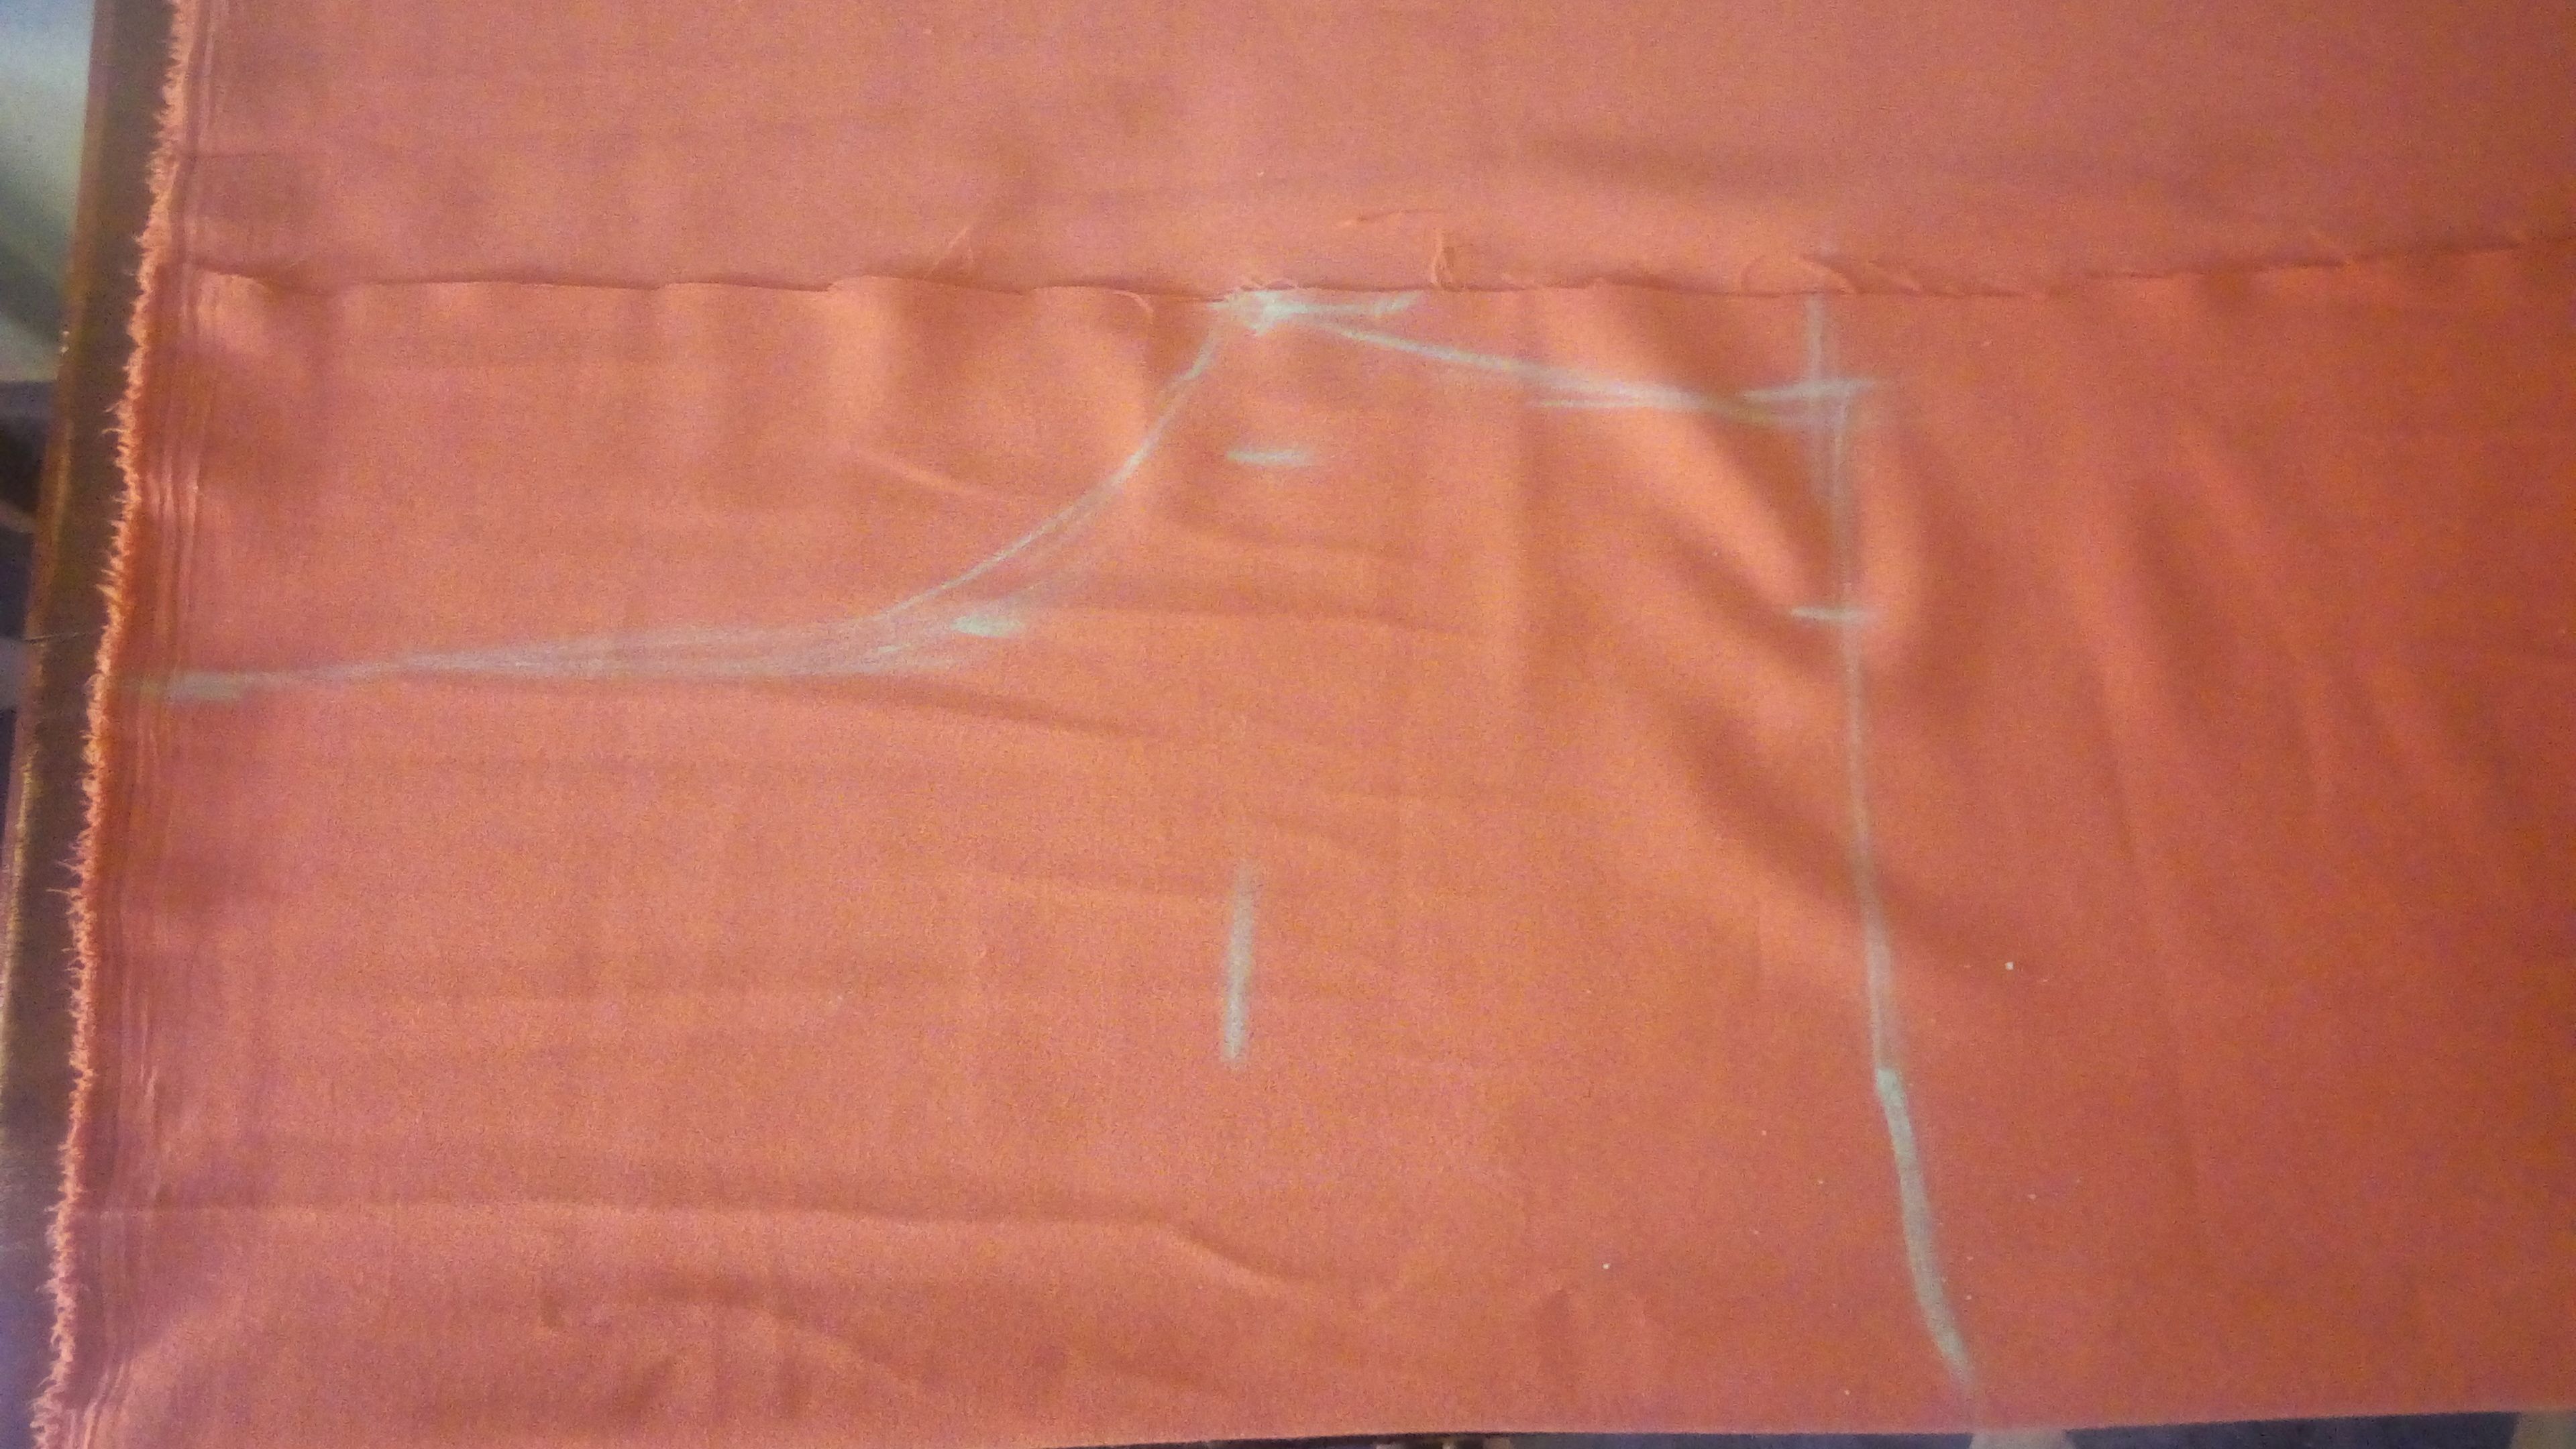
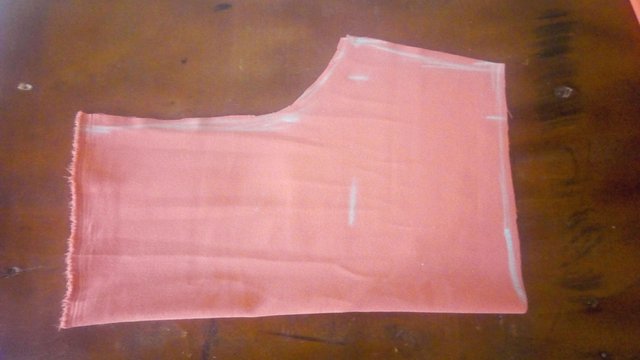
Step 4
The next thing is to cut the back part, fold the material into two again with the same measurement as the front side but let it be 2inches wider than the front part folding measurement, then place the front on the back leaving the 2 added inches to serve as the zip allowance, after that follow the front shape and shape the back out too.
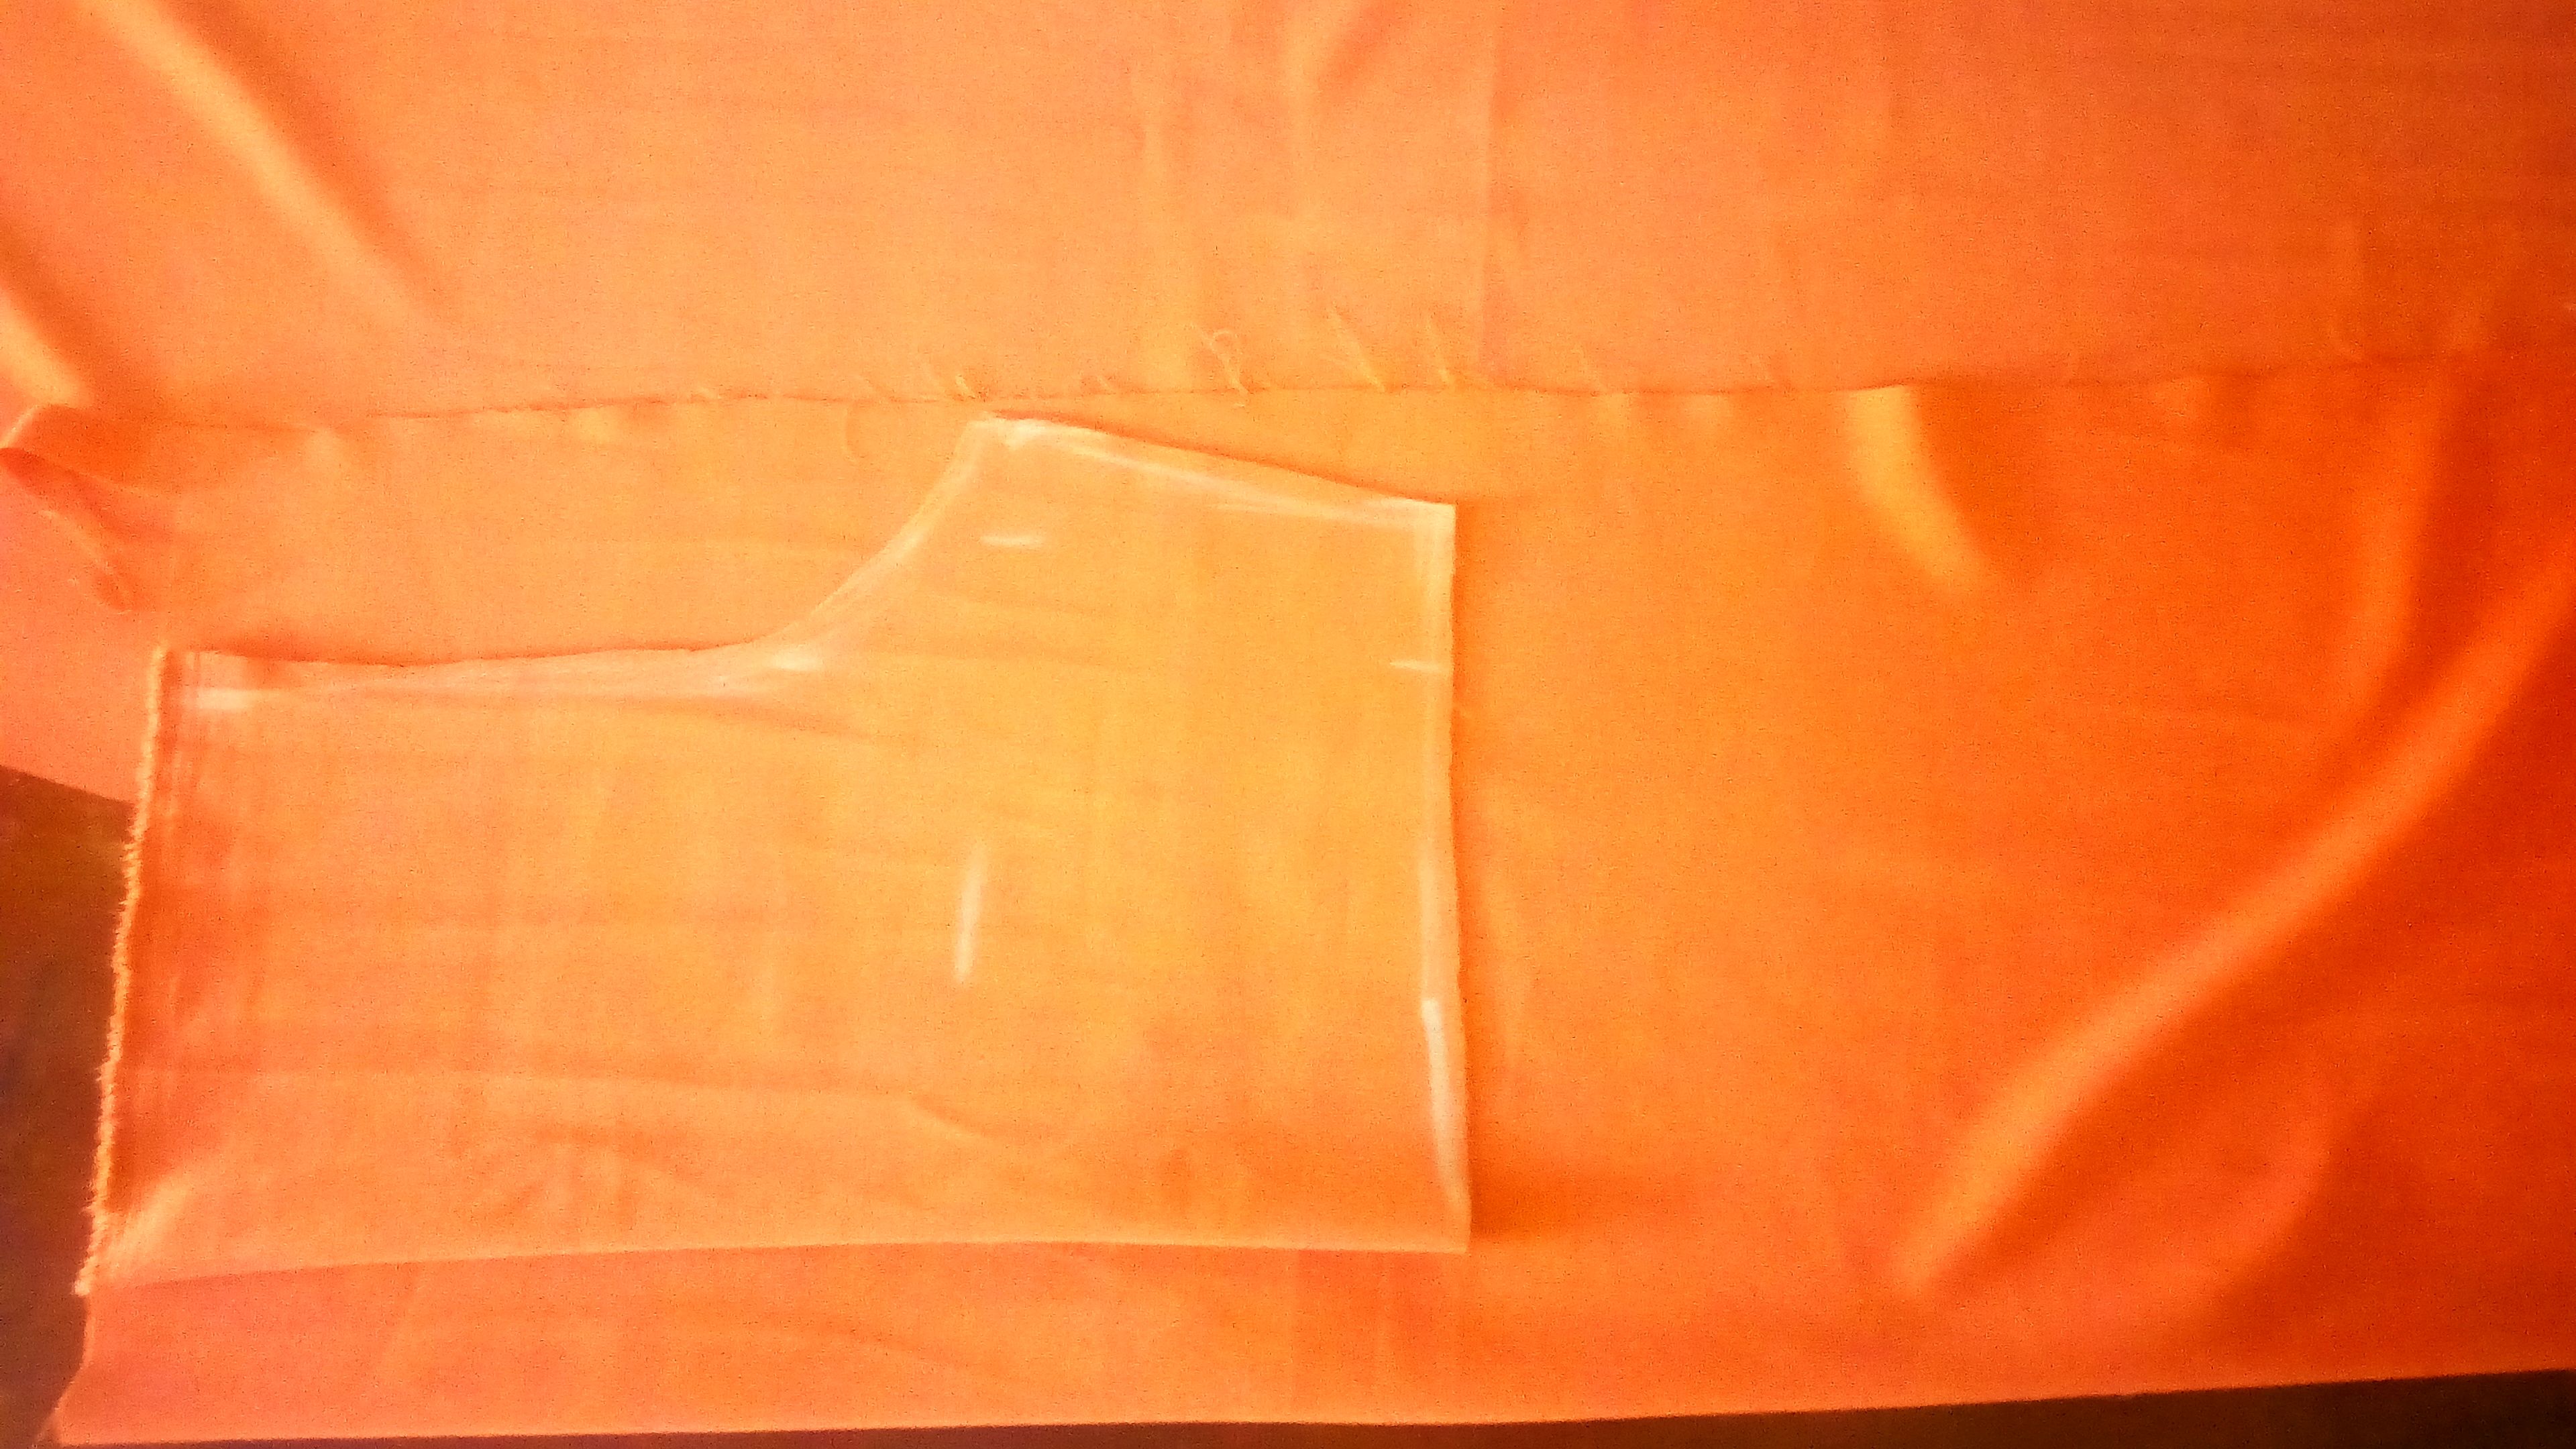
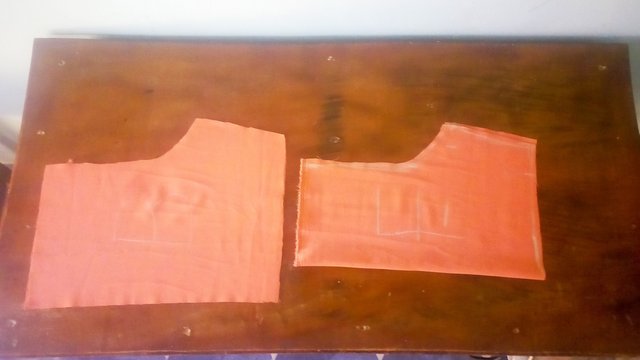
Step 5
The next thing is to cut out the neck both back and the front together, you just have to place the back on the front then put your tape rule on the shoulder and measure about 4inches to 5inches depending on how wide you want your neck to be, measure it sideward and downward then notch it with your chalk and then shape it out to cut.
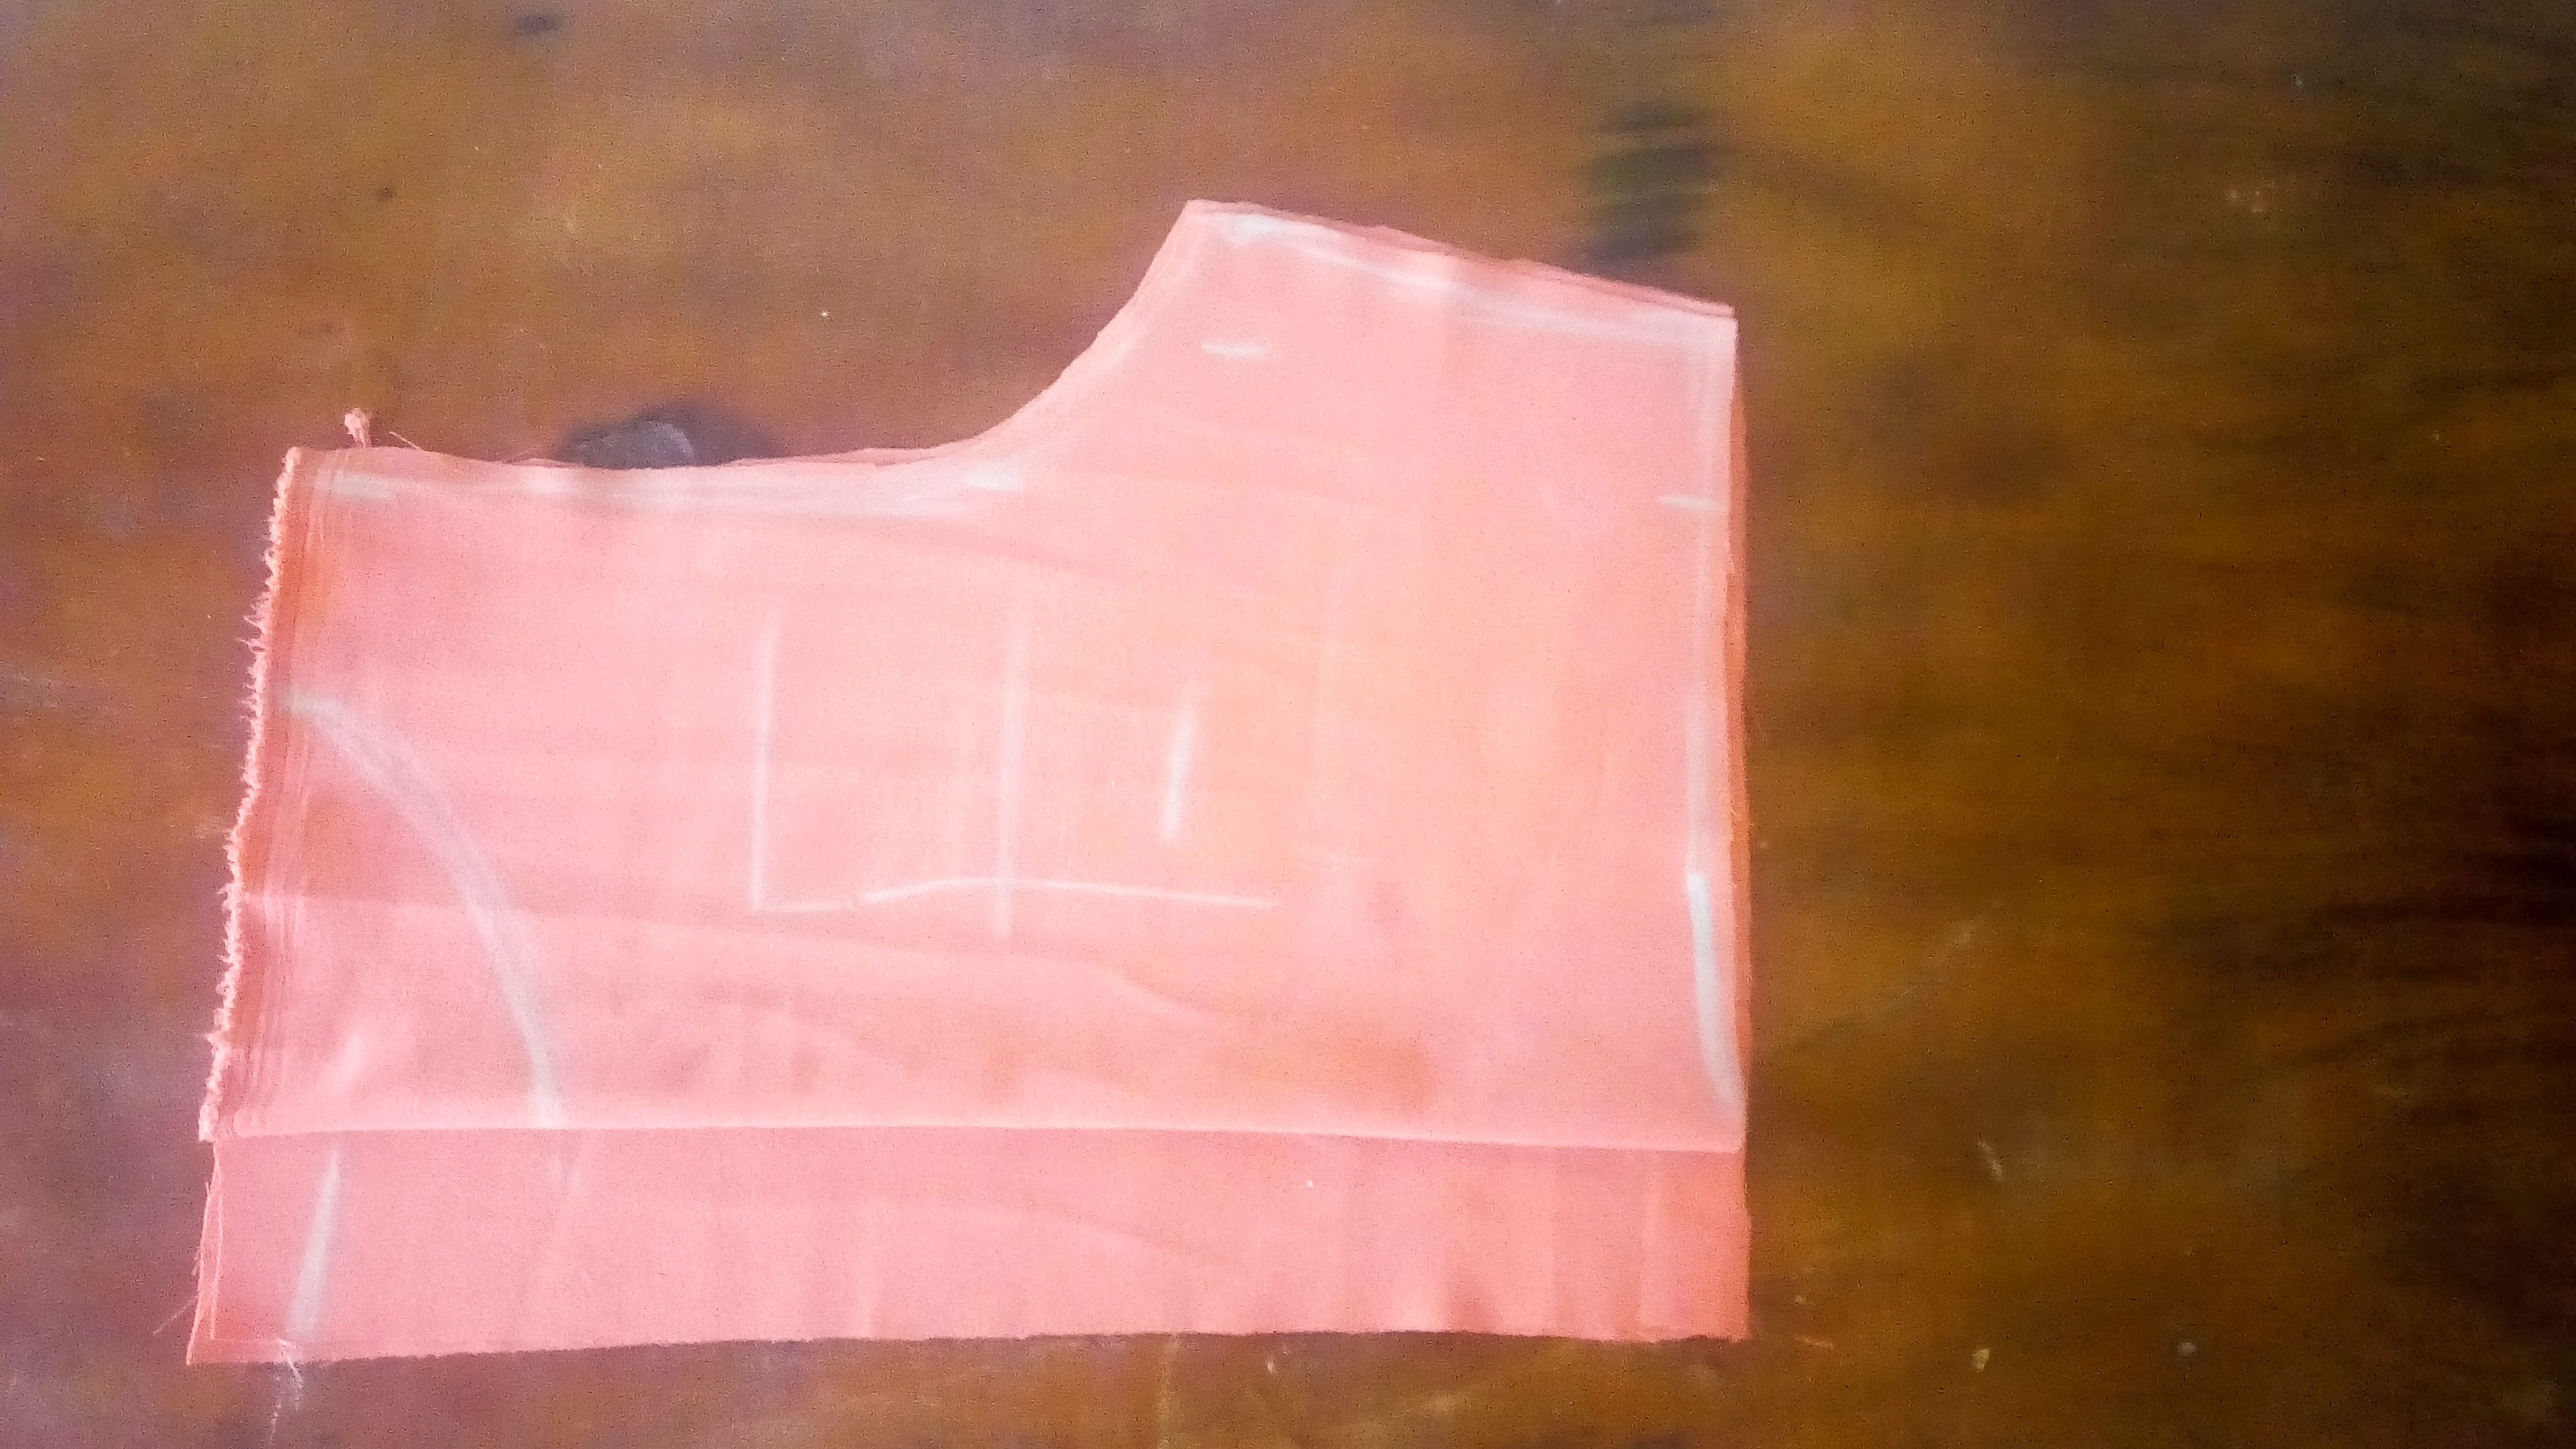
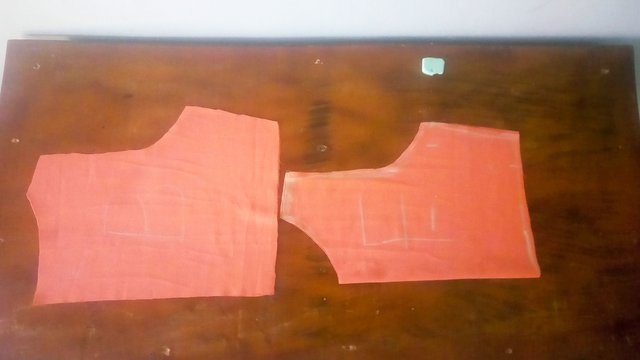
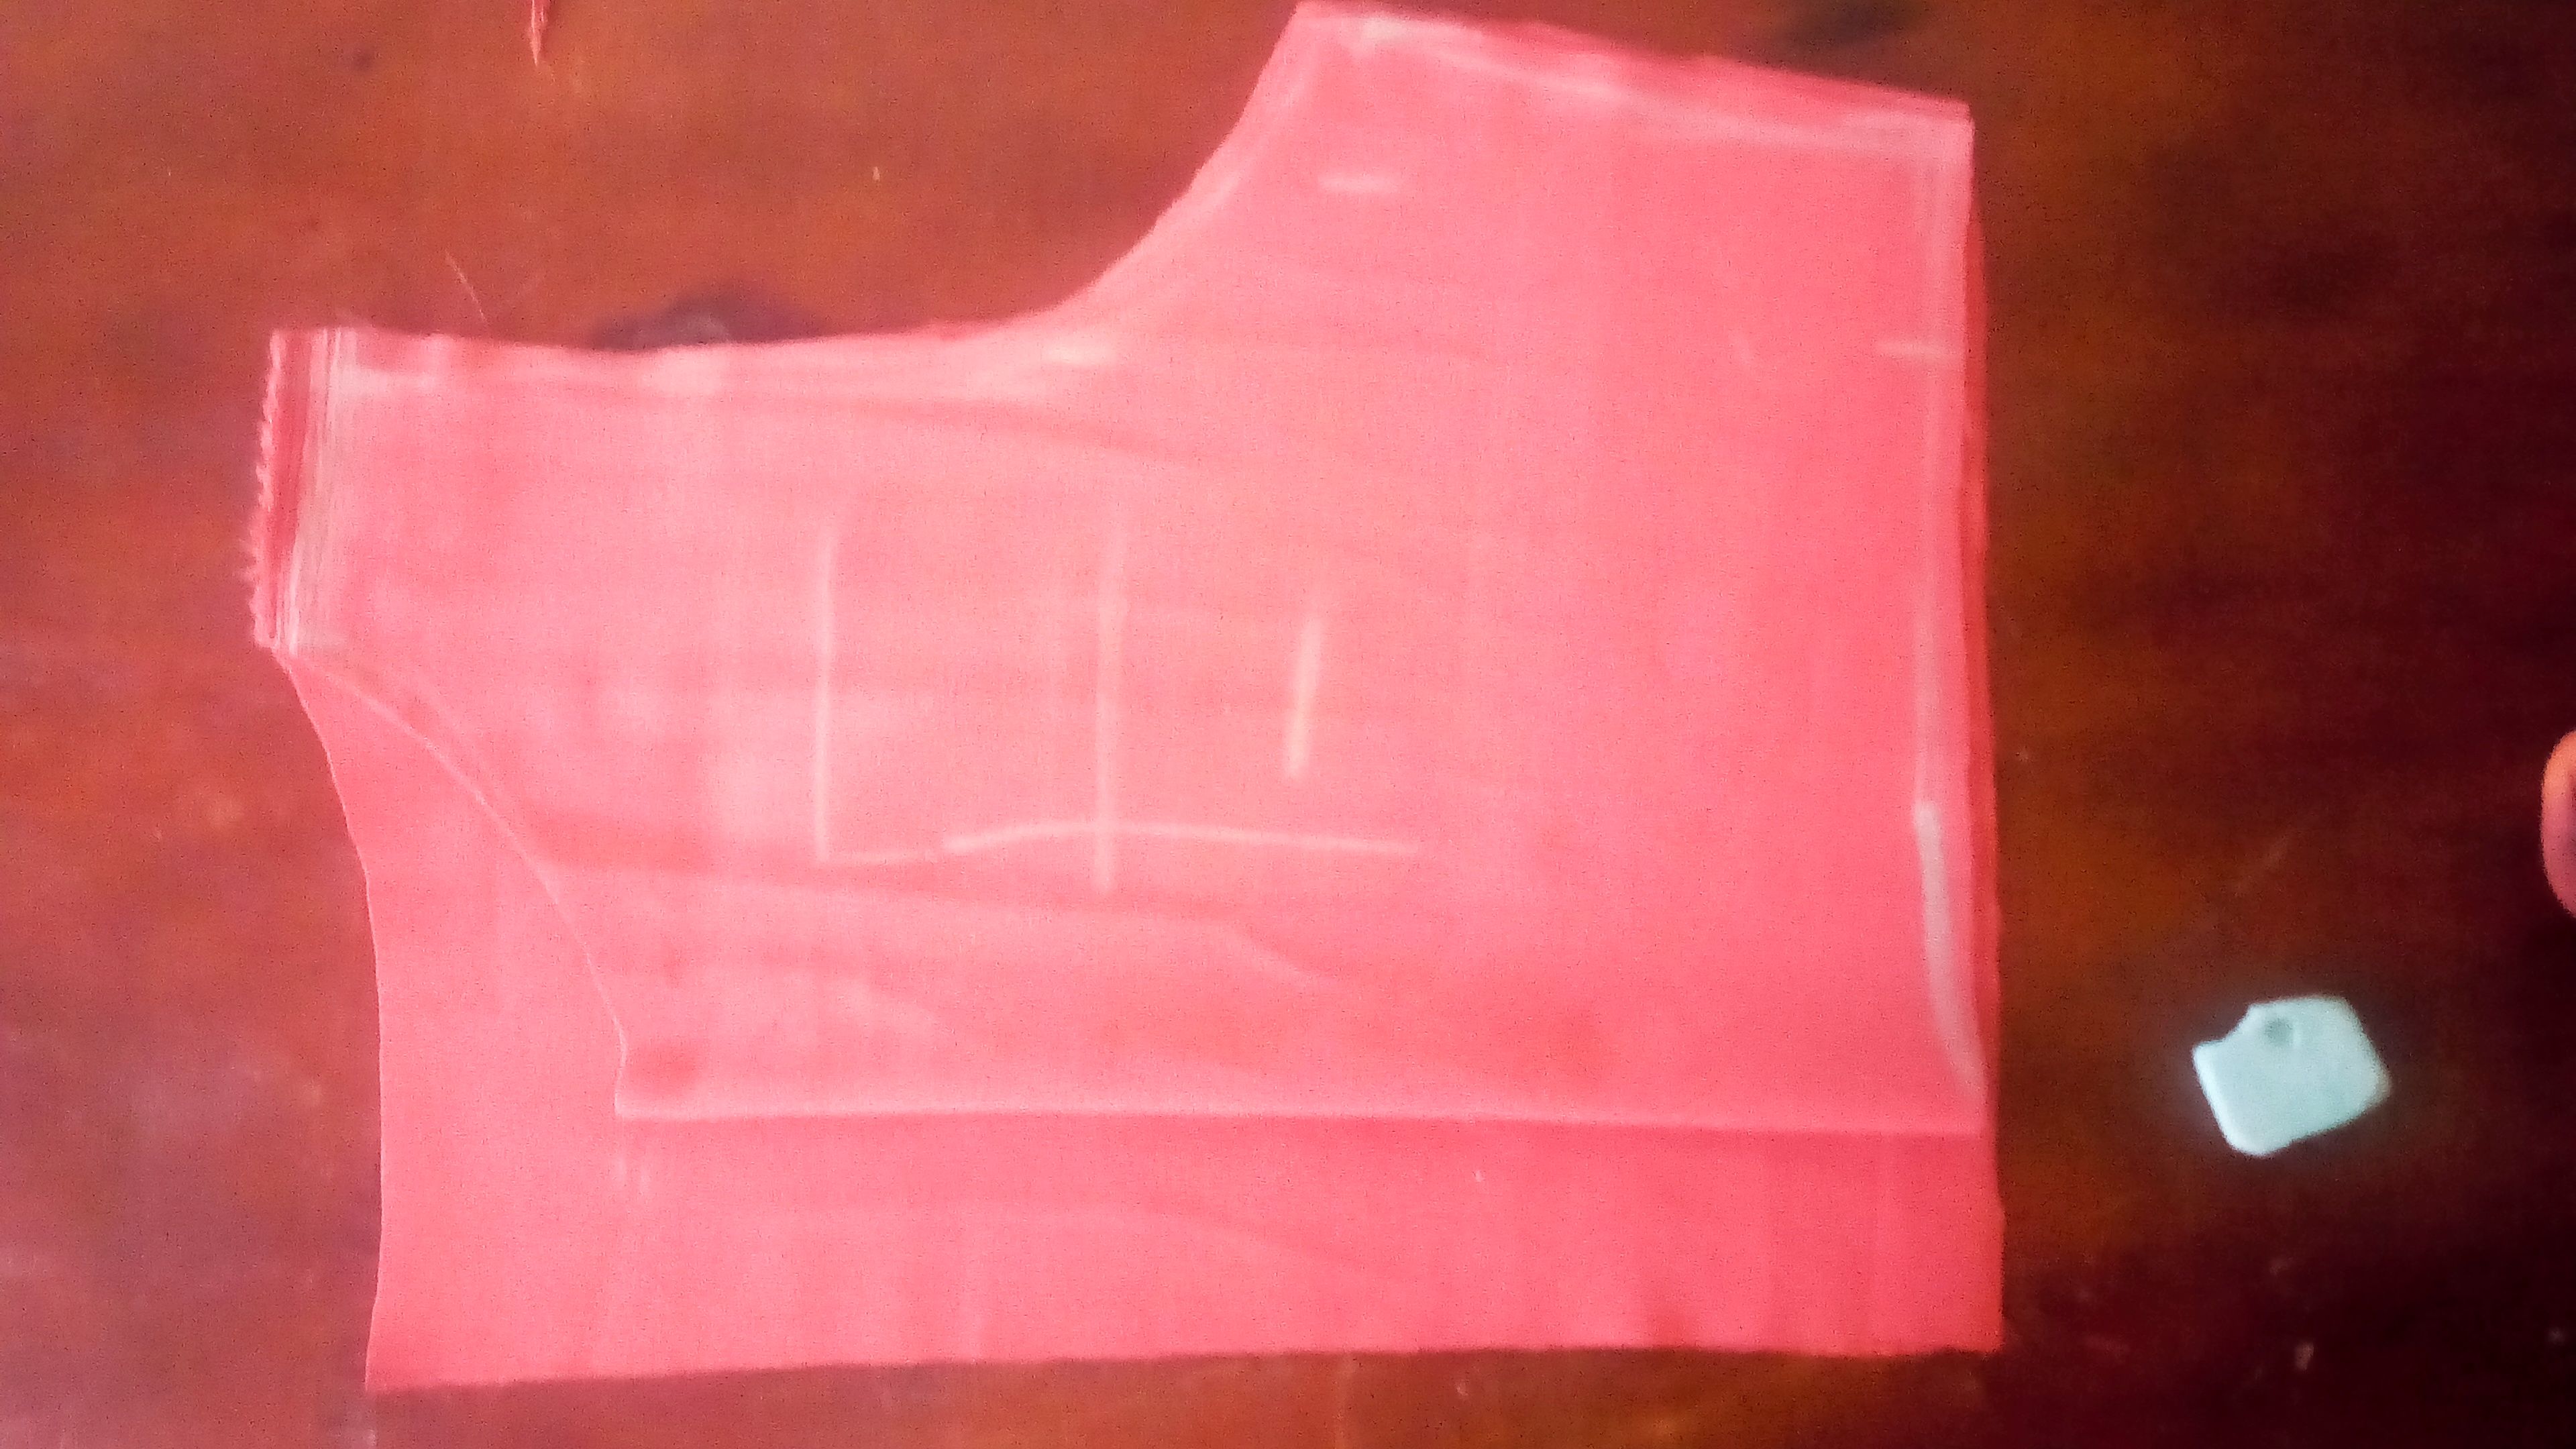
You have finally cut out your half-length which is the upper part of the jump suit from both front and the back, now let move to how to cut the hands.
TO CUT THE BELL HAND
Bell hand in the sense that it has bell-shaped i.e. having a shape or cross-section like the cross-section of a bell.
Step 1
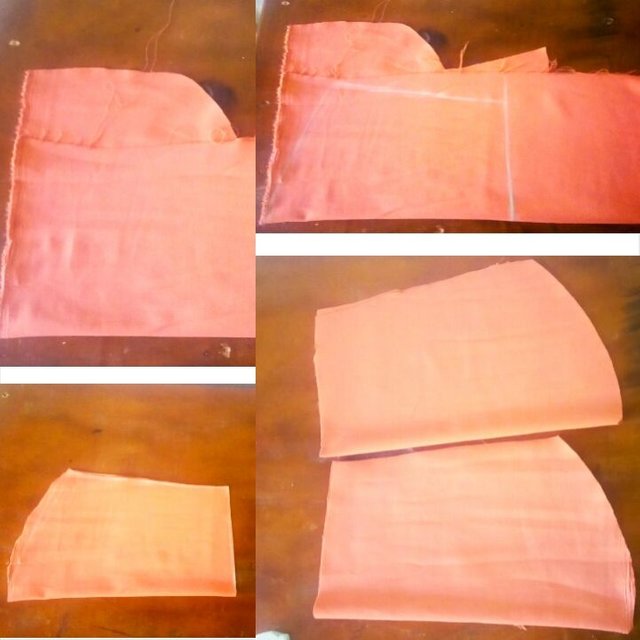
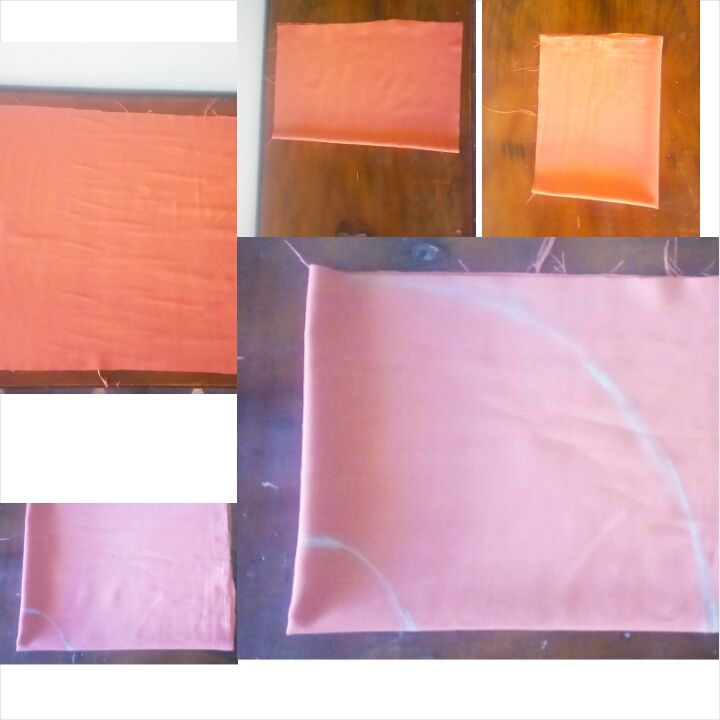
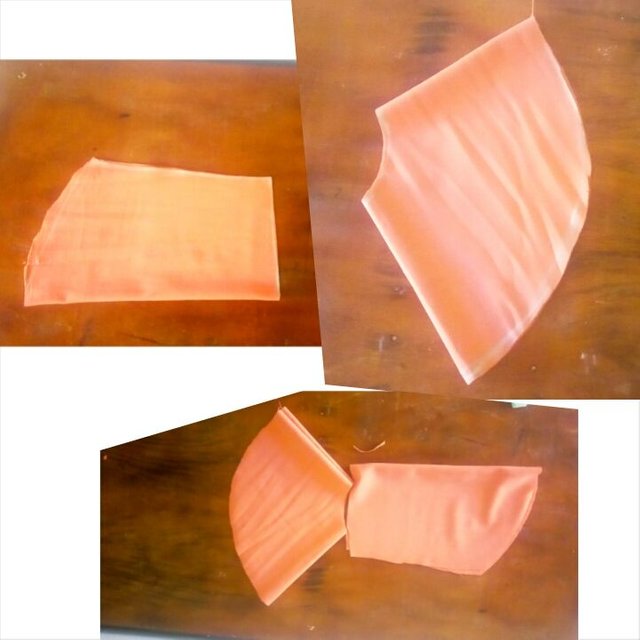
Firstly, cut out the straight part by using your sleeve measurement and your round sleeve. Fold the material into two locating the length you want, and then curve your armhole to be about 9inches wider and curve like about 2inches downward, then shape it down to the length located.
To cut the second hand, just fold the cloth into two and place the first one on it then cut it out.
Step 2
Secondly, to cut the bell shape which we normally call free-yard, fold the material into two equal parts and then fold it again equally to make it folded into four equal parts, sideward and downward notch about 4inches with your chalk and curve it out with your tailor chalk from the tip of the folded cloth, following the curve specification needed according to the measurement taking, place your tape-rule on the formed semi-circle then measure and trace out the length and shape needed for the curve then shape it out accurately and then cut out your bell-shape.
To cut the second hand, just fold the cloth into four equal pieces and place the already cut bell hand on it then shape it out.
TO CUT THE PALAZZ0 TROUSER PART WHICH I WILL SAY IS VERY EASY AND STRAIGHT FORWARD.
Step 1
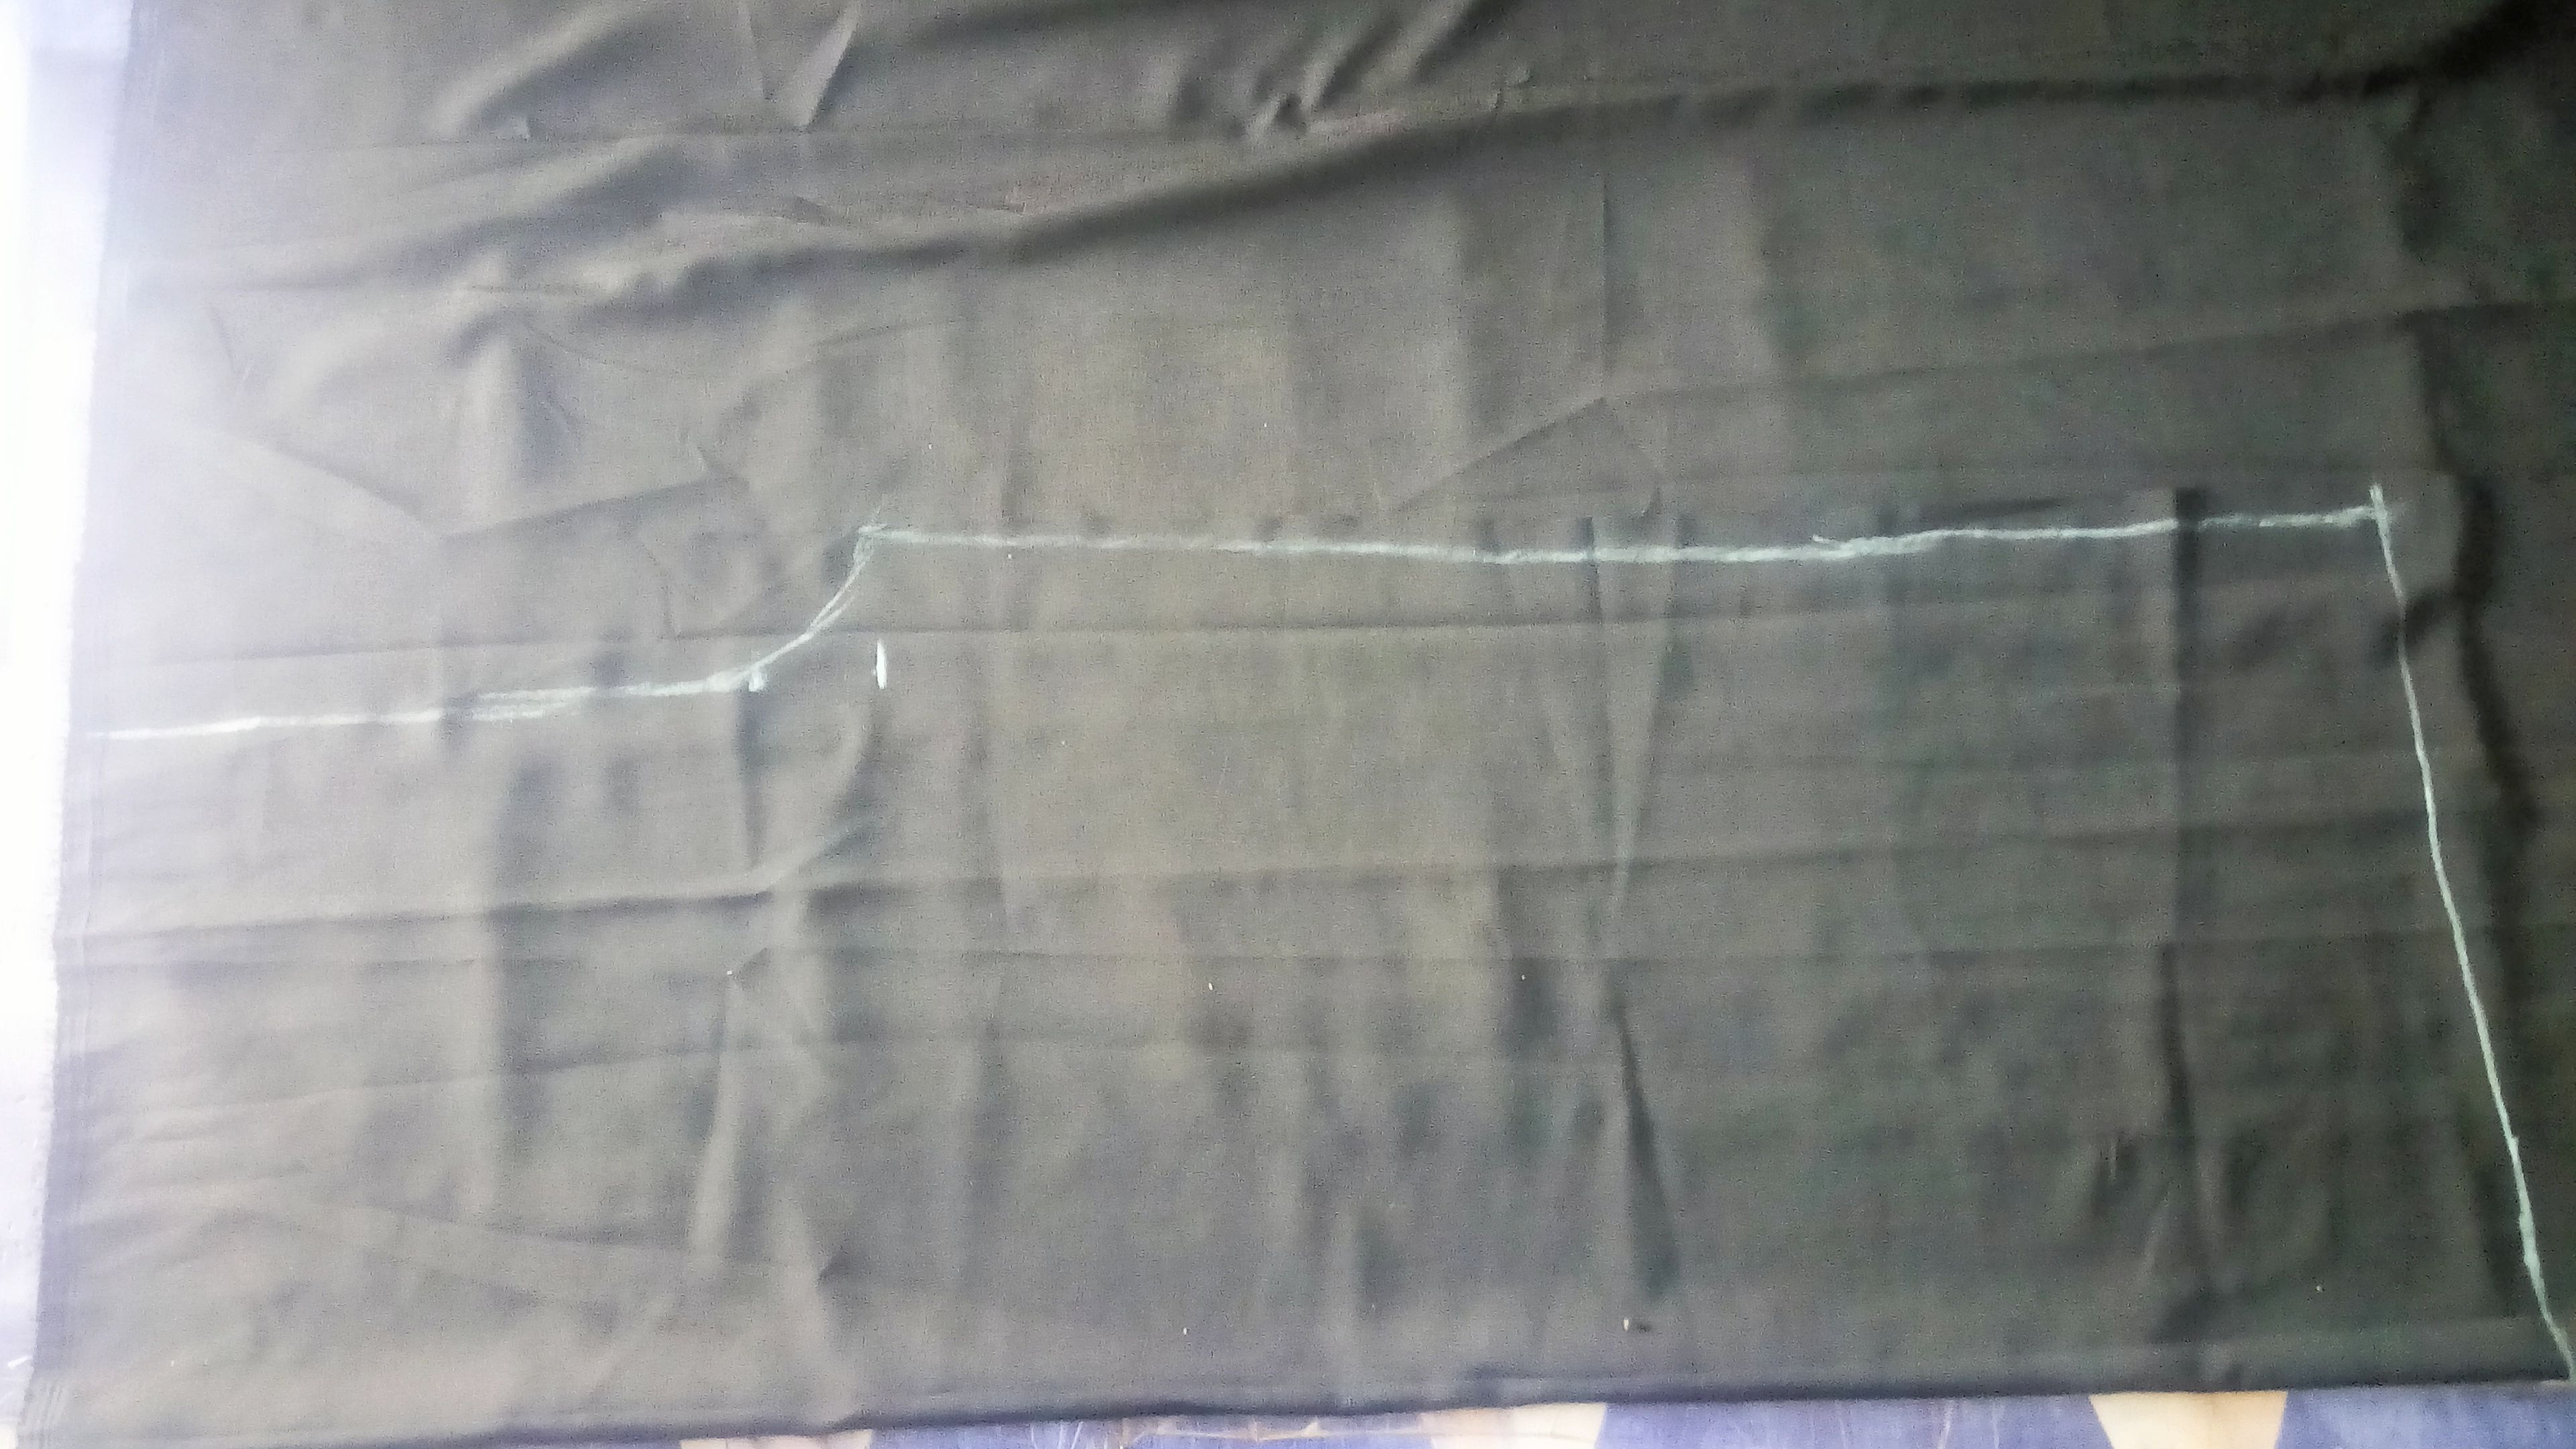
The first thing to do is to locate the actual length needed by folding the material into two and locate your length adding about 2inches for the sewing allowance.
Step 2
Use your hip measurement to locate both the waist and the hip, after locating your waist and add allowances of 2inches to both of them.
Step 3
Measure 11inches downward from the right hand side and add another 2inches to make it 13inches, then on the same line with the marked 13inches measure another 2inches sideward which you will now draw a straight line right from the top to the 11inches and then curve it out to meet the 2 inches located aside with the 13inches and that will be your flap.
Step 4
Then measure and locate your tight, knee and ankle and after doing that you will draw a slant line down following your marked measurements and then cut it out. Make sure to cut the other side into two.
Step 5
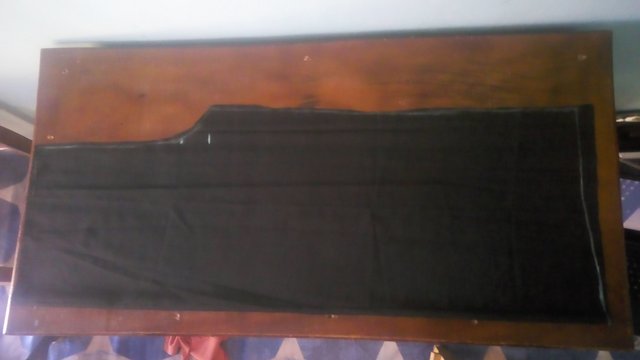
And then for cutting the back, fold the material into two just like the top part let it be 2inches wider than the front part, shape it out with the front and then cut it out. Make sure to also cut it into two making the trouser into four pieces altogether.
THEN YOU CAN PROCEED TO CUT THE TROUSER PART POCKETS
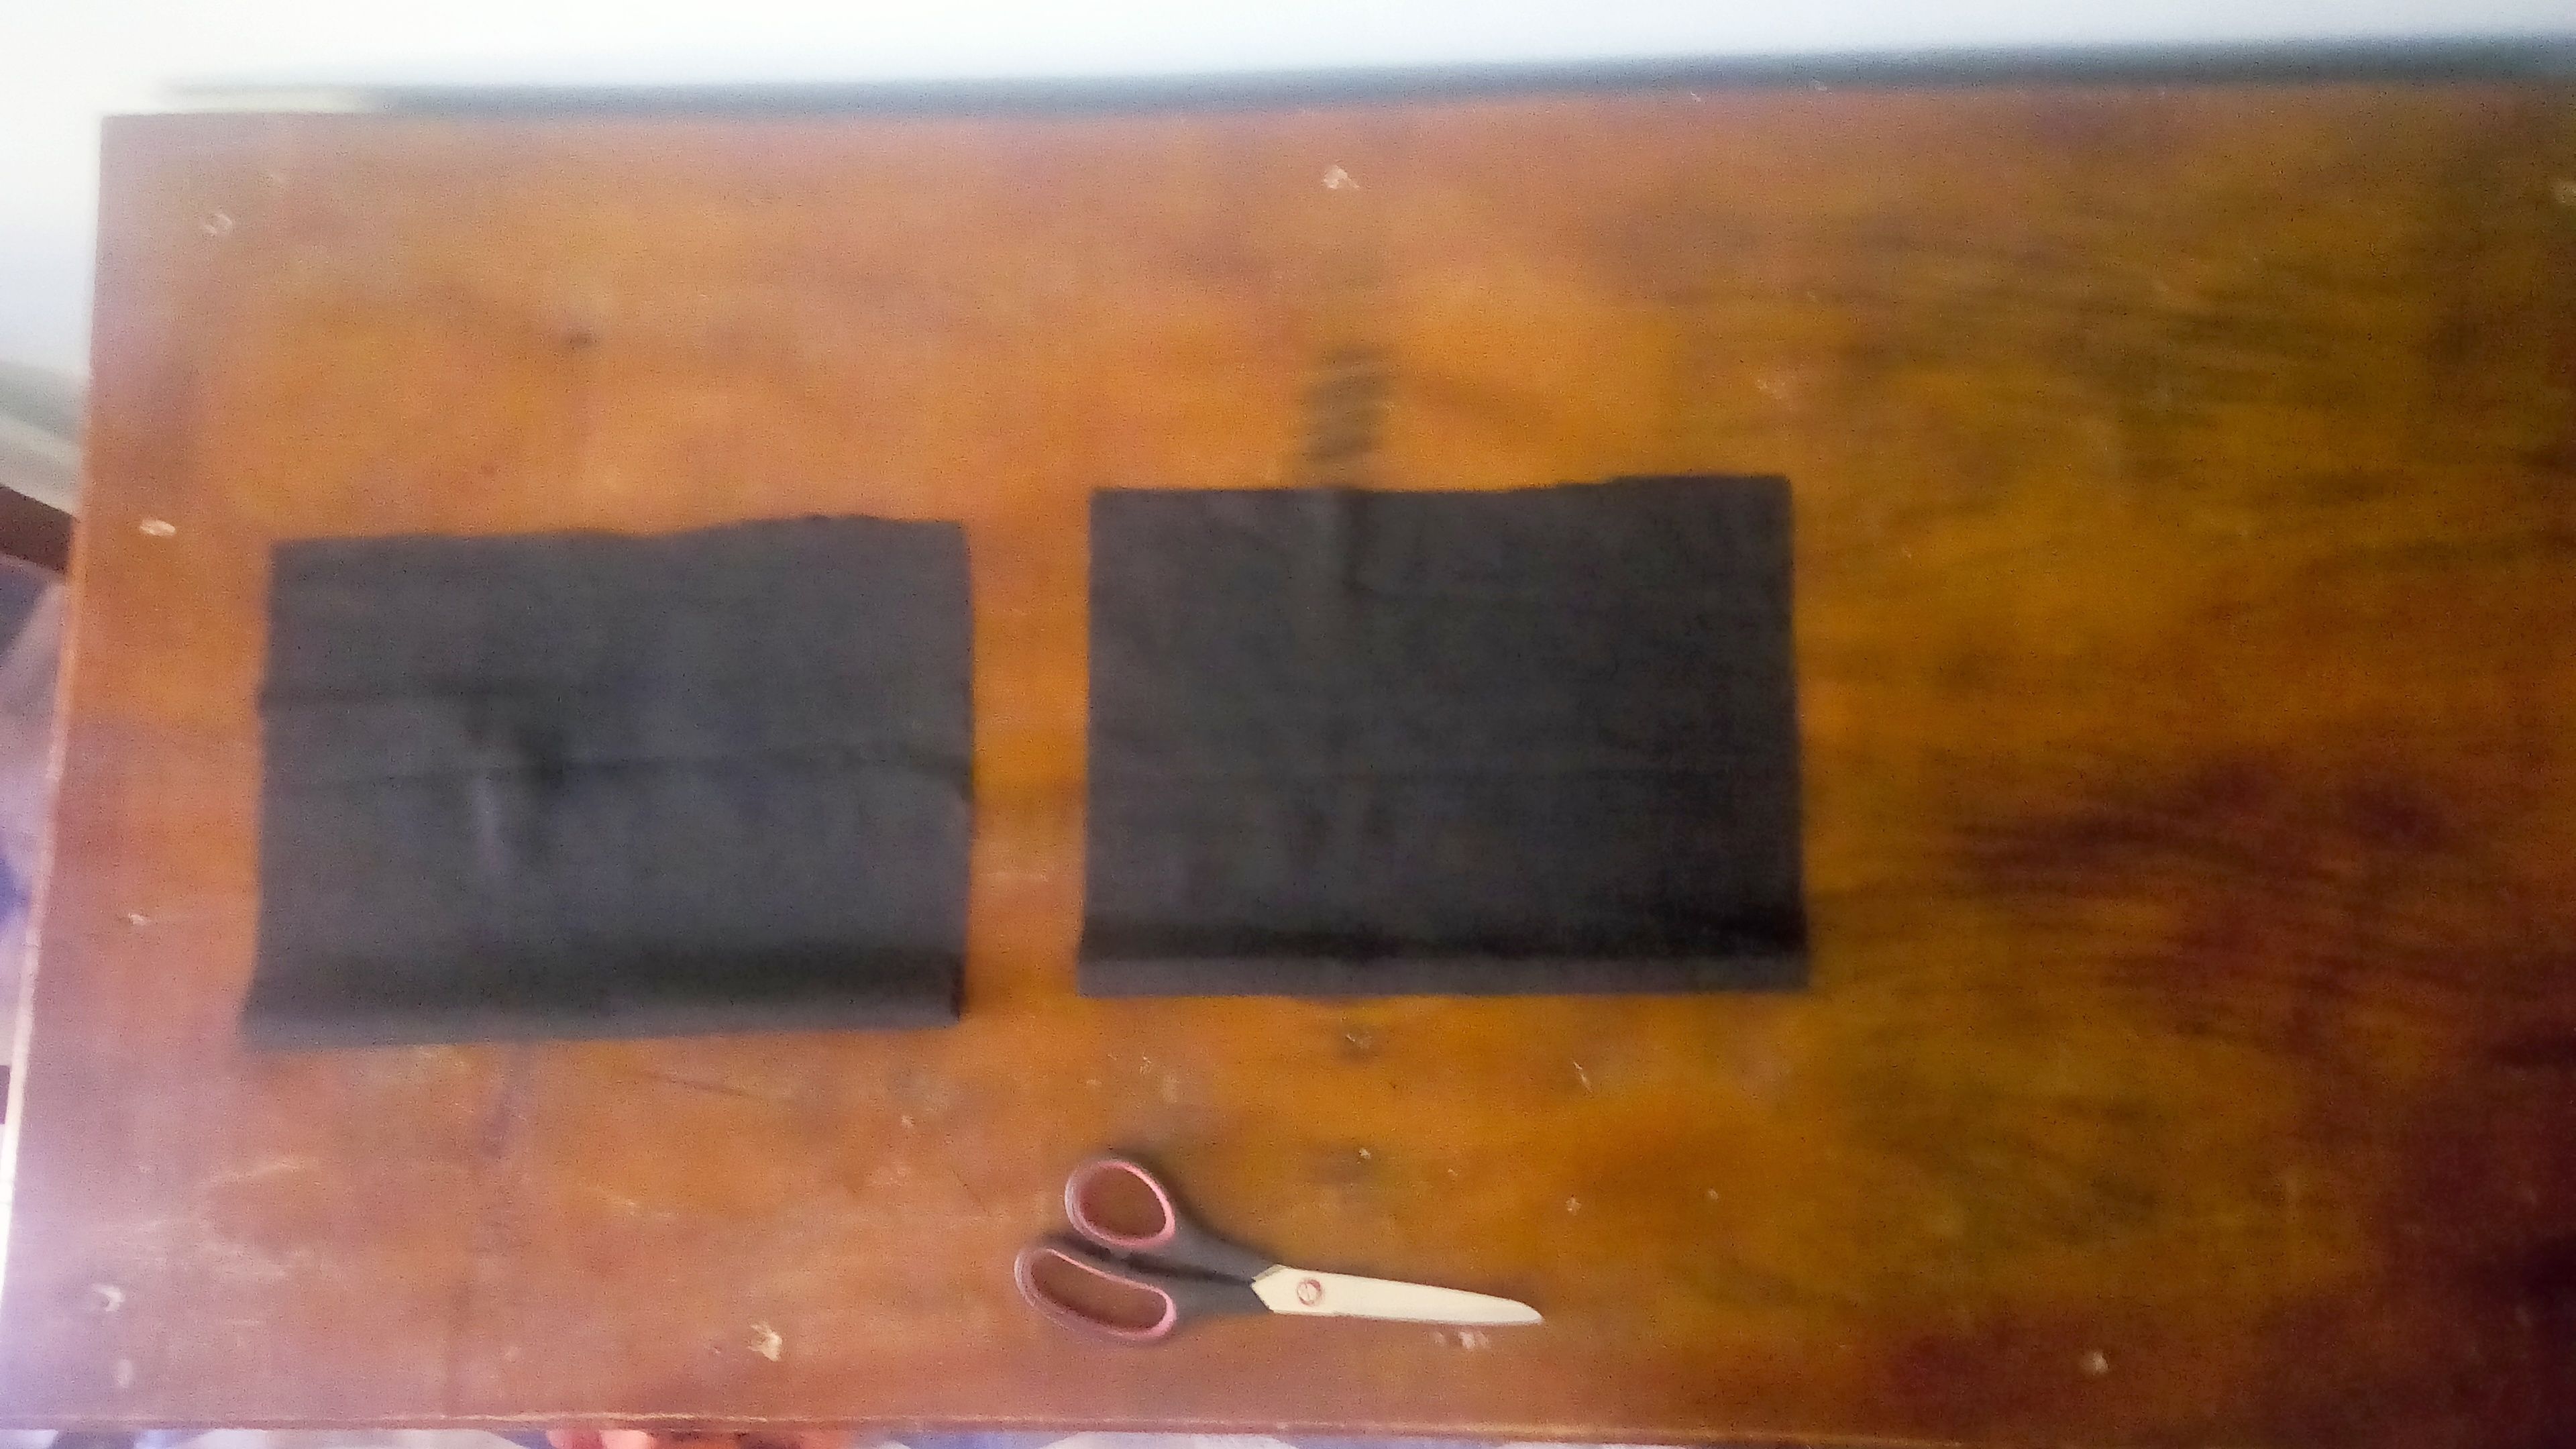
To cut your two pockets for the both side, fold your material into two, measure 14inches for the length and 7inches for the width shape it out and the cut it. Just place it on the folded material and then cut the second one out equally.
Then your jump suit is ready for sewing.

If there is any step that’s not clear to you or if you get any addition just drop them in the comment section and I promise to treat them professionally.

Thanks for reading and do well to upvote and resteem if you have gained anything from this tutorial at all.


All images were taken on my Tecno L5 phone
i like the way yhu detailed yhur tutorial. I feel like i can get it done.
i hope yhu will share the part where yhu will sew it .
nice share.
keep steeming
You can watch out for the next post which will be tutorial on how to sew it.
Thanks for stopping by and welcome to the fashion world.
thank yhu. Good luck
Nice detail. Always loved to try my hand on some sewing. Keep steeming.
Oooh that is good to hear.
Nice to have you here boss.
awesome job! i love your very detailed tutorial :)
I do fashion posts as well, do check it out and be steemit buddies. keep up the good work :)