//- In love with @steemit and in love with this beautiful art-//

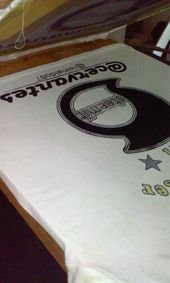
Hello friends of @steemit today I would like you to appreciate part of what I have learned in this world of the art of Screen Printing. And then I have not done it for a long time, and I wanted to make a print with this beautiful technique with the logo @steemit and I hope you like it and can learn a little about this subject of serigraphic art.
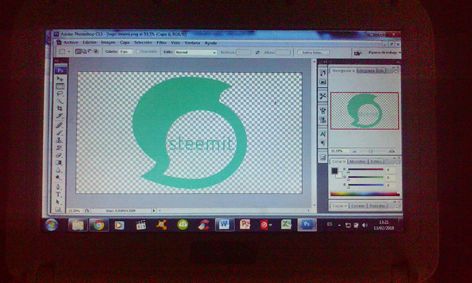
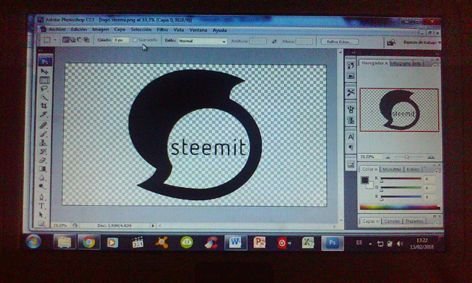
To start with the process we must select the design and work it in a design program, in my case I use Adobe Photoshop CS3 portable and take the steemit logo, then we come and make the necessary adjustments to transform the image, when I say transform I refer to the image to change the color of the original and take it to a full black tone, because in order to record the design on a screen Serigrafica is necessary to do it in this way then we must print it for due process.

In this step we will prepare the frame of serifrafia that consists of these materials, a wooden frame and we will use a serigraphic mesh to be able to record the design. This mesh must be attached to the frame with appropriate staples and thus be ready for the next process
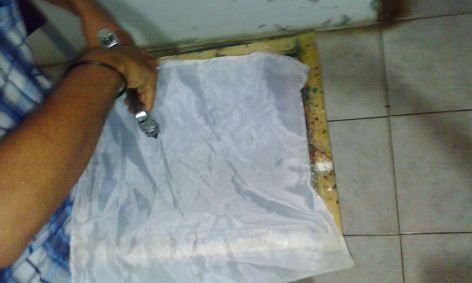
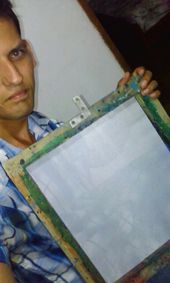
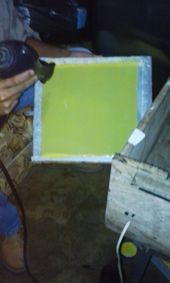
To be able to carry out this procedure we must have the ready frame prepared with your mesh then we must have some materials which are; screen, emulsion of screen and squeegee. The image shows how it should look when applying the emulsion. After that we proceed to dry the frame with a hair dryer until it has completely dried. (eye) you can not do this procedure in place where there is light from outside because it can damage the work done, it must be taken into consideration to do it in a closed place without any sunlight coming in)
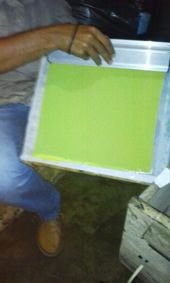
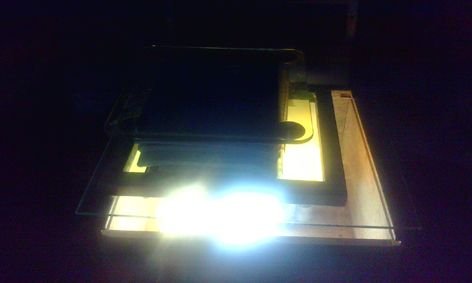
For this step we will need a development box that consists of a box with 4 bulbs, a glass and a cable system to place the bases where the bulbs would go, they can be white light or yellow light. I prefer white light but if there is no can do it with yellow light in the image will observe how I use it. There we will place the design that will be in the upper part of the glass then we will place the frame already emulsified and then an appropriate weight will be placed for the mesh and the design to make a contact and then turn on the light for a time of 6 to 7 minutes so that the emulsion can carry out its work and the photo recorded on the screen can be made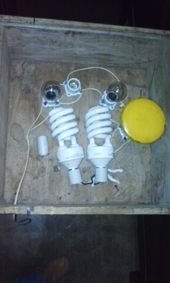
Once the design is engraved, we must take it to reveal where we will use only water to draw the design. Preferably pour soft water and then if you use water pressure to detach the entire design and then the design is ready to dry it with a hair dryer.
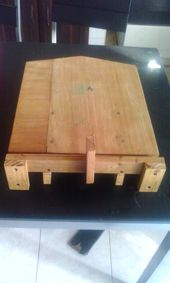
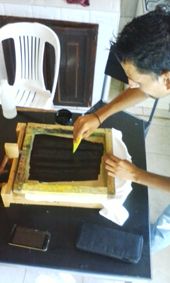
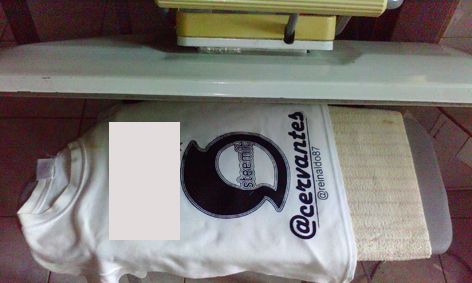
For this step and having the design we use a stamping table in my case I manufacture with the help of a carpenter a linear table that gives me very good results and it came out very economical compared to some products in the market that can be very expensive , in the images I will leave a photo for you to see. The whole process is somewhat complex but when you get the trick it's easier than it seems, the whole process will be left in images so that you can see all the materials you use would be stamping table, frame with the ready design, palette for stamp, black plastisol paint, hair dryer, hot air dryer and industrial iron finally use a glossy paper to make the print more durable and with a special shine.
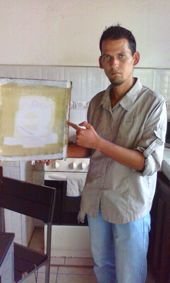

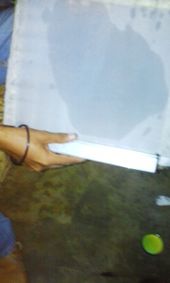
Now for those who are wondering how I made the ink pass through the frame, well I explain the process of engraving is to block what we do not want to see and at the time of printing and then to reveal with water will take off of the image that we want to print, here I leave an image that I take so that you can see what the part of the image looks like in the ceramic of my house. And so I show you the areas that are uncovered and so you can pass the ink through the screen printing mesh and be able to stamp the design on the flannel

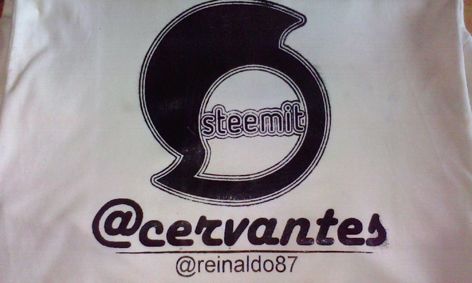
I hope you liked this post I devoted a lot to achieve the goal, I had time that did not do this type of work and cost me at first but in the end the result was excellent, I hope everything is to my liking my friends @steemit and also greetings to my friends of @cervantes I hope you can comment on this beautiful project, without saying more than saying goodbye and wishing that God bless you


Hola @reinaldo87, like! ^_^