💙Drawing my FRIENDS in the TUMBLR style. Step by step. 💙
Hello to all the steemians !! Today I bring you a drawing of my friends Tumblr style. A few days ago my friend Manu, the one on the right, wrote to me asking me to draw him a picture for a special occasion. I accepted, thinking that it would be a little easier because of the fact that I have already done many portraits in the last days. But, the drawing I did the last day of delivery and about 10 hours before, the delivery time, doing everything in record time, was that I started the process. They highlighted many difficult angles and perspectives in this drawing due to how the original photo was taken. But I think it came out pretty good. Apart is the first drawing of 2 people in a single project. :3 <3 💙
Here's the final result.❤
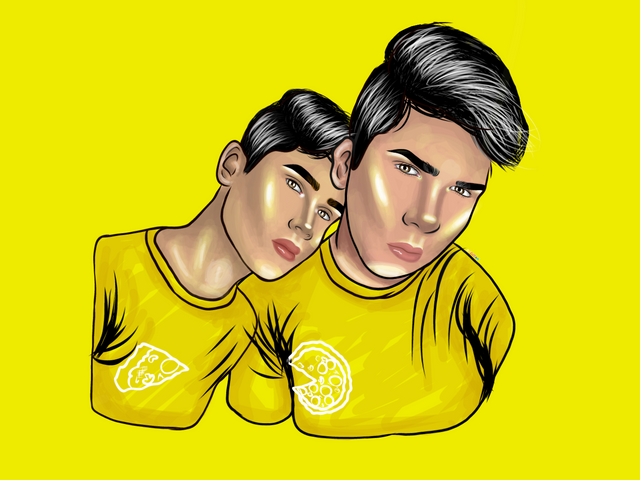
To perform this drawing Use the App Adobe Draw on my mobile.

💙Step by step.
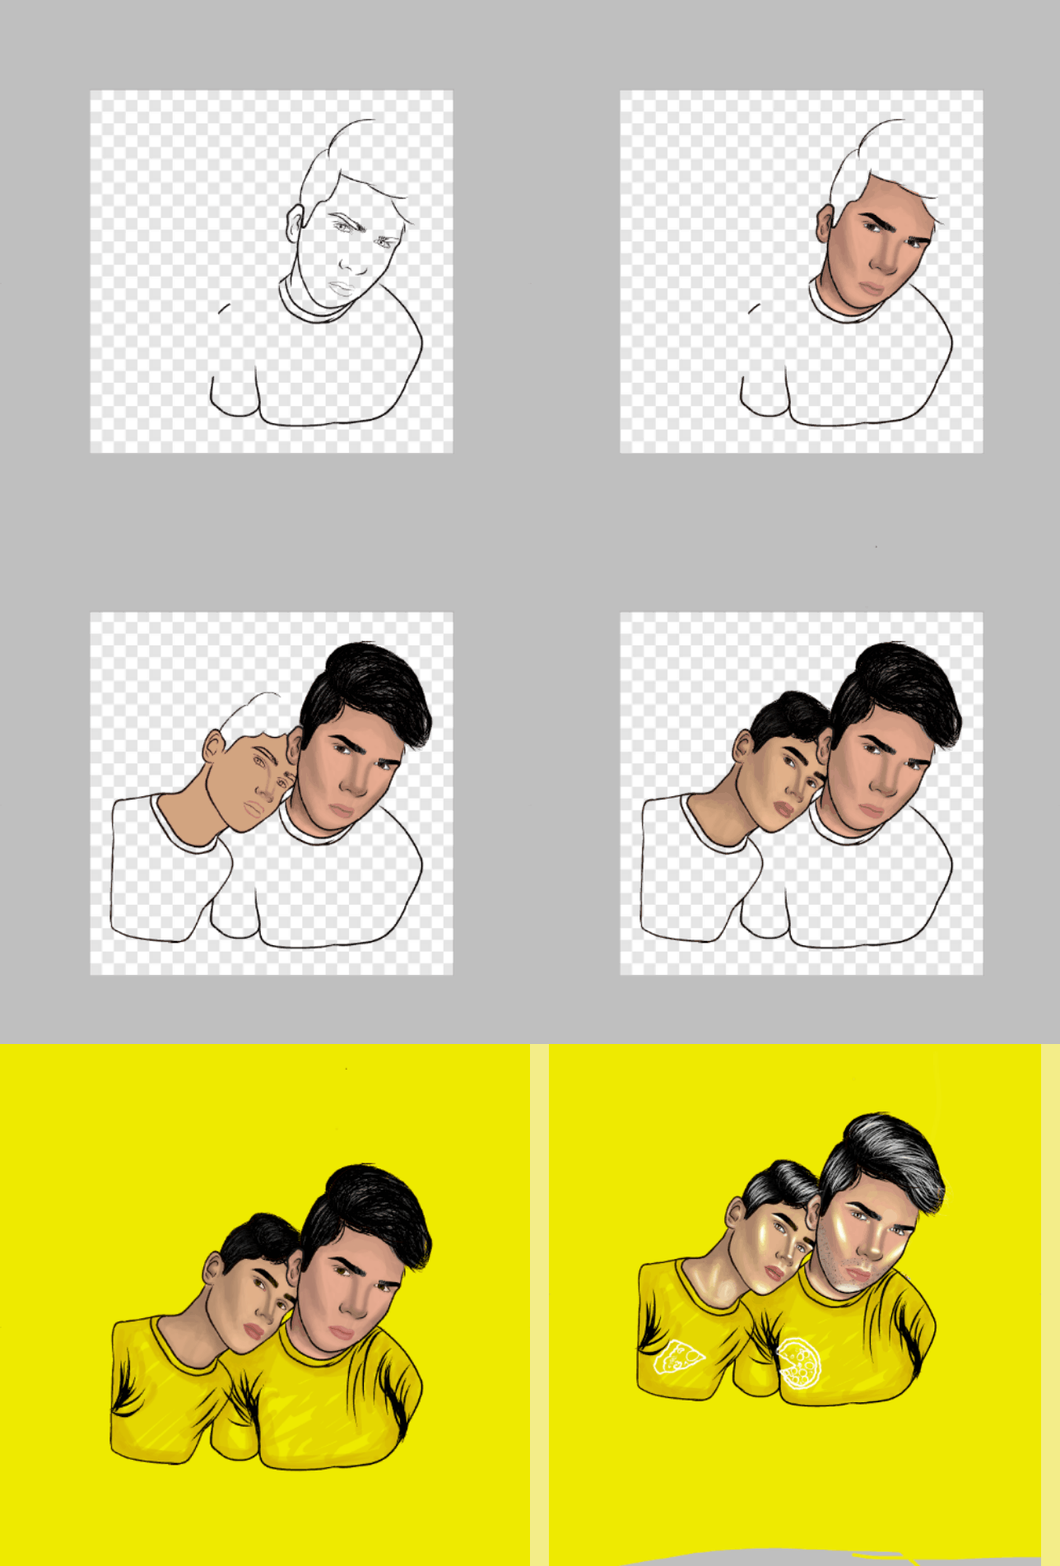
💙 Step 1: First I made the outline of the drawing with a pen pencil.
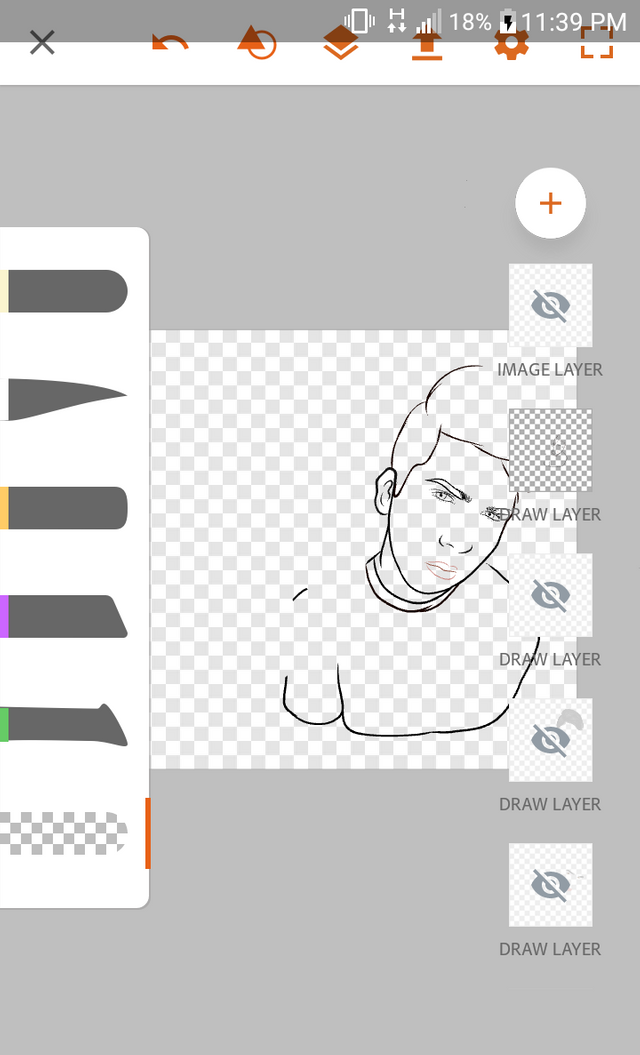
💙Step 2: I start to paint the skin giving shades with brown and gray tones, and lights with cream and white tones. The skin in this case is a cream color, a little tanned. Only using the base colors. Love the end of this at the end.
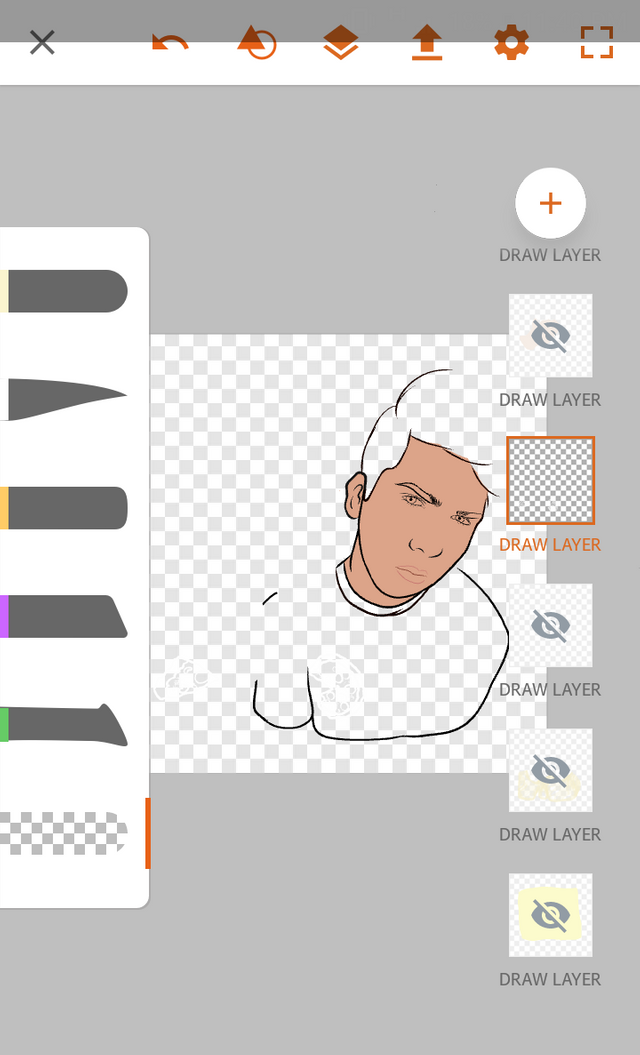

💙Step 3: Now it's time to paint the eyes, eyebrows, mouth and other details. Now I proceed to mix and blur the colors, also to give shadows in the necessary areas and of course to give the outline on the face to create dimension.
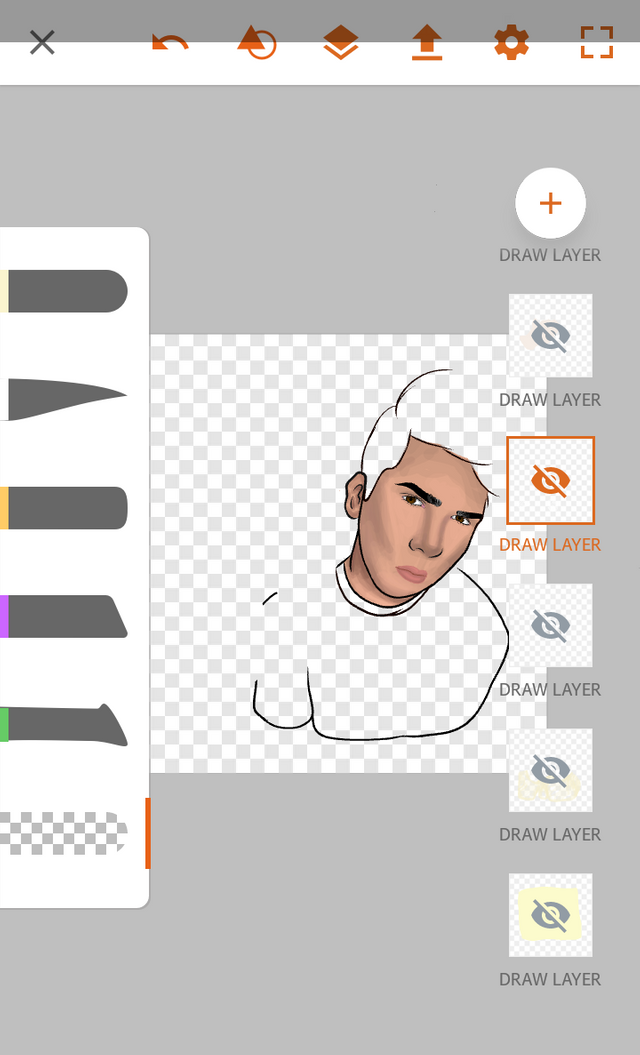
💙Step 4: I make the hair using the new technique learned, apart from mixing a bit of realism and minimalism. I wanted to achieve a sense of messy and lighted hair. So I start with the base color. And then making individual hairs in different colors, to achieve the desired effect. I think it went well. I like them more and more. And this time with the shine finish, in the end it looks much better :)
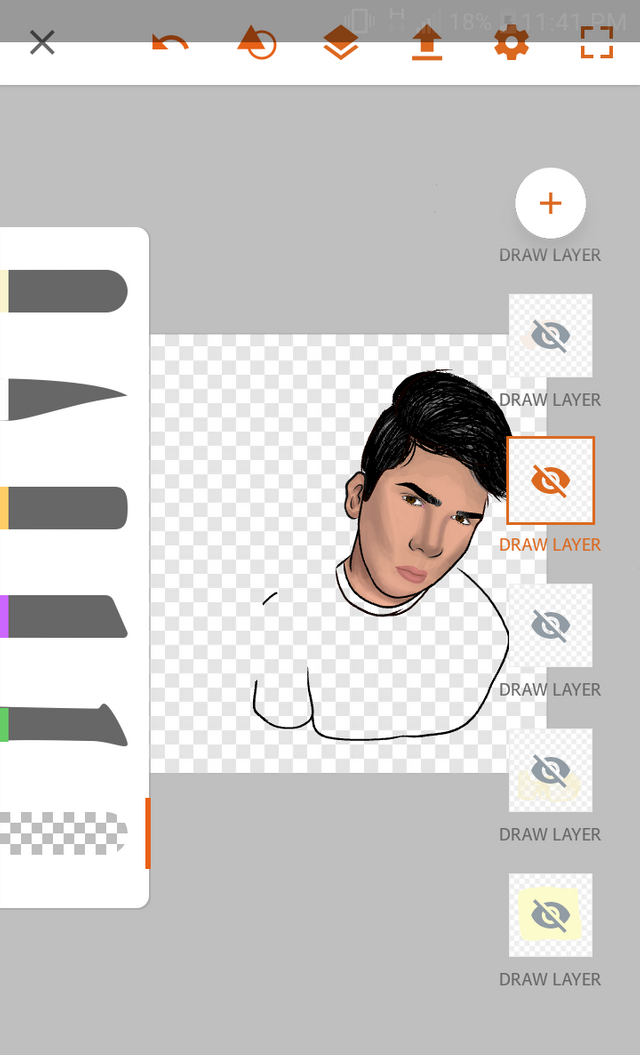
💙 Step 5: Now I make the contour of the drawing with a pen pencil, of the 2 person, making a fusion of perfectives between both making the two remain in the foreground but in turn, in the background.
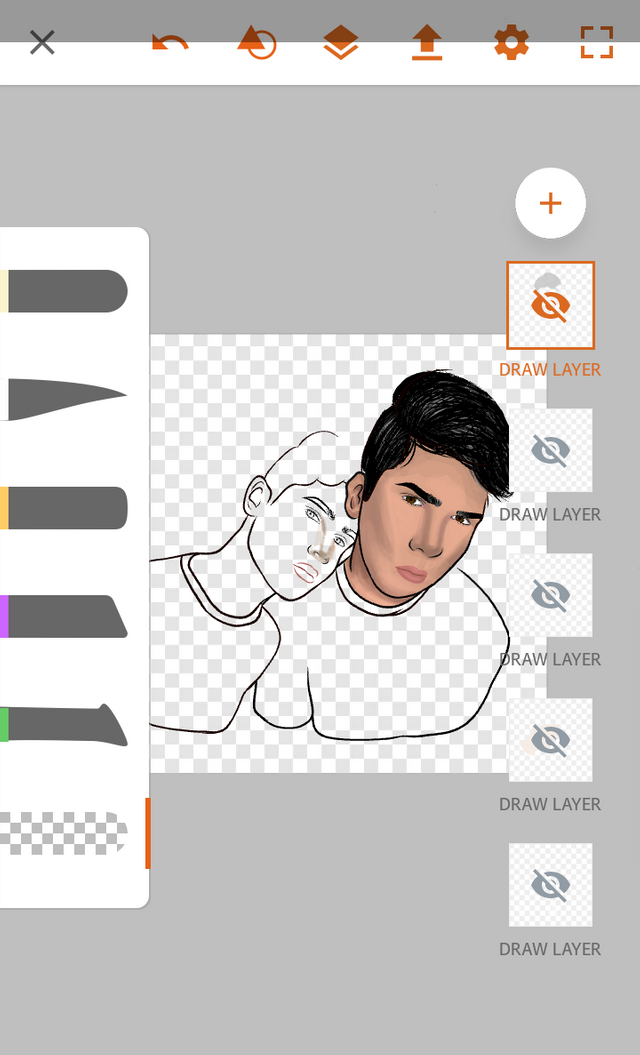
💙Step 6: I start to paint the skin of the second person, giving shades with brown and gray tones, and lights with cream and white tones. The skin in this case is a cream color, a little tanned. Only using the base colors.

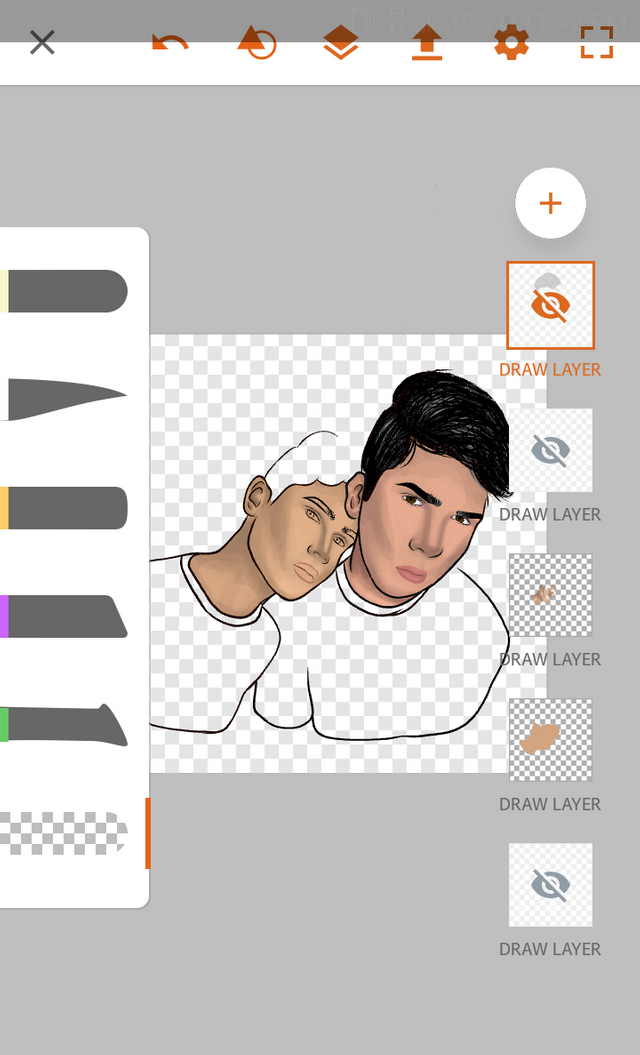
💙Step 7: Now it is time to paint the eyes, eyebrows, mouth and other details of the second boy. Now I proceed to mix and blur the colors, also to give shadows in the necessary areas and of course to give the outline on the face to create dimension.
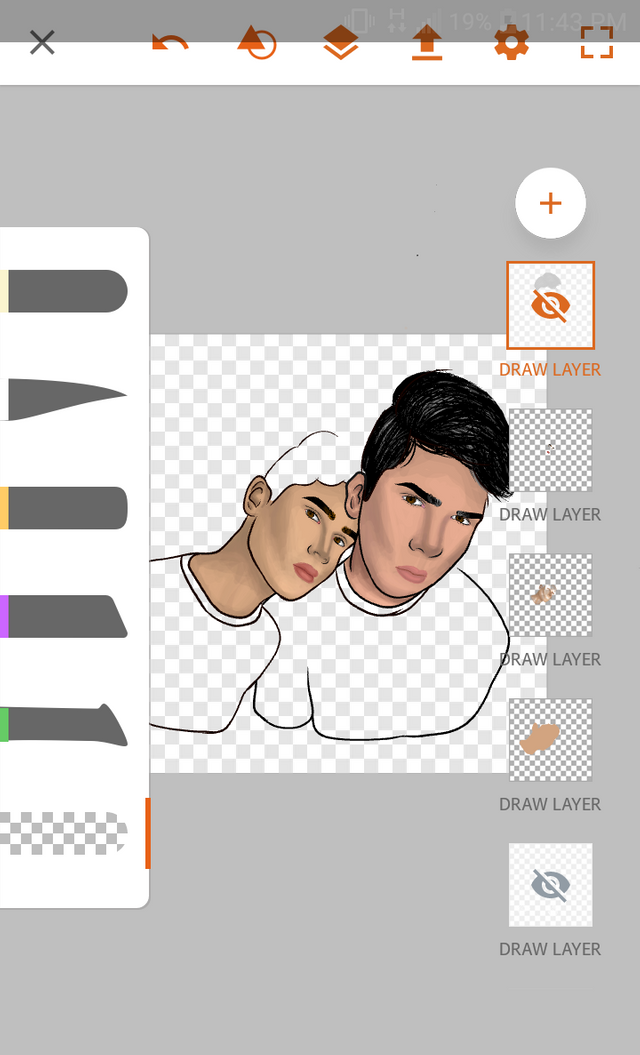
💙Step 8: I make the hair using the new technique learned, apart from mixing a bit of realism and minimalism. I wanted to achieve a sense of messy and lighted hair. So I start with the base color. And then making individual hairs in different colors, to achieve the desired effect. I think it went well. I like them more and more. And this time with the shine finish, in the end it looks much better :)
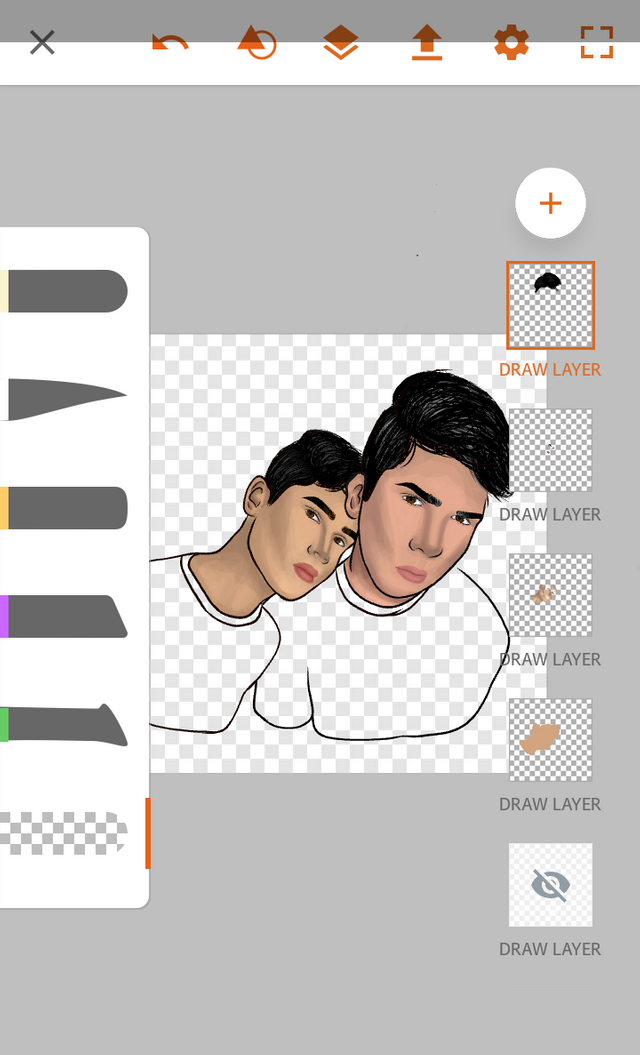
💙Step 9: And finally I do what most excites me and I love that it is the lighting in the key areas of the face such as the T zone, the cheekbones, the eyebrows, the lips and other parts. I also do details of light hair and small flashes in some areas like in the shirt, the pizza in the form of puzzles. I mix the colors and I give a little depth. I make a bright yellow background representing the color they both love. Apart from making the beard to the right.
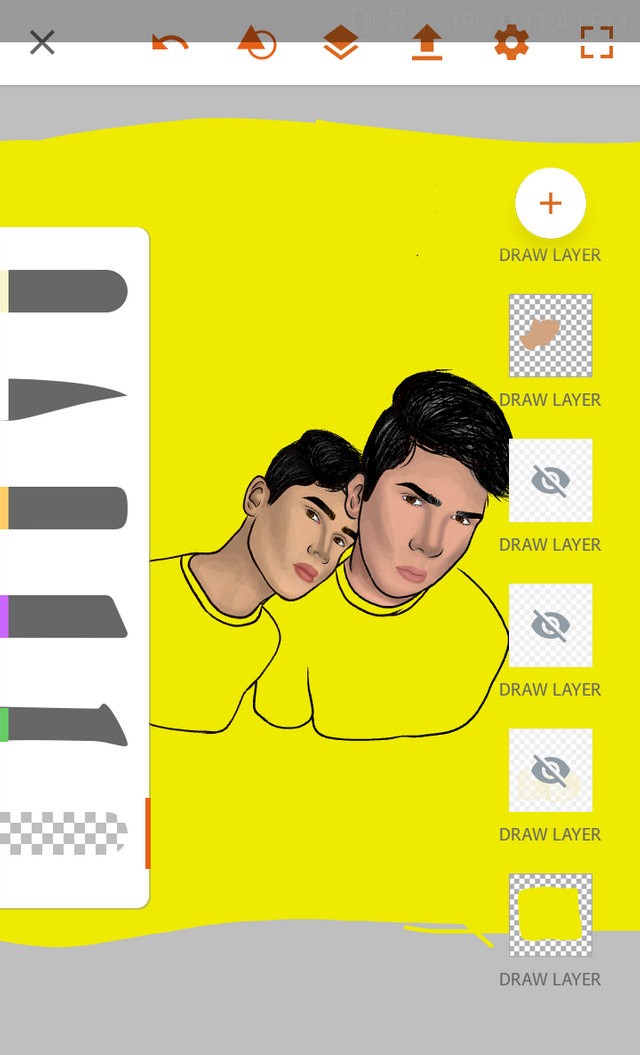
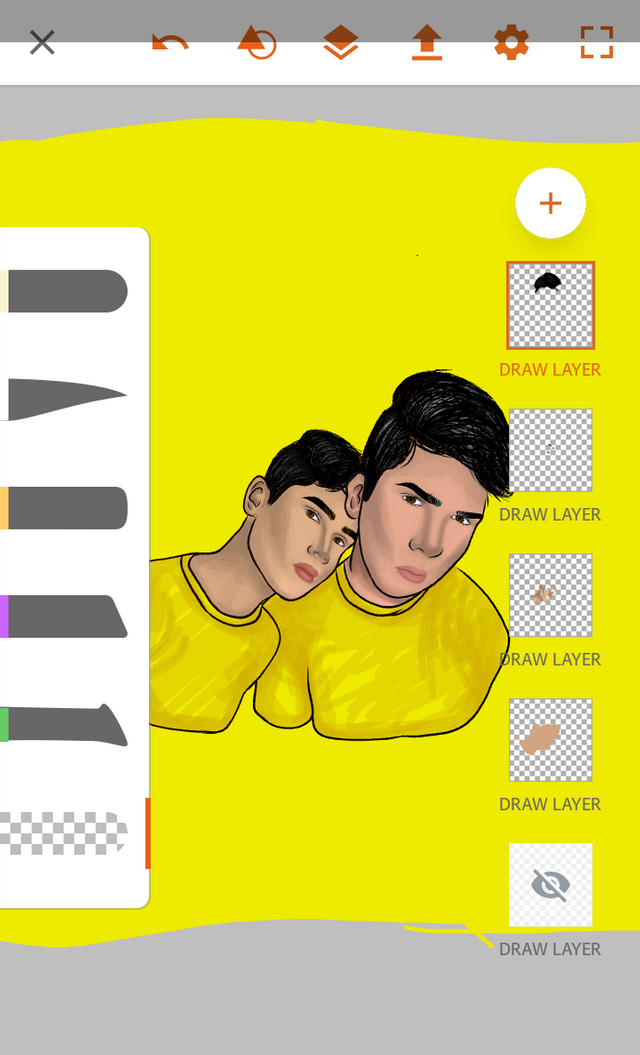
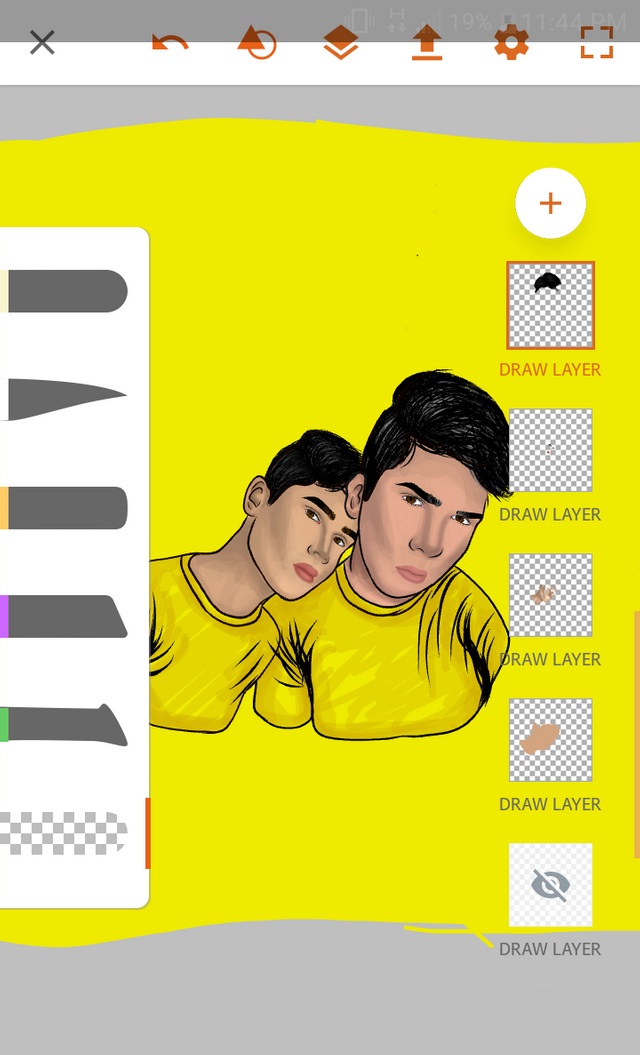
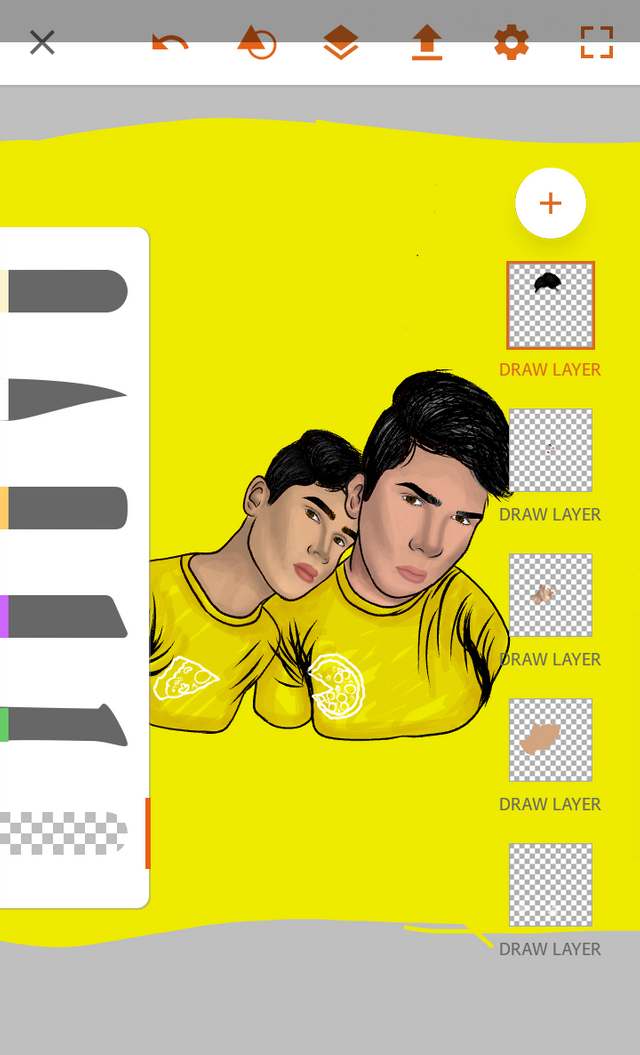

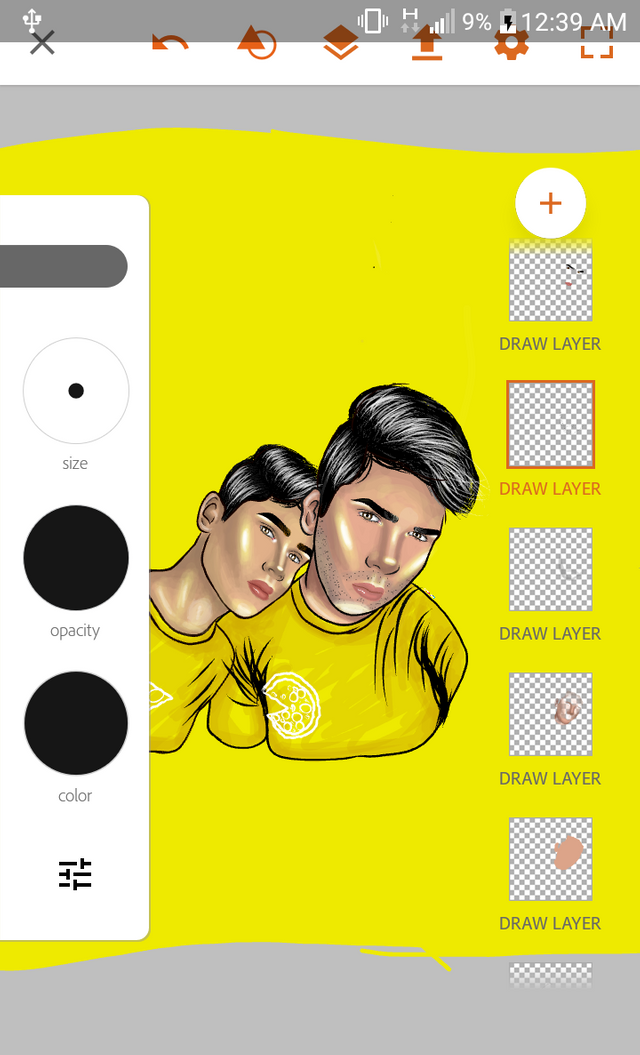
DRAWING PROCESS IN GIF!
Gif made in DU GIF Maker on my mobile.

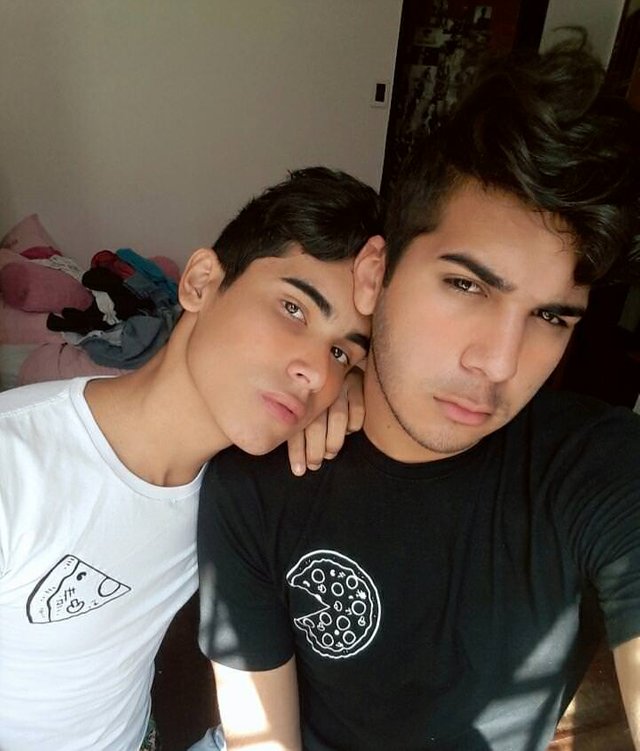
Here I leave the reference image to see if they look like or not :)
I FINISHED DRAWING!
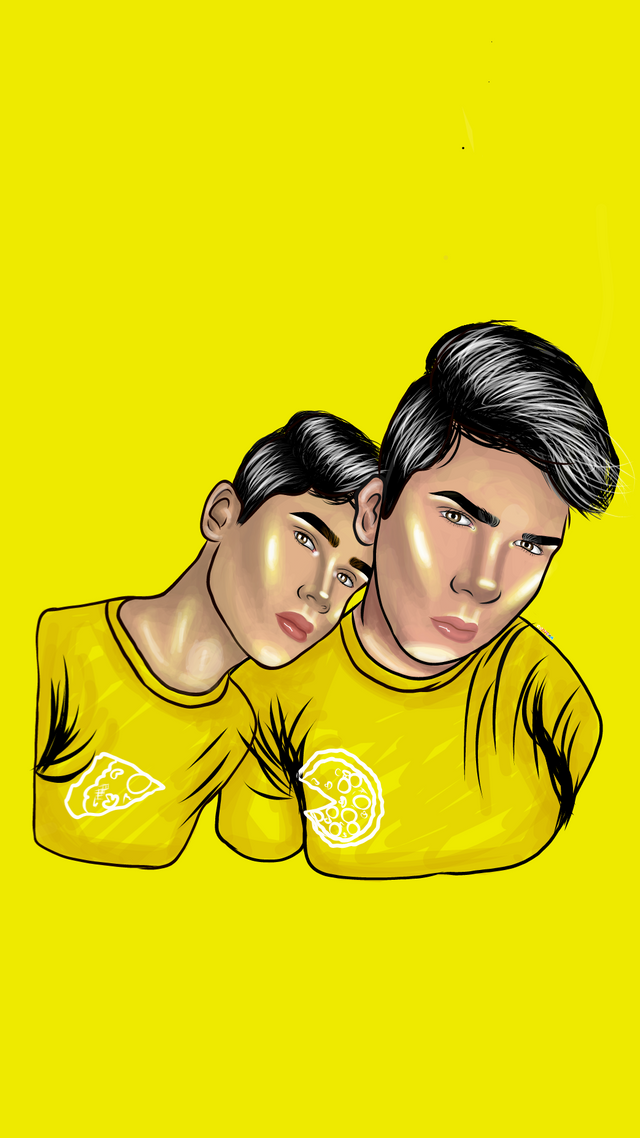
COPYRIGHT BY @soysam
- Duration: 10.5 Hours
- Made in: Adobe Illustrator Draw..
- Difficulty: Hard
- Size: 3600 pixels x 3600 pixels. Trimmed in 4: 3 ratio to 2174 pixels x 1630 pixels, and in relation 9:16.

Click on the image to go directly to my Instagram and see exclusive material.!!
💙I hope you liked it a lot this drawing, see you later🌞🌠👟👦❤💙
Congratulations @soysam! You have received a personal award!
Click on the badge to view your Board of Honor.
Do not miss the last post from @steemitboard: