Avantquads Xero S5M build log
After having built many quads of the Avantquads brand, I wanted to build a lightweight 5” quad with good components. I immediately stopped on the latest model Avantquads Xero S5M – a 5” frame weighing only 63 grams in total.
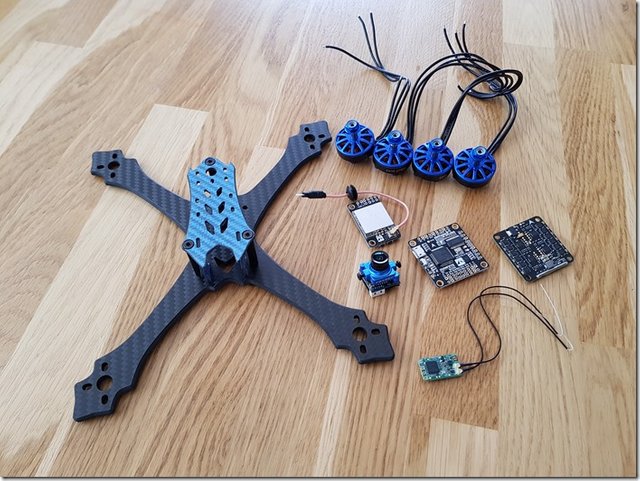
The components for the drone build:
- Motors: Proton-X 2204 2750KV
- ESC: Aikon 4in1 30A BlHeli_S 2-4s
- Flight controller: Matek F405 OSD
- Video transmitter: Matek 5.8GHz 40CH VTx
- VTx Antenna: Matek 10CM Whip antenna
- FPV camera: Foxer Arrow Micro HS1202
- Receiver: FrSky XM+
- Propellers: GepRC Clear 5x4x3 / HQ V1S 5x4.3x3 / DAL 5050
Additional mounting hardware:
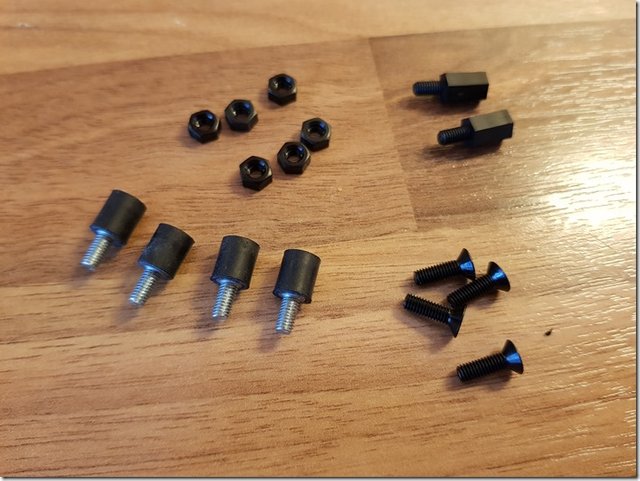
- 6x plastic M3 nuts
- 4x M3x10
- 4x 7mm M3 damper
- 2x plastic M3x8 spacer
- 1x VTx antenna 5mm rubber ring
Step 1
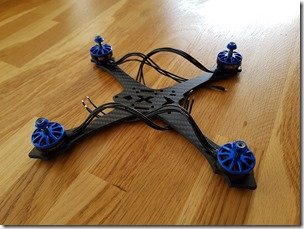
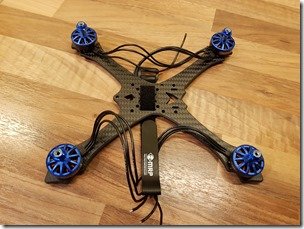
Mount all Proton motors and the battery strap.Step 2
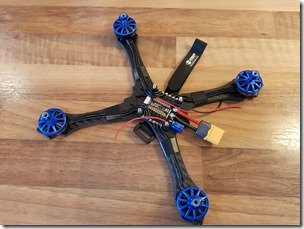
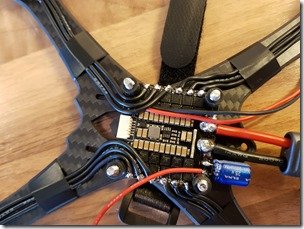
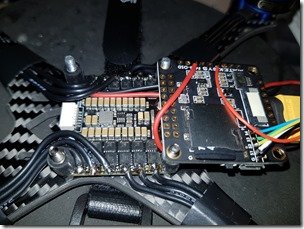
Solder the XT60 battery connector, capacitor and 12V power wires for the video transmitter to the respective pads on the Aikon 4in1 ESC. Mount the Aikon 4in1 ESC on the base plate using the 4x M3 screws and 4x nylon M3 nuts. Now solder all motor wires to the Aikon 4in1 ESC and screw the 4in1 ESC with the 4x supplied M3x7 rubber dampers (packed with the Matek flight controller).
Step 3
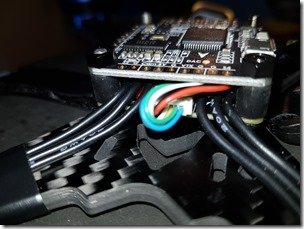
Solder the supplied Aikon 4in1 ESC motor cable to the respected pads on the Matek flight controller (G, S1, S2. S3, S4 and 5V).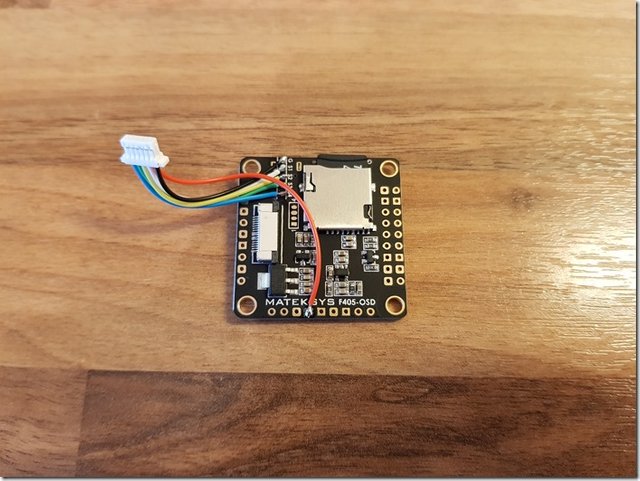
Step 4
Place the Matek flight controller above the Aikon 4in1 ESC and solder the 4in1 ESC Vbat wire to the Matek flight controller on the Vbat port. Then rotate the Matek flight controller and put it over the 4x rubber dampers and fix the flight controller with 2x plastic M3 nuts and 2x 8mm standoffs. Then plug the motor wire connector into the Aikon 4in1 ESC.
Step 5
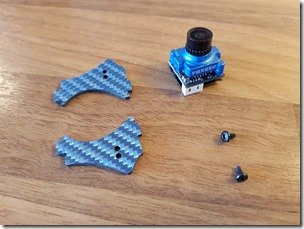
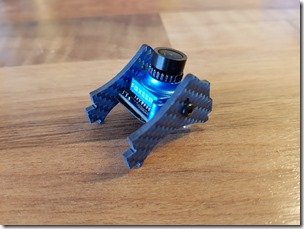
Mount the 2 camera carbon plates to the Foxeer FPV camera.
Step 6
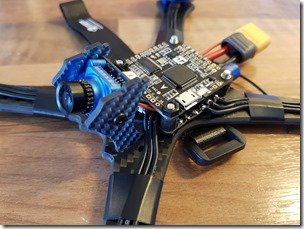
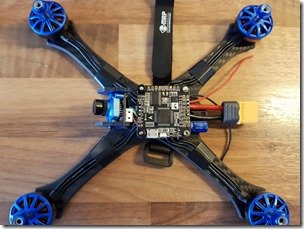
Place the FPV camera into the camera slots of the base plate, so you can determine the needed length of the FPV camera wire.
Step 7
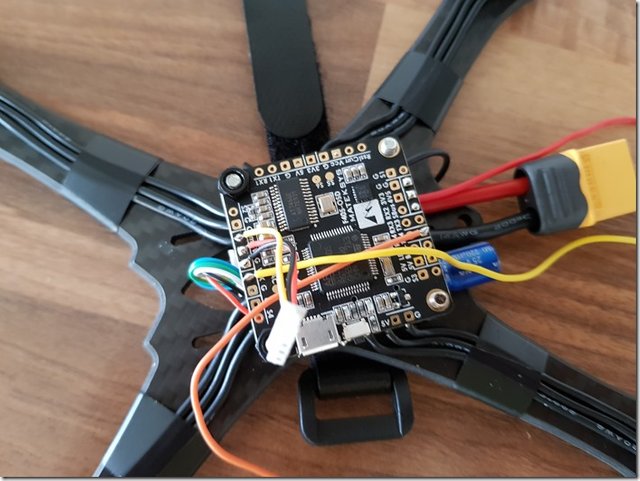
Now solder the FPV camera wires to the Matek flight controller, the wire for the Matek VTx and the wire on TX4 to set the Matek VTx via the Betaflight OSD menu.
Step 8
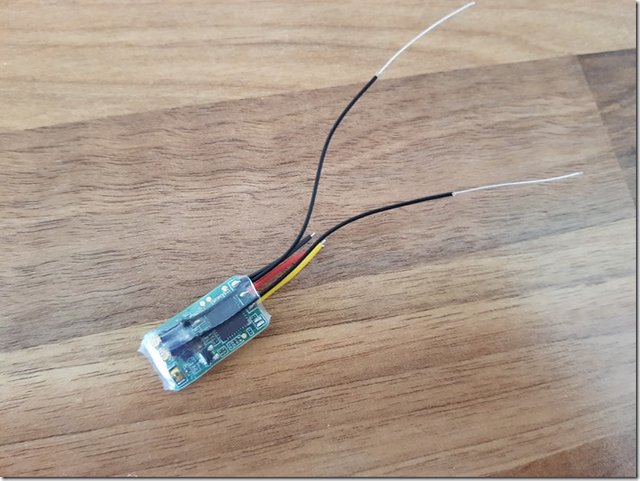
Grab the FrSky XM+ receiver and rotate the antennas on 180 degrees. Put them back on the UFL connectors and drop a hot glue so they cannot get lost quickly after crashes. Solder 3x wires to the positive, ground and signal pads on the receiver. Then put a shrink tube to protect it.
Step 9
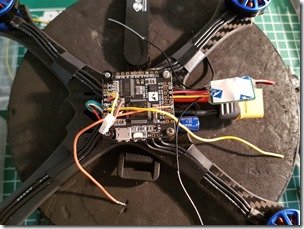
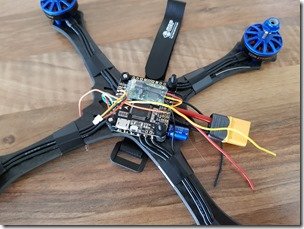
Solder the FrSky XM+ wires to the Matek flight controller pads: GND, positive and SBUS. Fix the receiver on top of the Matek flight controller with 2 sided tape.
Step 10
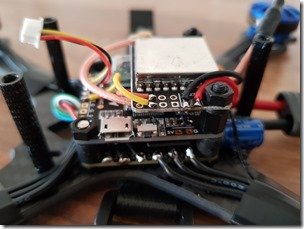
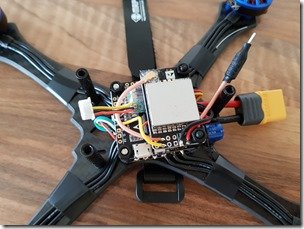
Place the Matek VTx over the 8mm plastic standoffs and fix it with 2x plastic M3 nuts. Then solder the + 12v / GND wires from the Aikon 4in1 ESC to the Matek VTx and the video in wire and TX4 wire. Click the whip antenna on the Matek VTx UFL connector and put a drop of hot glue.
Step 11
Mount the Foxeer FPV camera back into the base plate slots and plug the connector back into it.
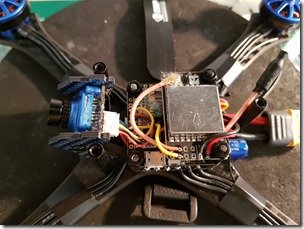
Step 12
Take the whip antenna through the hole of the top plate and then slide the 5mm rubber over the whip antenna.
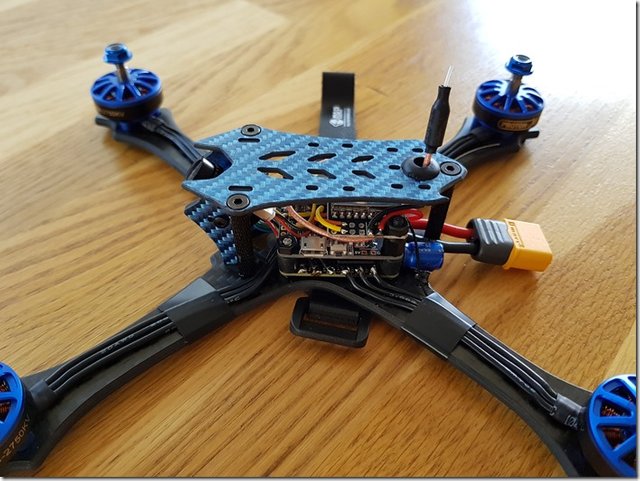
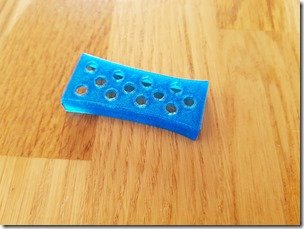
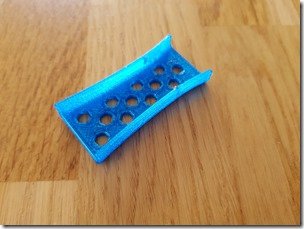
I myself designed and printed motor wire protectors so that the props can no longer cut your motor wires in case of crashes.
Drone build completed
Total weight of the build without battery is only 235g. The FPV racer looks nice and clean thanks to the beautiful Avantquads frame.
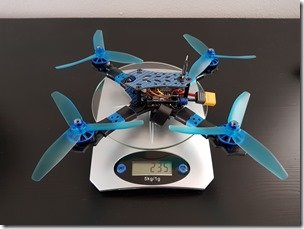
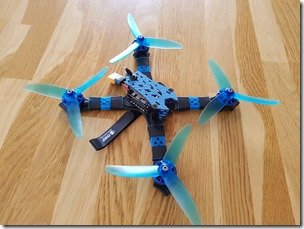
The build log was created by Dutch FPV pilot Nick Boon a.k.a. nick_b_fpv. I want to thank him for the great write up and perfect close-up pictures. Follow him on Instagram and stay tuned!
This the good post on steemit. follow me and i will follow you
Congratulations @dronehitech! You have received a personal award!
Click on the badge to view your own Board of Honor on SteemitBoard.
sick drone :)
Congratulations @dronehitech! You received a personal award!
You can view your badges on your Steem Board and compare to others on the Steem Ranking
Do not miss the last post from @steemitboard:
Vote for @Steemitboard as a witness to get one more award and increased upvotes!