Drawitbetter Contest #12 Entry: You are my Sunshine, My Only Sunshine (Step-by-Step Tutorial)
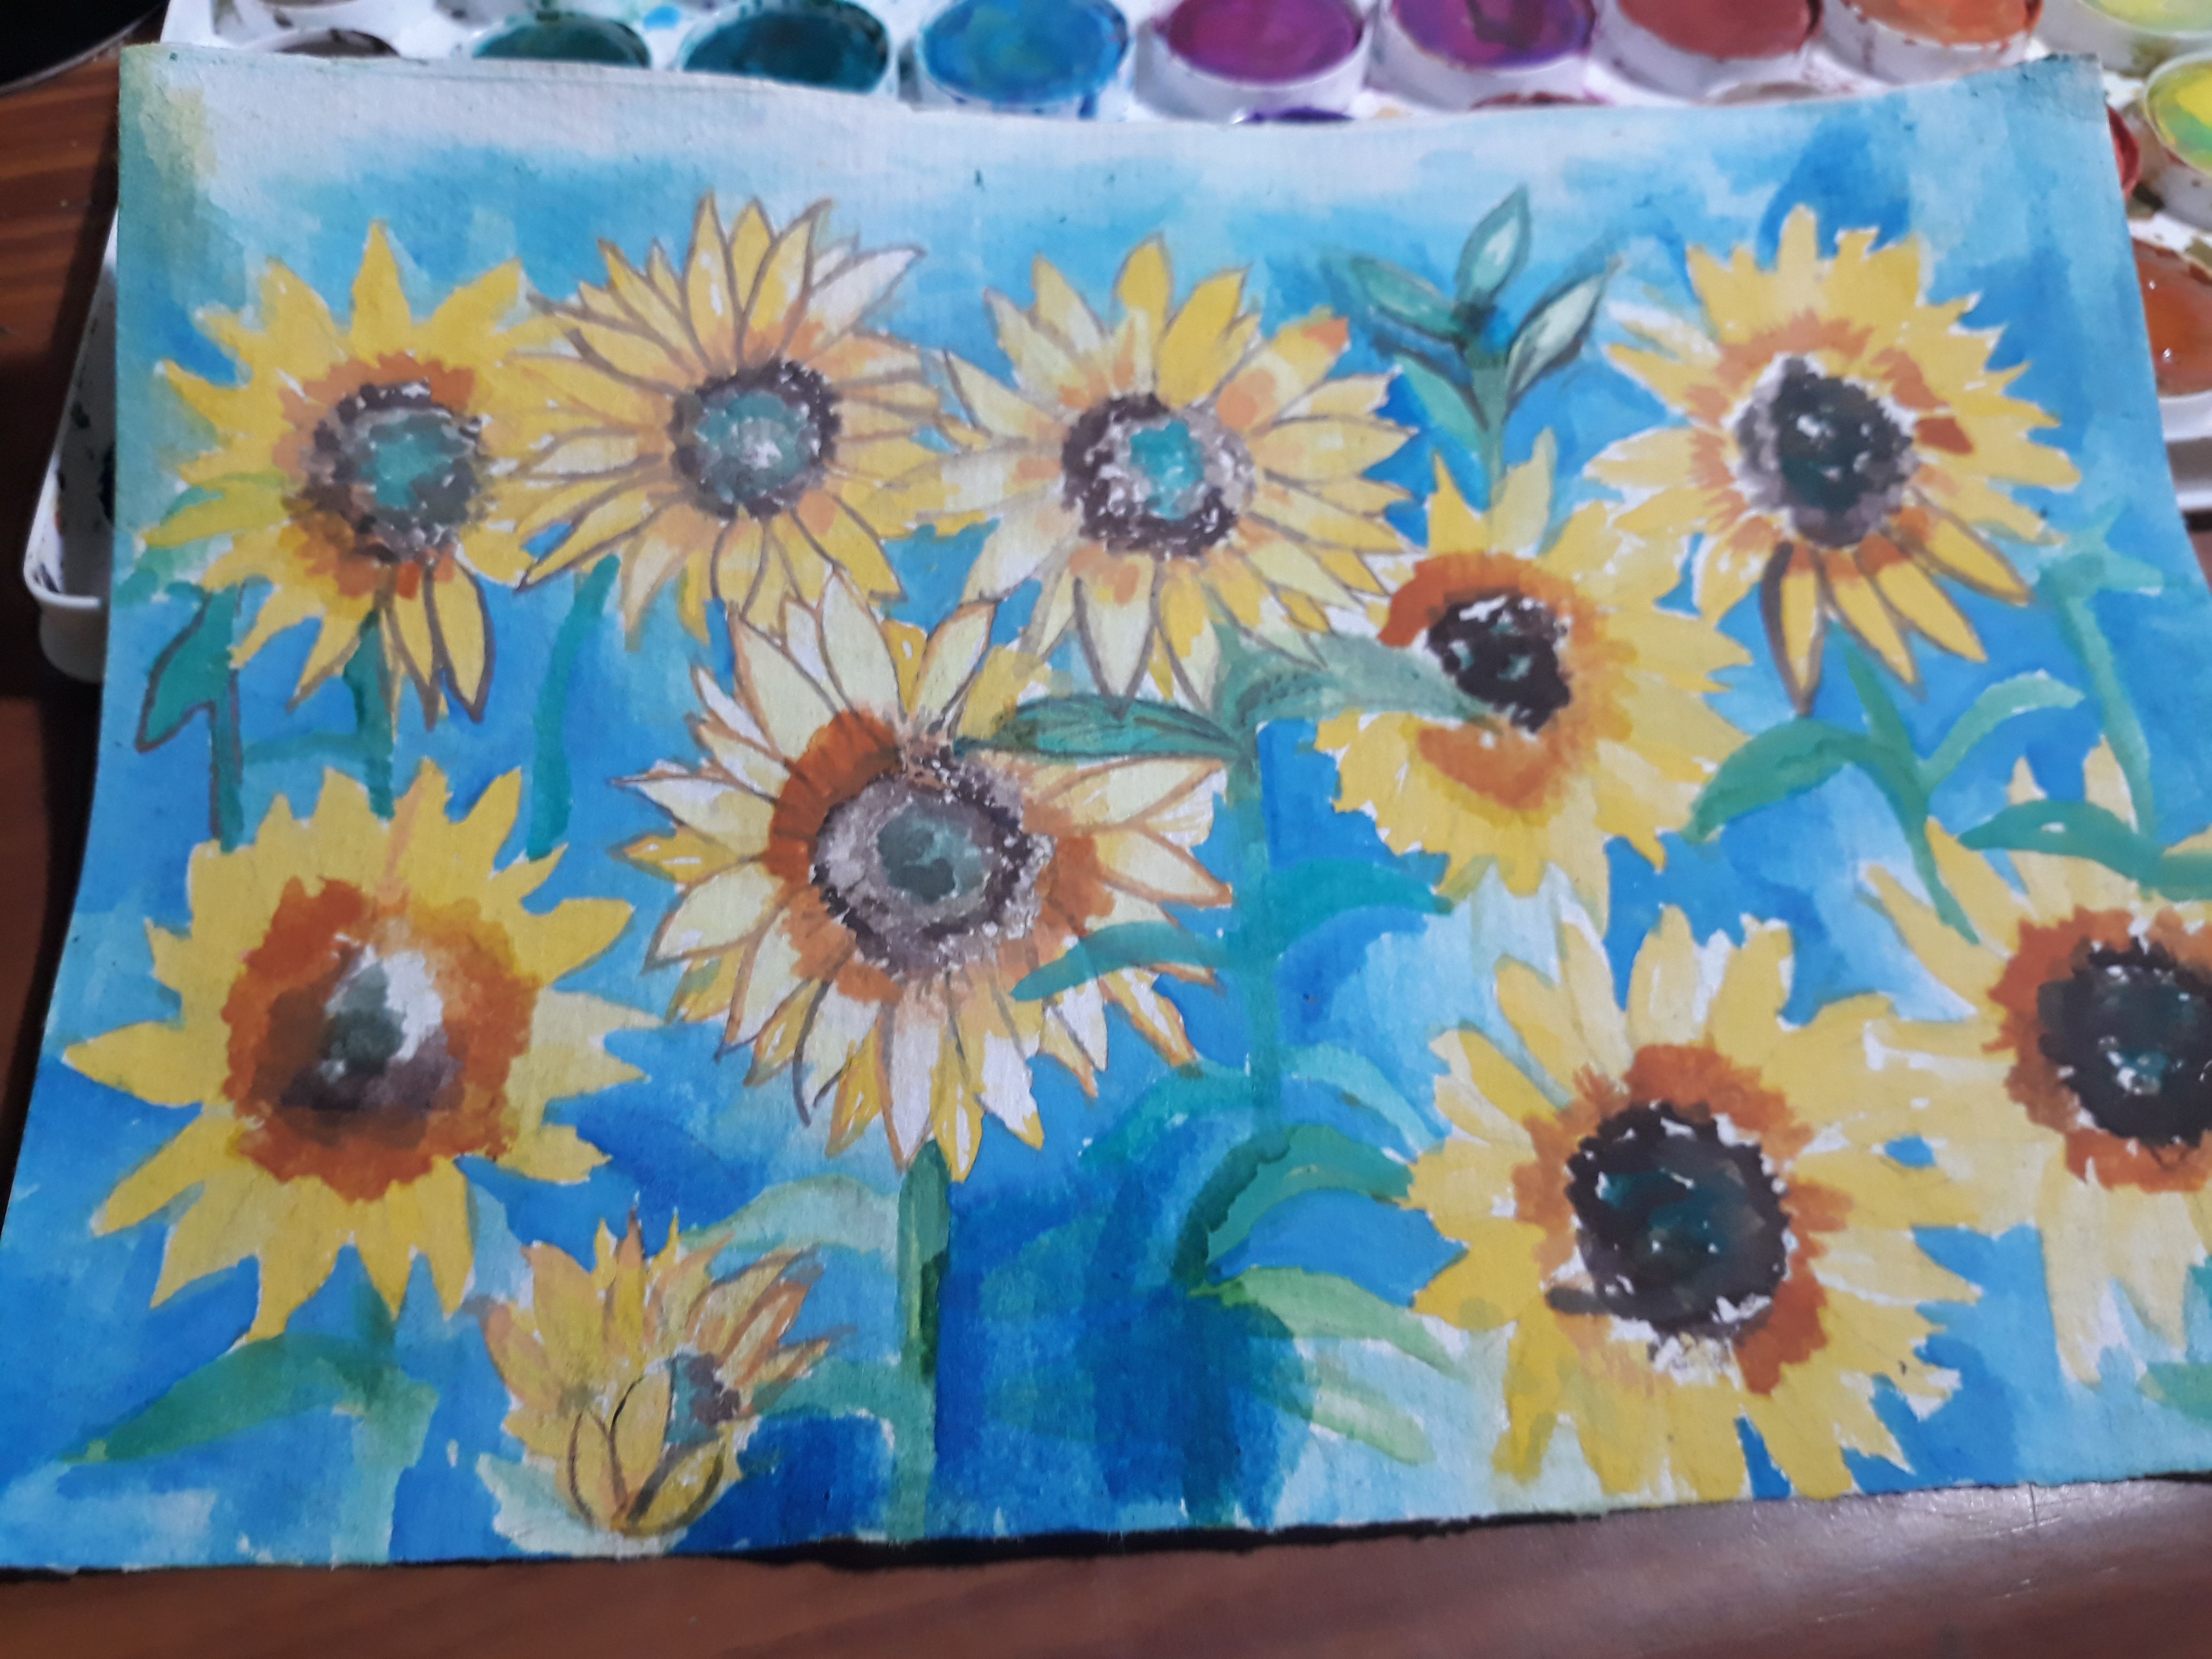
Hi everyone! It has almost been two weeks since I painted or even drew something. You know, I always get this I am too lazy, too tired, and too depressed moments in my life that I always end up just looking on my art materials and drawing tablet. But now, it seems like I am so hyped, I could draw anything I want.
Anyway, let us get started! This is my entry for @sirsensei's #drawitbetter contest. As said on the title, I will include a step-by-step tutorial just like the usual. I hope you would enjoy it.
You can also share your works and join the competition! I promise, it is fun and worthwhile. Check out this post here for instructions: https://steemit.com/art/@sirsensei/12-drawitbetter-contest-winners-and-new-theme
If you are going to look at the process, I assure you, you will enjoy every details of this artwork.
The materials I used are : watercolor paper, pencil, eraser, and watercolor cake. You can opt on using acrylic, gouache, or any medium that you are comfortable of using.
The advantage of using watercolor cake is that it is not that watery. Well, it actually depends on the amount of water you put. The disadvantages includes: (1) cake-y texture; (2) light colors seem to be overpowered by dark colors.
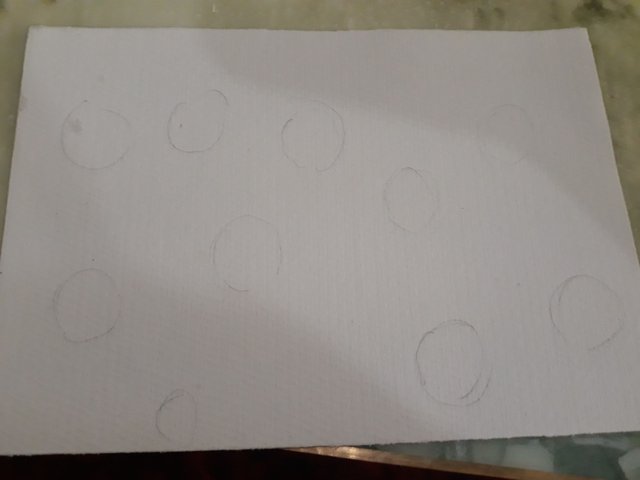
Draw a number of circles depending on the number of sunflowers you want to draw. Also plan out whether or not if you wish to spread it out or put your sunflower(s) on the center.
On this artwork, I wanted the sunflowers to spread out. By sketching the round shapes, I would remember the sizes of every sunflowers.
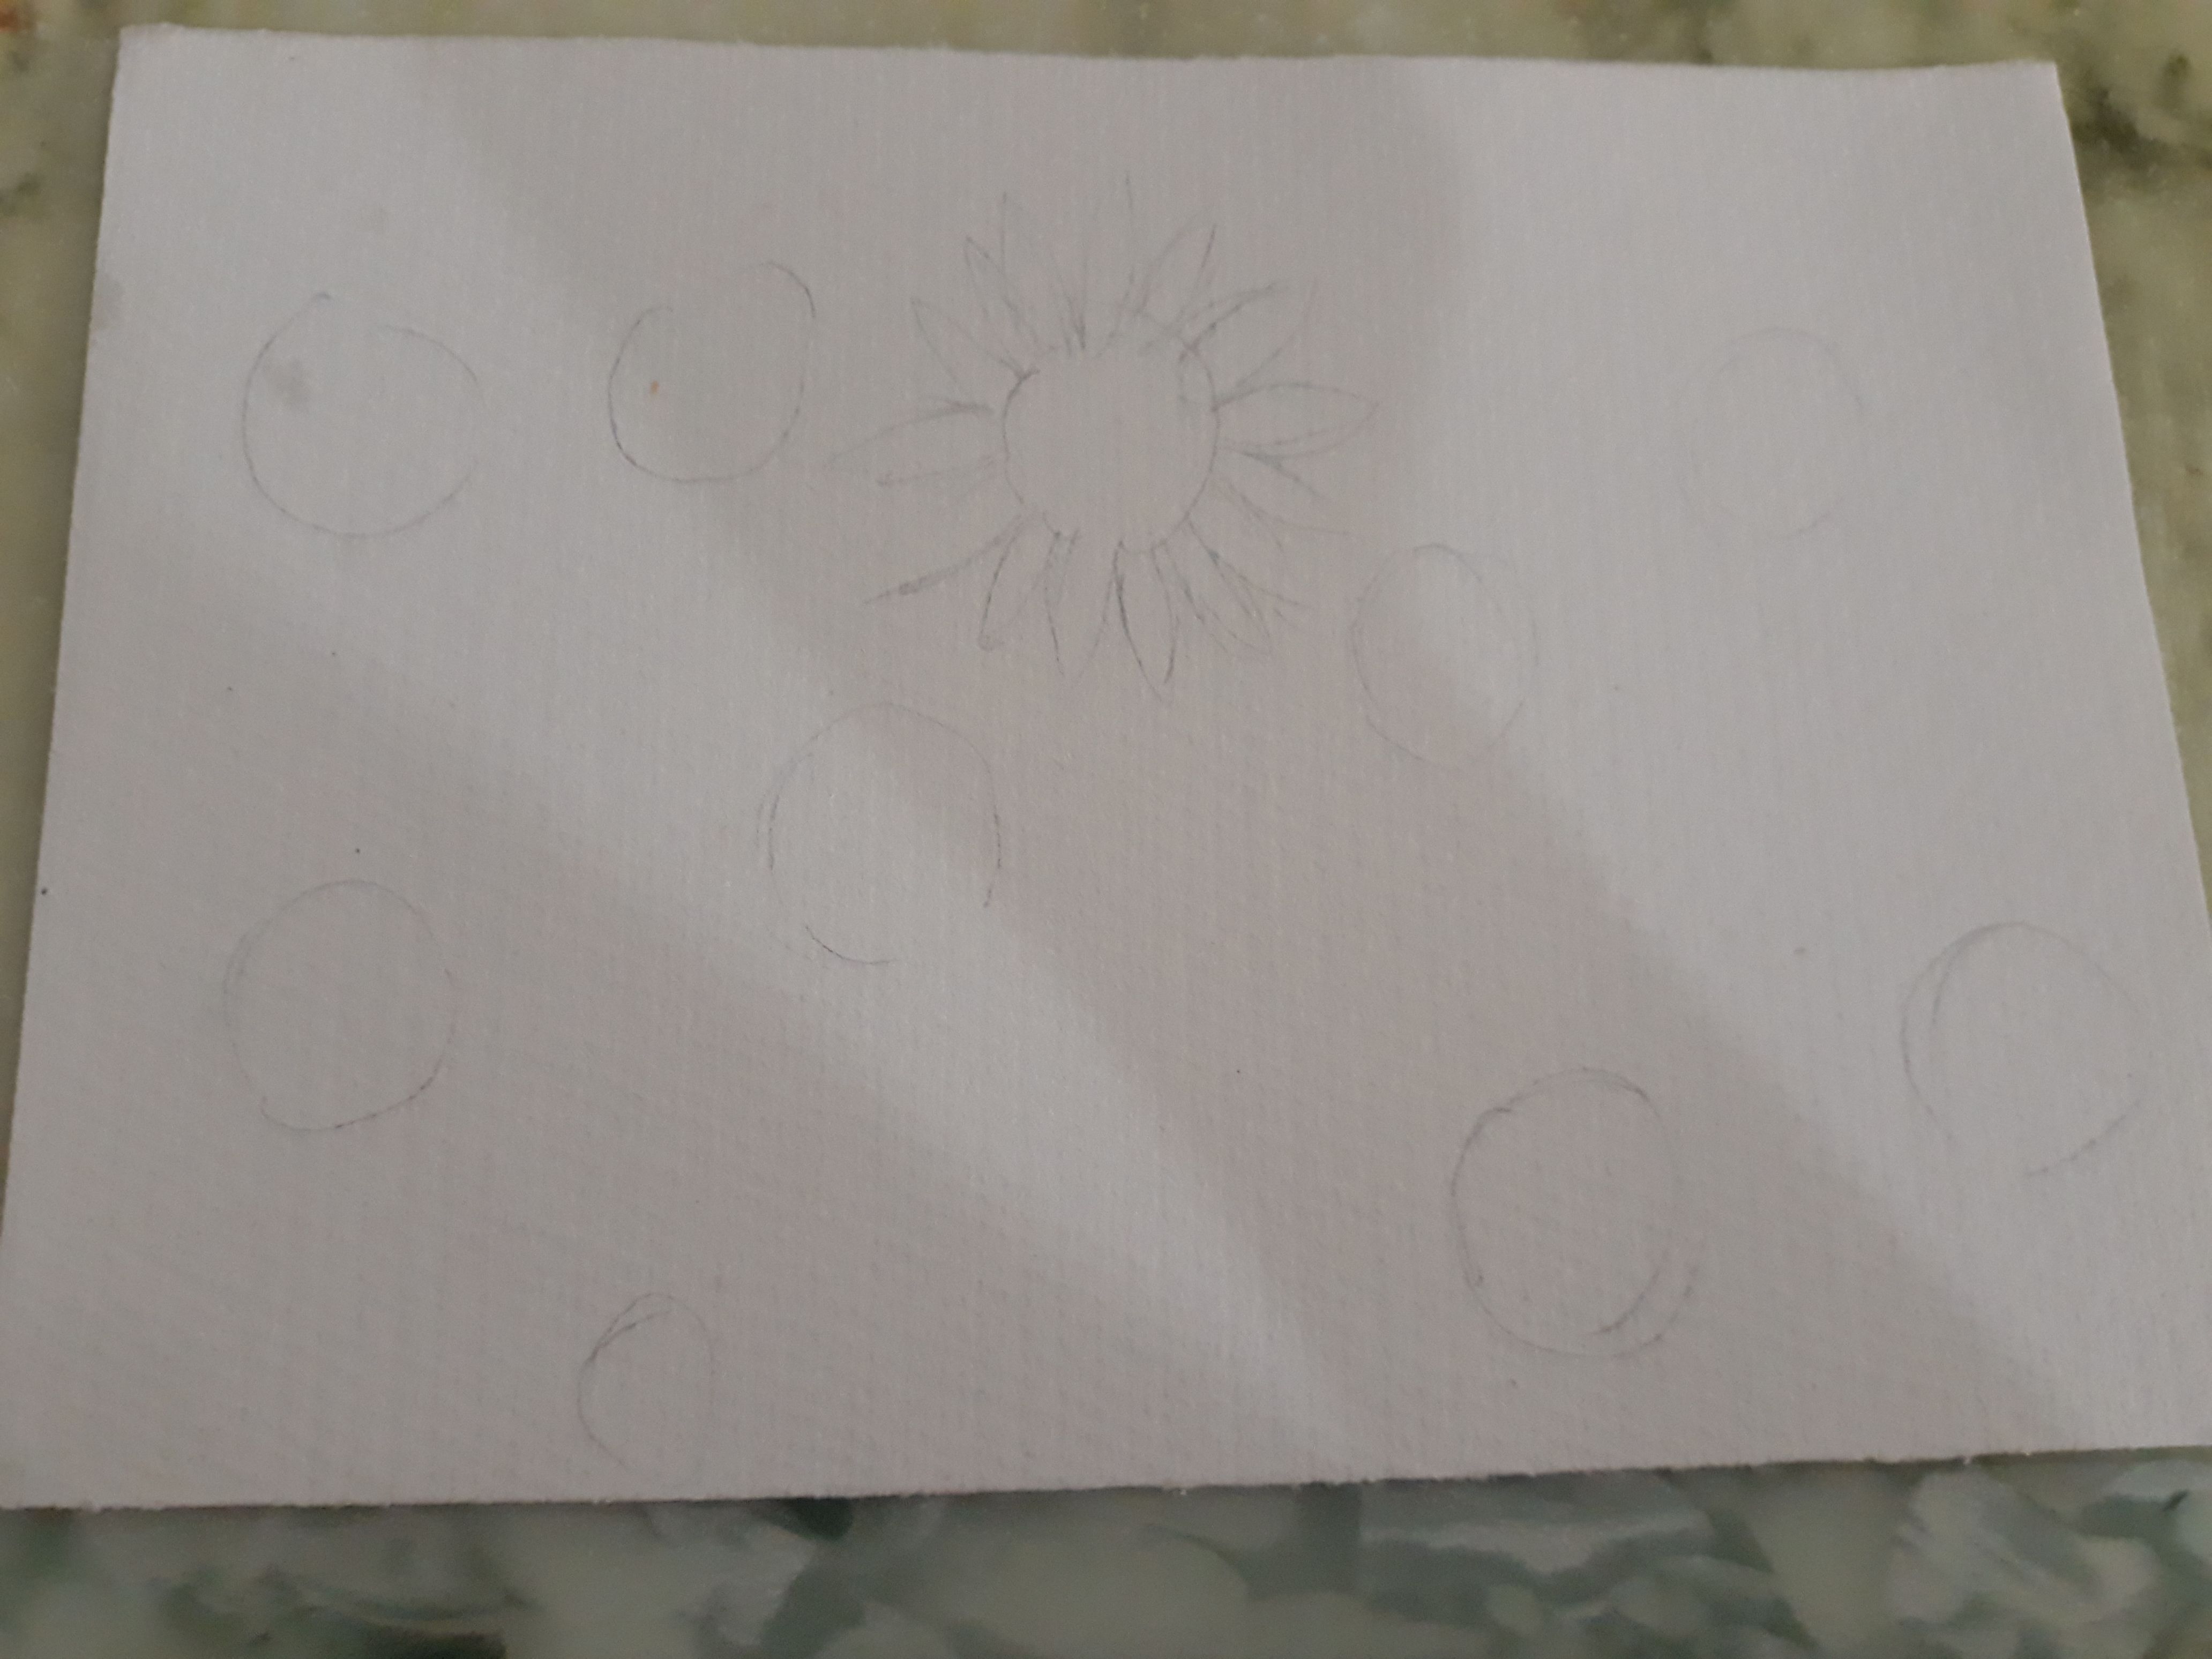
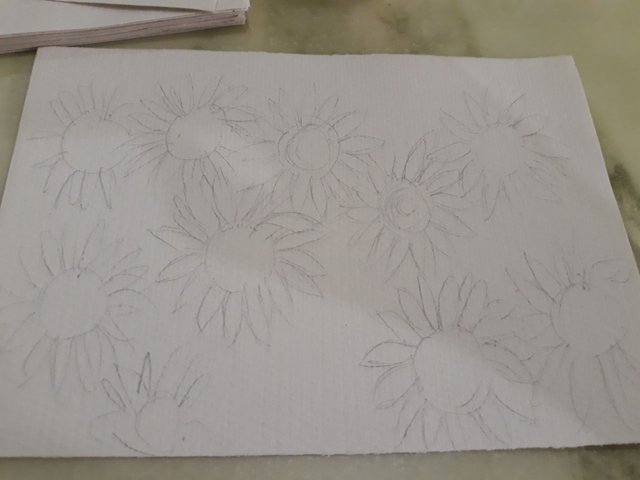
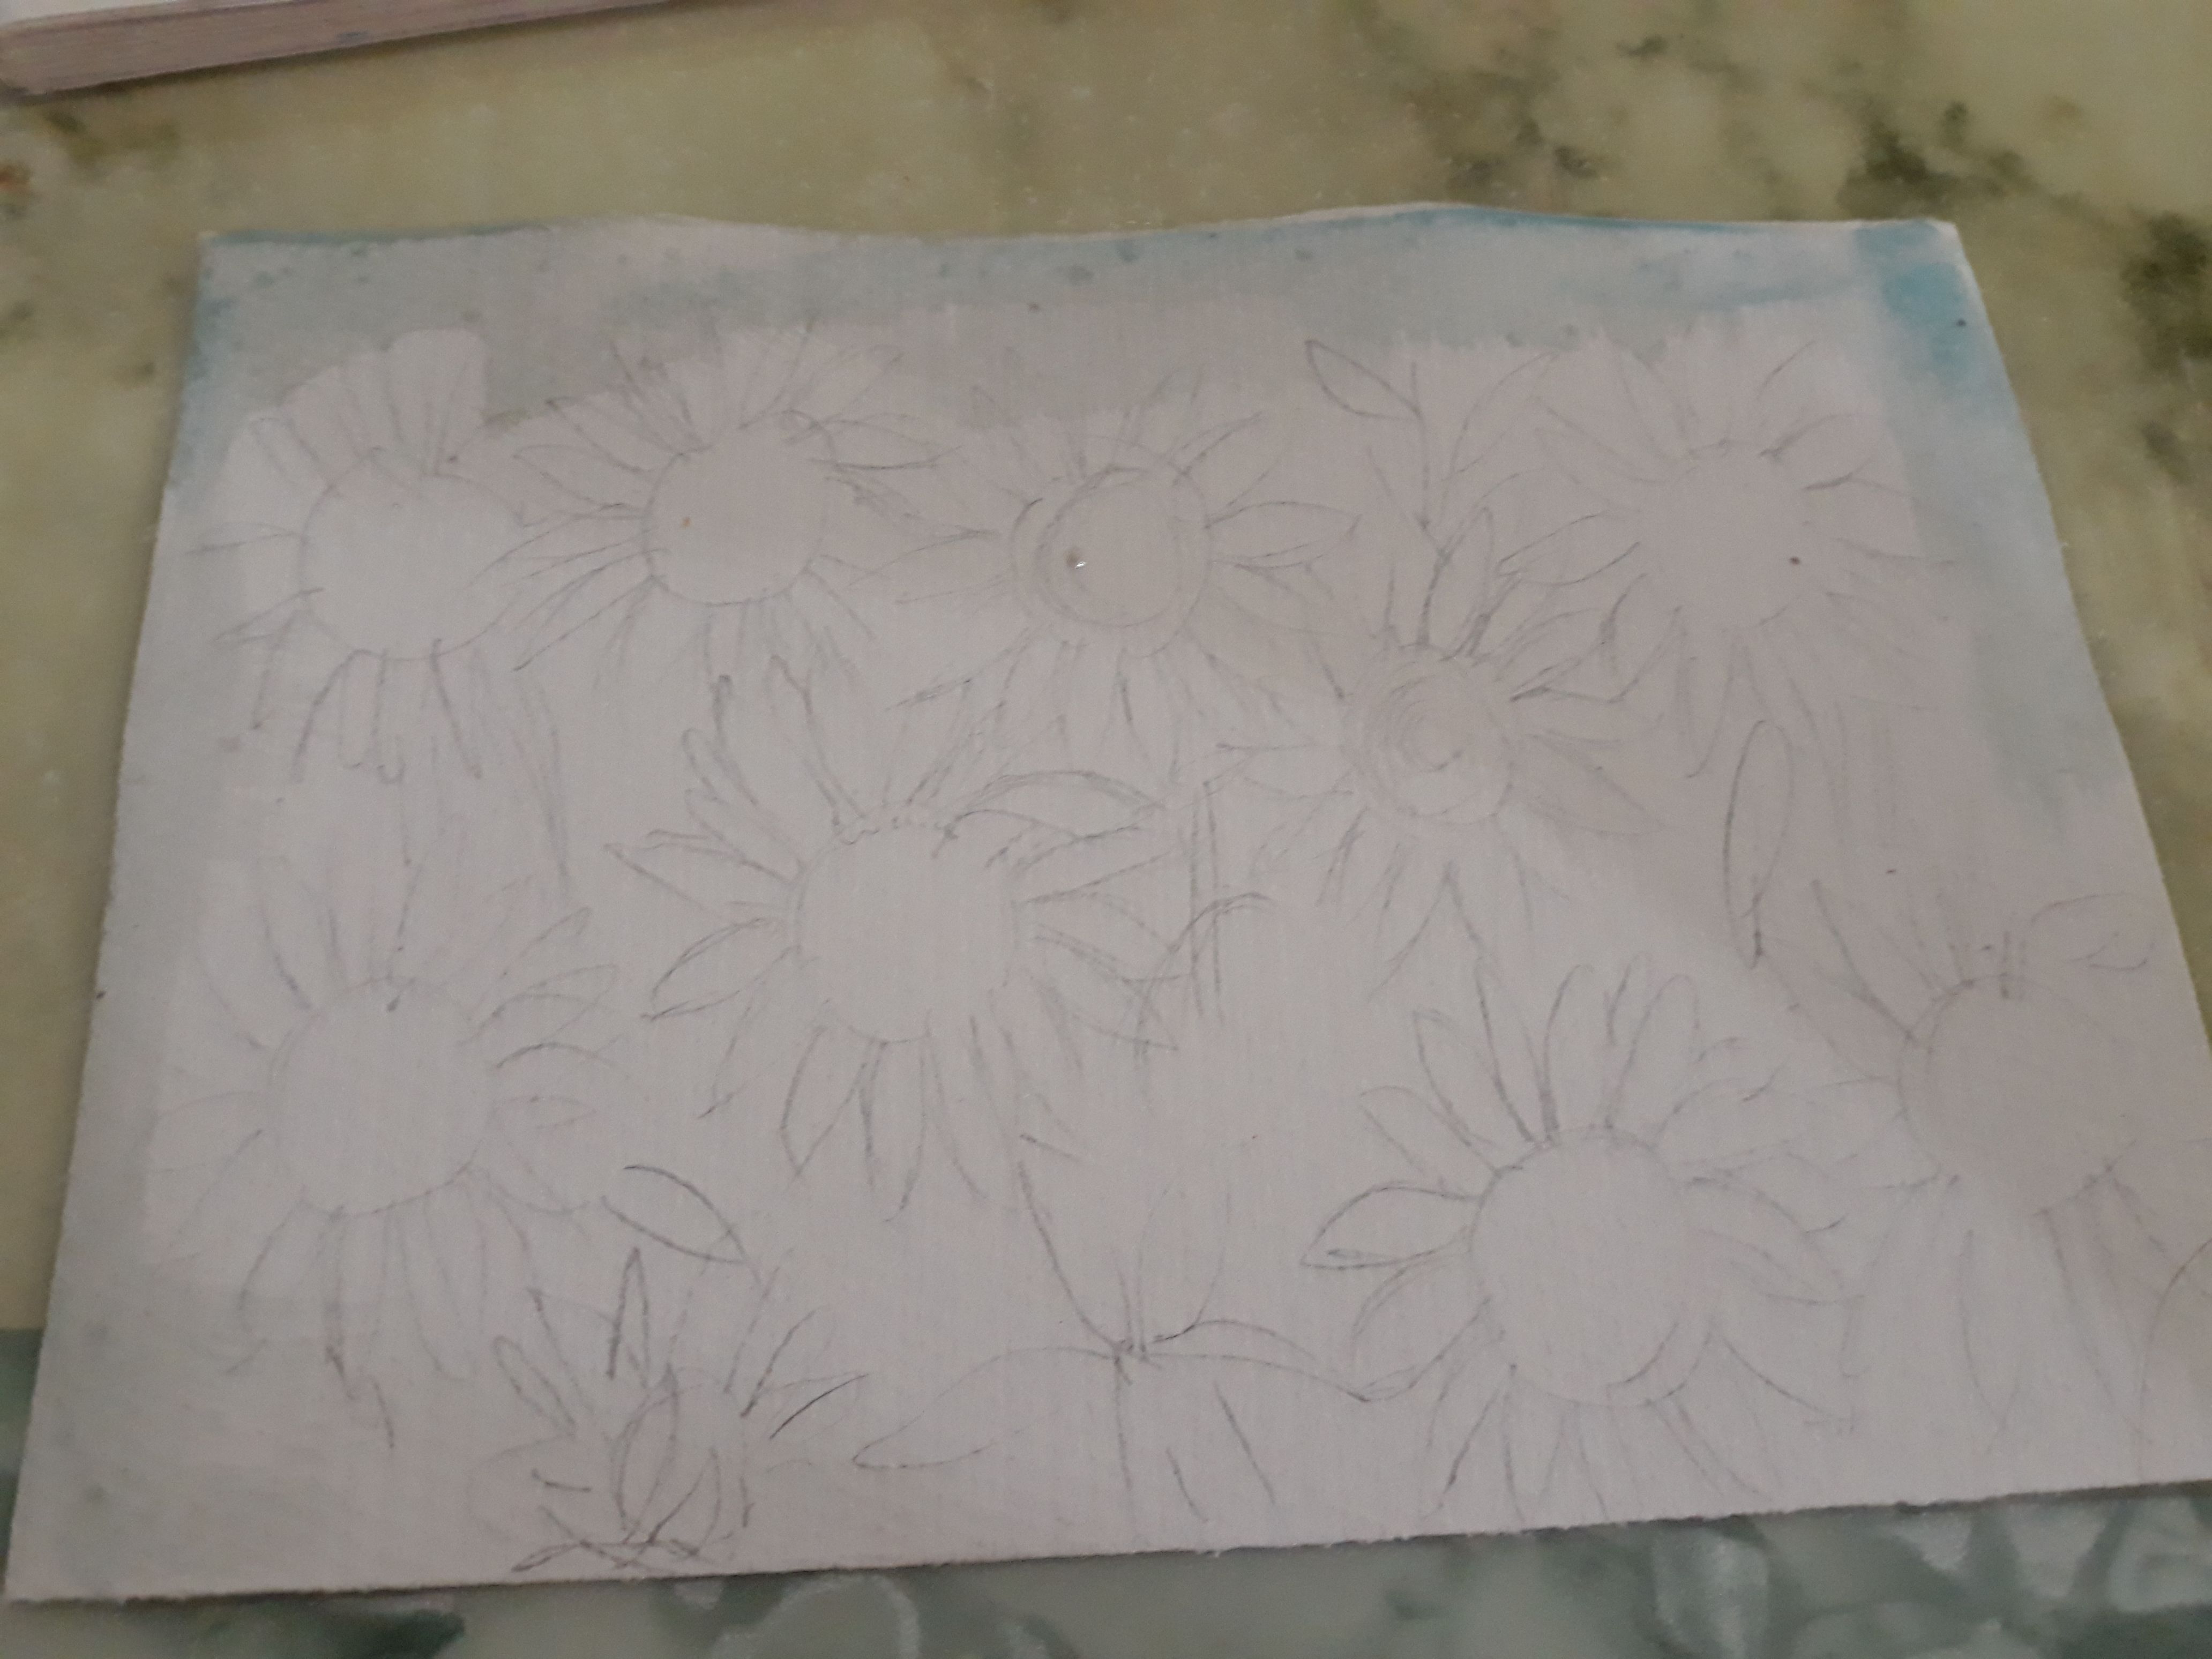
As you can observe, I was not very particular on how the petals on very sunflowers would look.
To have fun while making these, allow your hands to freely move while making petals. Make a thin cone-shaped objects that surround the round/circles you made. This is comparable to making leaves.
As you noticed, I started painting the corners with light shade of blue paint.
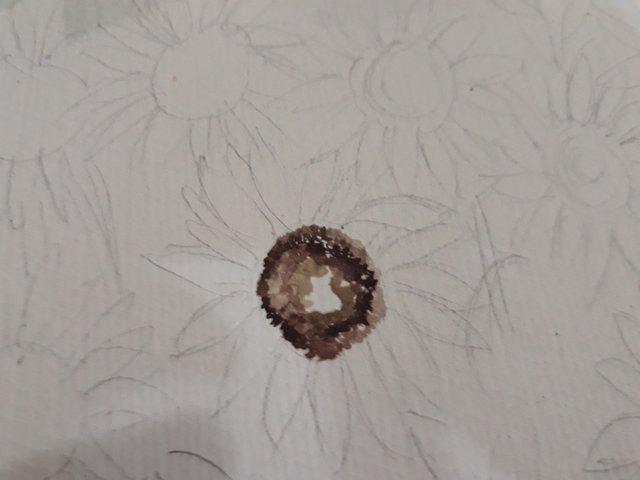
Let us begin with out first sunflower!
I started painting the circle or also known as disc florets with dark brown paint. The hue for this portion is not definite and if you wish to follow my steps, I suggest you use a small/ thin paintbrush. I left a few space on the center of it because I was still deciding what color I should use for this portion.
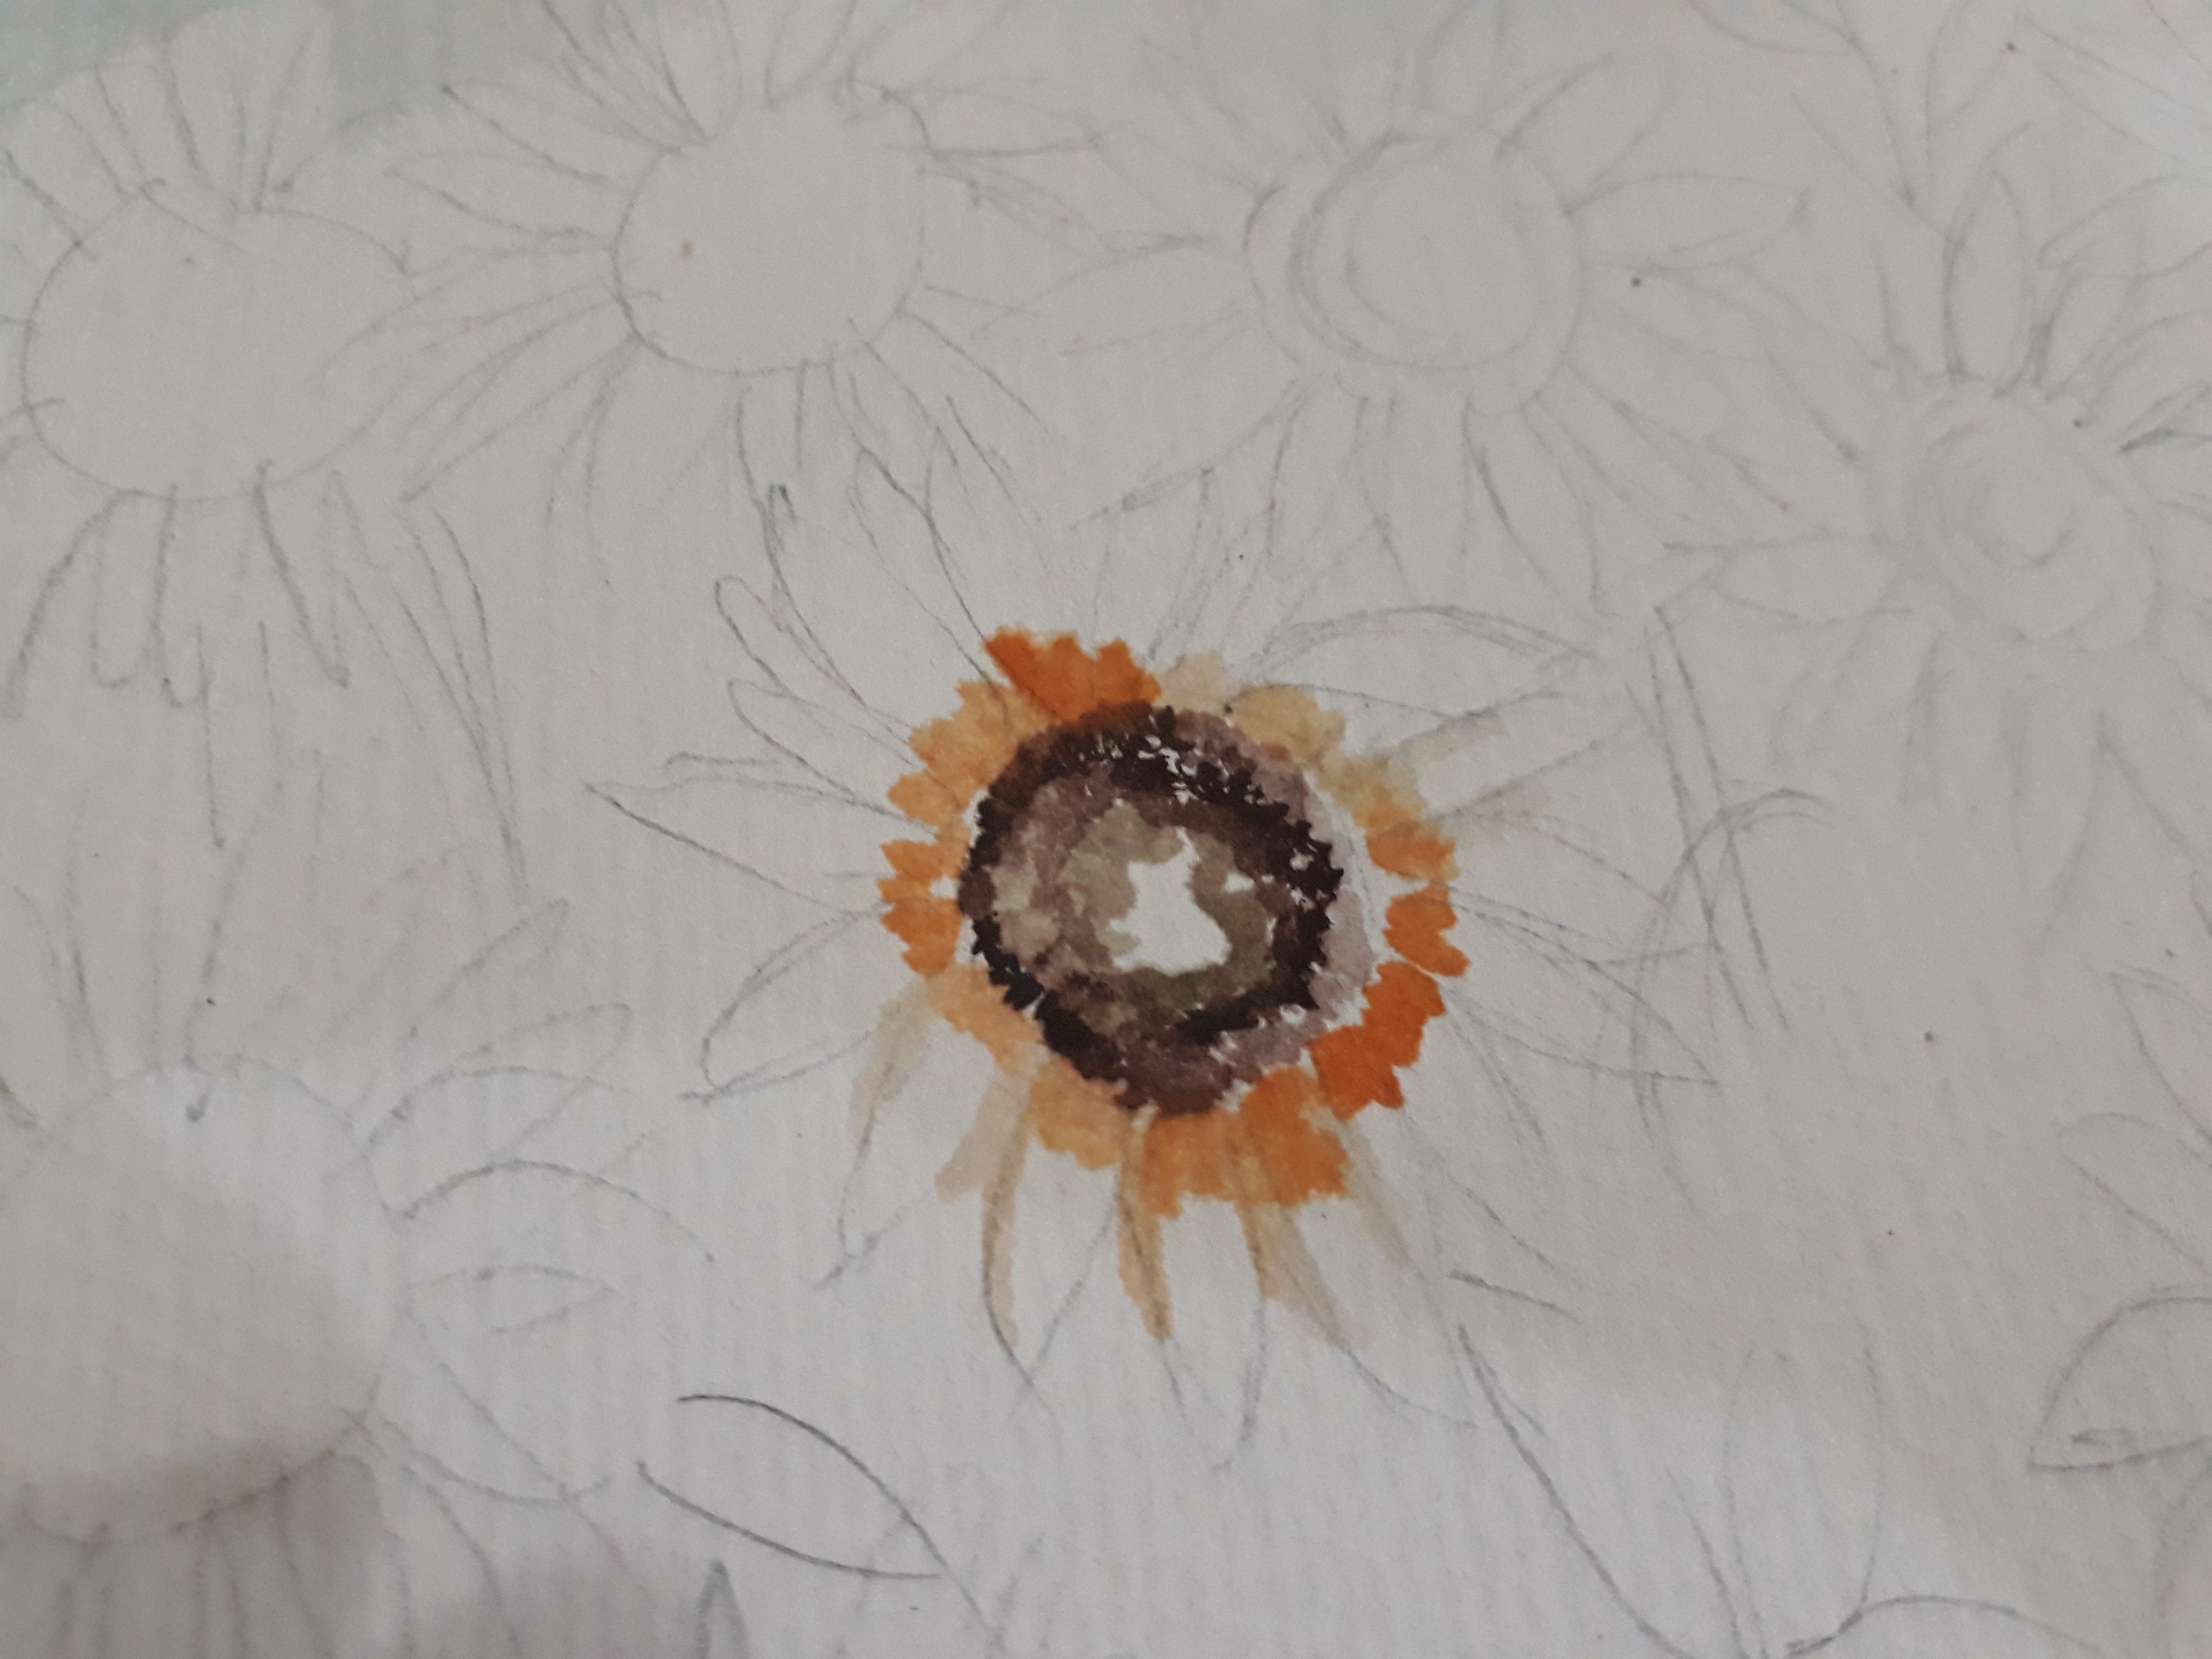
For the petals or as they call it ray florets, I painted the corner of it with orange. I made sure to leave a huge space for the center of it so that the color orange would not over power for this yellow-bright sunflower.
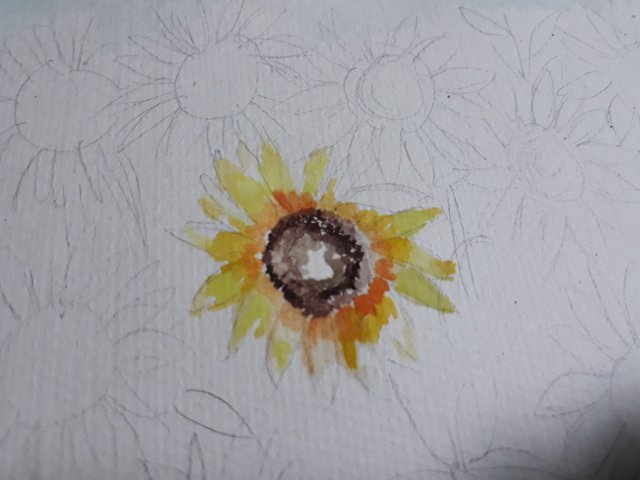
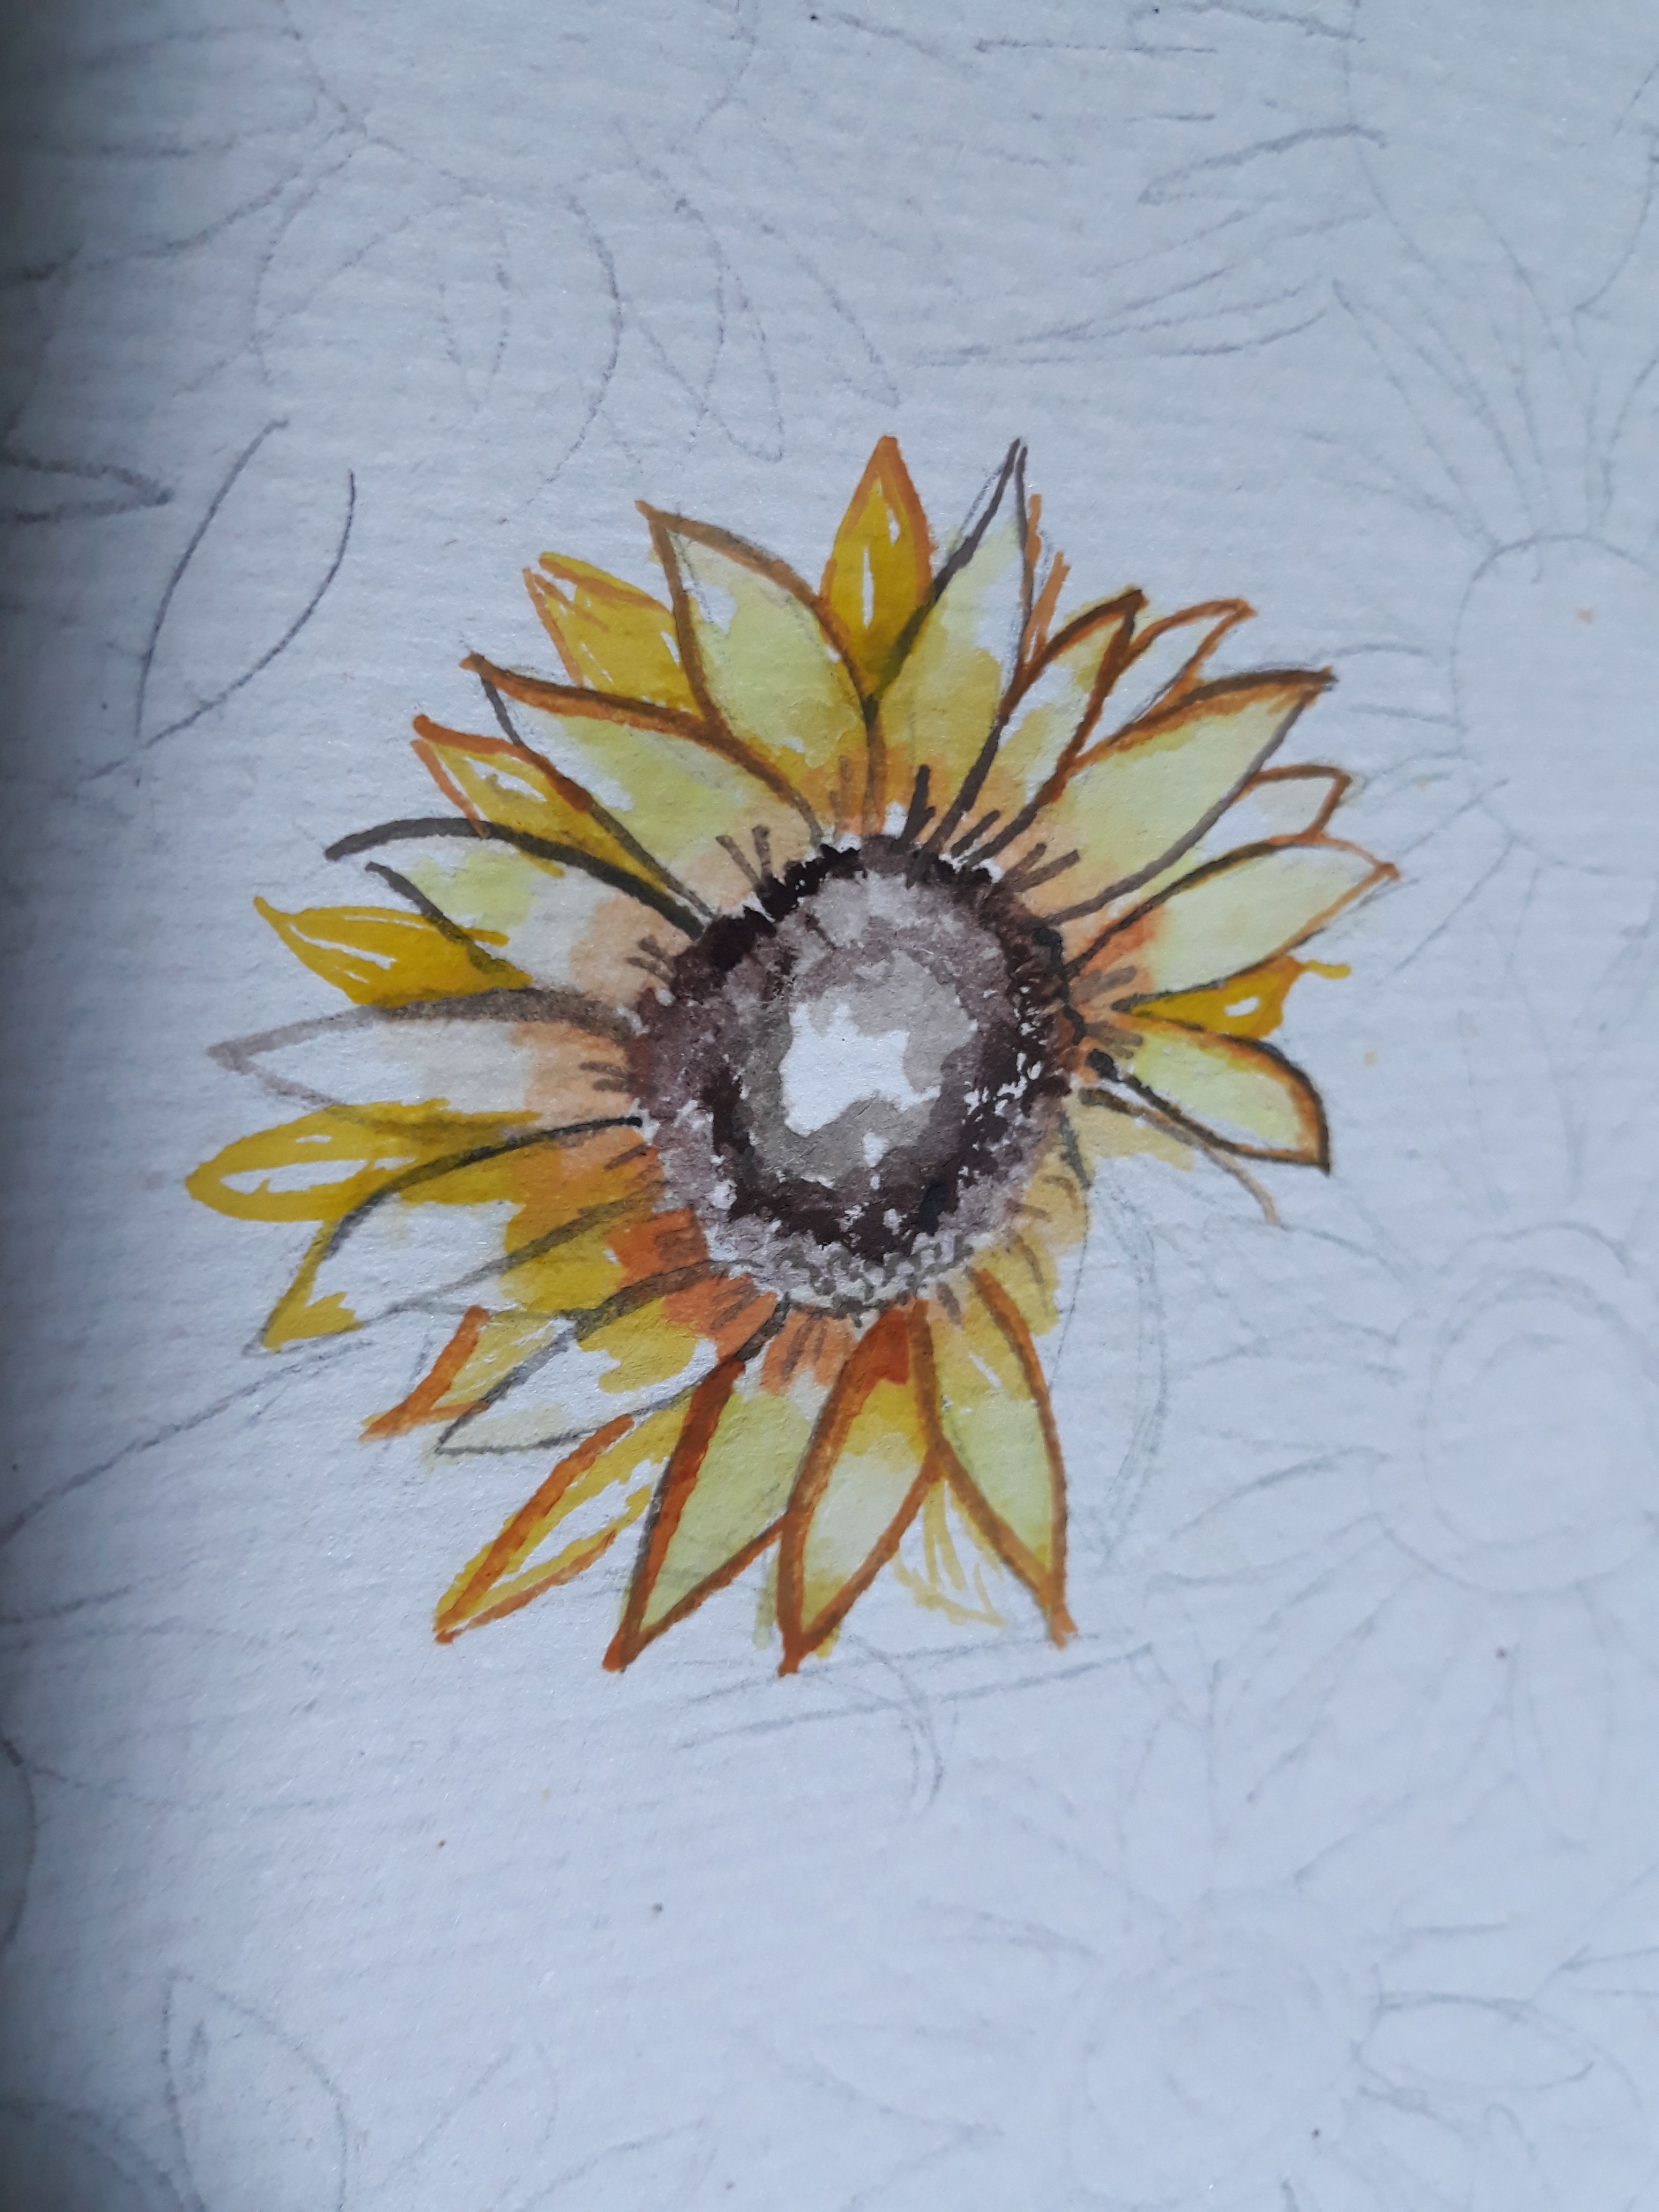
I then painted the ray florets with the bright yellow on my palette. For the florets found at the back, I opted to use a darker tone of yellow by mixing a little amount of orange + a lot of bright yellow color. I then added details for the sunflower by adding an outline for the sunflower using little brown color.
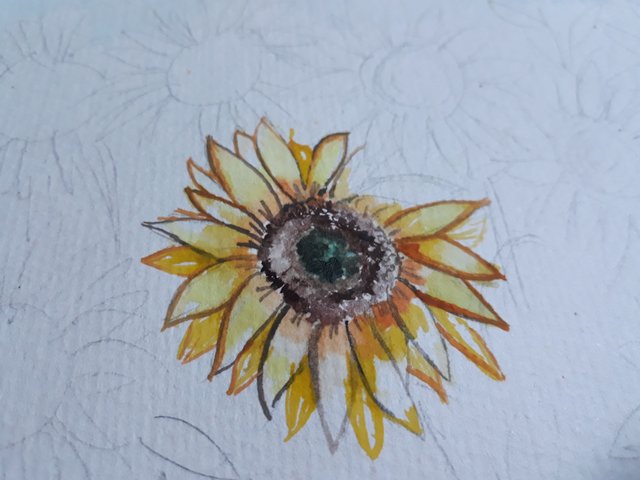
While browsing online, it seems that green would complement with color brown and I have seen sunflowers with such color so I decided to paint the center of disc florets with dark green mixed with a bit of brown color.
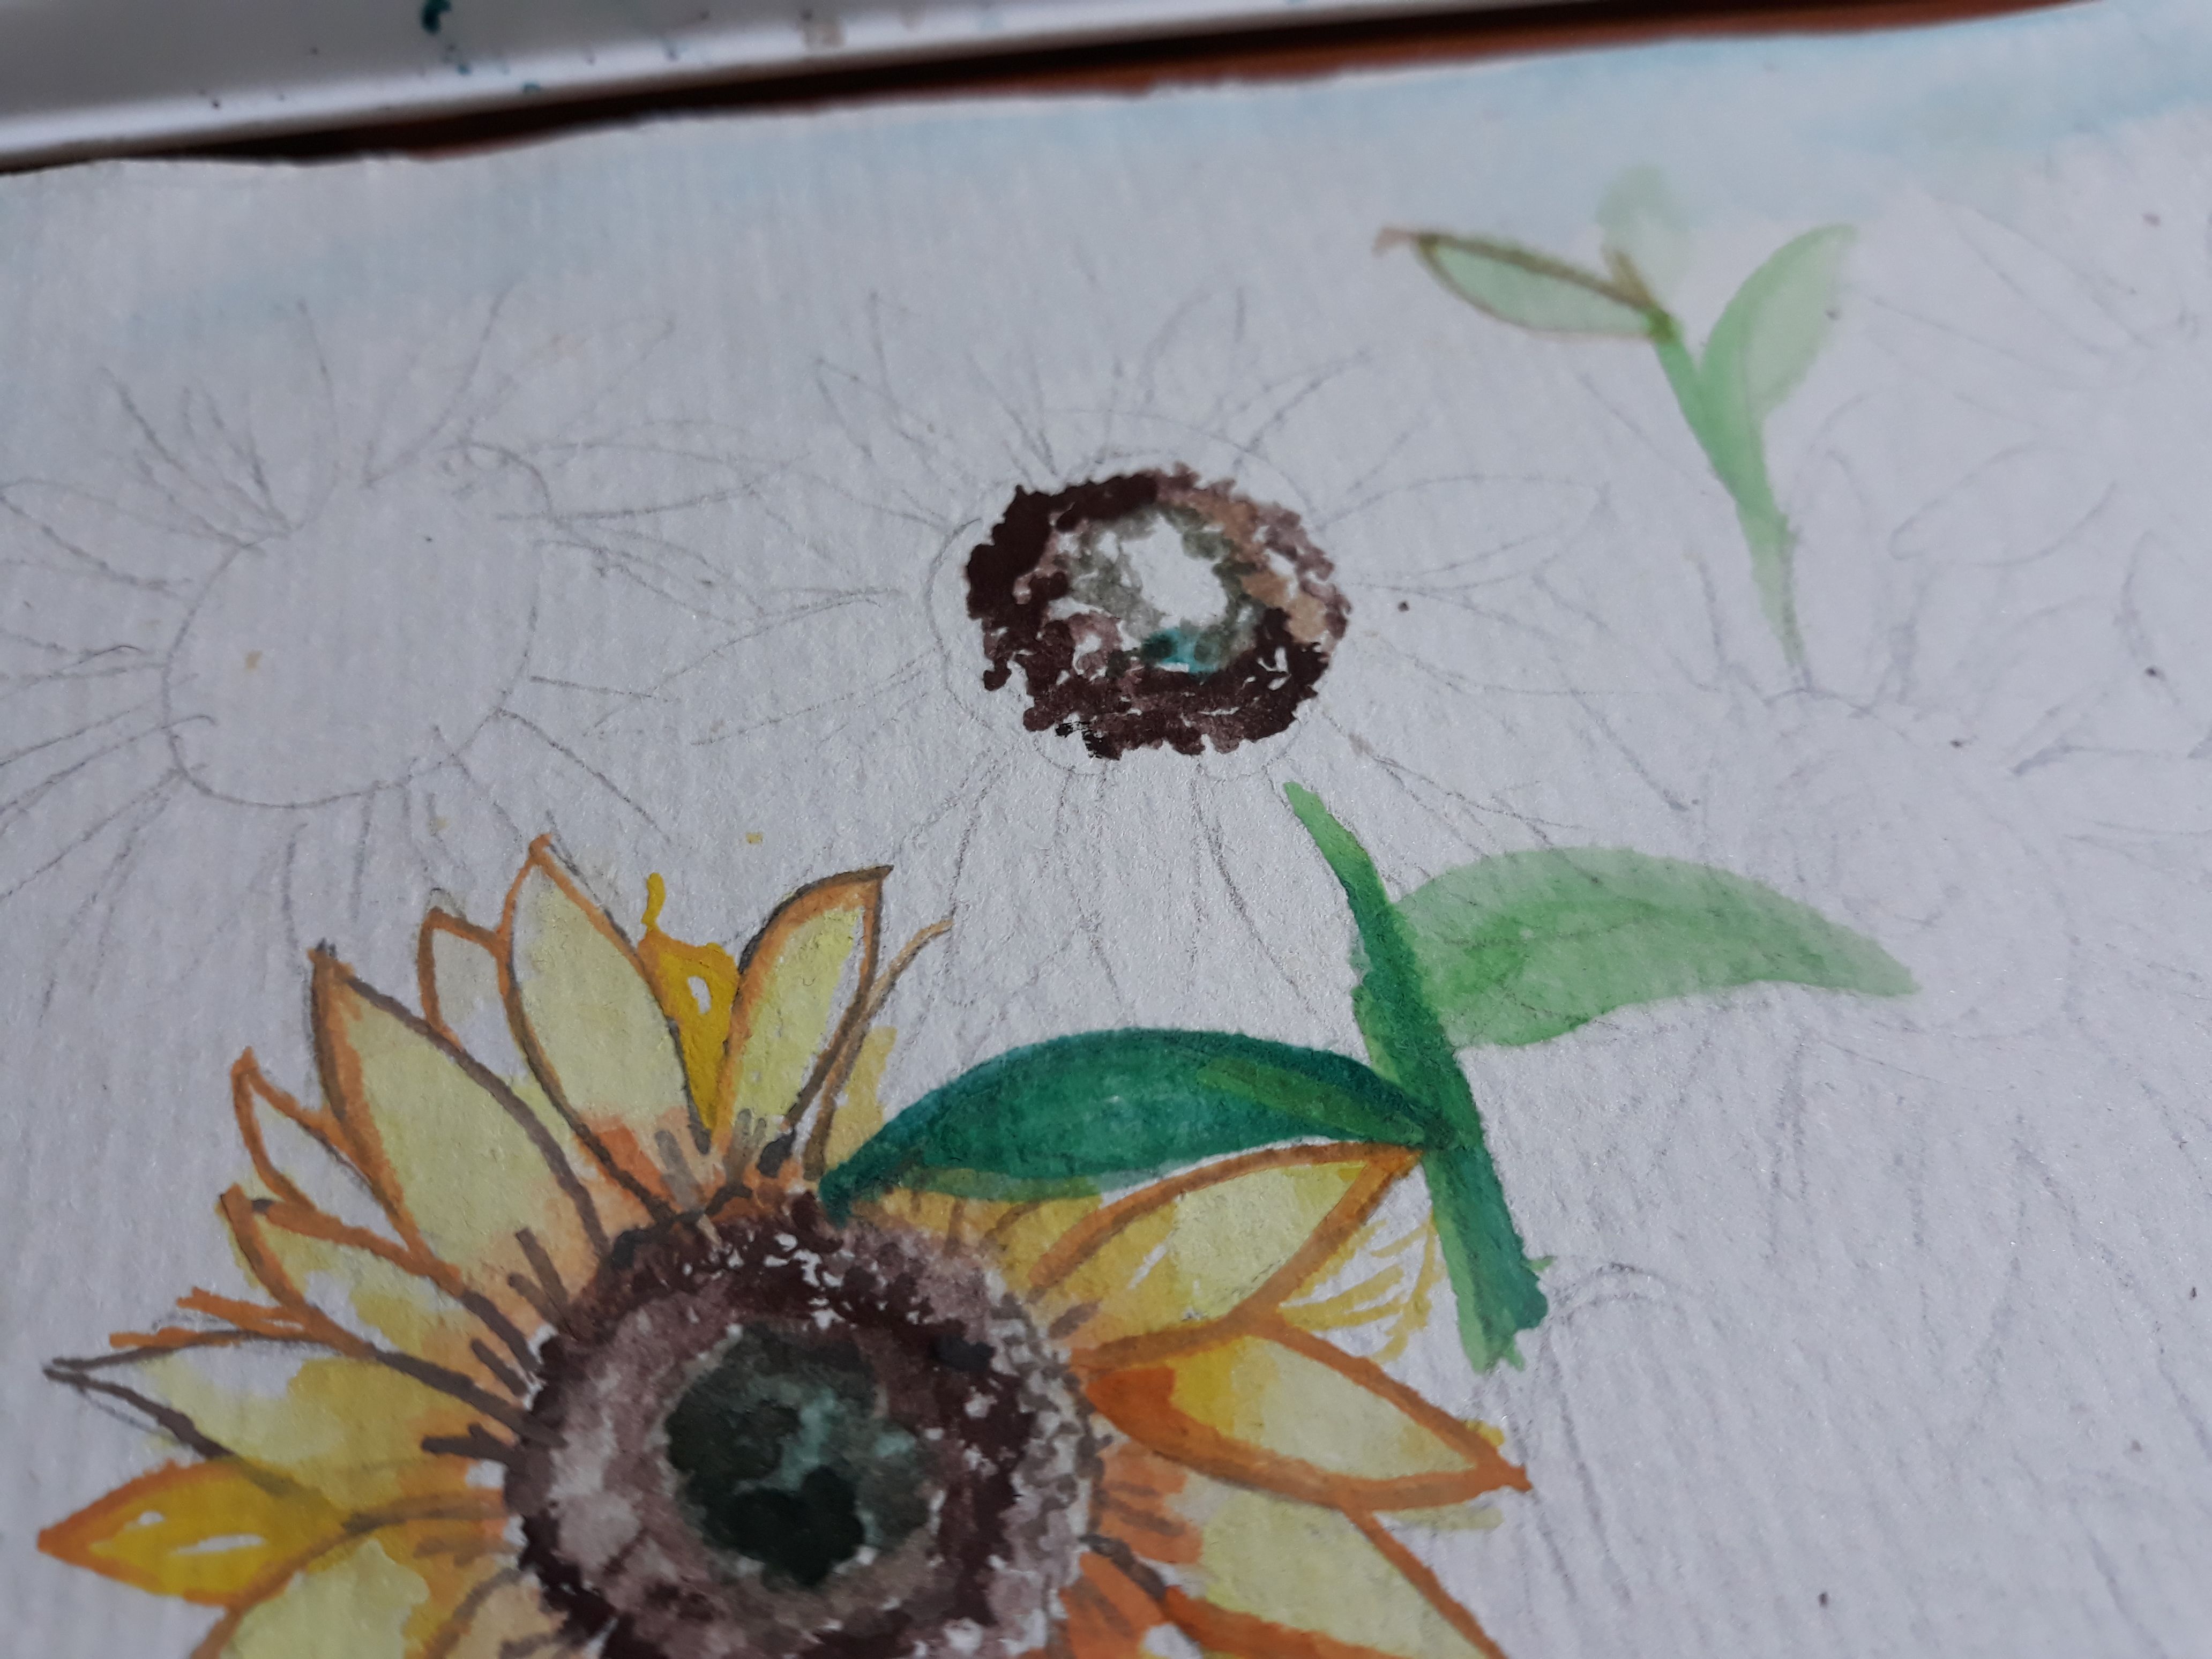
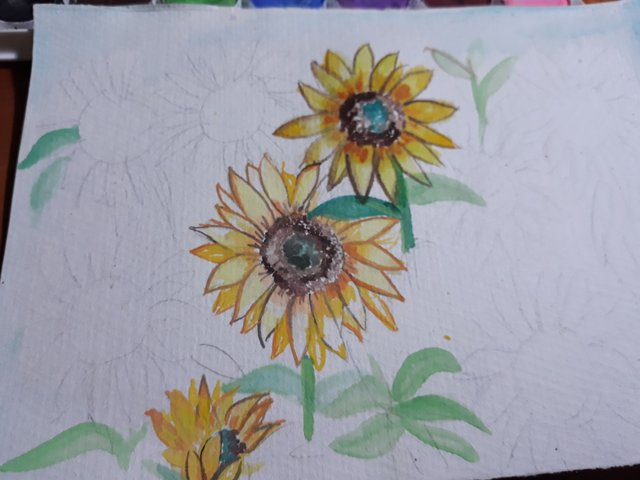
For the second sunflower, I used the same process that I did with our first sunflower. I also added few greens for our leaves.
For the flower below, I made it appear as if it is looking at the sun. I made it in such way because sunflowers remind me of people. Although some looks the same, we vary from our values and beliefs.
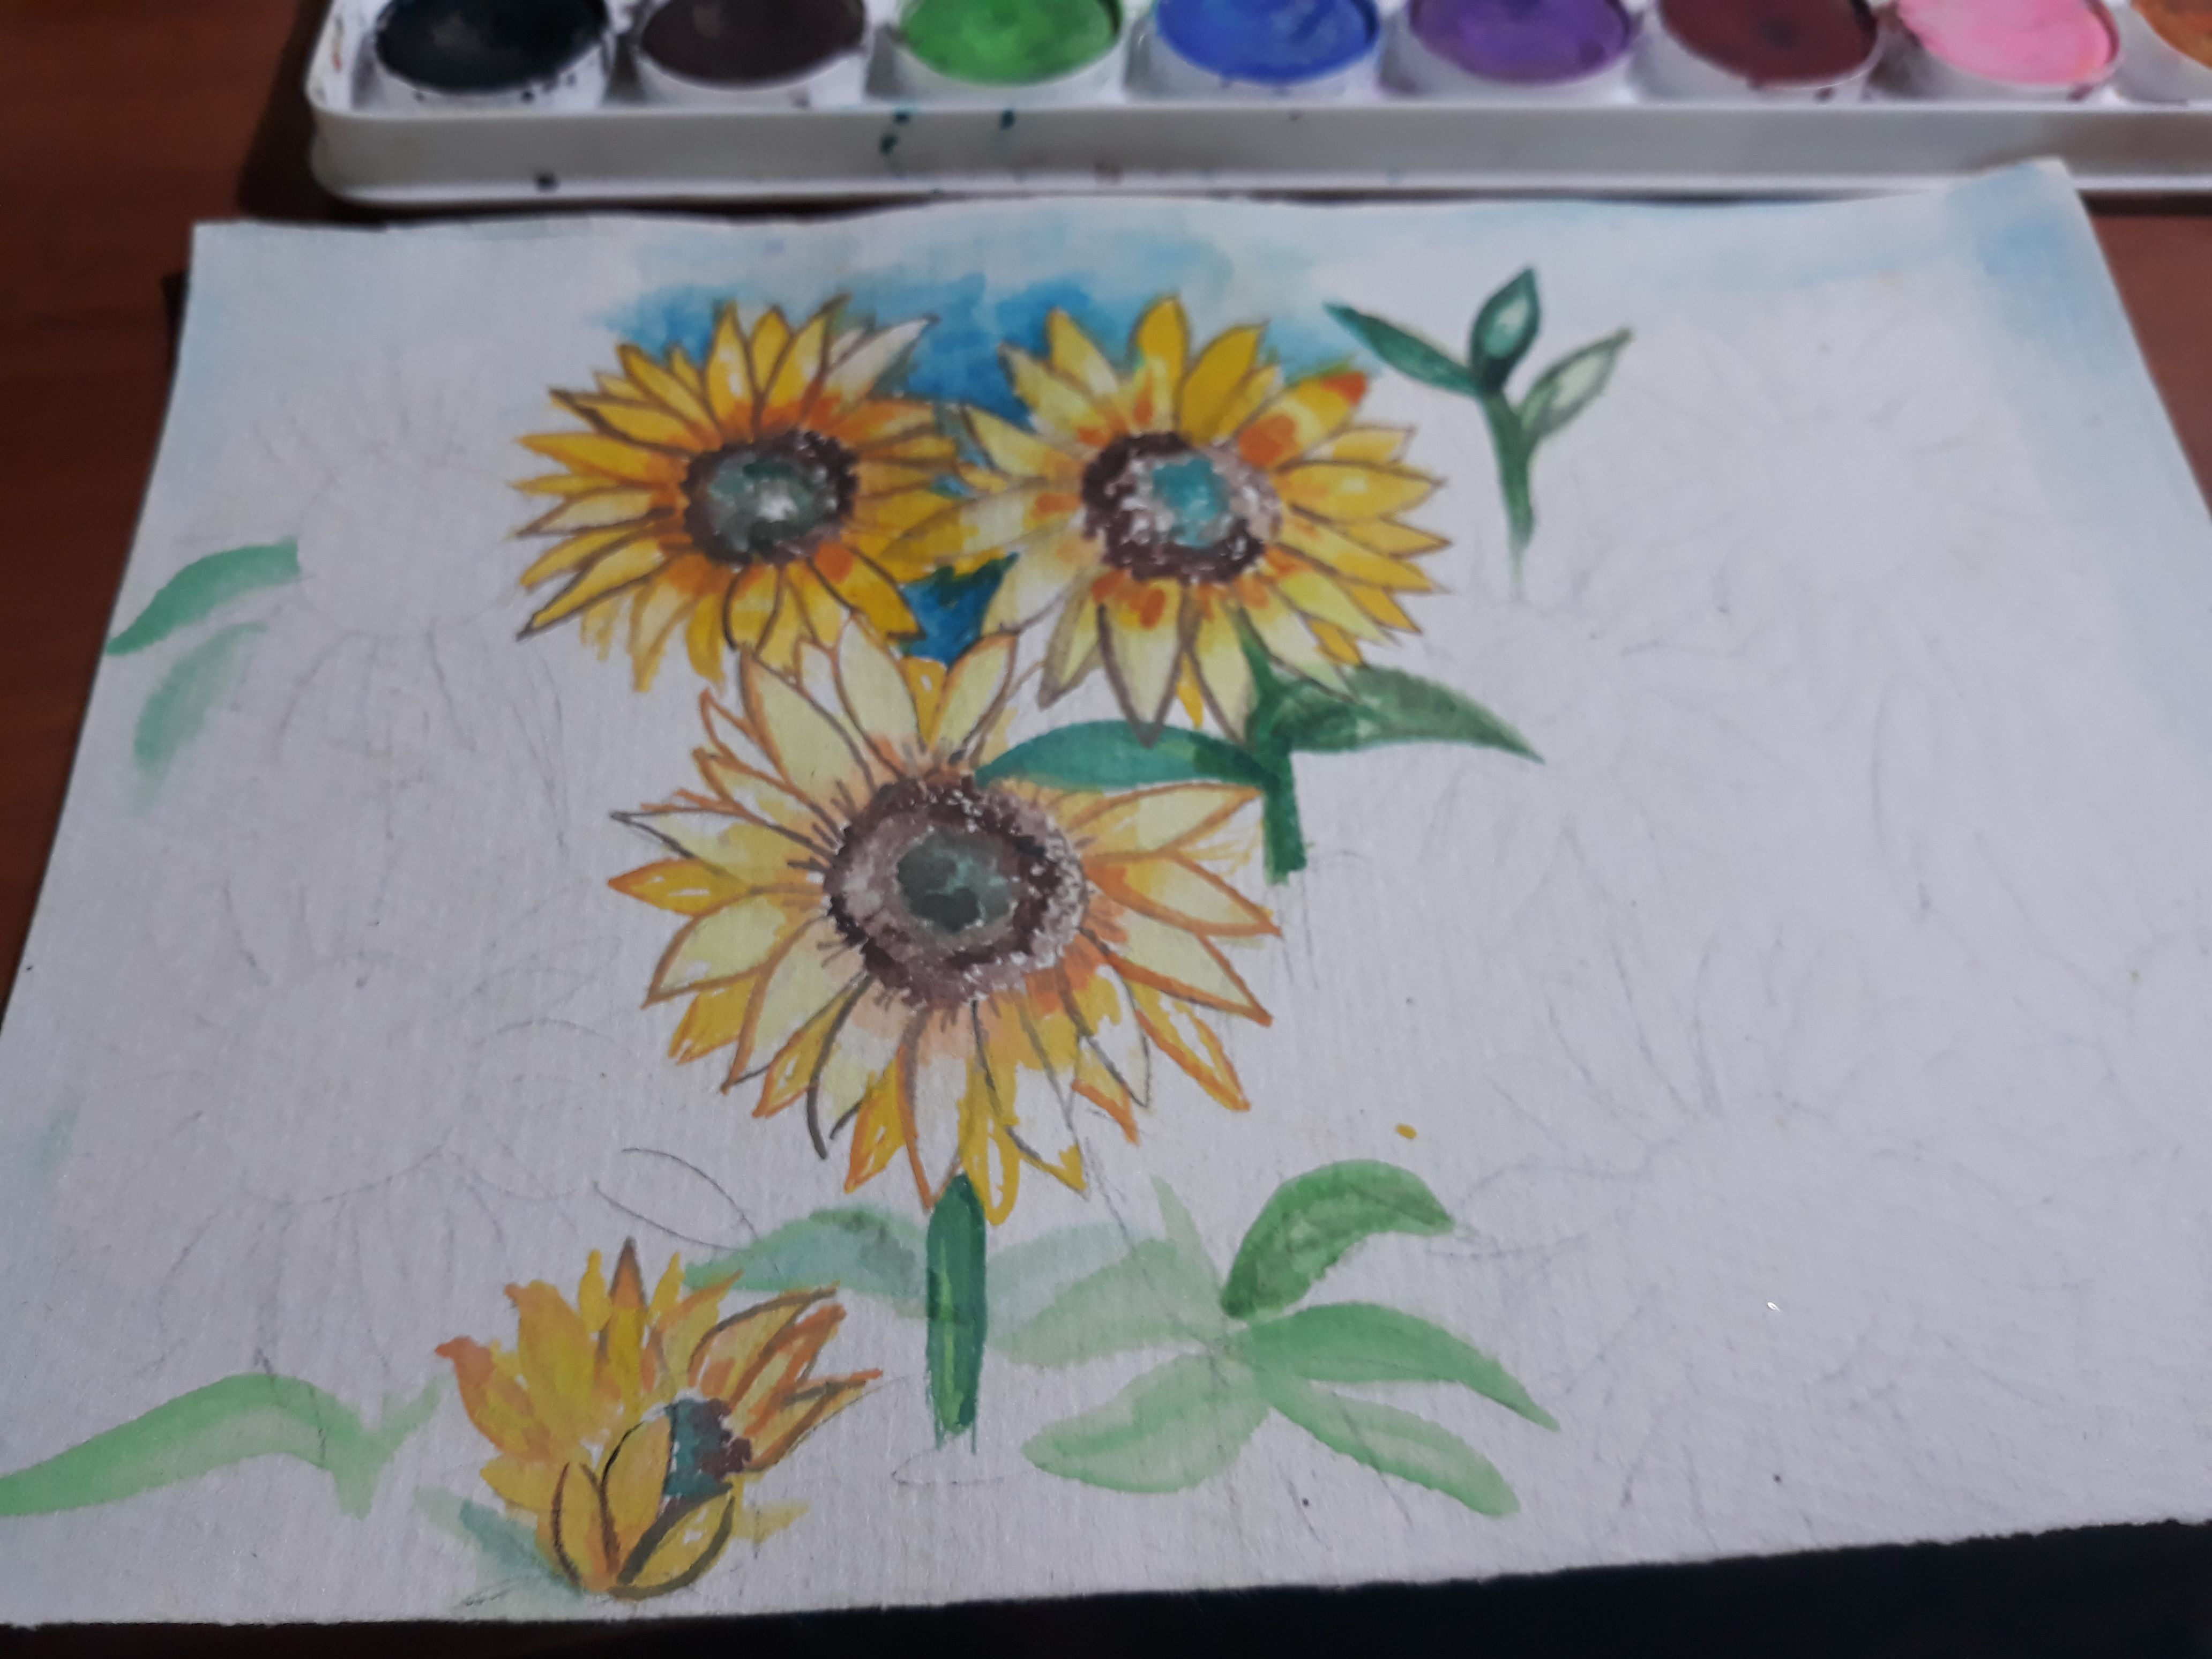
The thought that I was almost through, I started painted the background with blue. It is my way to see whether or not the color complements with each other in such tone.
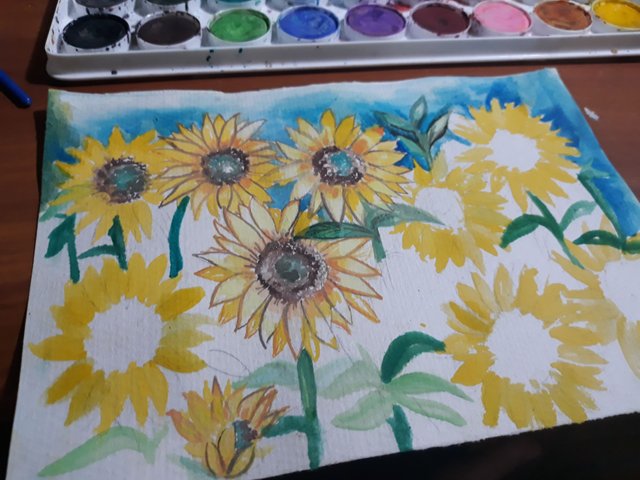
To maximize my time, I decided to paint all the ray florets with bright yellow. I waited for it to be dry so that it would not mix with other colors especially the outline.

And then I painted the remaining outline and portion of the sunflowers just like what I did with the first three flowers.
Is it simple as 1 -2 -3 right?
In art, everything is easy if you put it by heart and have fun while doing it.
I hope you enjoyed and learned something from me today. Which part of the tutorial did you like the best? Do you want to share something too? Comment down below. I will be glad to talk to you.
Great day!

Aaaaaahh, aaaw inanion diay ni pag sugod? Pastilan Kay ug ako mo dritso r man kog drawing ug bulaklak dyun ikatagtag ug ASA paturukon sa bondpaper, hahaha wa Jud, wa jut hanaw :)
Heheheh nlingaw ko nmo maam. 🤣 ingana sad nuon ko sa una 😊
Ayyyyy bayot mas nahan ko I call ug "ate" Kay dli Ra kaayo tigulang maminawon, hahaha.
Ooo your a good making drawings... Many talent.. 🎯🙏
Thank you dear friend. High five!
Boom 🌟🎯
. Hai gail 😉...
Oh hi po.
Great work, I like how you break down the steps and make it look a piece of cake :)
Thank you kate for appreciating it. 😚
So lovely , I think am beginning to fall for art, enjoyed every detail of it
I will make few more artworks in the following days. 😚 thanks
Up vote me too
It looks quite easy if I see your steps to make this awesome piece of art! But anyway, I am sure I can not do it as good as this! Thabk you for your tutorial!
Love,
Sha
You can and I know you can do better than I did 😙
Hmm I guess not.. But back in the Netherlands I will try!
Nice looking upon that great drawing. @gailbelga I just followed you new here.
Thanks sir. How is steemit going for you sir? =)
Nice drawing sis @gailbelga!👏😍
Salamat sis =) mwah
Your welcome sis!😘
Hi & thank you! Nice work.
Good luck with the contest! :)
Oh good luck to meeeee. I need it. 🤣 how r u now by the way? Is Slovenia doing great? =) best regards.