How to Sketch a Car in Sliiiiight Rear View Perspective
Hey what's up! Ready to sketch some cars? Of course you are.
In this video, I'll walk you through the steps to sketching a car in slight rear view/side view using markers.
Like these kind of posts? Please upvote and resteem for more videos like this one!
Alright, now let's get to it.
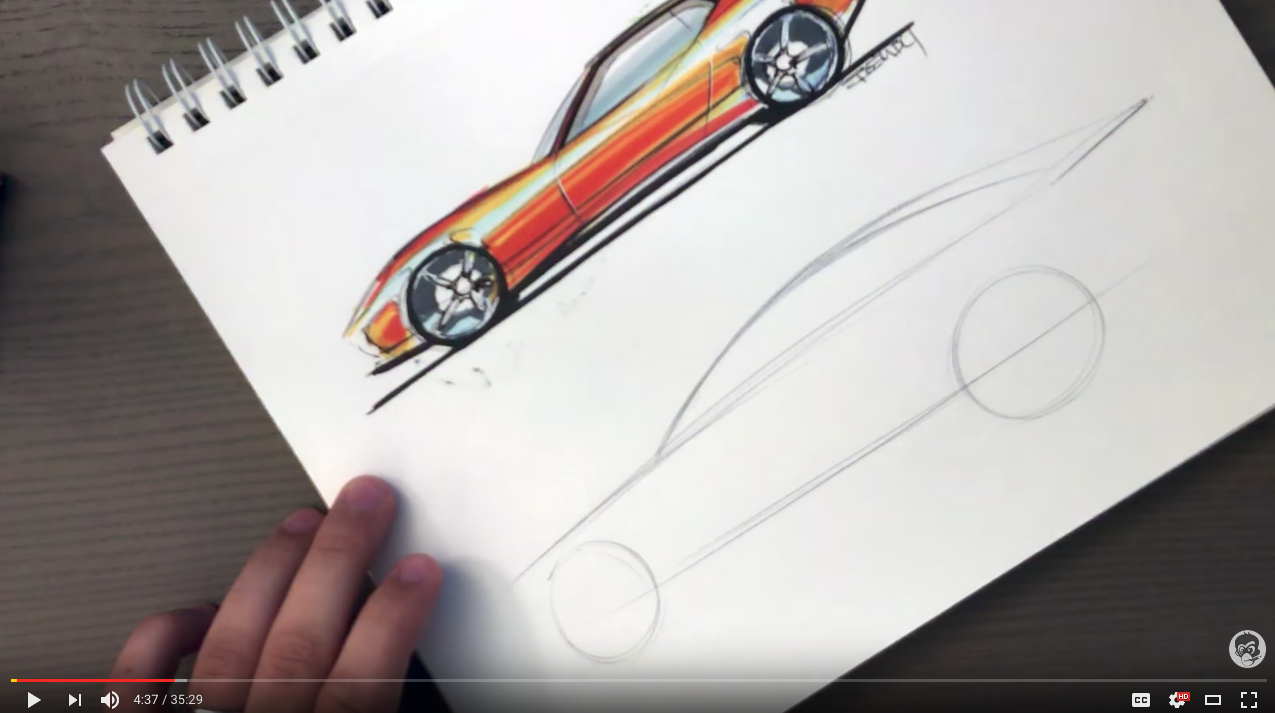
Step 1:
What you want to do before doing anything else is make sure you have a cup of coffee right next to you. Do you have a cup of coffee next to you? Great.
Now let's start with the proportions of the car, or product, that we are going to sketch. Proportion is EVERYTHING. This is what will determine whether your sketch will look realistic or like a toy or clipart.
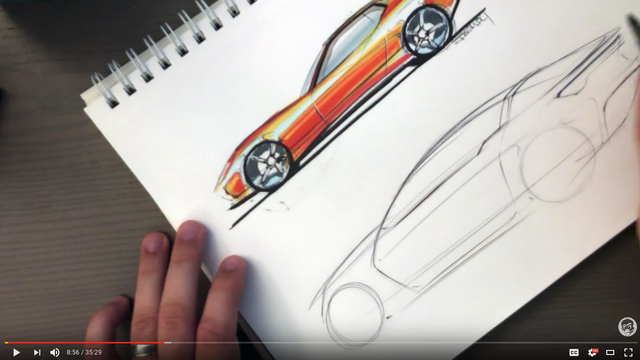
Step 2:
Once you're proportions are on point, we can start to think about adding details and "design" our car. I'm still using the BiC pen here for this step.
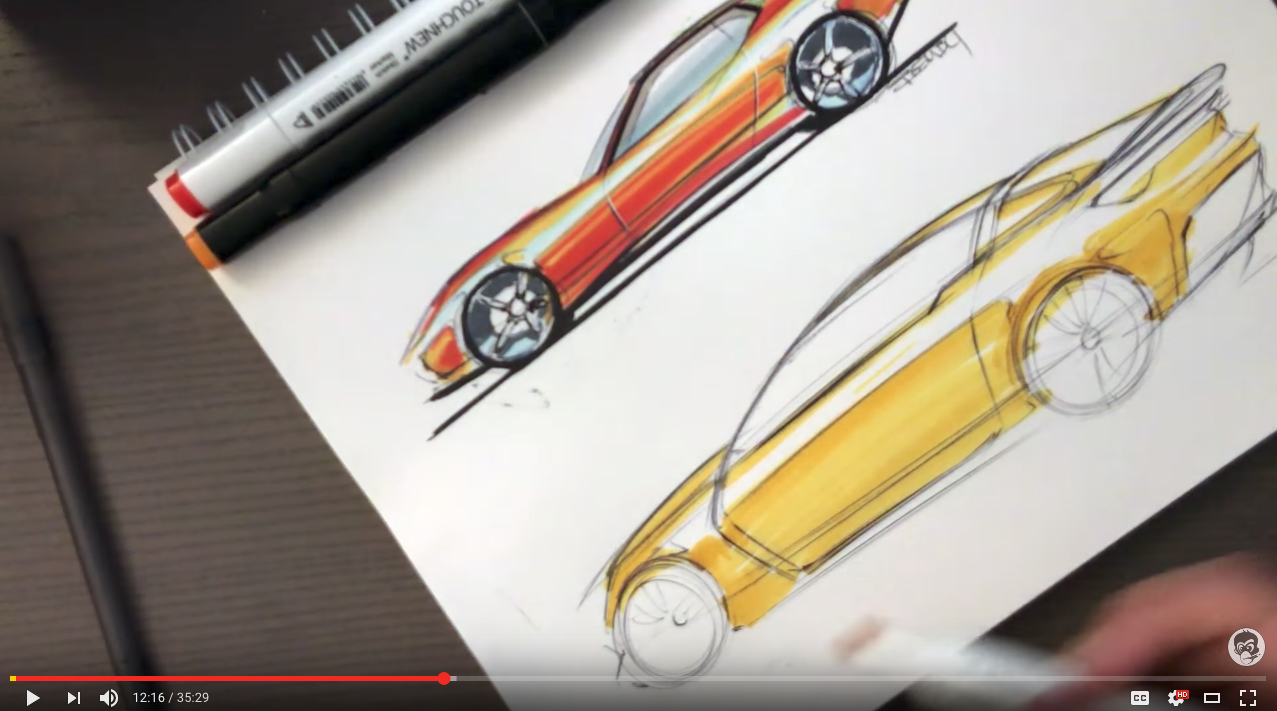
Step 3:
Now starts the fun part!!! Pick up your favorite color of marker, start with the lightest shade you can find. In my case, I spotted a yellow marker, so I went for it.
As always, keep in mind where your light source is. Where is the light coming from? Top? Rear? Bottom maybe? This will help you with deciding where the marker go. All surfaces facing your light source will be lighter that the surfaces facing away from it.
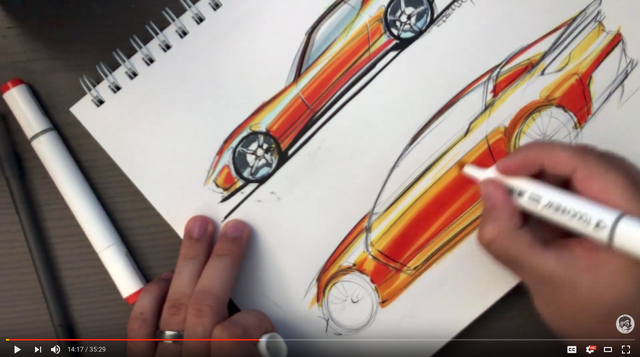
Step 4:
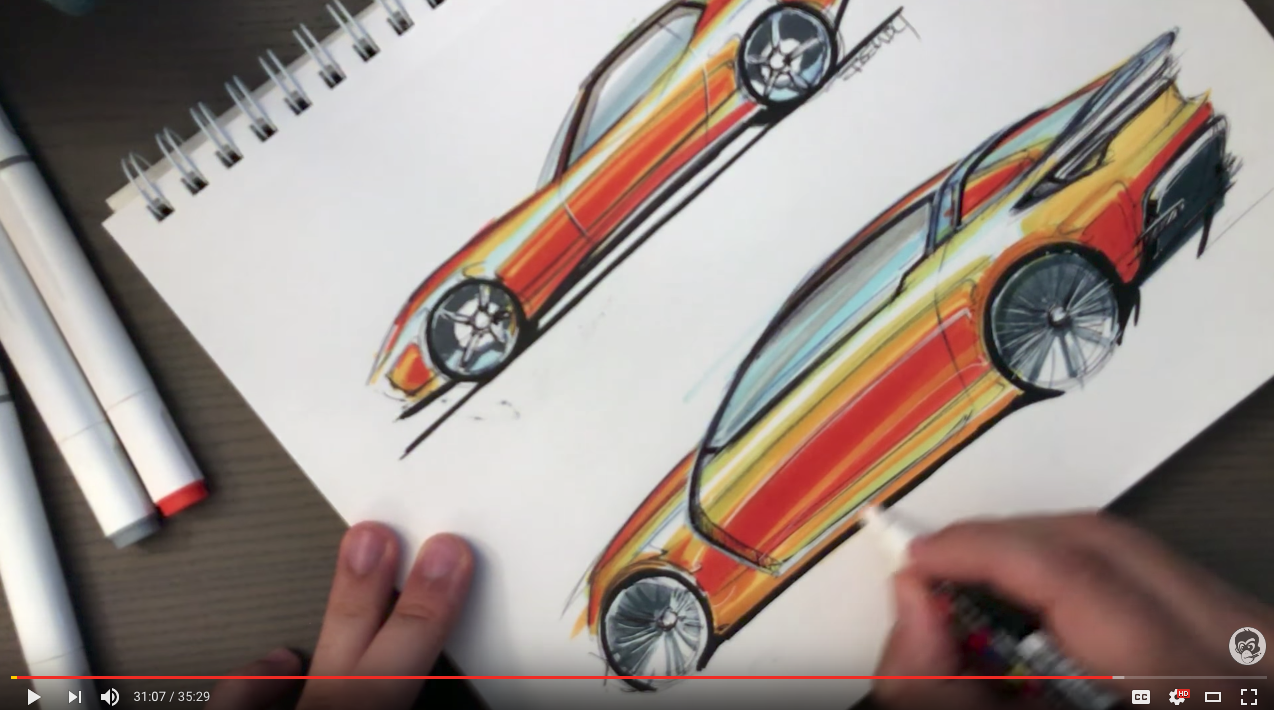
See how boring/sad the sketch look with just one light marker? We can't have it that way. So what we need to do now is to add a second layer of marker. It should be darker than the first marker used but belong to the same color. In my case, I found an orange marker and thought Close enough.
You want to fill in the first layer. Fill in the inner parts of the first layer if that makes sense. The closer to the center of the reflection, the darker the shade.
Step 5:
We need contrast. Contrast is your friend to make the sketch POP. It's scary sometimes because by adding contrast your adding dark shades that are difficult to cover up if you make a mistake. But if you don't make mistakes when you're sketching, you're either doing something wrong or you're an alien.
So just go for it - pick up the black marker and fill in the areas that are supposed to be black!
(Optional) Once this is done, pick up a white ink pen and add some highlights. This requires you to know your light source. Or you can add white lines on random, it can work sometimes.
Step 6:
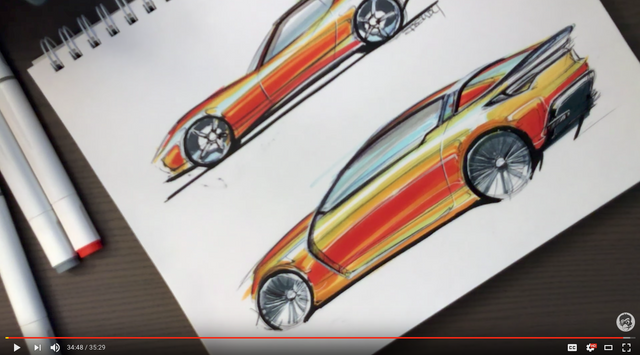
Do you feel that? That feeling of accomplishment? Just look at that sketch you've just created! It used to be a white, blank paper but you decided to give the paper a purpose by adding your artwork to it. Have a sip of coffee, enjoy the moment and start thinking of what you want to sketch next.
Until next time,
Marouane Bembli
@bembli is this your full time job ?
It used to be for 8 years. Now I do it for fun.
Congratulations @bembli! You have completed some achievement on Steemit and have been rewarded with new badge(s) :
Click on any badge to view your own Board of Honor on SteemitBoard.
For more information about SteemitBoard, click here
If you no longer want to receive notifications, reply to this comment with the word
STOPAmazing, i will resteem this!
Well done @ bembli and thanks sharing your life styles with all steemians.