Getting Ready for HALLOWEEN! 👻
Hi everyone!
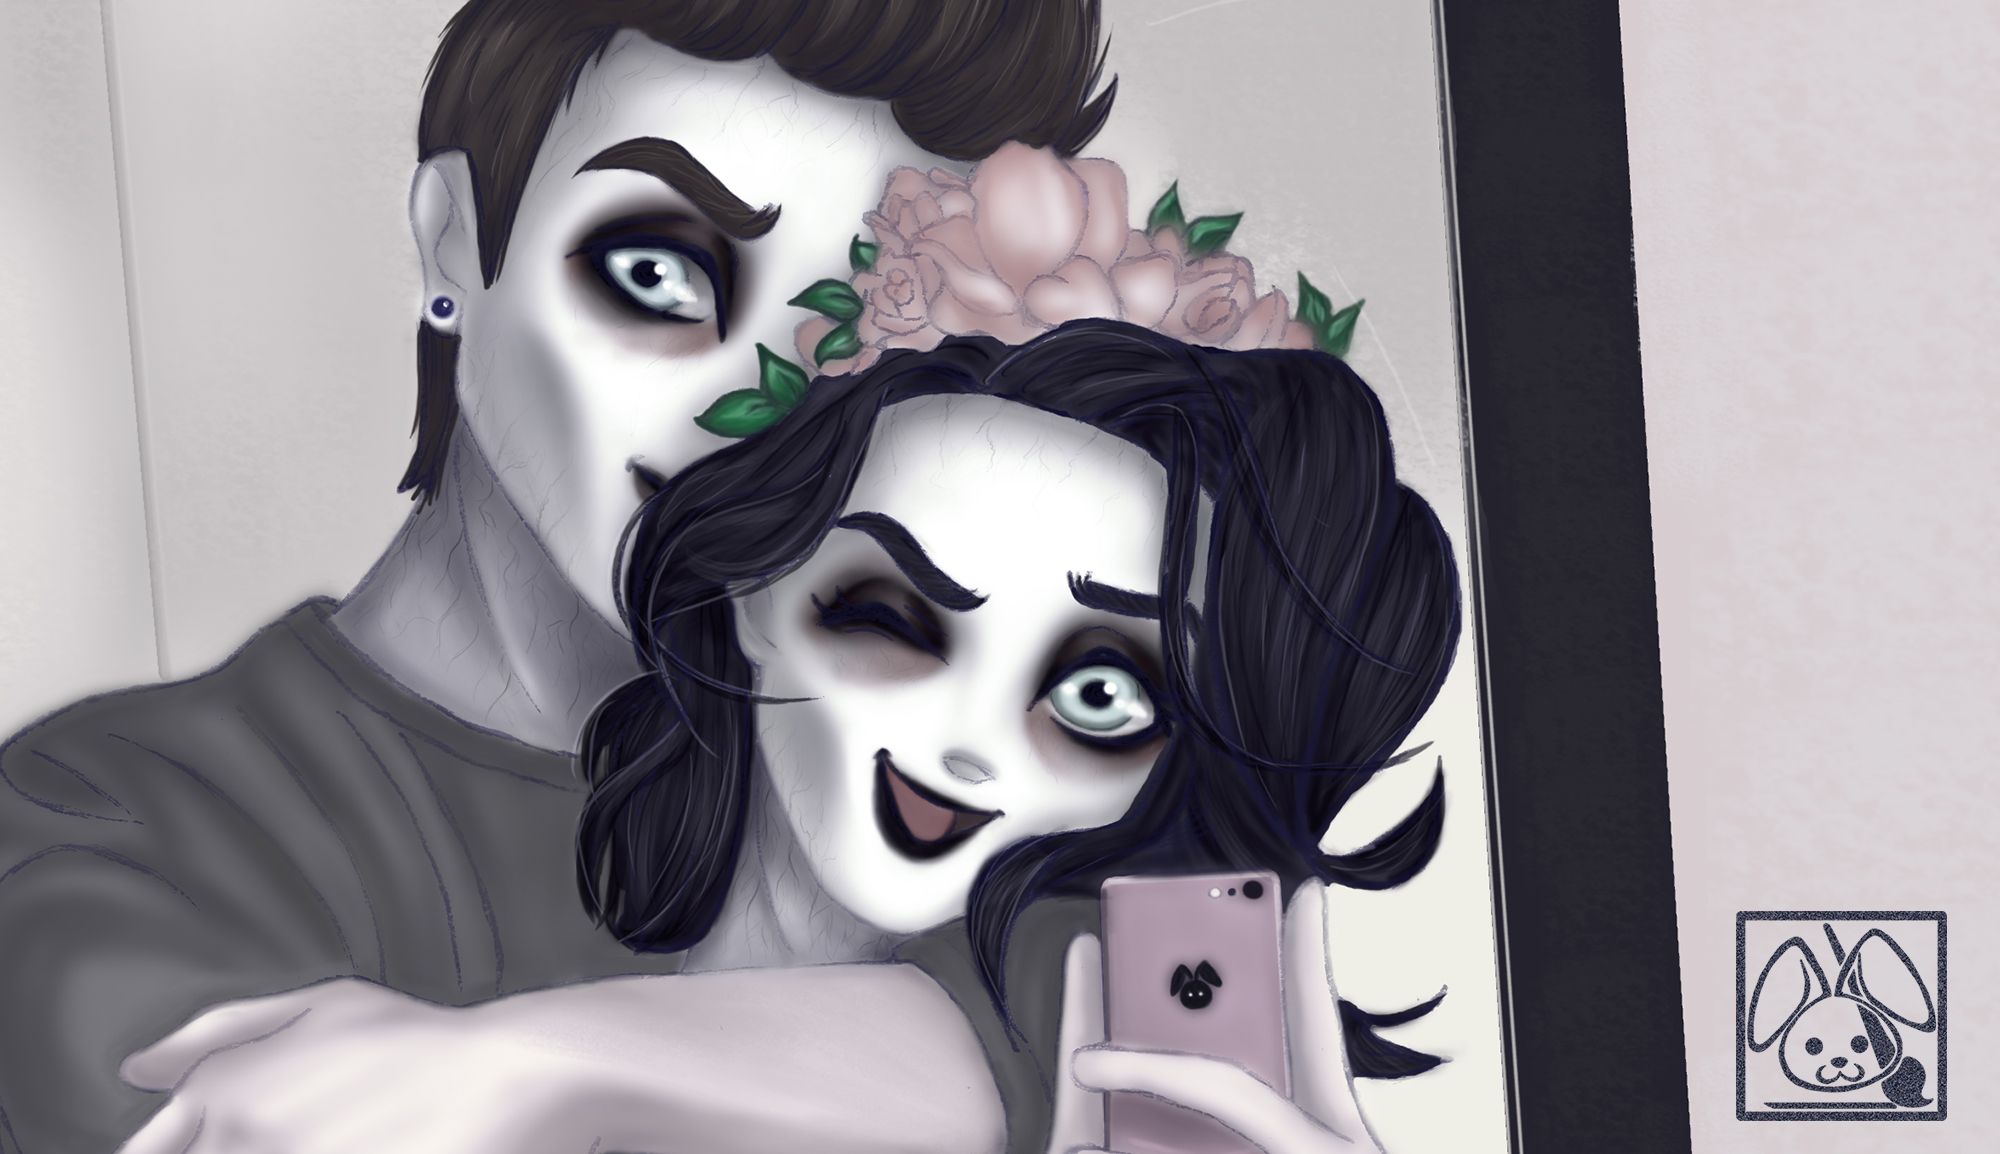
As Halloween is just days ahead I thought about sharing with you my favourite - yet simple - Zombie Makeup-Look.👻
To be honest ... I cannot watch any of the bloody heart-stopping horror movies. These movies just scare the heck out of me.😖
Although it may be very funny for those watching me flinch, gasp, shriek and have a heart attack every so often ... I am certain that I will left most of them annoyed afterwards.😅

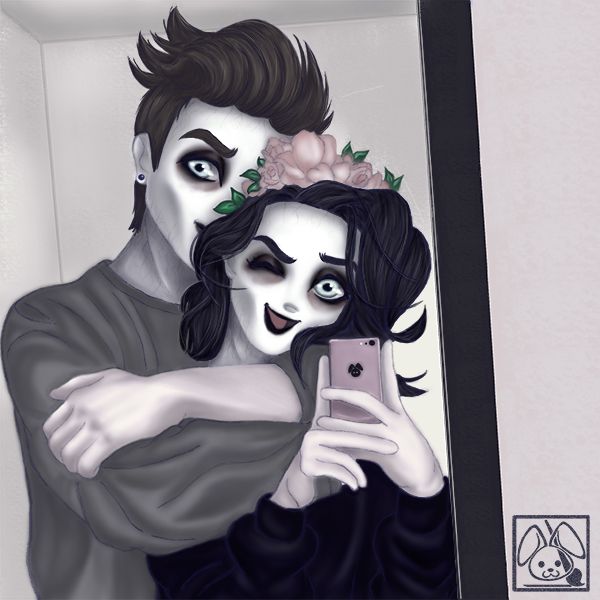
Do you know The Warm Bodies Series by Isaac Marion? Hollywood even made a movie of the first book "Warm Bodies" in 2013. This one was one of the few zombie movies I actually enjoyed. Thus, I was inspired for the upcoming Halloween ... and painting.
You may be wondering, how I did the painting.🤔
No worries, I will now walk you through my drawing process - step by step.


Let me start with showing you my usual setup and materials.
For sketching it is just a clutch pencil in size 2mm, a clic eraser and a sketchbook. For the linework and colouring - I currently use Photoshop CC with a Wacom Bamboo tablet and pen.
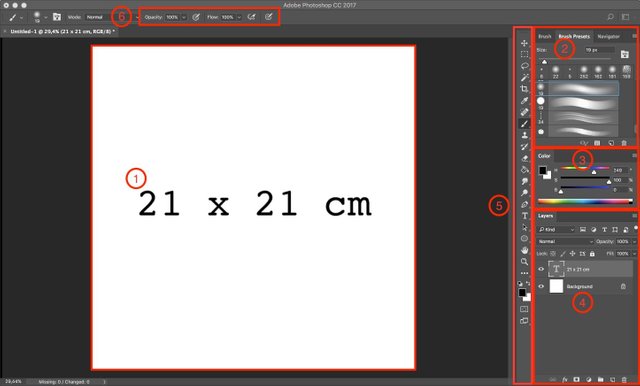
This is my usual setup in Photoshop. (1) Currently I enjoy my drawings on a canvas with the size 21x21cm. On the right side I have all my frequently used tools, e.g. (2) brushes, (3) colours and (4) layers. I also like to keep the (5) standard tool bar on the right side. As it feels more natural to me to have everything on one side of the table and not to have to go all over the place just to get the things I need. My favourite features, which I just recently discovered are (6) here, e.g. airbrush.

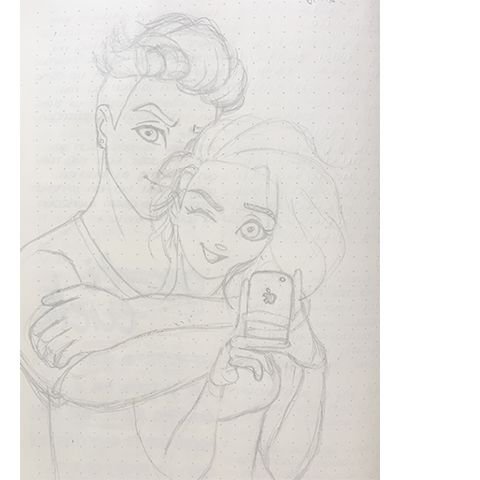
I always start with a rough sketch on paper.
Usually I have some reference pictures beside me, which help me with proportion and dimension for the idea I have in mind.

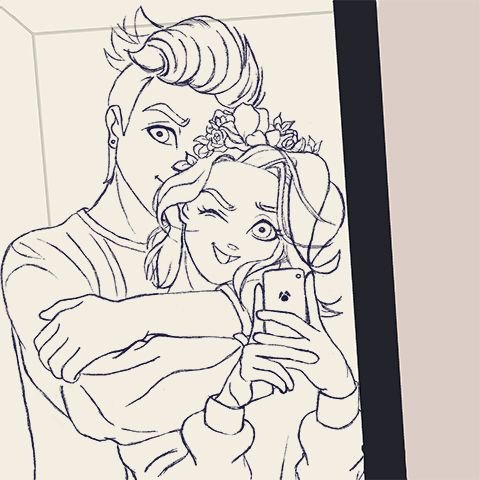
I am still in the process to figure out, what kind of linework I like best for my paintings.
Here I used a charcoal-based-brush. Although I personally love this brush, the overall sketchy linework doesn't feel quite right to me.
Depending on the painting I reduce the opacity of the linework layer - as a finishing touch - in order to let the linework fade into the painting.

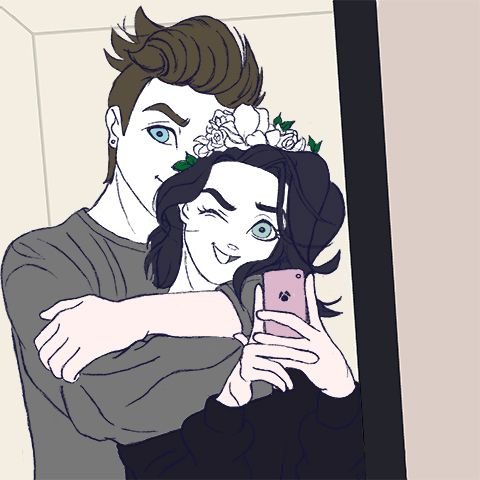
Under the linework layer I then put the base colour layer.
After setting the linework layer to "multiply", I block in the base colours.
I usually choose colours manually from the colour panel and go with those, which kind of "feel right" to me. I also like to experiment by sliding the bars back and forth.😉

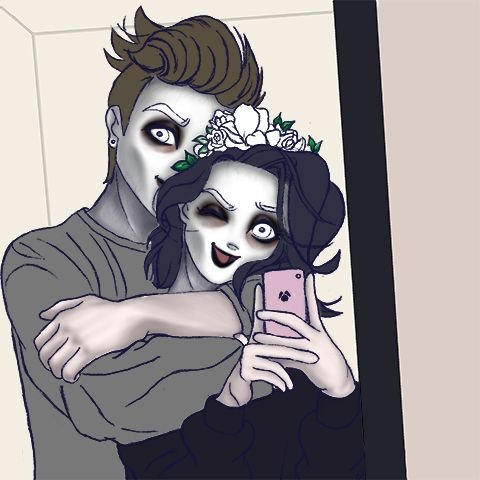
Meanwhile I prefer a very soft brush for painting skin or in this case ... zombie makeup. I absolutely love the "airbrush" feature, as it allows me to create very smooth colour transitions.
For the finishing touches - I found the filter "gaussian blur" very helpful.

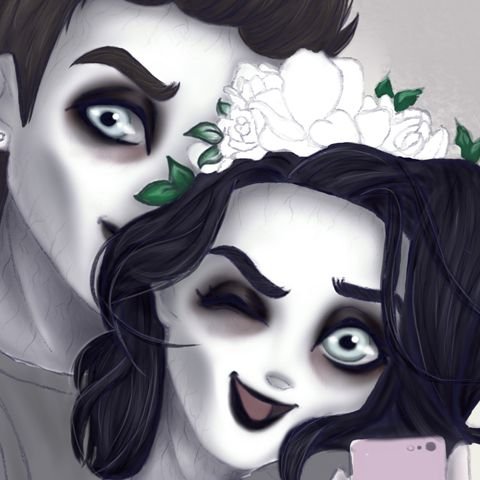
I am a strong believer in „The Eyes are the Mirror of the Soul“. Depending on how you draw eyes … round, angular, etc. … the character gives off a different vibe of personality.
Here I coloured them very pale, in order to match them to the zombie's halfdead nature. At the same time, I wanted them to look radiant - as it is still just a masquerade after all.😉

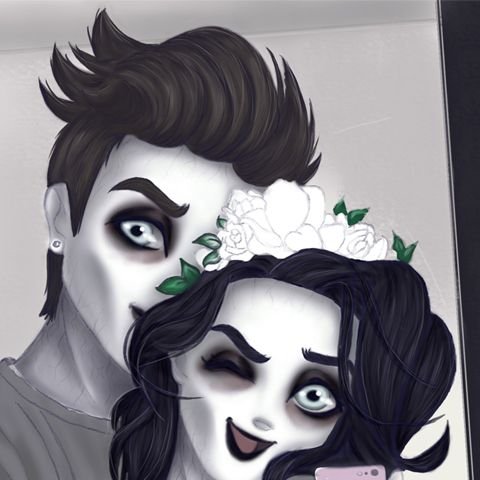
Over to the hair - and I probably will repeat myself for many more posts: drawing hair is quite a challenge for me.😔
Especially dark hair, as I find it very difficult to give them the 3-dimensional texture and not let them look like pieces of cloth pasted to the head.

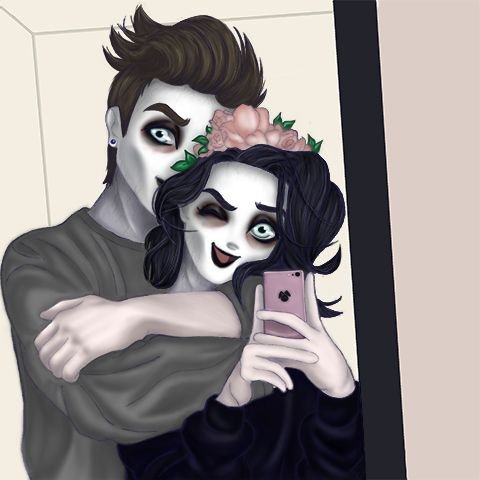
Finally, I coloured the clothes and accessories.
I kept everything very simple as I wanted the zombie-makeup to stand out.
Only the headaccessory and the phone were tinted in pink hues - for a little pop of colour. 🌸

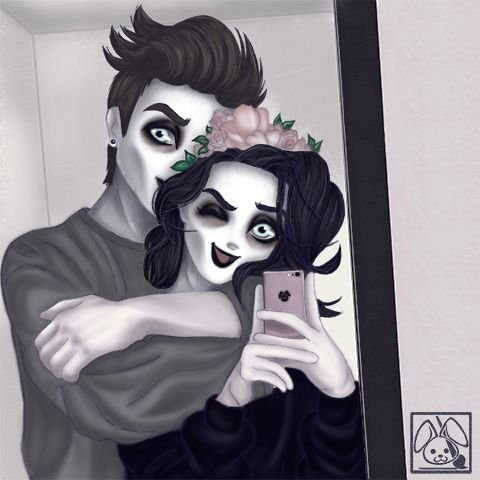
I chose a rather plain background for this painting, as the characters take a selfie - you can see the mirror and parts of the room. I didn’t put too many interior decorations into the background, because I felt that it would have made the painting too crowded.
In order to give the walls and the wooden mirror-frame a bit of texture I used a very big sponge brush (also included in the photoshop standard brushset).

Watch the following GIF - and see how the painting progresses through each step.😊
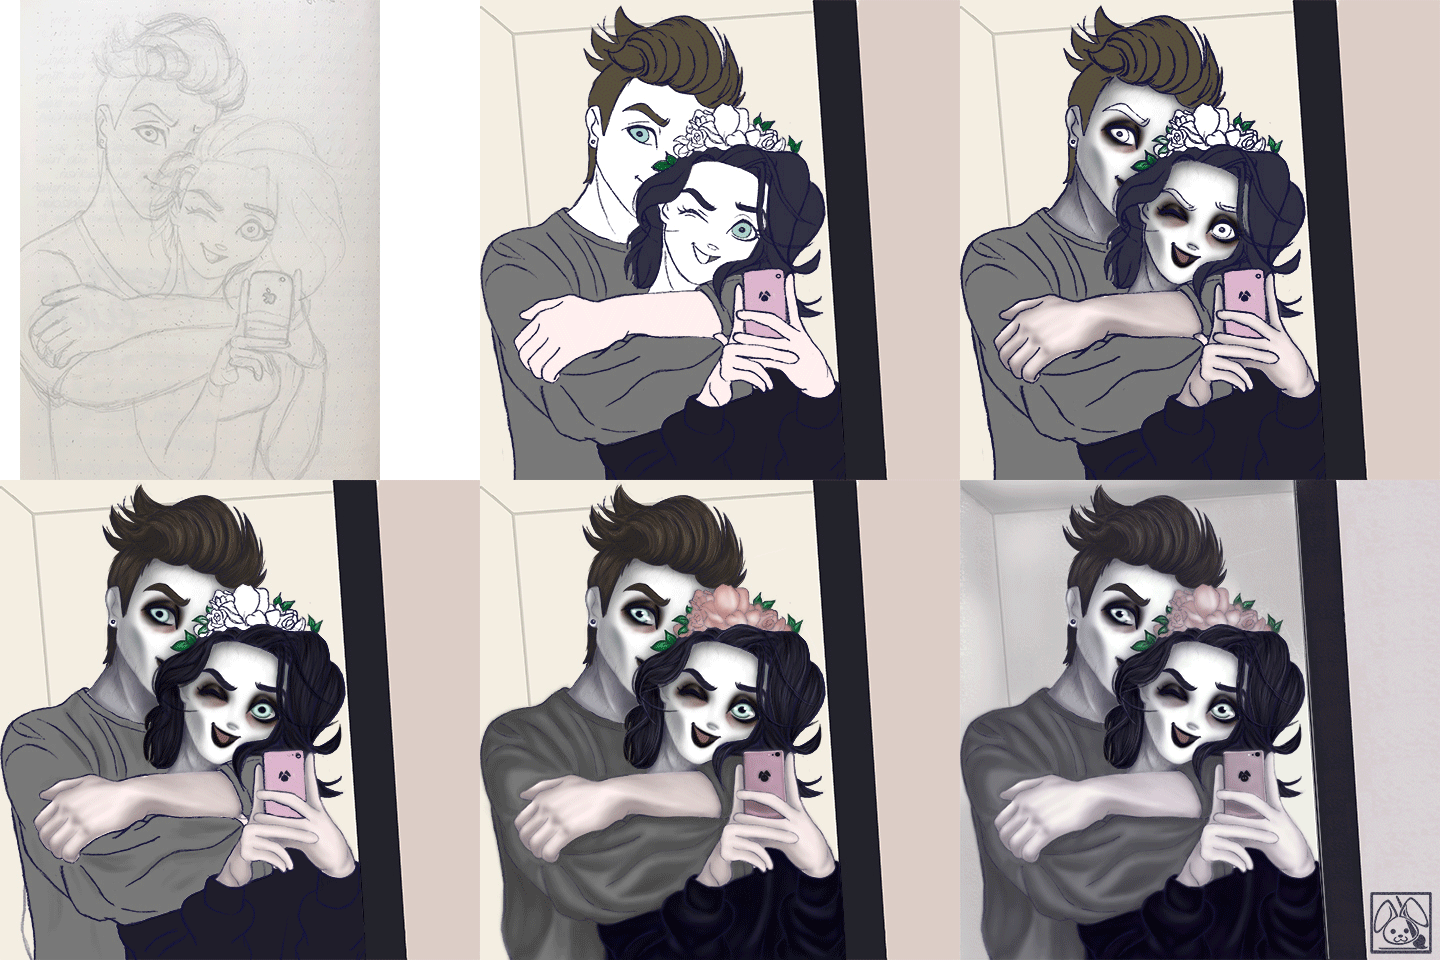
If you enjoy my art journey, please share and upvote. I also would love to connect with you, so don't forget to leave a comment.☺️
Thank you so much for reading - and I wish you a great start into next week!
@artbunny 🎨🐰

img credz: pixabay.com
Nice, you got a 4.0% @minnowbooster upgoat, thanks to @therealwolf
Want a boost? Minnowbooster's got your back!
The @OriginalWorks bot has determined this post by @artbunny to be original material and upvoted(2%) it!
To call @OriginalWorks, simply reply to any post with @originalworks or !originalworks in your message!
I love the detail in the shading!
Thank you! ☺️
Congratulations @artbunny, this post is the eighth most rewarded post (based on pending payouts) in the last 12 hours written by a Newbie account holder (accounts that hold between 0.01 and 0.1 Mega Vests). The total number of posts by newbie account holders during this period was 1540 and the total pending payments to posts in this category was $599.92. To see the full list of highest paid posts across all accounts categories, click here.
If you do not wish to receive these messages in future, please reply stop to this comment.
Congratulations @artbunny! You have completed some achievement on Steemit and have been rewarded with new badge(s) :
Click on any badge to view your own Board of Honor on SteemitBoard.
For more information about SteemitBoard, click here
If you no longer want to receive notifications, reply to this comment with the word
STOPfollowing you @artbunny amazing work
Thank you, @yusaymon! 😊 I am very happy, that you join me in my artjourney. 😊