Building the Sebwoofer v1
As I first started building this speaker, I literally didn’t knew anything, because this was the first speaker I ever build. I started building this speaker, because I had not enough money to buy one of those fancy Bluetooth speakers from Bose, but wanted a speaker that I could carry around with me and had a decent volume. I looked online for some videos with instructions and than I began to search for the components.

The drivers
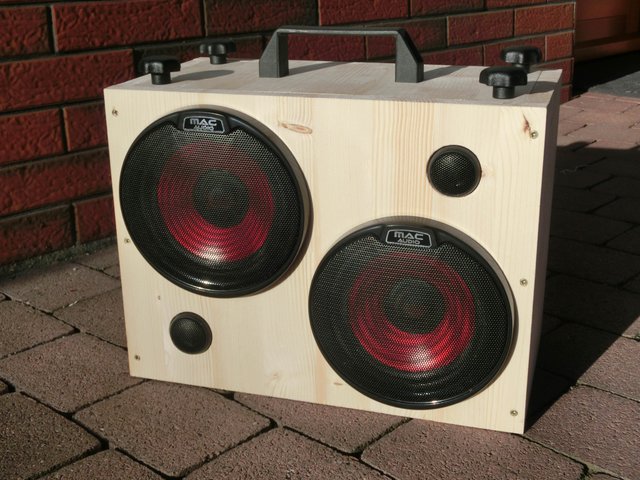
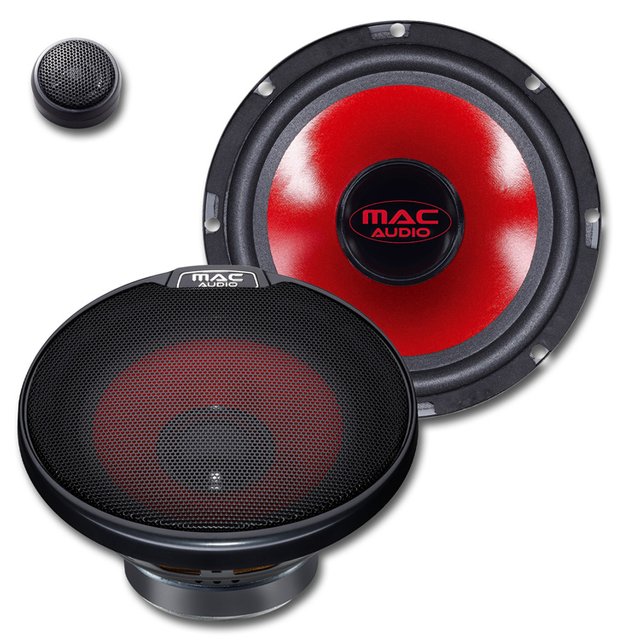
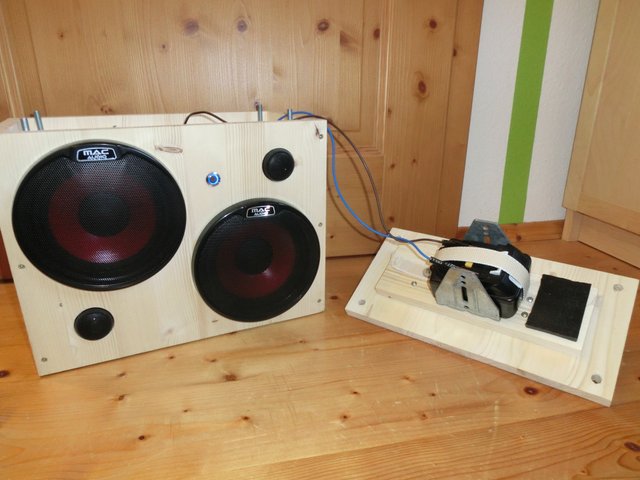
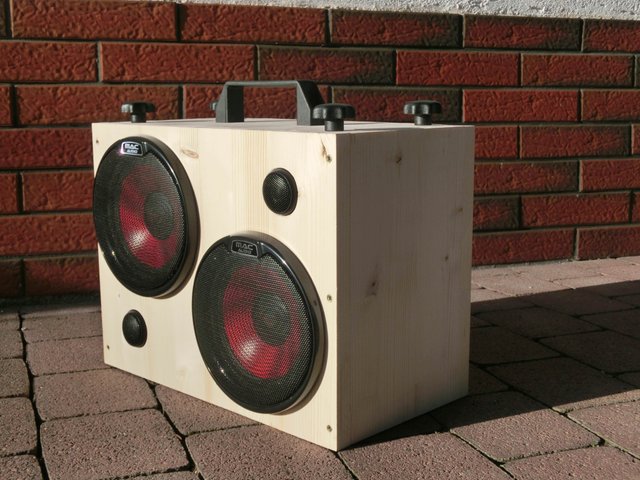
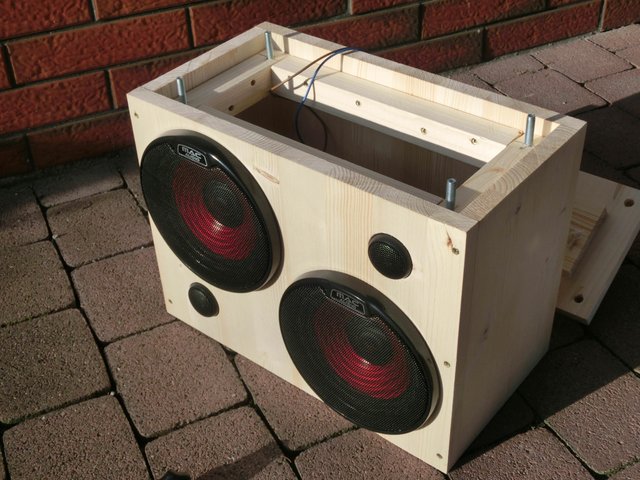
As already mentioned I didn’t even knew what a frequency response curve was, so I just went on amazon and searched for one of those car-door speakers sets consisting of a woofer and a tweeter. After reading through some of the reviews, I bought the MAC Audio APM Fire 2.16 because a simple crossover was already included, and the 6.5’’ woofers were red (yes, in that time for me the color of a driver was huge selling point ;D).

The Amplifier
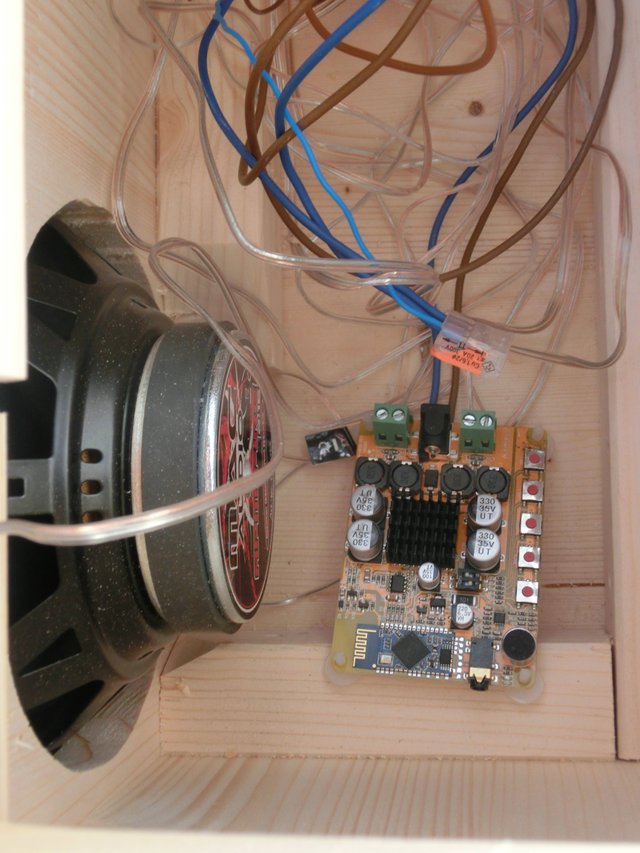
I used a TDA7492 amplifier because a guy on youtube suggested it to me, and now I know, that it was a really good choice, because the amp already had the Bluetooth capability build in, and also delivers a decent amount of power for its size.


Battery / Charger
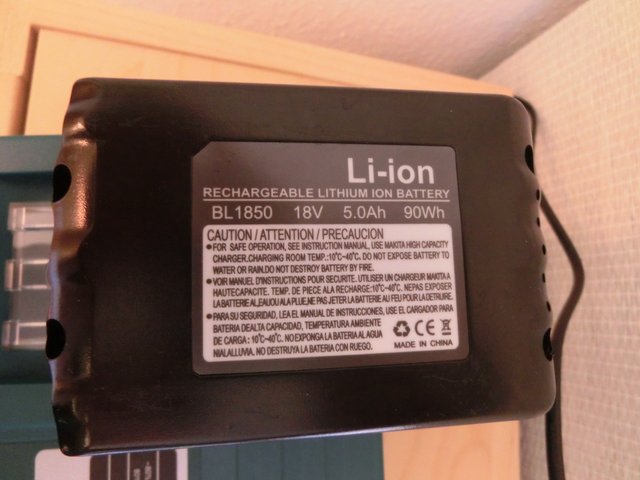
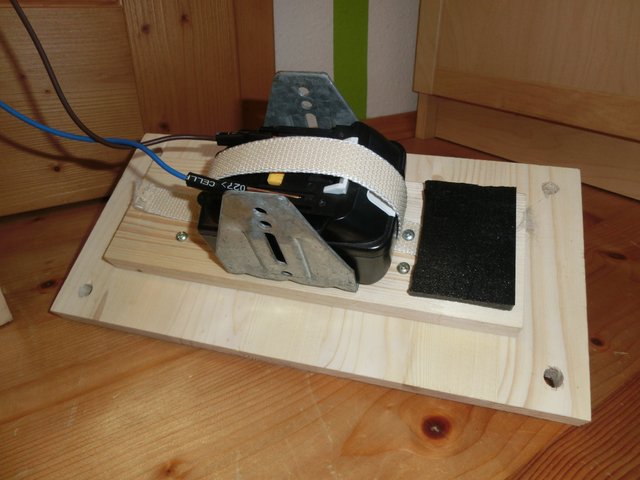
In nearly all of the videos I saw lead-acid batteries were used, but they are heavy and very large. I came up with the idea to just use the battery of a cordless screwdriver because these batteries are relatively small and deliver more than enough power to drive the amplifier. I used a fake Makita battery from eBay (18V 5Ah), as the original ones are way to expensive. I also bought a fake Makita charger to charge the battery. Everything ended up working very well, and the battery also could be used in a cordless screwdriver.


The Assembly
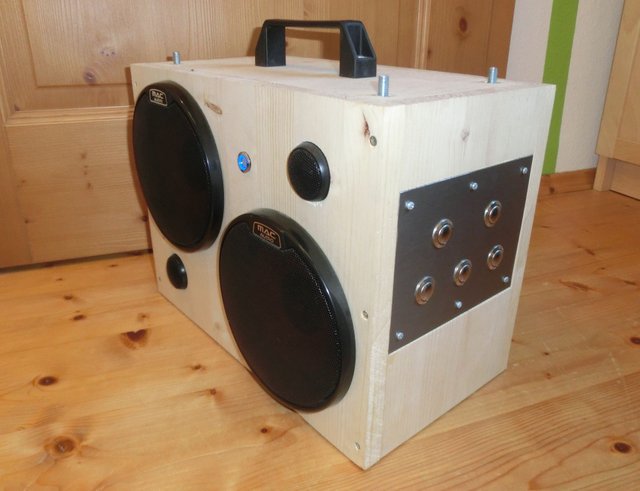
I sadly got no pictures of the assembly, but all in all it was pretty straight forward. I just build the enclosure, cut the holes for the drivers, and installed them together with the battery and the amplifier. Connecting all the components wasn’t that complicated either, because the crossover was included. I later added the aluminum plate with the buttons in it, and wired the buttons to control the volume of the amplifier.

The Result
After I finished the build, I realized that I underestimated the size of the box. It is really bulky with a width of 38cm (15 ''), a height of 30cm (12'') and a depth of 20cm (8'') and not easy to carry around with you. Additionally I underestimated how heavy wood can be, and so the box ended up weighing round about 7kg (15.5 lb). But all in all I’m relatively happy with what I build, the sound quality isn’t amazing and it lacks a lot of bass because of the closed box, but is able to get really loud and the battery life is amazing with round about 20 hours without needing to recharge the battery. At the moment I’m planning the build of Sebwoofer v2, which by the way got its name from the word subwoofer even though its not a subwoofer at all.

Picture Gallery

This is super awesome! I really like people trying out stuff they are not that familiar with and this really is an overwhelmingly good result! Great job, keep up the good work! :)
Thanks, appreciate your feedback