Bathroom drama is playing out in my driveway. Landwhale bathroom drama, that is. I've been trying to wrap up this little RV bathroom facelift project for a while now, but with the 4th of July holiday on Wednesday here in the USA I had time to make further progress.
Since I'm apparently serializing this project, the current chapter is my attempt to cut a new piece of laminate countertop to match the non-standard sizing of the old countertop.
Where we left off on Part 2, I was laying the old countertop on the new to use as a template. Moving on to the actual cutting!
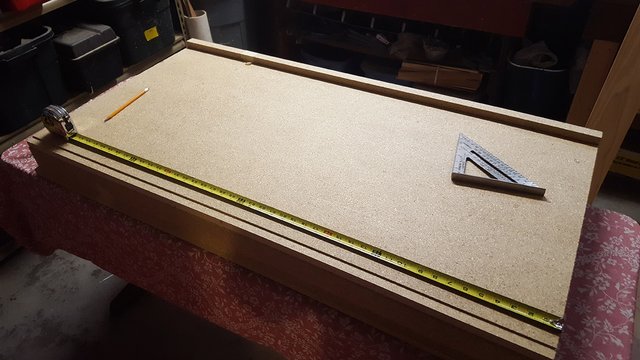 Since we're going to be cutting from the underside, I make all my measurements there.
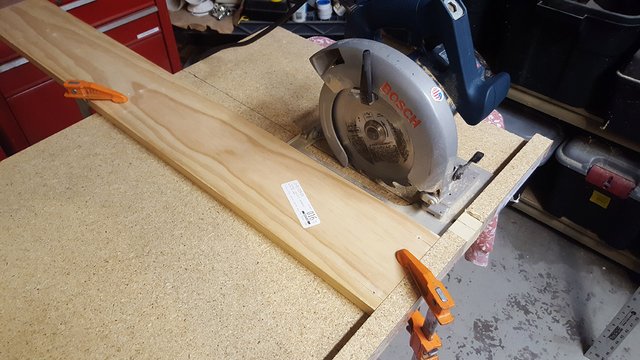 Attaching a guide to give my saw something to follow. I have the cut line taped over on the pretty side in order to make the cut clean without shards and chips.
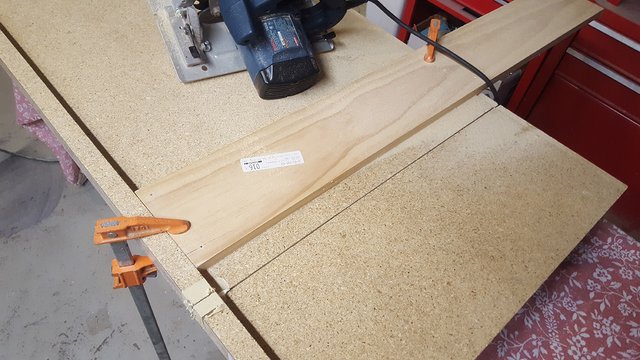 Cut is done! The line looks pretty straight. Let's see how it looks on the pretty side. Cutting laminate can be tricky since it really does like to chip and crack. This is the scary part because if it chipped badly the whole piece is ruined. Or else I have to use a strategically placed potted plant forever.
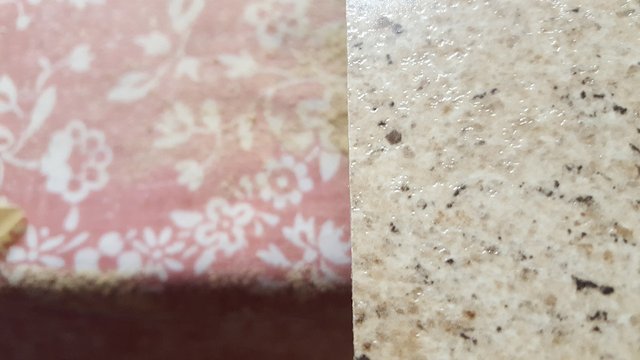 Woot. Clean and straight!
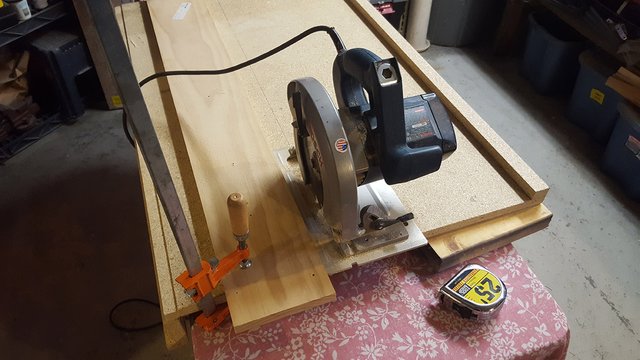 Now we have to cut the long length of it, since our RV countertop is much shallower (less deep) than a regular kitchen countertop.
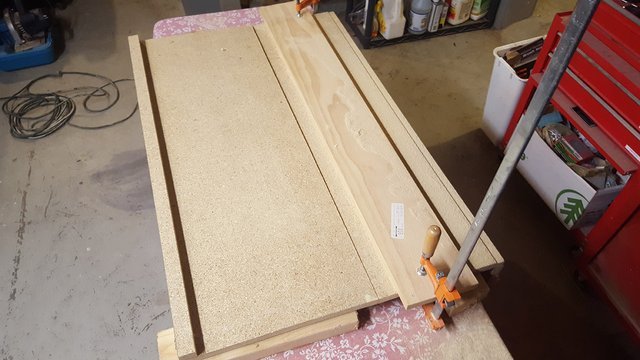 Cuts done! More success!
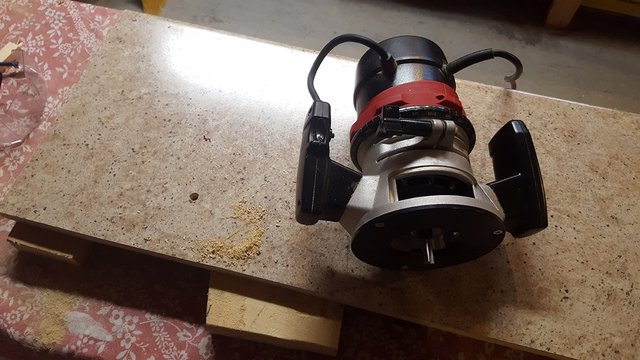 Now we have to cut the sink hole. I used the old countertop to give me a template, then drill a hole so I can stick my router bit into it to start cutting.
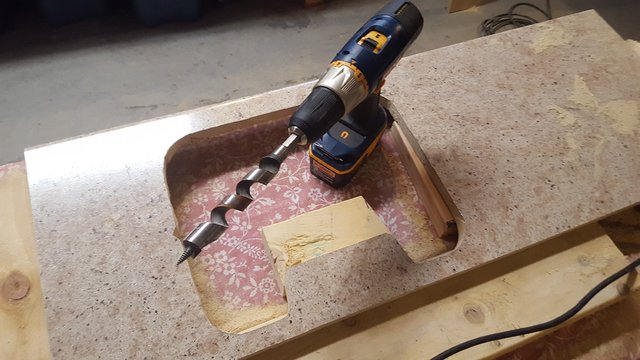 Sink hole done! It was slightly difficult; my router bit kept overheating. Now we have to drill the holes where the faucet lines go through.
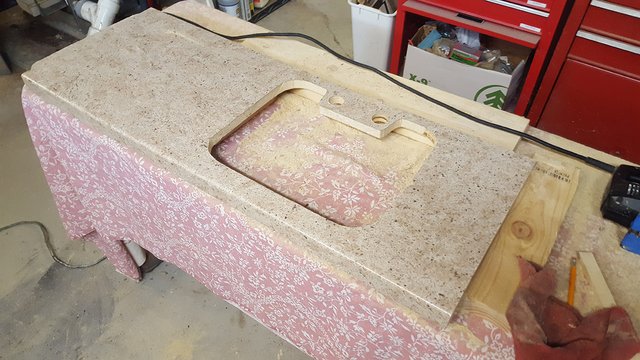 Faucet holes done! Everything went off without a hitch. The last step is going to be to run some vinyl edge trim around the perimeter of the sink. Since the countertop doesn't actually mount flush up against the walls (we leave a bit of a gap to accommodate the flexing of the walls and the vehicle, since this is an RV after all)
Next up? Attaching the vinyl trim, installing the counter, installing the sink and faucet, and wrapping up this project!


Photos by @negativer
Posted from my blog with SteemPress : http://negativerealm.com/rv-bathroom-remodel-part-3/


Nicely done!
Puts me in mind of the time, more than 40 years ago, that I built a corner breakfast bar for my mother in law and glued on a formica surface...
What a near disaster, and the job took me several times longer than I imagined...
When I discovered what a beast formica was to work, I went out and bought a Dremel mototool... Used it, by hand, to trim the edges... :O
😄😇😄

Like I recently read and can modify slightly as needed for any situation: Every easy 20 minute job is one broken bolt (or chipped formica surface, or cracked tile) from being a two-day project.
I think I avoided that here.
So far. :)
Wow, this is cool. You’re so handy! Now I know I’ve been extra busy. I completely missed parts 1 and 2! (But this time you knew it wasn’t because I died, right?) I’m so impressed with your DIY skills!
I do like to tinker, and at least in an RV the amount of damage I can do is limited :)
Oh so that’s the end goal! 😊
So much work goes into the things around us. Keep up the good work, Negativer:)
Hello negativer!
Congratulations! This post has been randomly Resteemed! For a chance to get more of your content resteemed join the Steem Engine Team
Do a dlive series @negativer