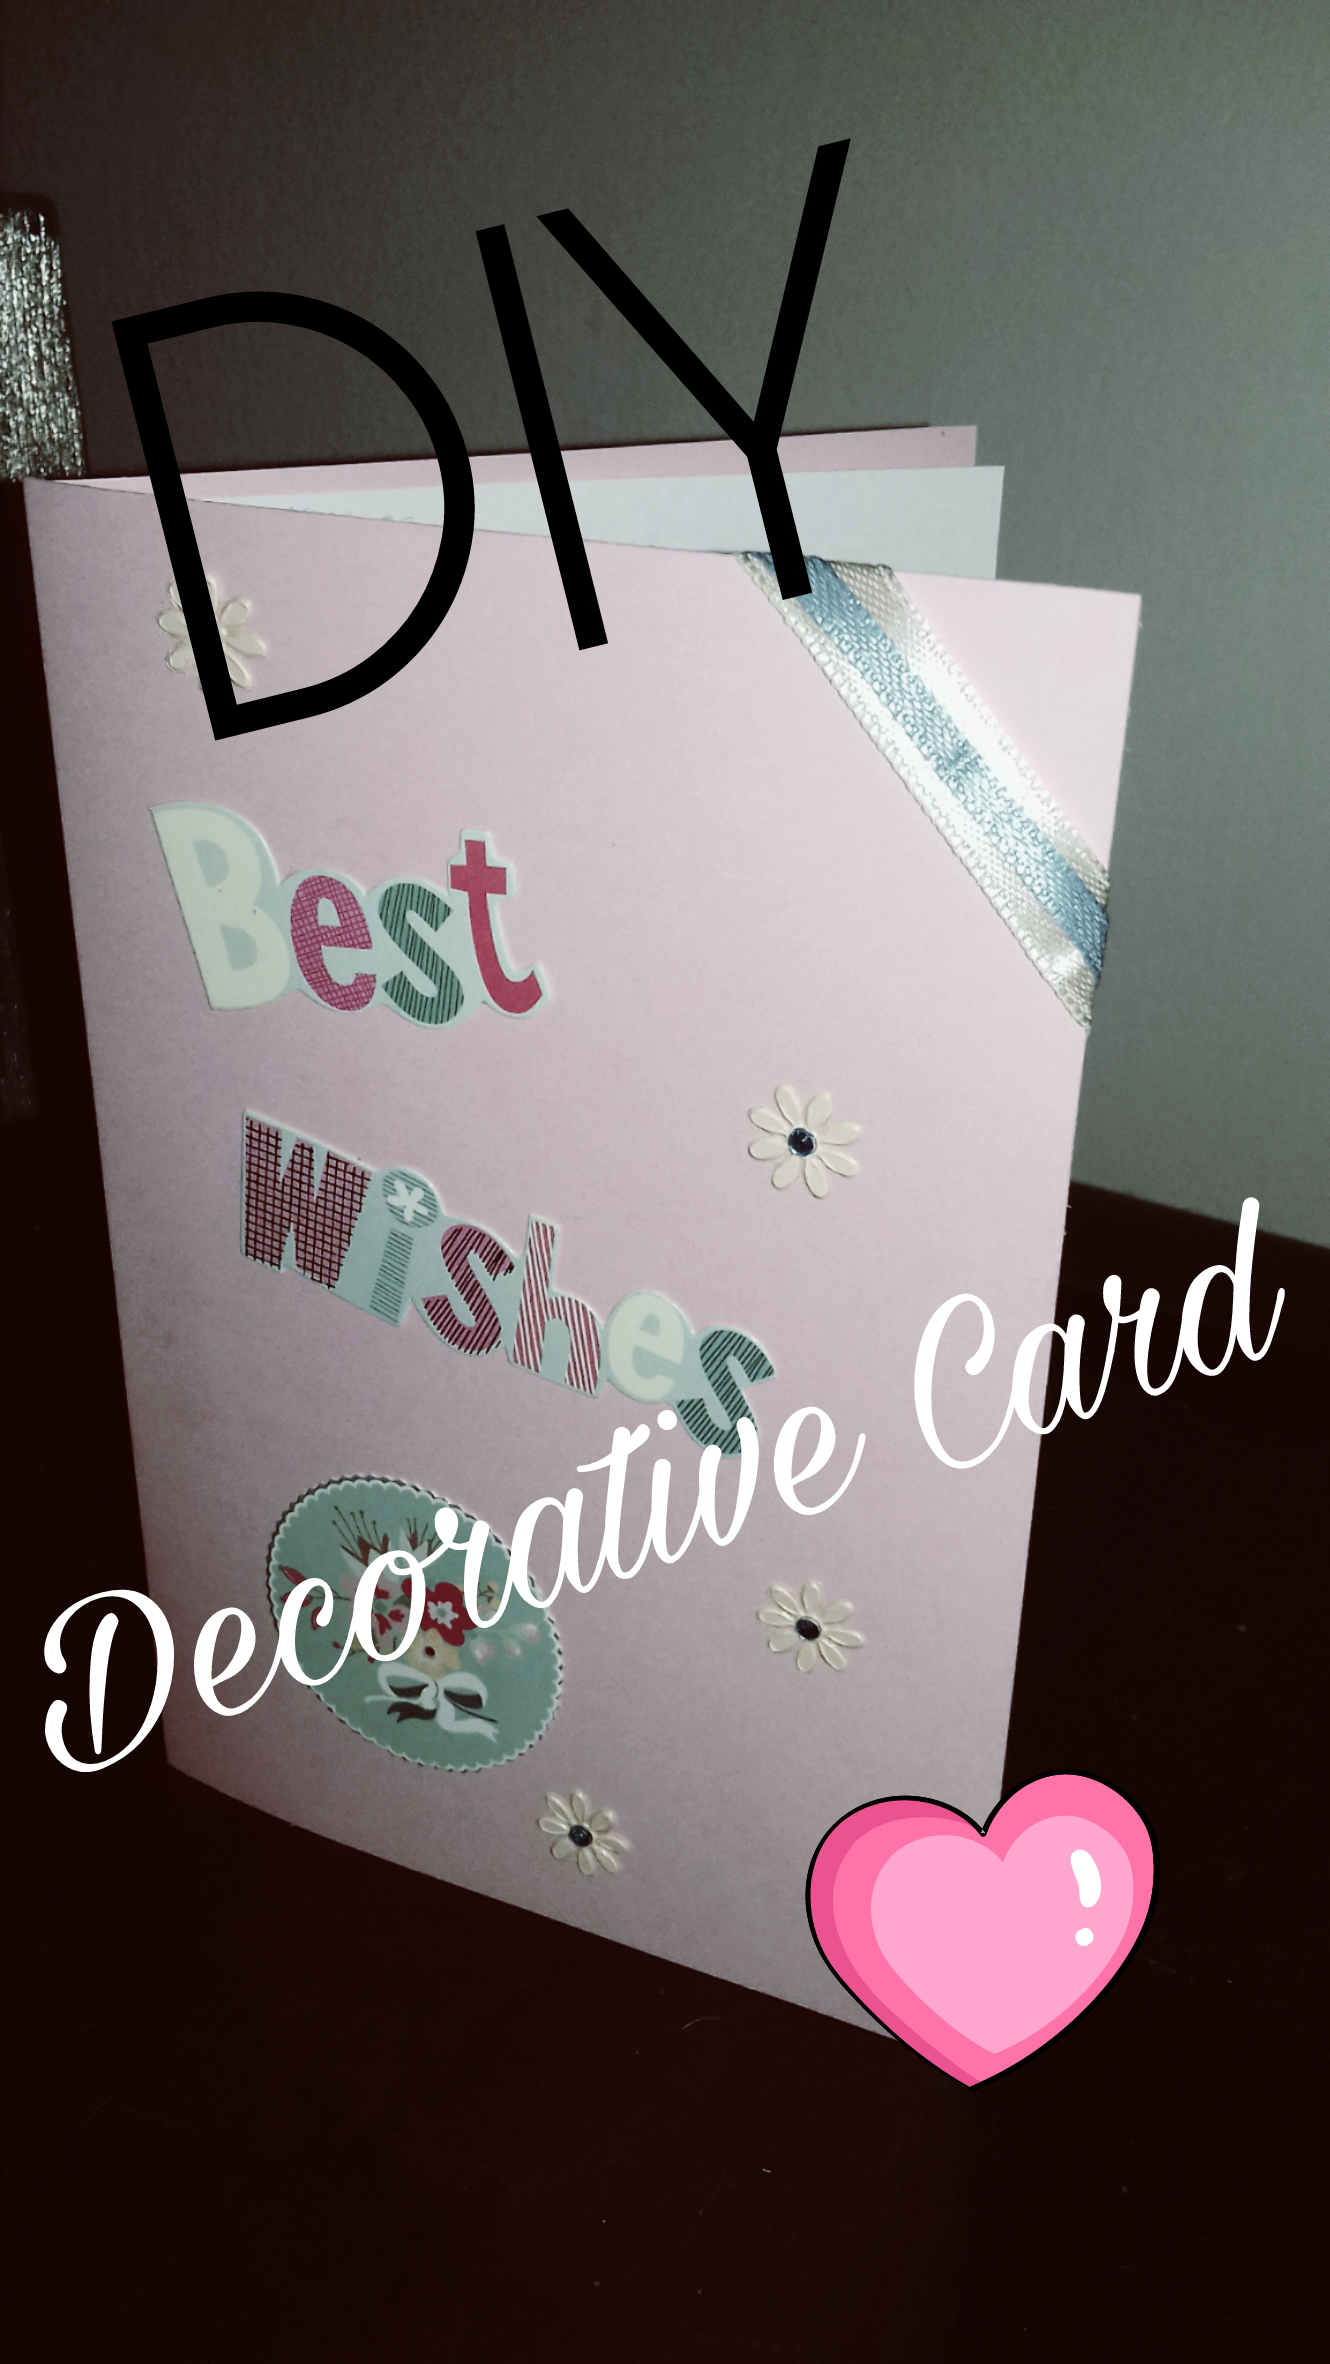
DIY Decorative card
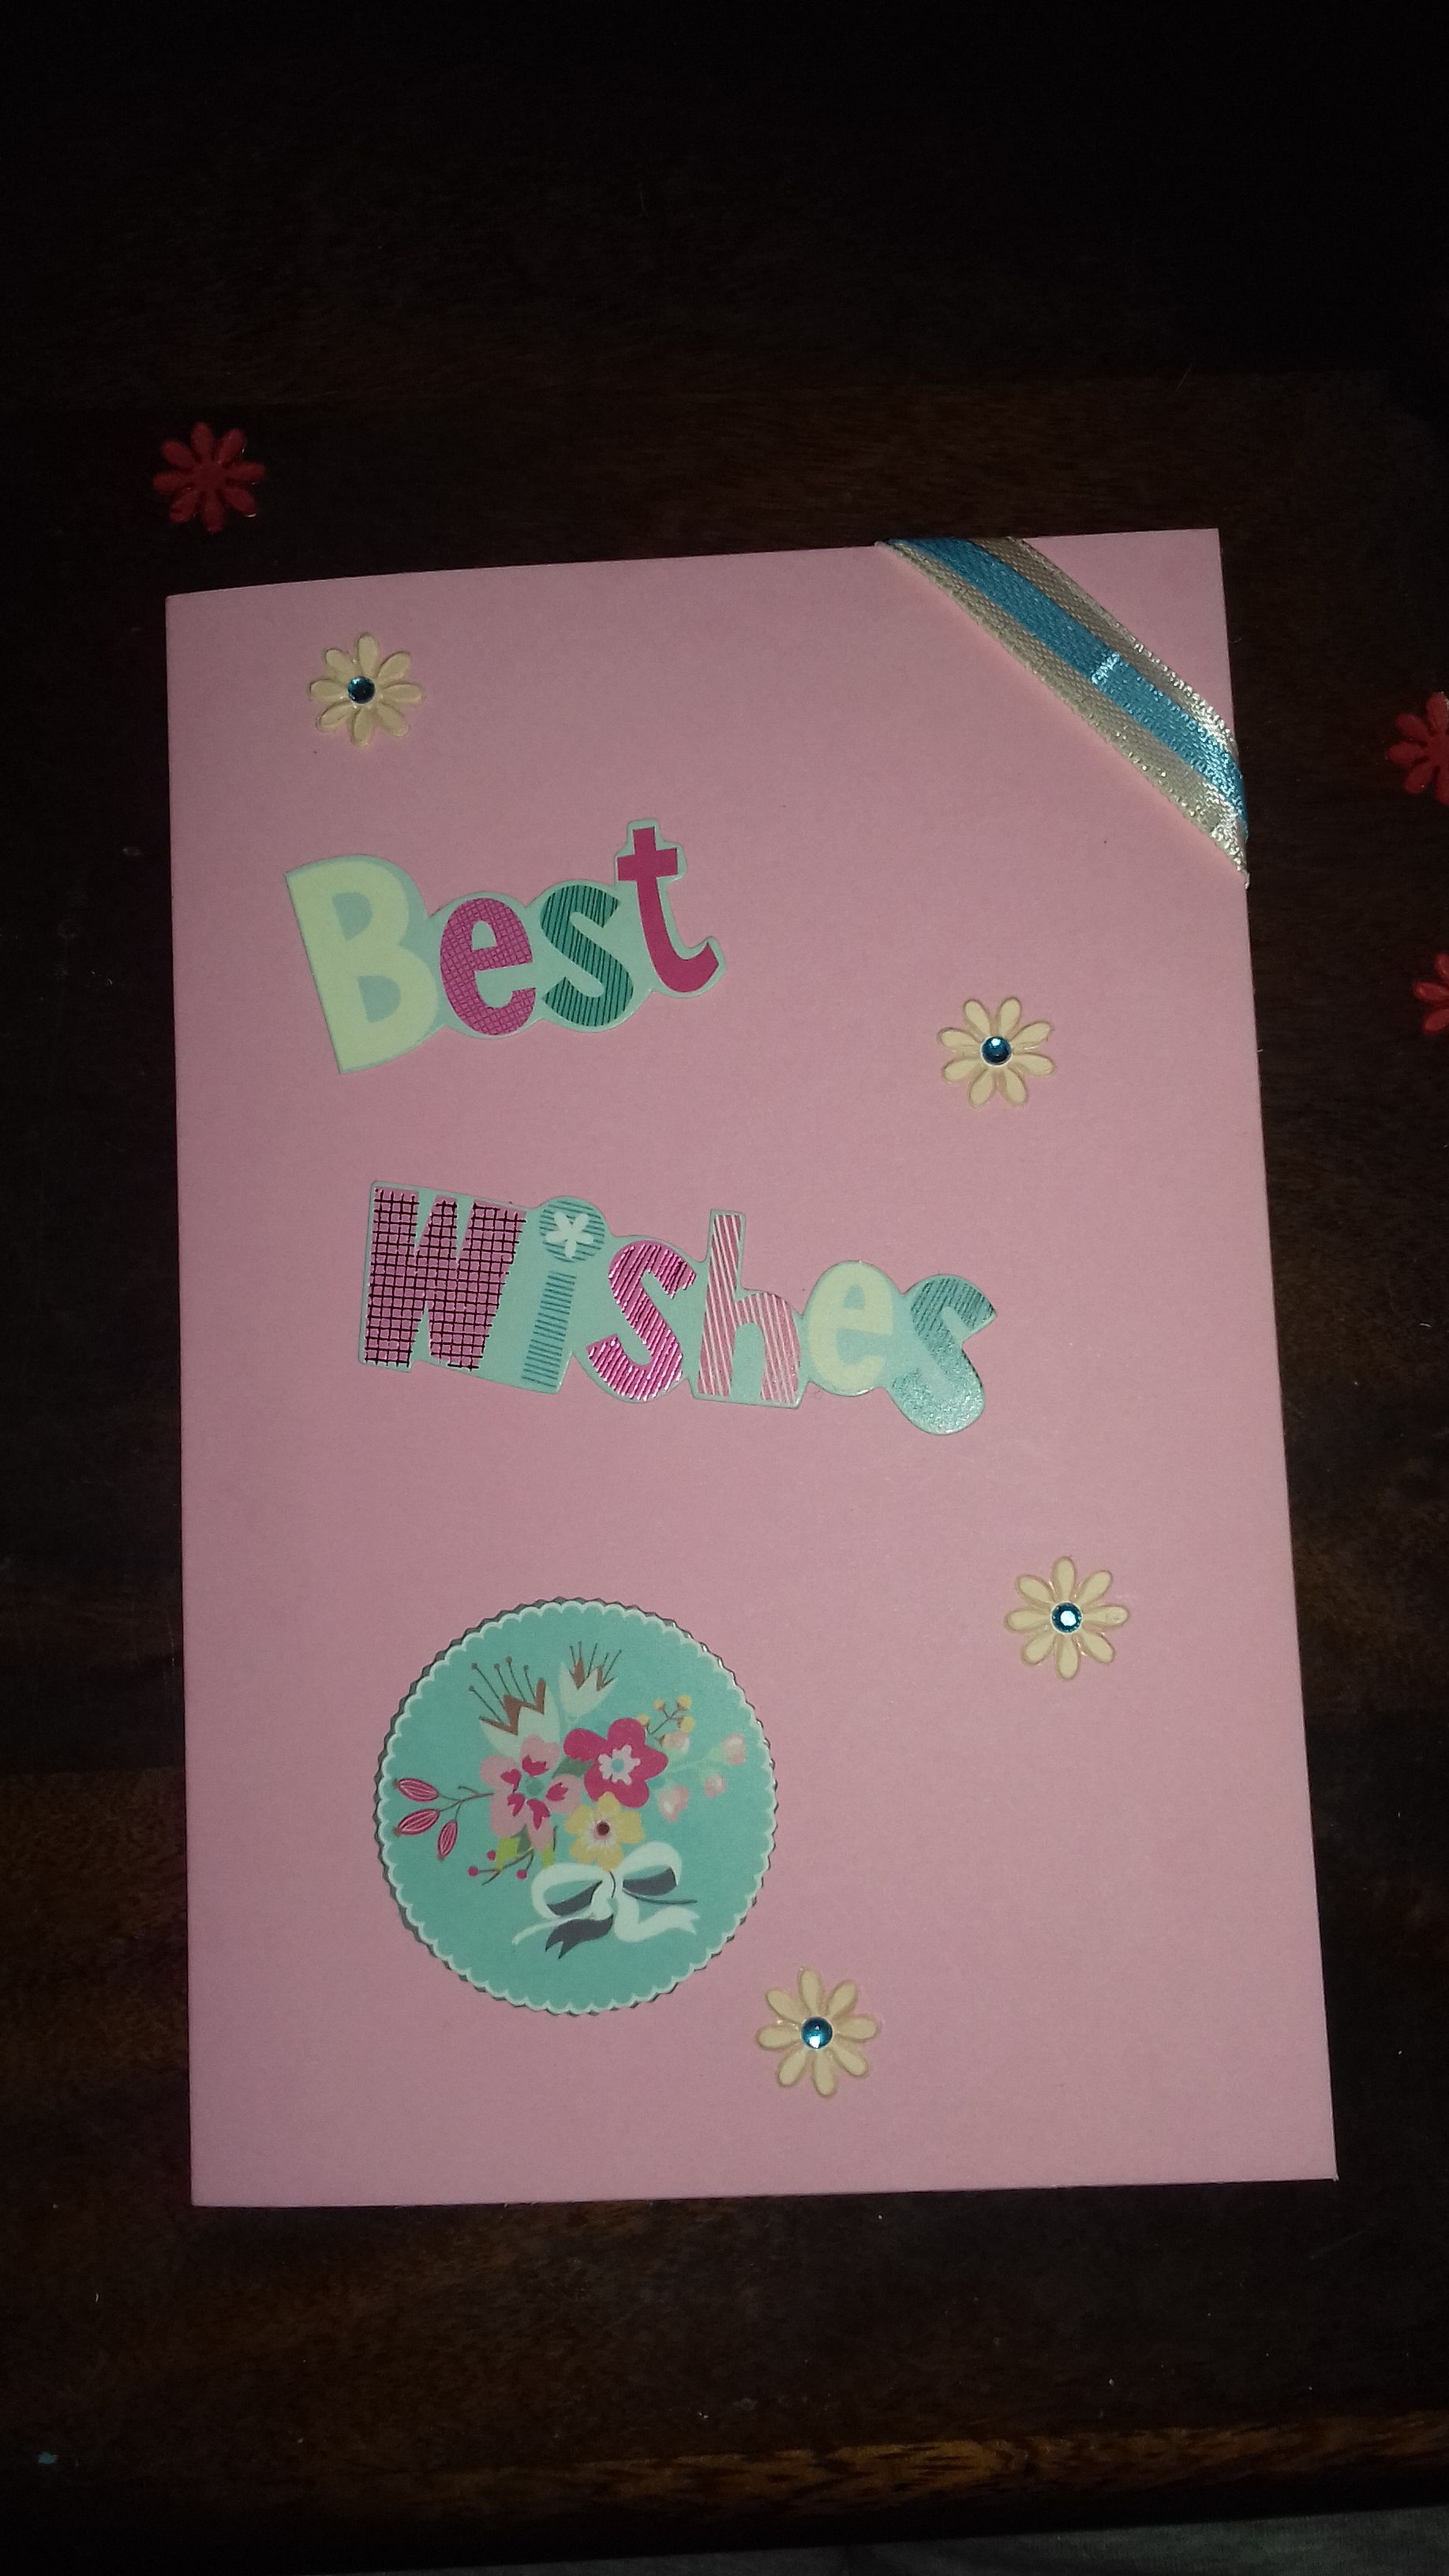
Hi everyone , I got a DIY tutorial for you today! So me and my soon to be mother in law made cards a while back just for the fun of it and since its more special if you rather make someone a card for an anniversary or birthday even the birth of a child , because it adds more meaning and feeling to it, I decided to make a tutorial of one of the cards I made for future use.
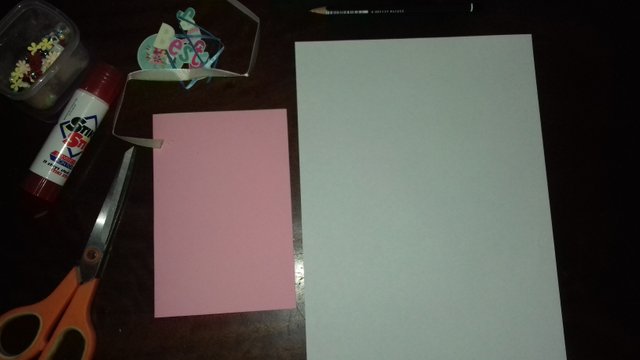
The materials you will need to do this card is:
- a piece of colored page ( any color you prefer)
- a blank piece of paper
- decorative little snip-bits you can get from old wrapping paper or purchase at a scrapbook store
- scissor
- glue
- ribbons
- little rhinestones or any little pebble like decorative items
- a pencil and ruler
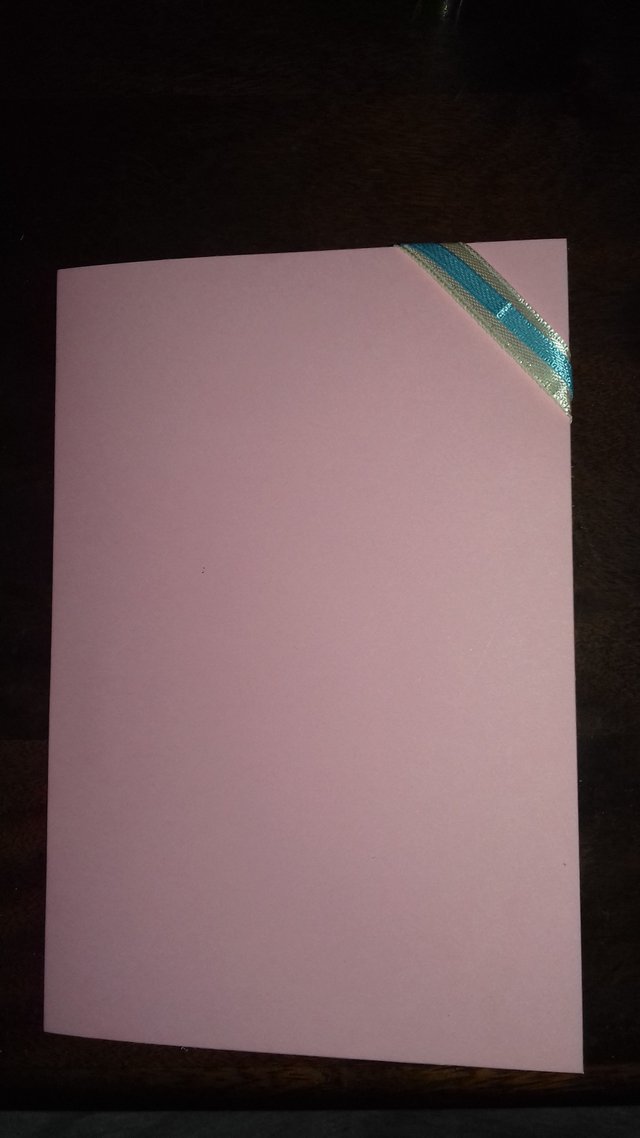
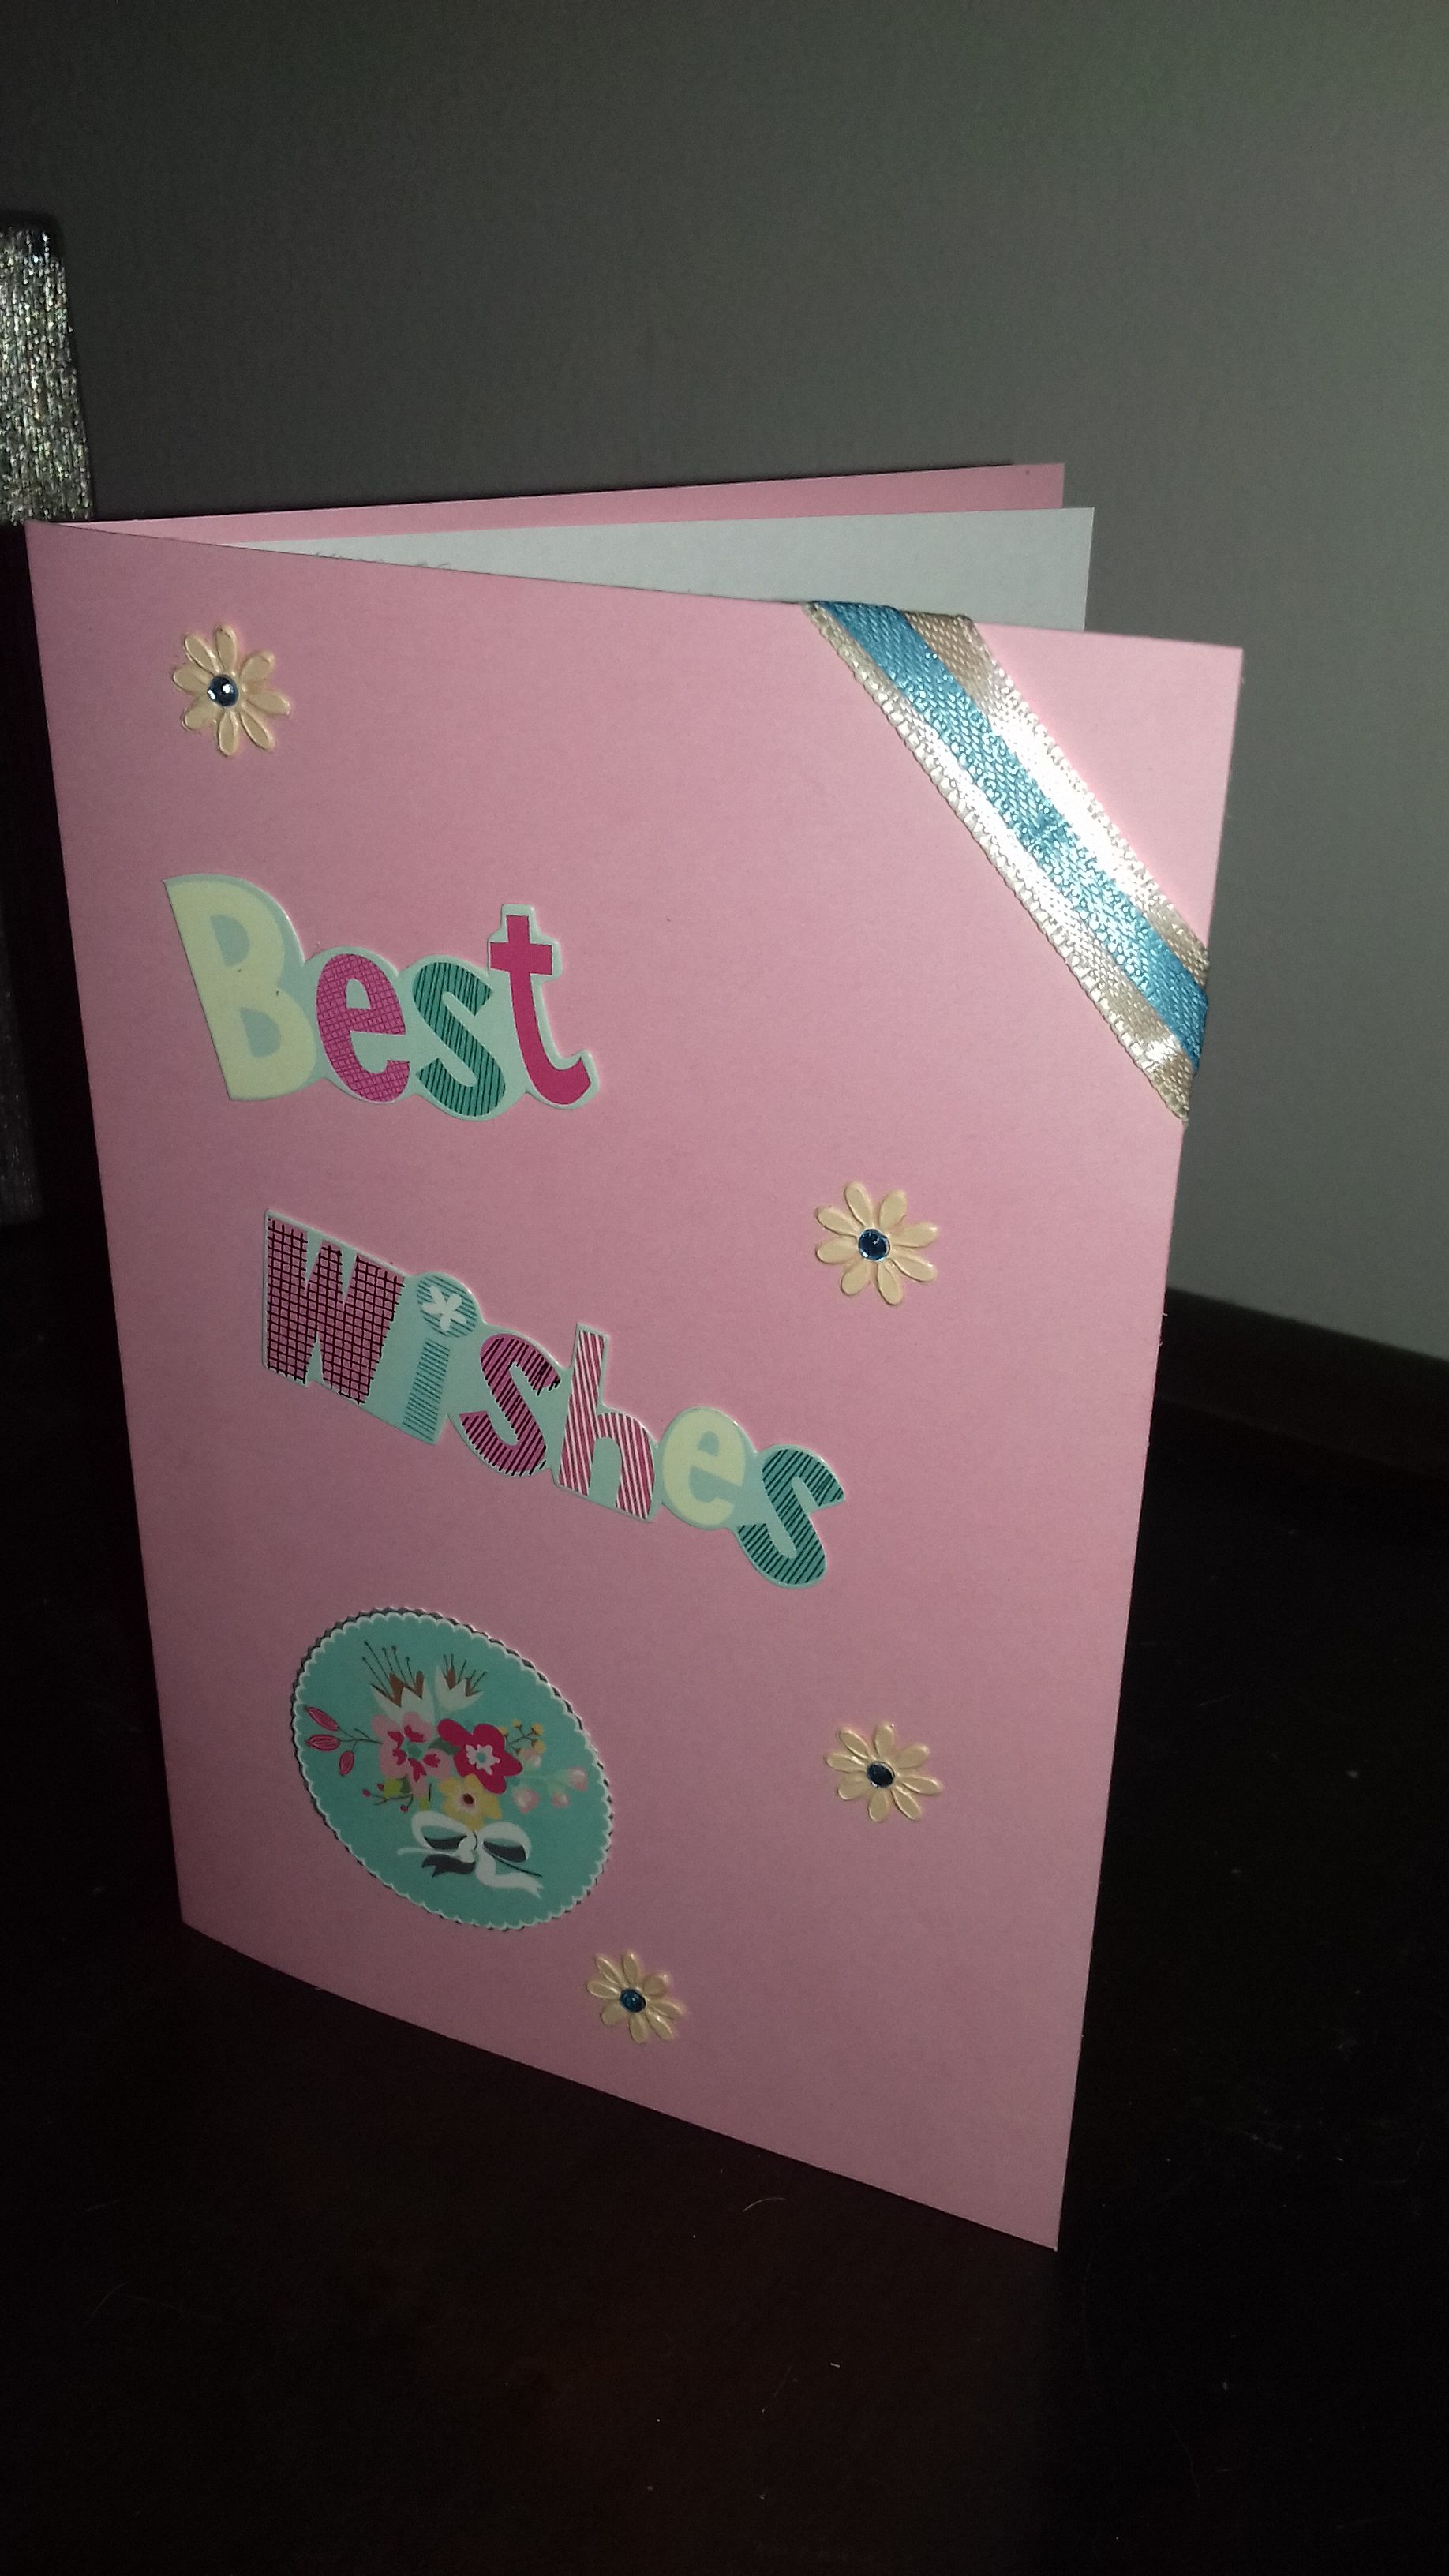
Firstly what I did was take my colored paper and try to find a nice place to put my piece of ribbon, in my case it was the top right corner of the card, you can put it along the edge of the card or at the bottom or top, just as you want to
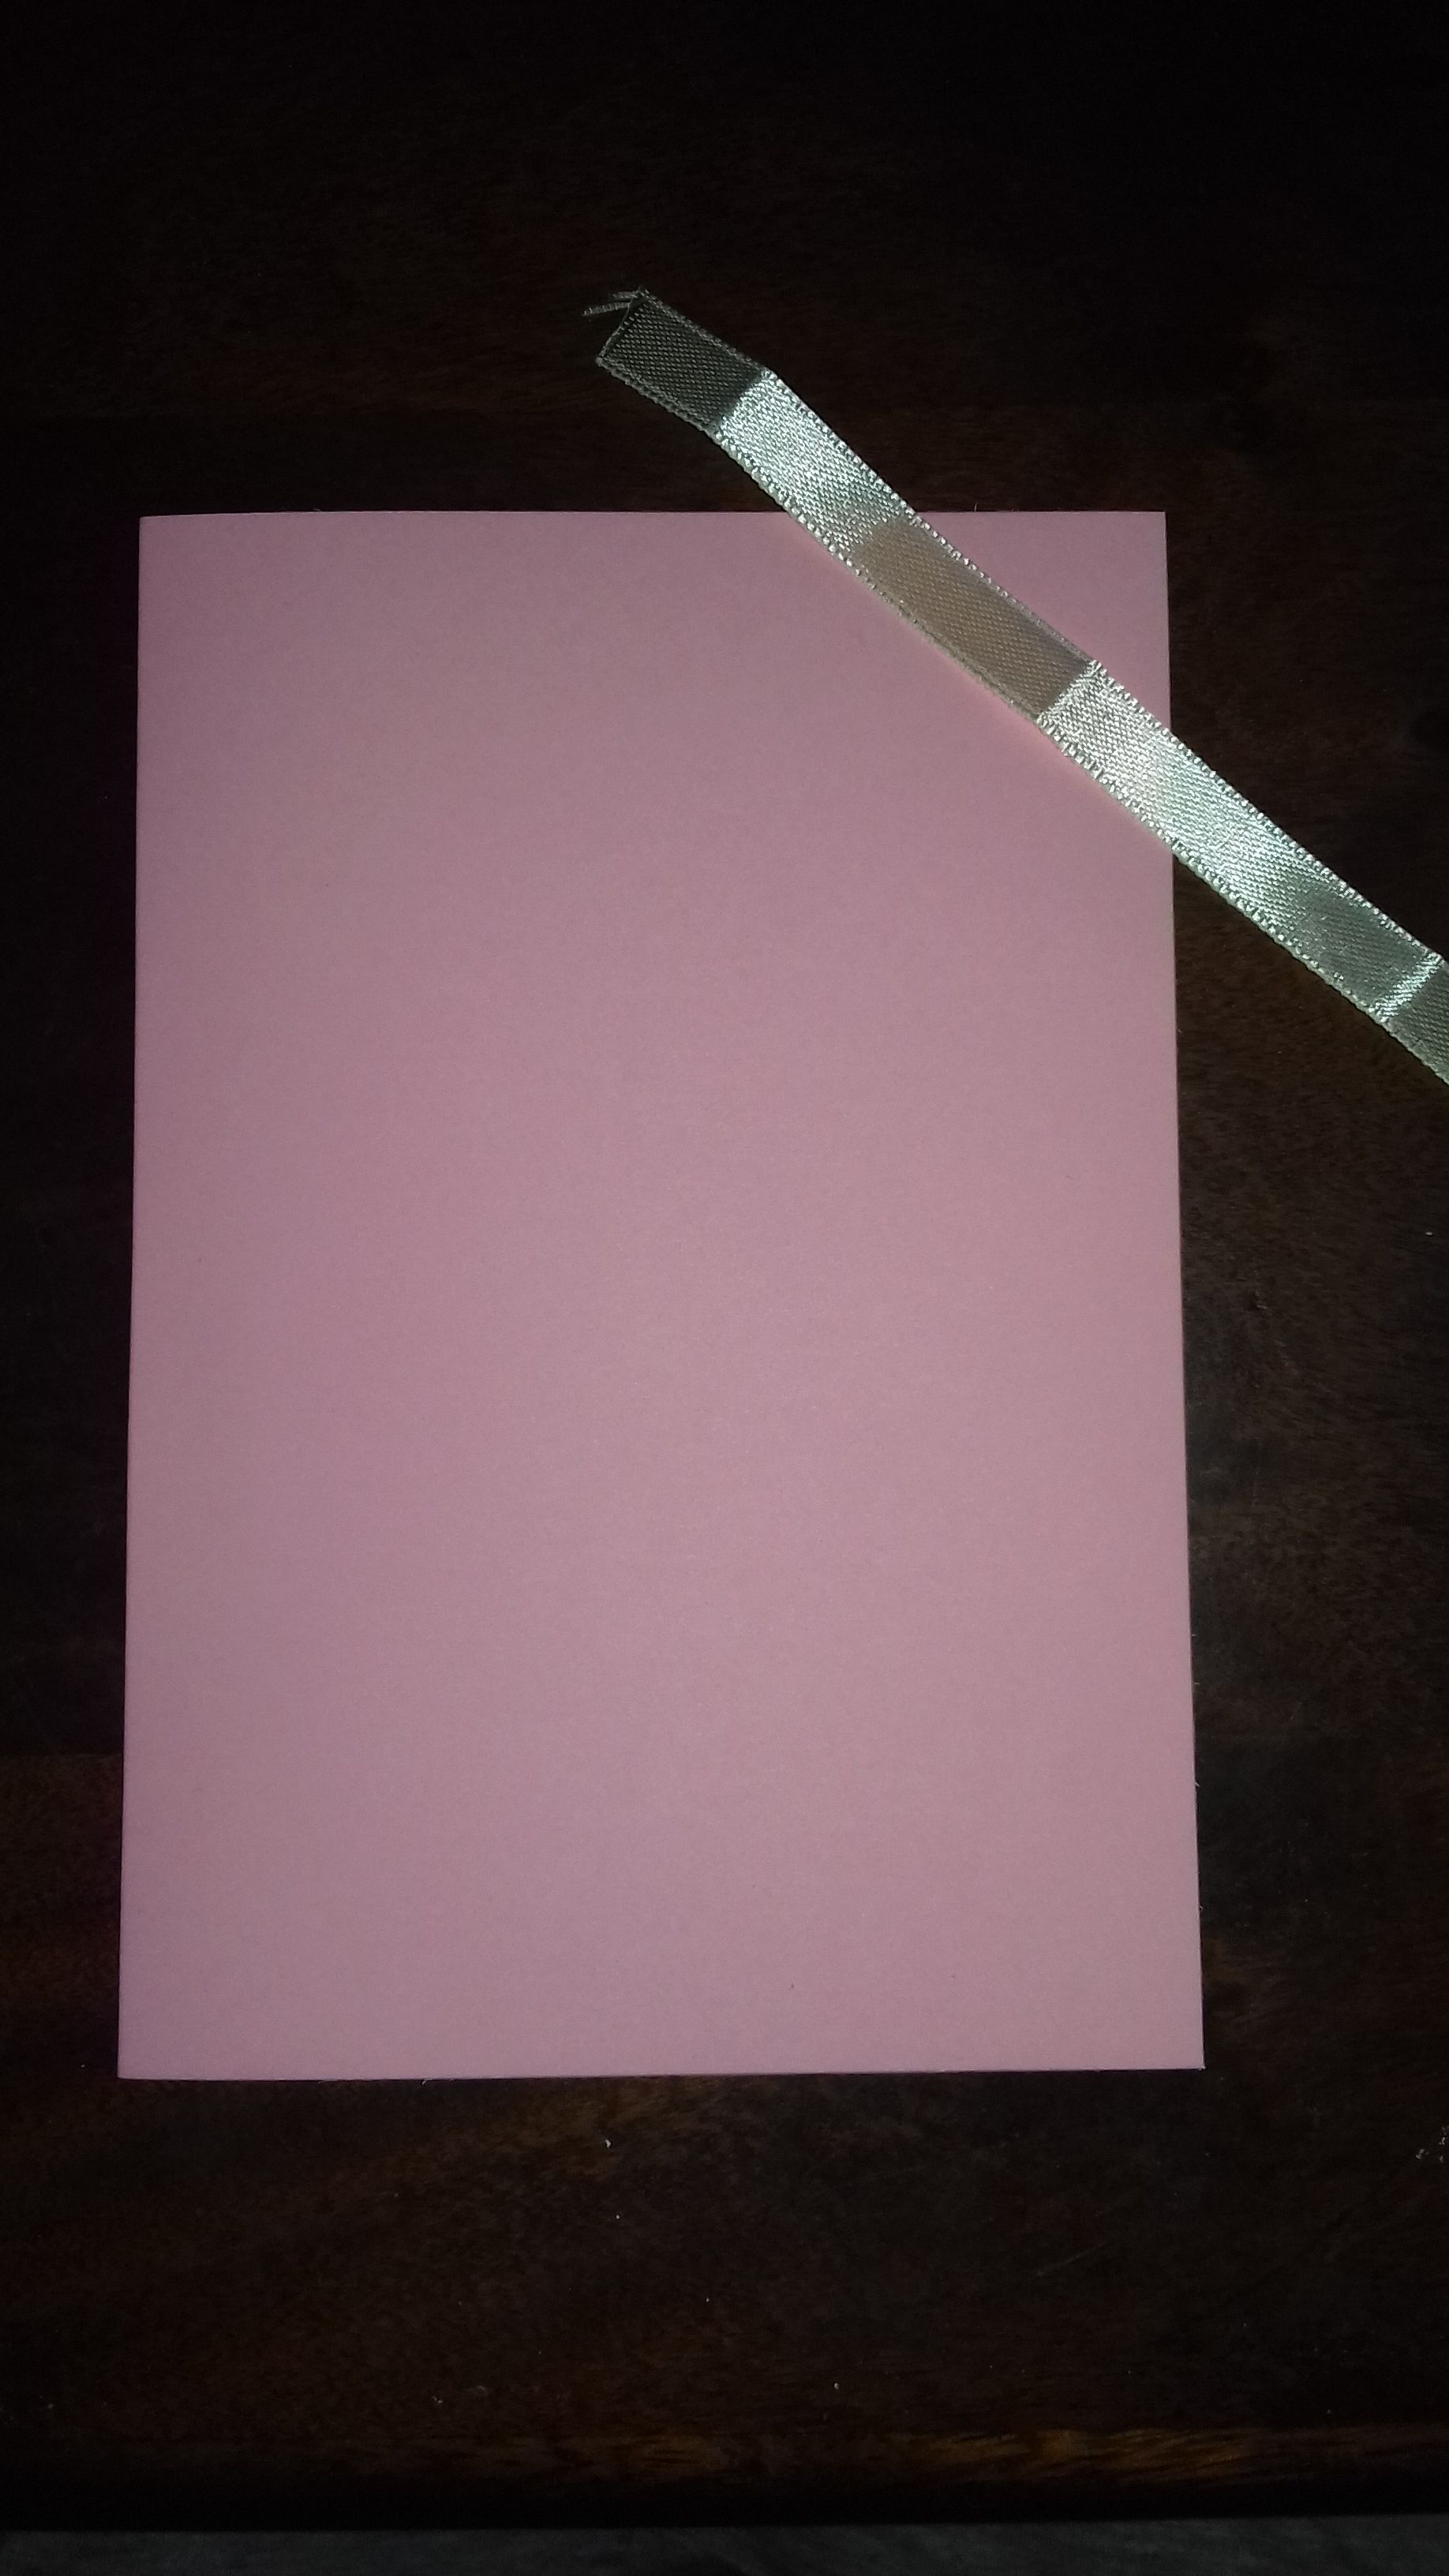
Then I measured the ribbon to the length I felt was appropriate for the size of the corner then I cut it , I cut the ribbon a bit longer so I can stick the ribbon's end to the inside of the card to prevent it from unraveling.
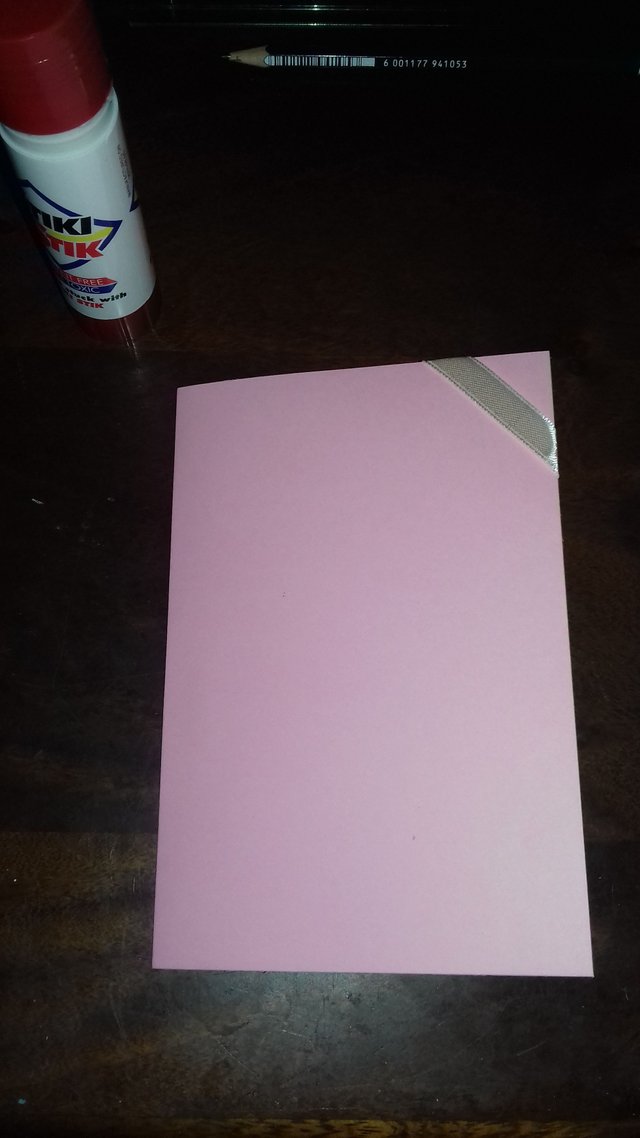
Then I thought the plain white ribbon looked to dull so I added a smaller blue ribbon on top of the white ribbon, I glued the entire blue ribbon onto the white ribbon to prevent it from falling off. I did the same with the blue ribbon, I cut it a bit longer so I could stick it on the inside of the card.
(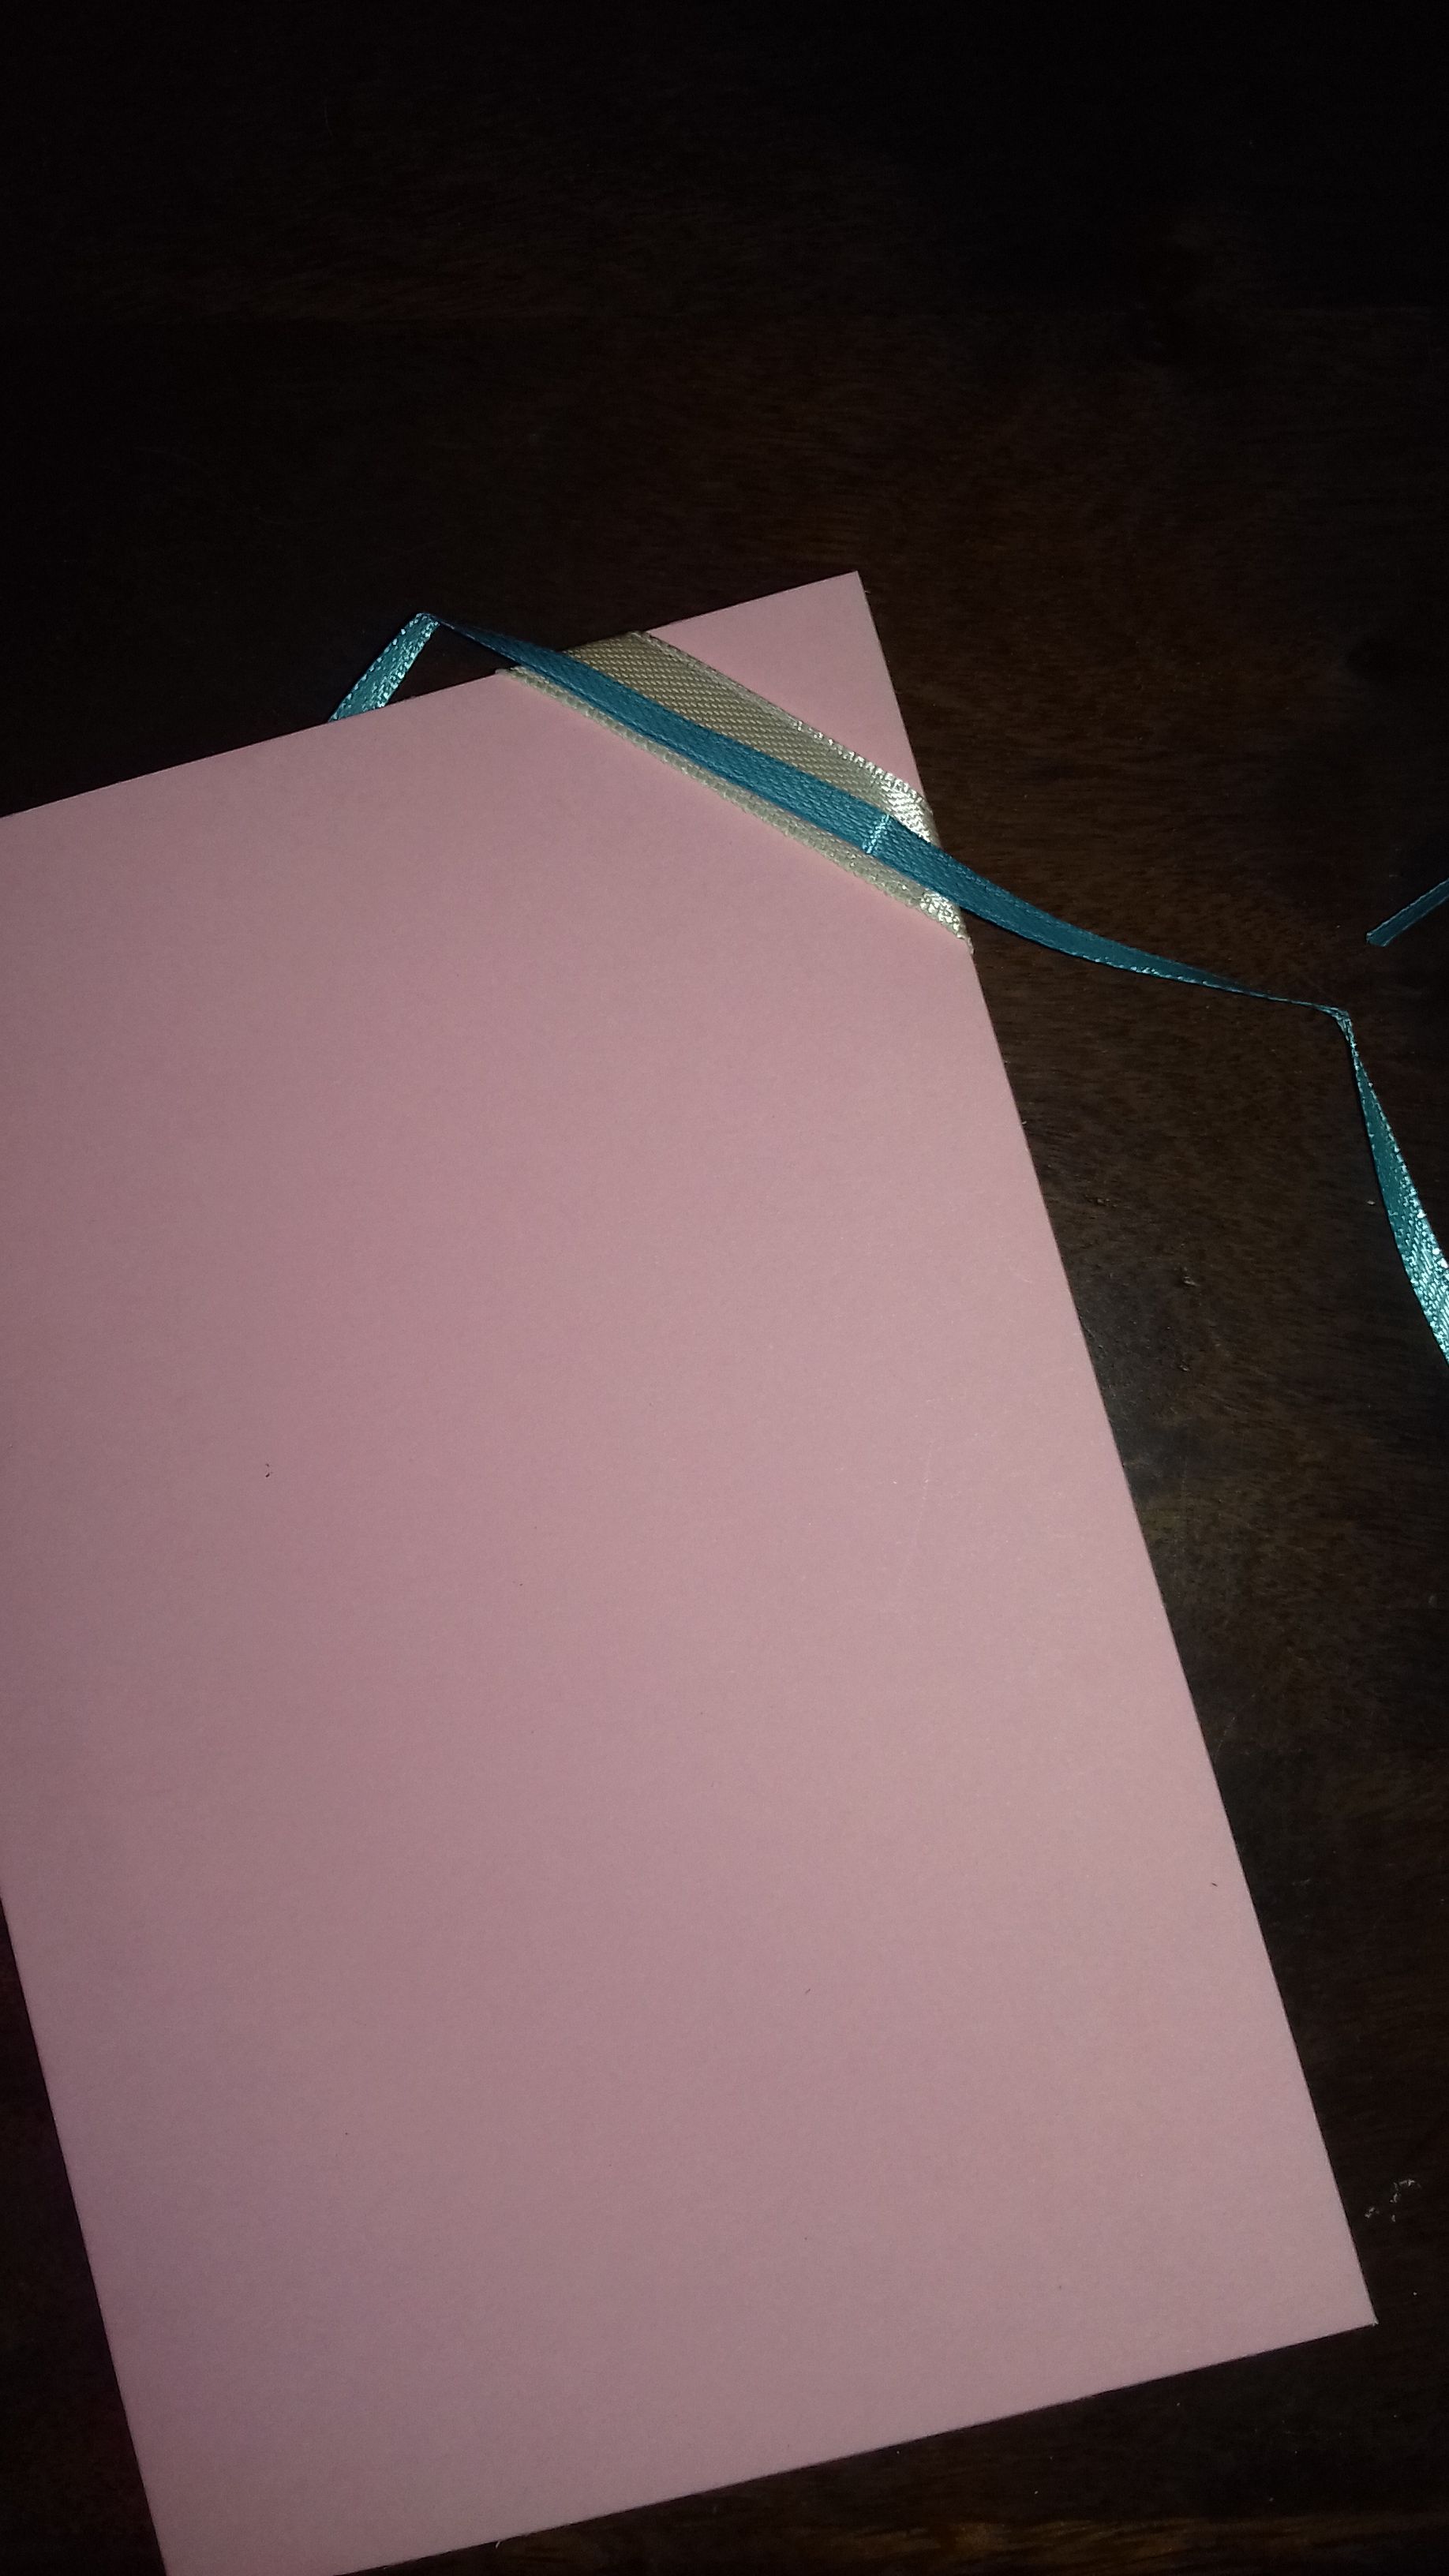 )
)
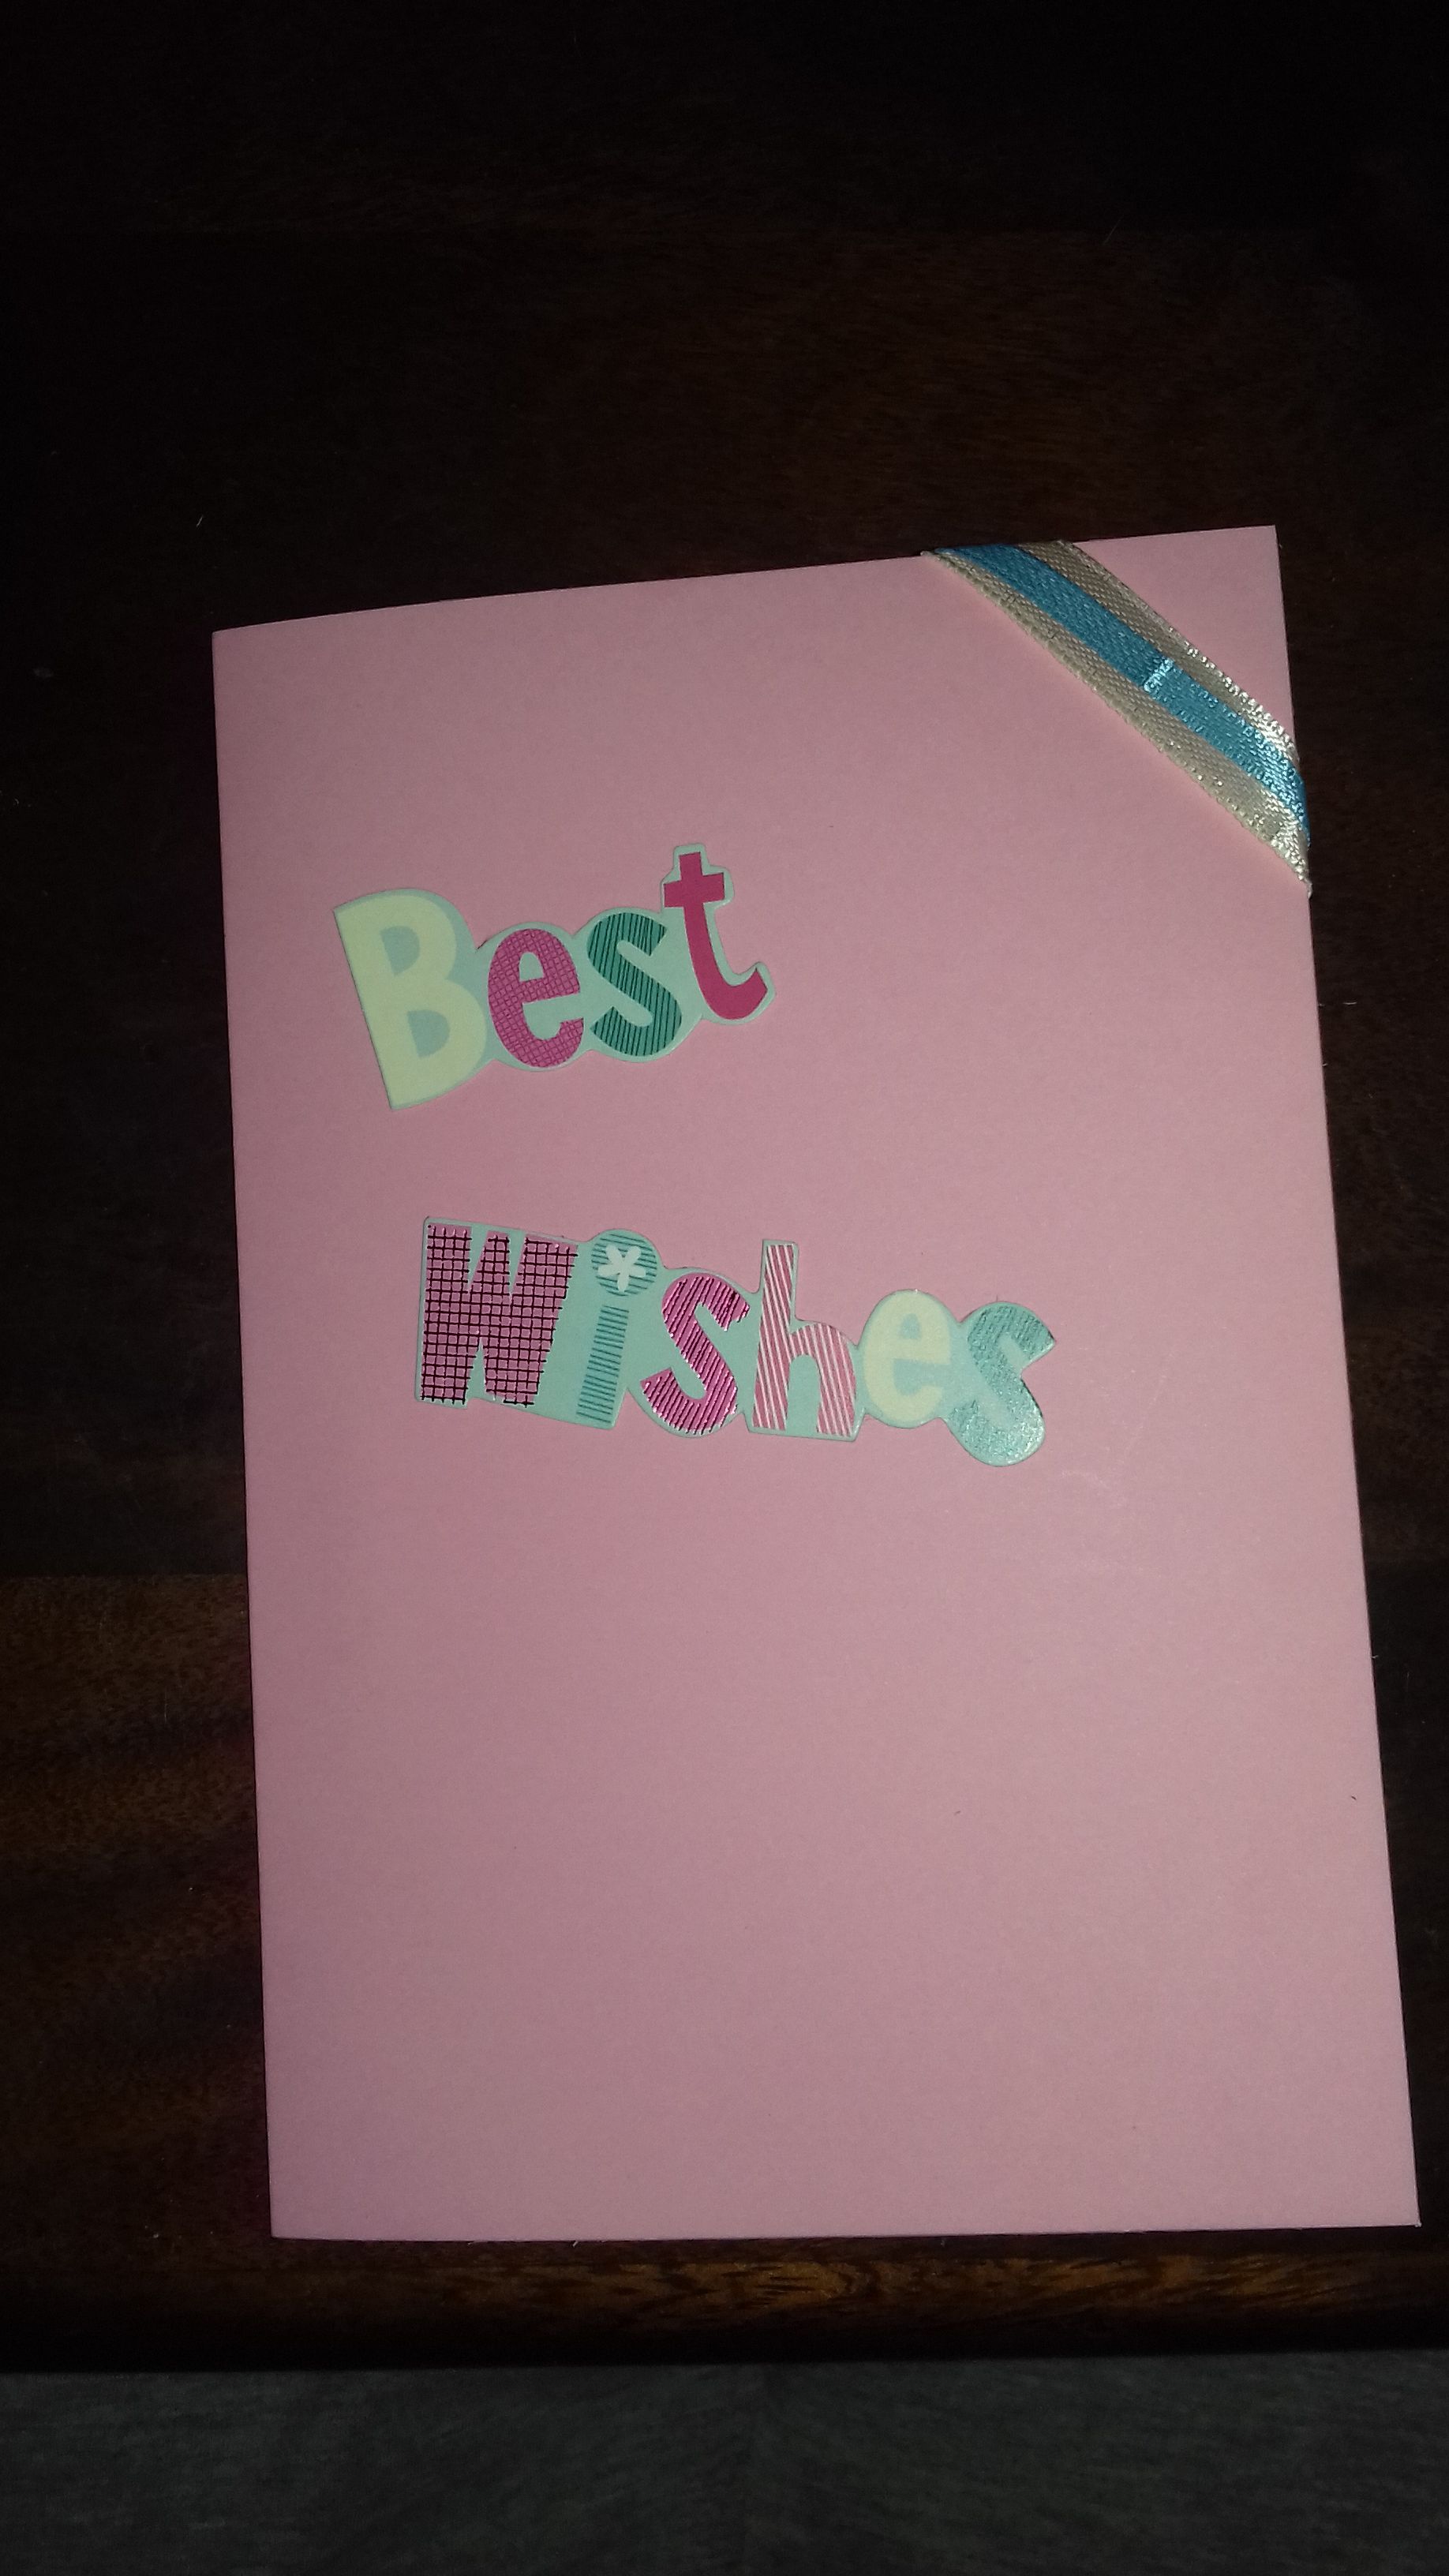
Then I got to the little snip-bit decorating , I got these decorative stuff as a gift but you can use anything like cutting out words or pictures to just using buttons or stickers to decorate , its all up to you.
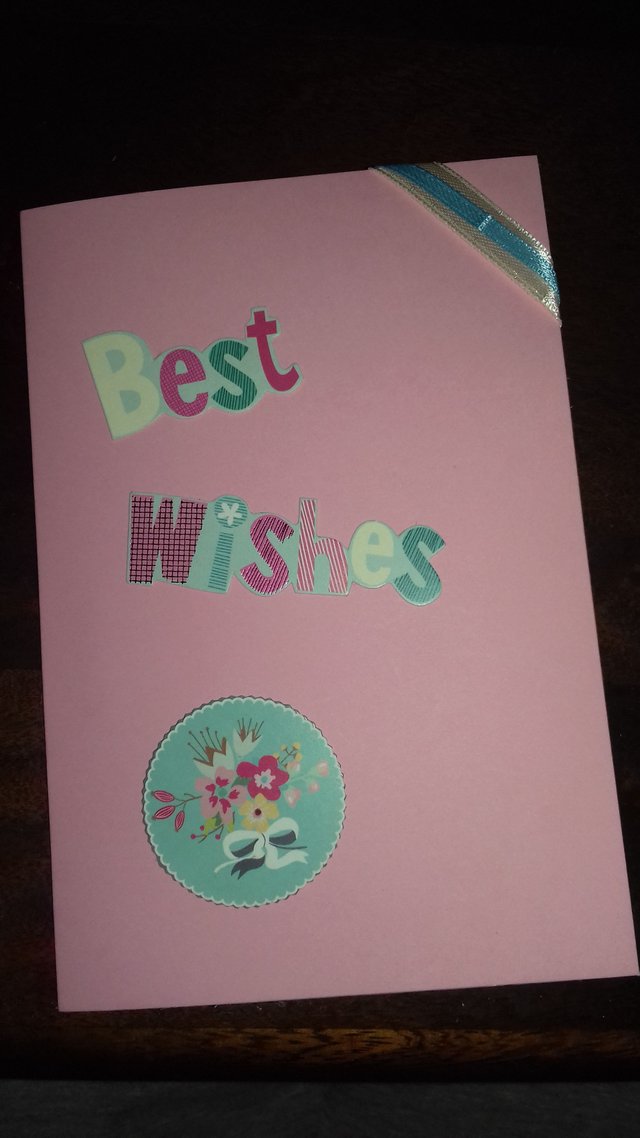
I had cut outs of little flowers but you can make your own out of paper, then I pasted the tine rhinestones in the middle of the flowers to make them stand out a bit.
Then came the step of making the inside of the card, so what you are going to do is take your black paper and measure it agents your card.
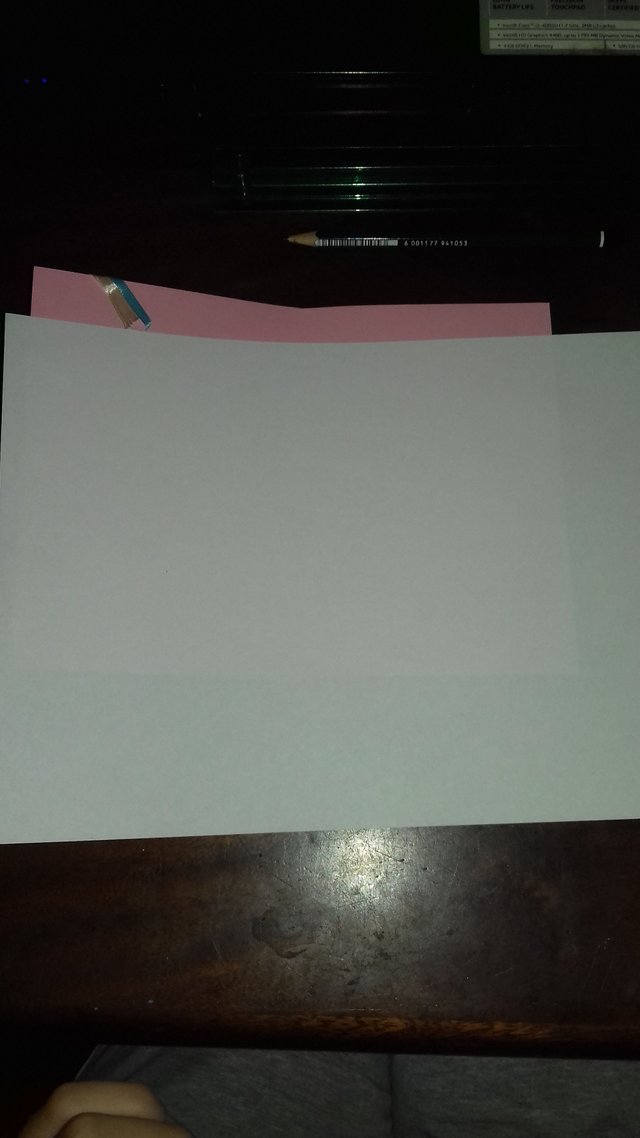
Then you take your pencil and ruler and measure the blank paper to be a little smaller than your colored paper so that it doesn't stick out over the edges when you paste it inside you card.
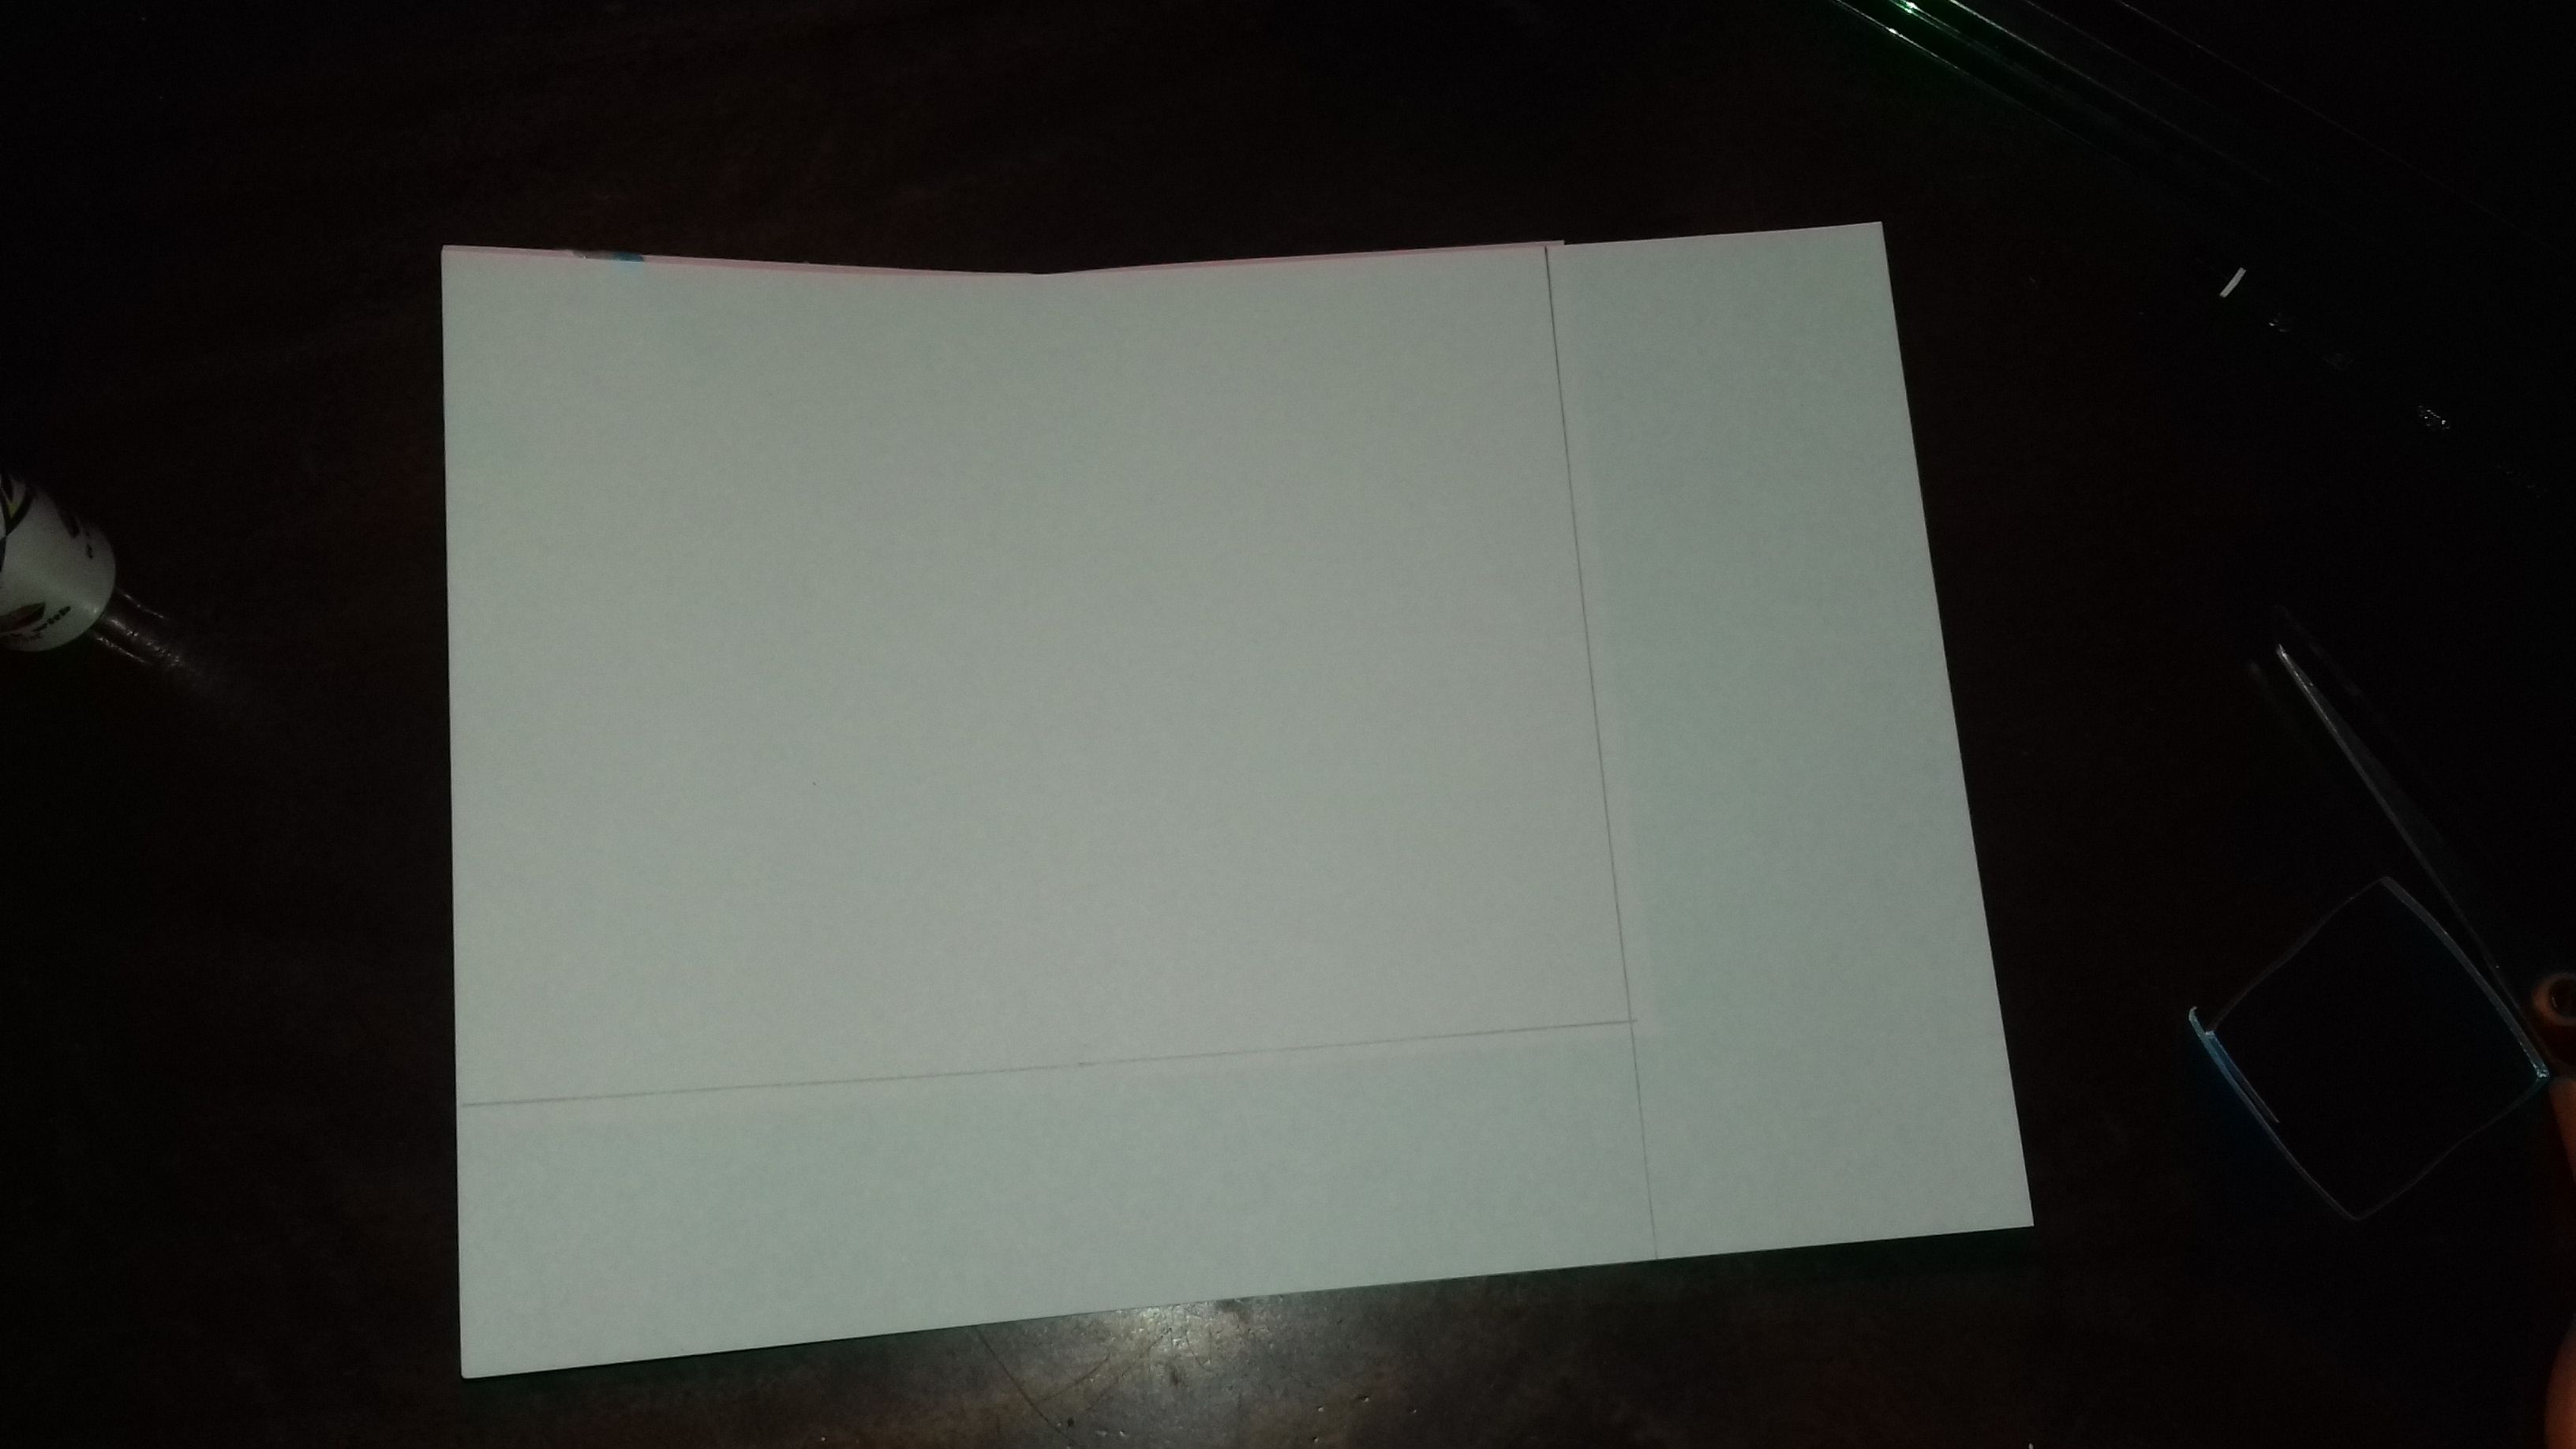
Then you cut out the piece you measured and put it inside the card just to see if no edges stick out of the card.
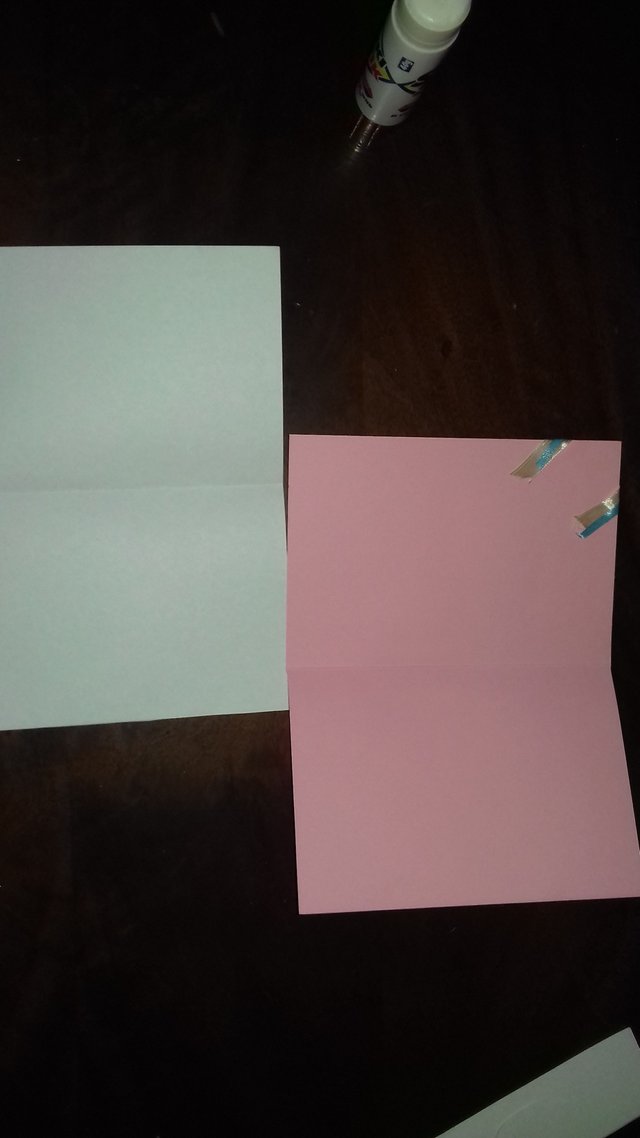
The next step is to fold your blank paper closed and put a nice line of glue on the outside of the paper closest to the crease in the card.

Then you paste it on the right side of the card, so make sure that the glue is on the right side of the blank paper.
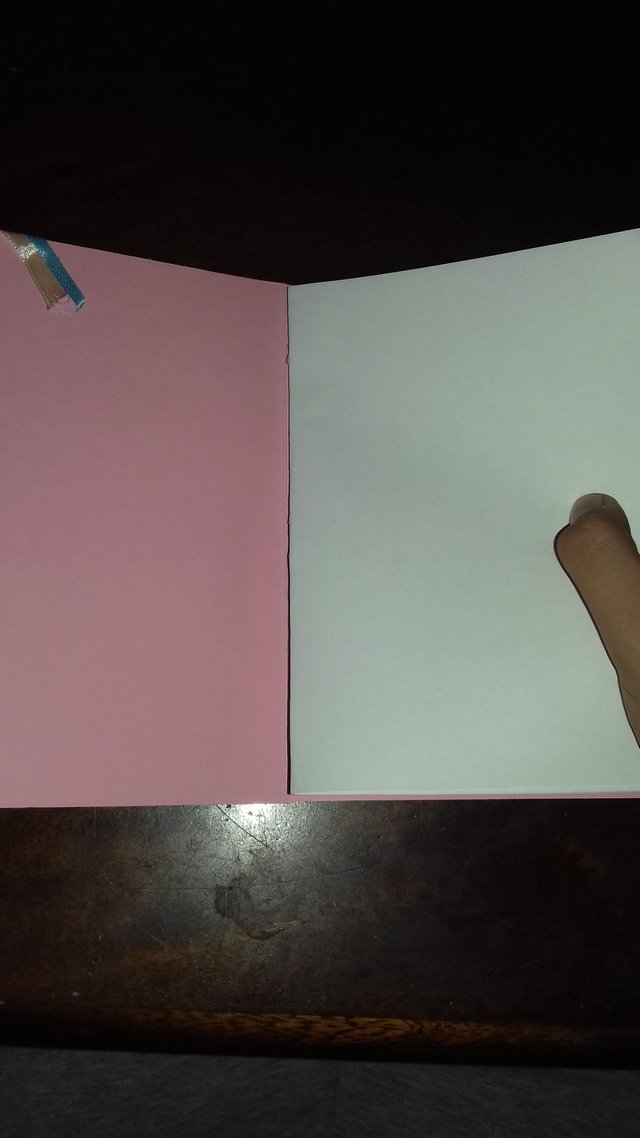
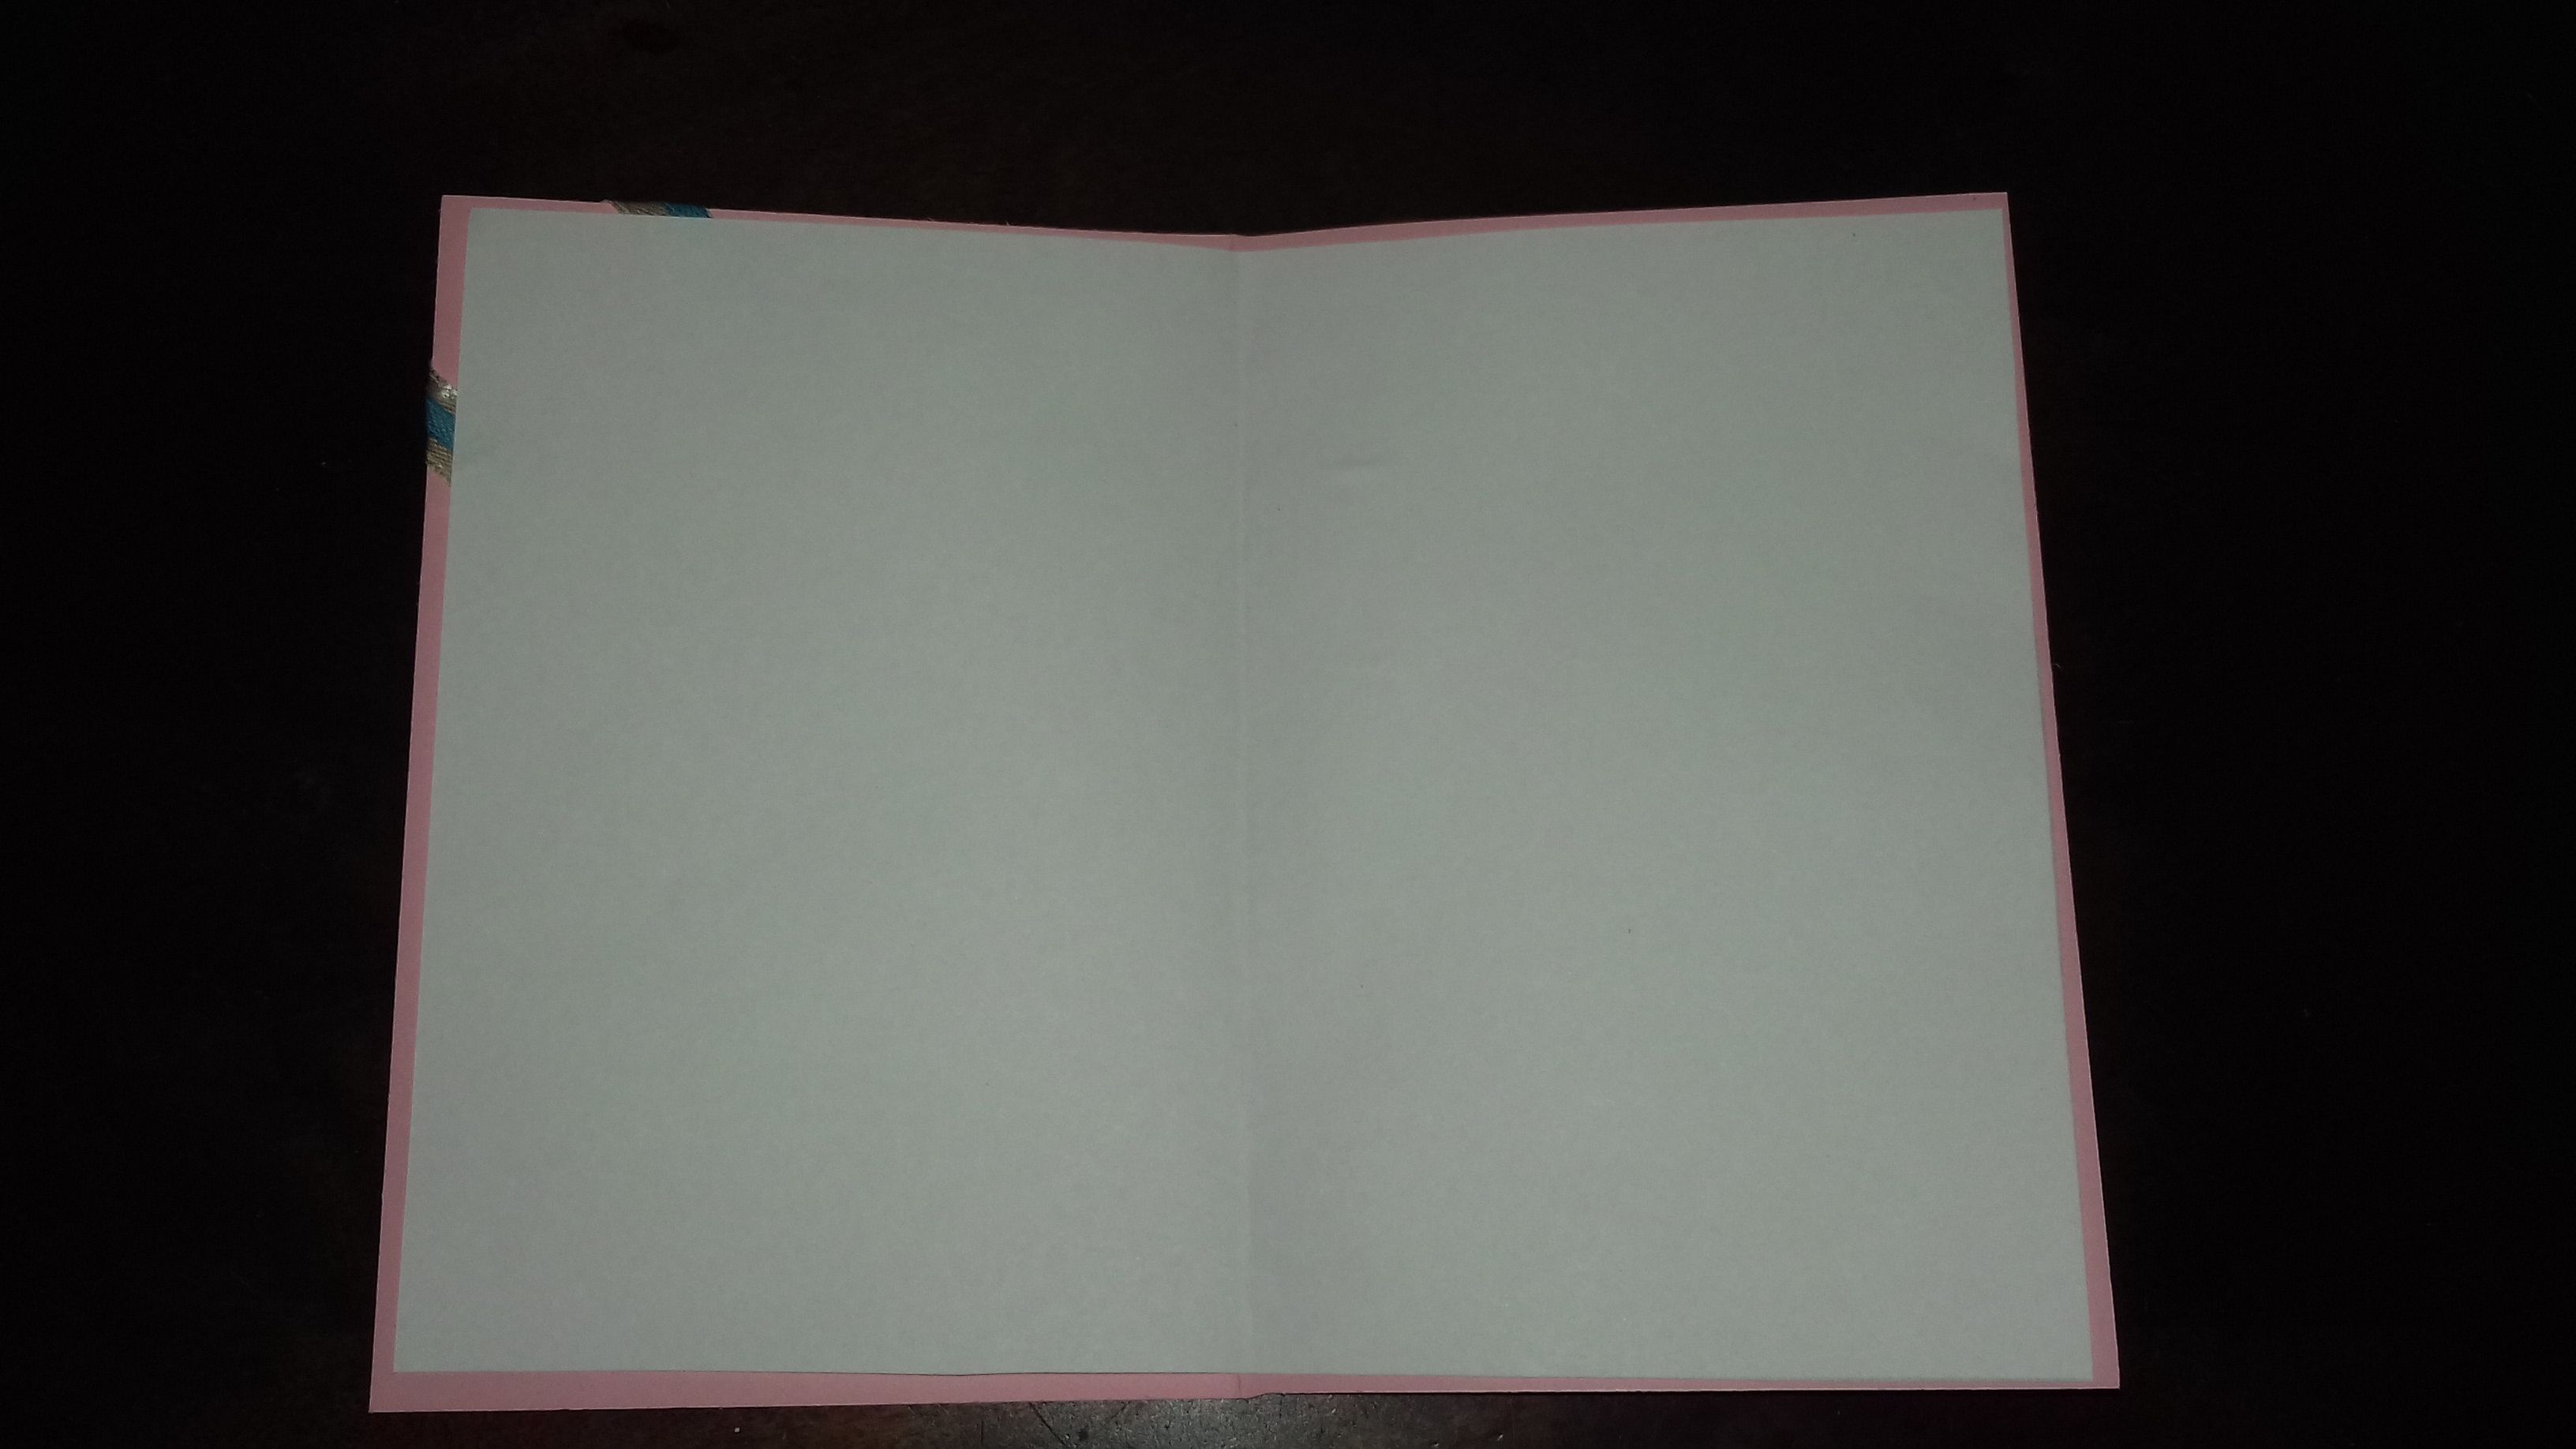
Then you have the inside of the card which you can write on.
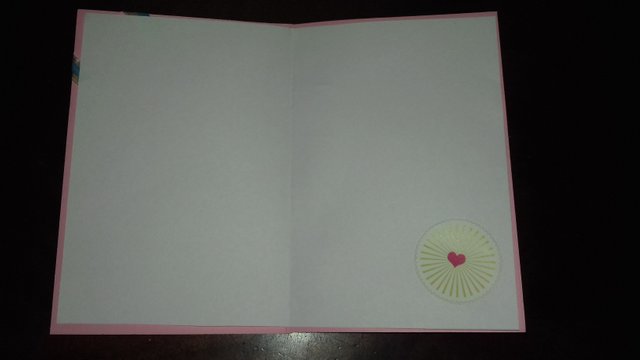
Because I like decorating and things that look pretty I pasted a little picture on the inside of my card to so it doesn't look so plain.
And then you have your finished card!
I really hope this tutorial was helpful !
If you have any questions please feel free to ask.
:)