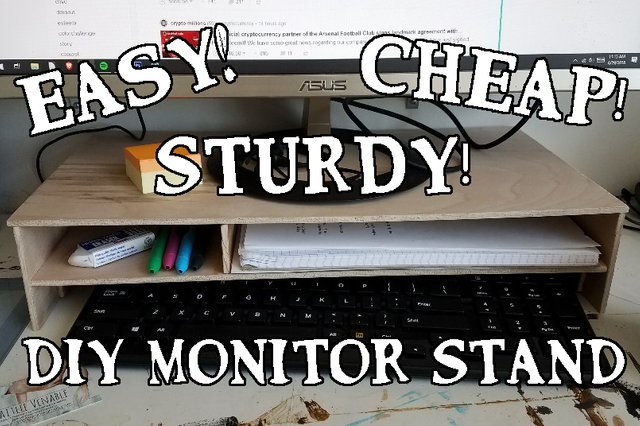
DIY Wood Panel Monitor Stand!
Some of you may have seen my recent DIY for a foam board monitor stand (https://steemit.com/diy/@kaitleevenable/diy-monitor-stand-with-foam-board). Well, I have since determined that project was merely a prototype phase for constructing a really nice, beautiful, sturdy, and thoughtfully designed monitor stand made of hobby board panel from the hardware store.
I took pics throughout my process and want to share the steps with you! So let's get to it!
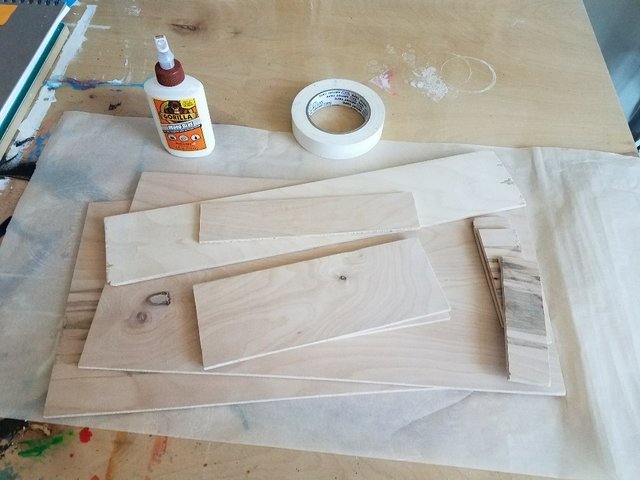
MATERIALS NEEDED:
- one 2x4' hobby board that is 1/4" thick
- a hand saw (usually <$10)
- wood glue (I used the Gorilla Glue brand)
- sandpaper or a sandpaper brick thing
- a pencil for marking cuts
- tape for holding corners that are drying (I used Artist's tape, but masking tape would also be great)
- clamps, or a partner who is strong and can hold your wood in place while you saw
- a level is helpful
- a yard stick or ruler
Also, because I used wood glue, this project ended up having somewhat lengthy breaks in the early stages of assembly. Mainly my first two gluing steps needed time to dry at least somewhat before continuing to manipulate the materials. Go watch a show, do some chores, go to a party, whatever, and then come back! :)
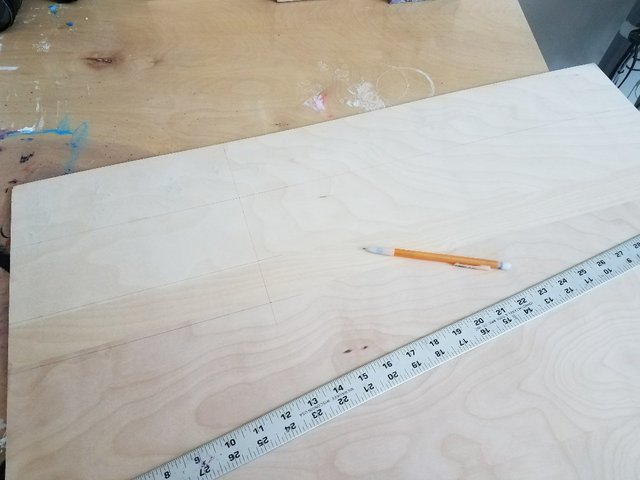
First up, I drew my design and figured out my measurements.
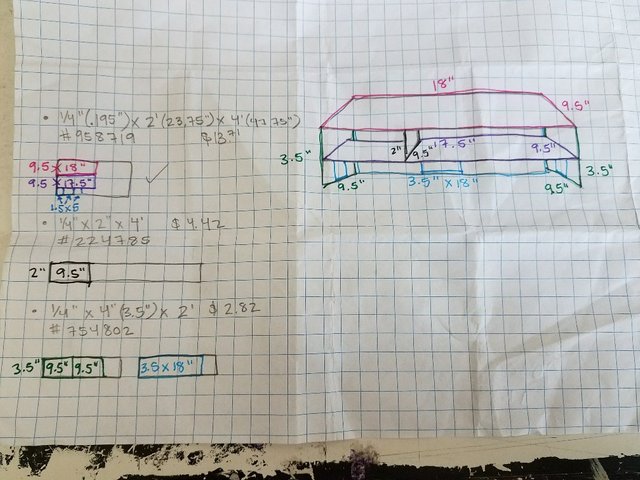
This was pretty easy, having already made basically the same structure with foam board. If you're a novice like I basically am, making a prototype with foam board first is extremely helpful and educational.
I also looked online at the lumber offerings of the hardware store. I noticed some measurements gave "Common" and "Actual" dimensions. Common refers to the typical "name" of the board -- 2x4, 1x2, etc. "Actual" refers to the actual dimensions, which were usually significantly less. For example, a 1x2 board is actually only .75"x1.5"!
So, silly me, I thought maybe if there is no listing for an "actual" dimension, then what you see is what you get. I thought 1x2s actually exist. They don't.
So, I didn't end up using the breakdown to the left in the above image. It still helped me when cutting my pieces later, but I only purchased one thing:
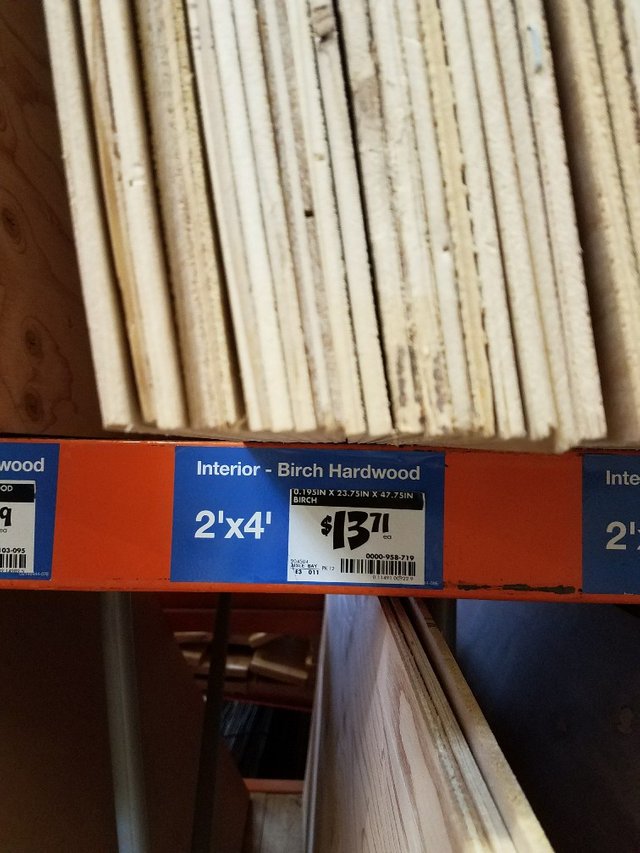
I got the whole thing out of this one 2x4 foot board! Woo!
I asked the nice folks at the hardware store to do two of my major cuts for me: the top of the unit, and the shelf (9.5x18 and 9.5x17.5, respectively). The rest, I decided to cut at home.
When I got home I laid out my panels and began to plan the next steps. I measured what was left after the employee cut my two larger pieces, and laid out how to create my other necessary pieces from that. I want to point out here, though, that the 2x9.5 measurement ended up needing to be more like 1-5/8, because in this plan I did not account for the height that would be gained by sitting atop the shelf.
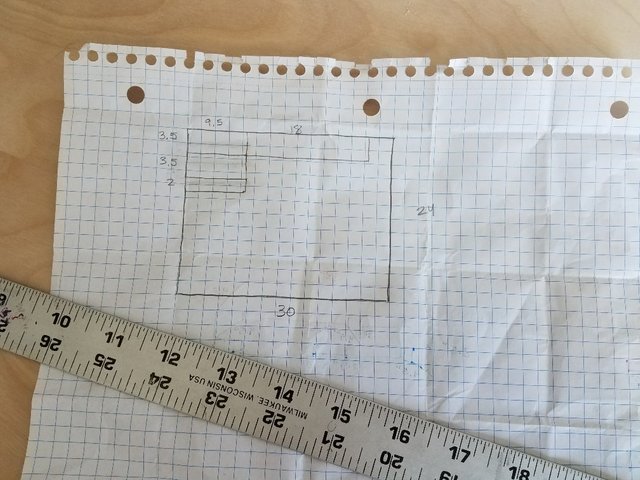
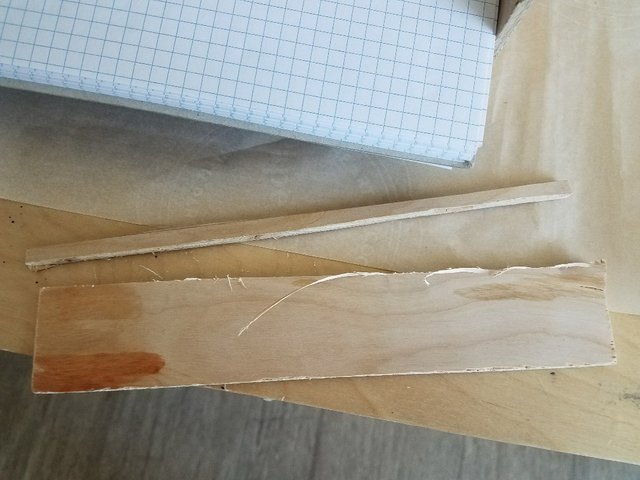
I drew out my cuts.
Then I used clamps and my hand saw, and some moral support from my dog, to begin cutting. I'm no pro at using my various woodworking tools, but if you're brand new, it's great to score the edge of the cut (where you start) by setting your saw in place and then pulling it toward you. Repeat this action a few times before you attempt to saw back and forth the typical way. I have also learned not to apply too much pressure while sawing, but to let gravity and friction do most of the work.
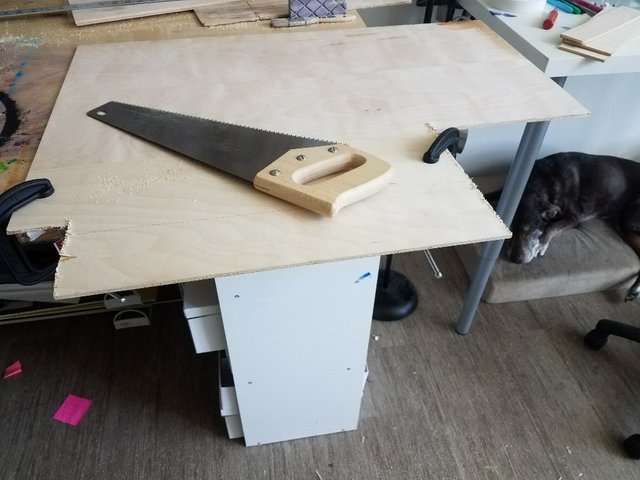
Also, get ready for a mess of sawdust!! And if you step in it and then go elsewhere, it tracks around really easily.
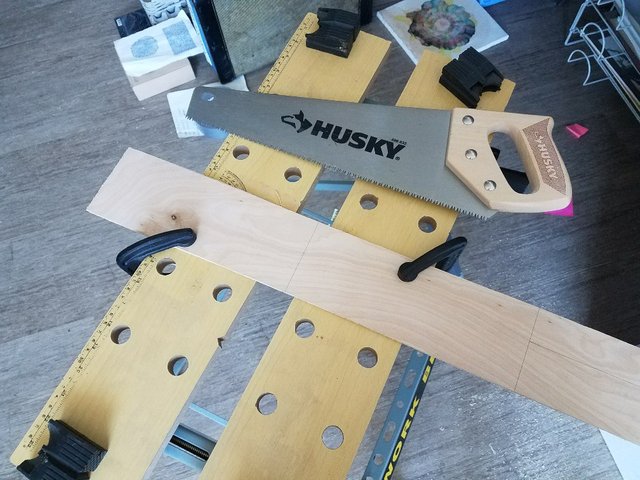
I'm fortunate enough to have been given this sawhorse, which made cutting some of these pieces a bit easier:
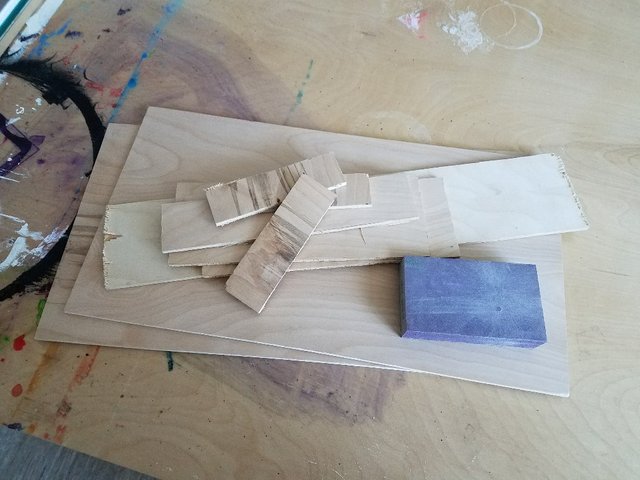
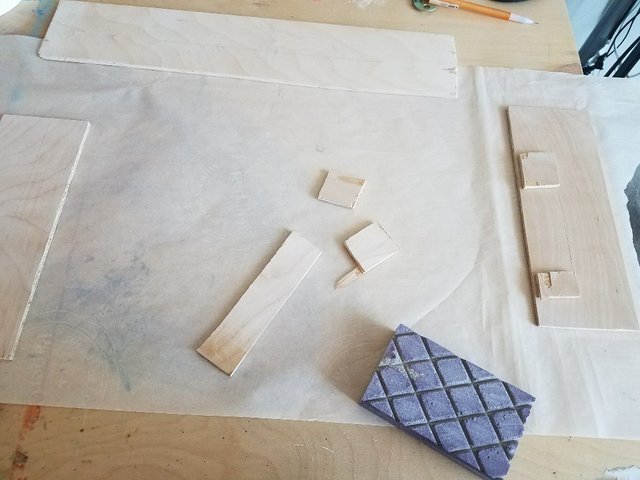
Once you have all your pieces, it's time to sand the edges! I enjoy this part! :)
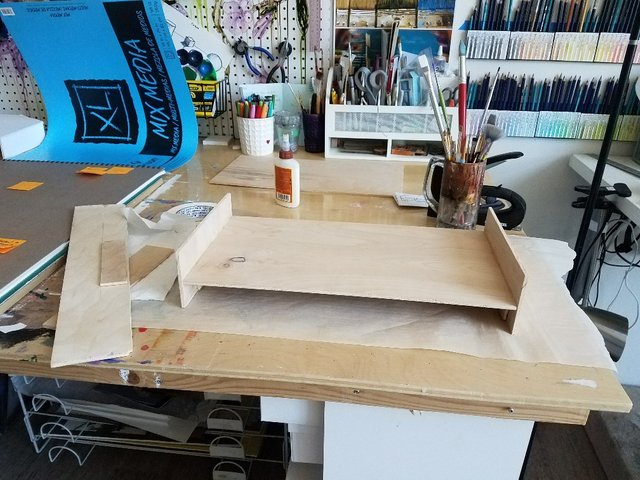
Ready to begin assembly! The pieces on the right are extra pieces I cut, measuring 1.5xwhatever, to serve as supports for the shelf. HOWEVER...
I decided I didn't want to deal with their inevitable and plain-to-see inaccuracy. If I'm asking them to touch the desktop and touch the bottom of the shelf, they have to be really precise! So instead I grabbed some scrap and cut small pieces of it, with the intention of taking the straight edge of a piece and lining it up with where I wanted the bottom of the shelf to be (about 1.5" high). I glued each of these pieces on before moving forward.
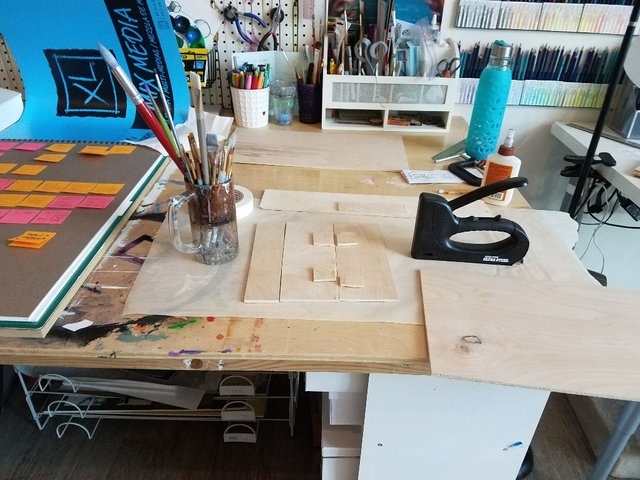
For the first stage of construction gluing, I needed to be able to support the pieces in a sturdy way to help them dry in the correct place. I wanted to attach one wall to the middle shelf. In my case, I did the left wall. Since I don't have a real workshop, I had to improvise. I prepped the space to make even ground for my supports (staple gun and glass of brushes -- make sure your supports are heavy enough to stay in place, and offer a right angle to put against your materials).
Applied the glue...
And braced it in place!
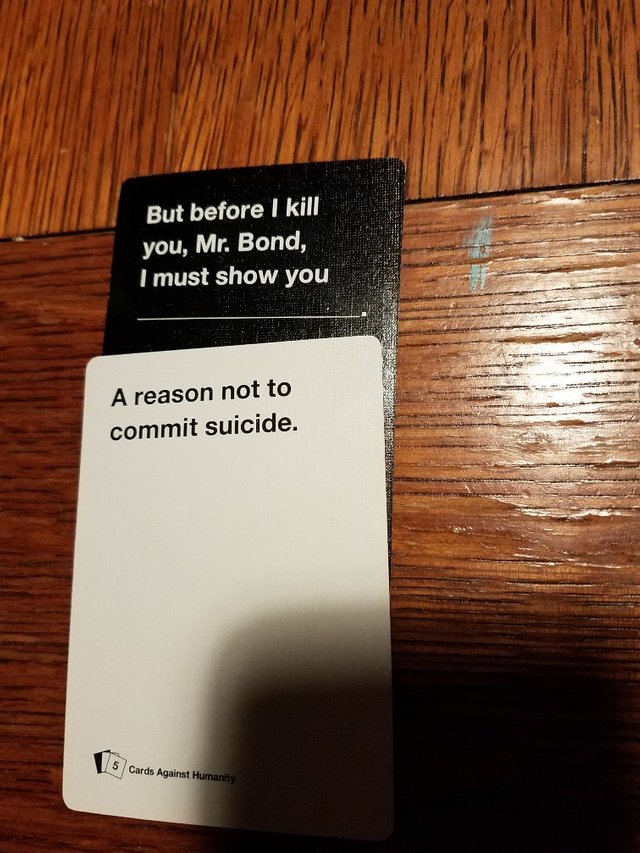
This was where my project first needed a break to dry. It happened to be game night at my friend's, so I headed over there. We like playing Cards Against Humanity especially, as it's a guaranteed funny time. At my turn, I got a black card that I wasn't thinking would be very interesting, but I ended up laughing nigh hysterically about this answer. I'm not even sure why. I don't think suicide is funny... but I guess I just was really tickled by the technique of a villain telling a hero he's about to kill all the reasons he should want to live. I don't really know, I can't explain it, but I was crying from laughing so that was fun.
After the party I came home and flipped things around to secure the wall on the right side, and went to bed.
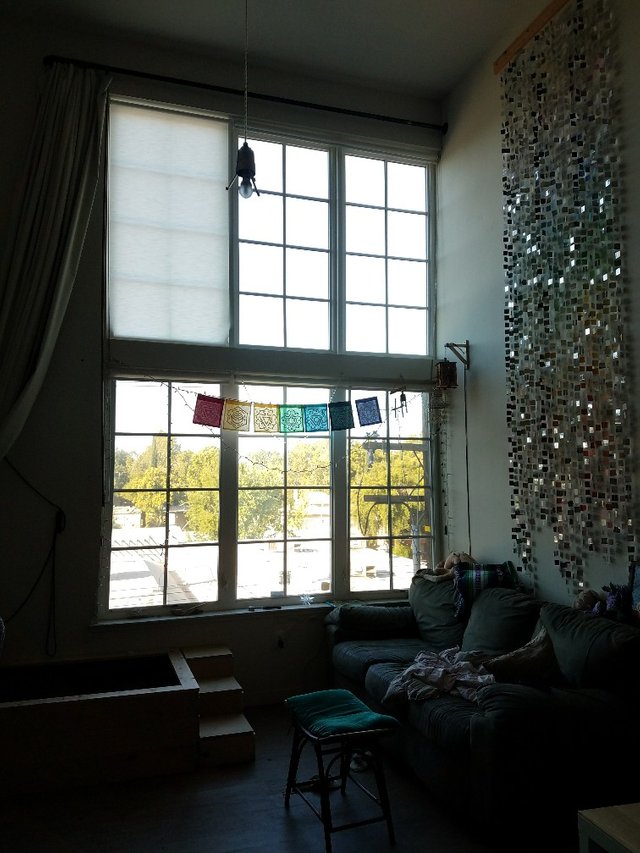
Ah, good morning!! I get tons of natural light in my apartment; it's really wonderful! Oh and if you're curious about what those little steps are for, I built an indoor-dog-potty-patch, with drainage, for my 14 year old lab mix. She's having bladder troubles, and this has been CRUCIAL in stopping accidents in random places of my home. Plus it was a really fun project! Perhaps I'll share the design sometime. :)
Okay, back to it! Here's how things were looking this morning.
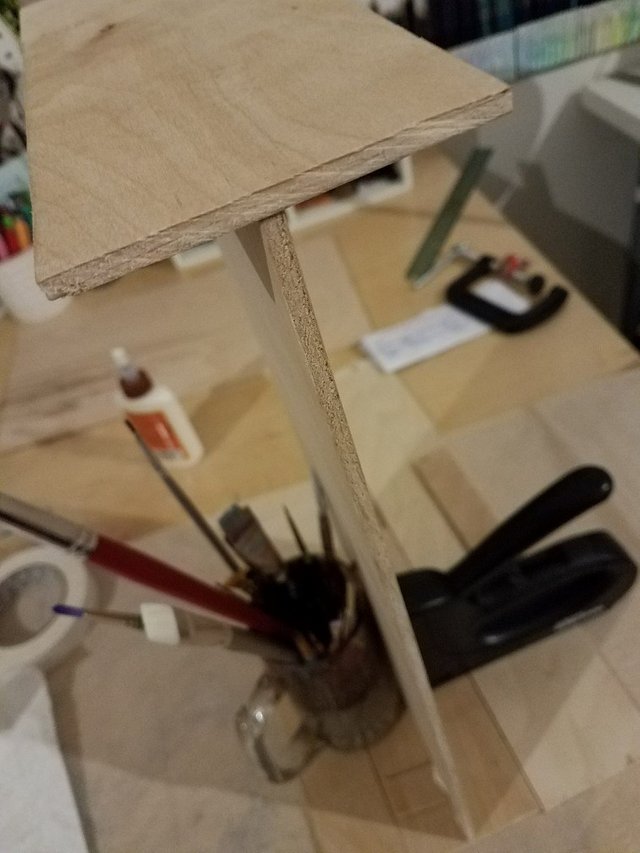
Next up, I wanted to add the back panel. Pretty easy and straightforward! I added glue along the appropriate edges, and also atop the support.
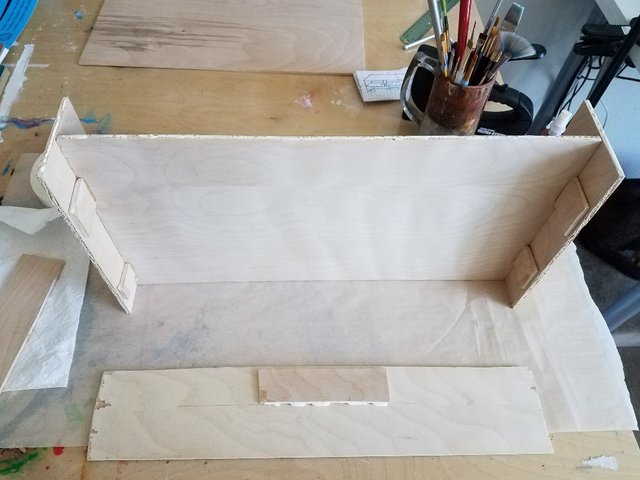
There we go! Although you don't see it in this pic, I decided to use tape to secure the backing in place at the corners, just to eliminate needing to wait an excessive amount of time before moving on.
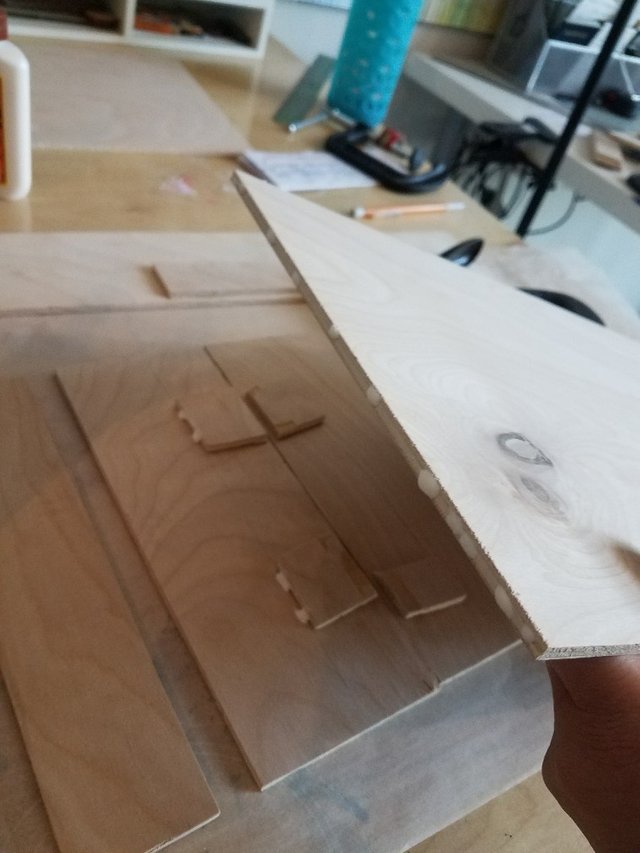
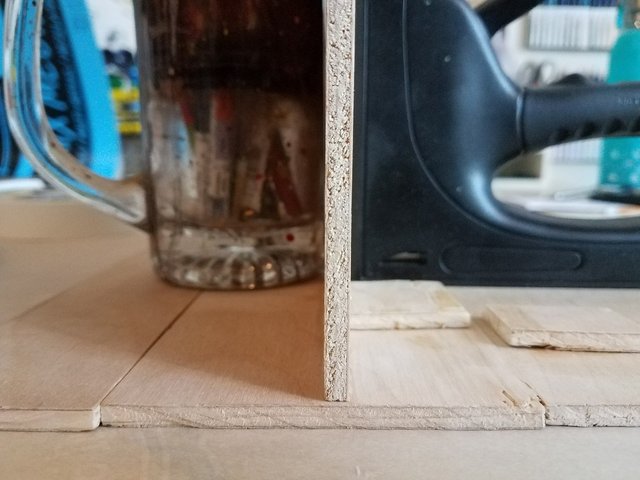
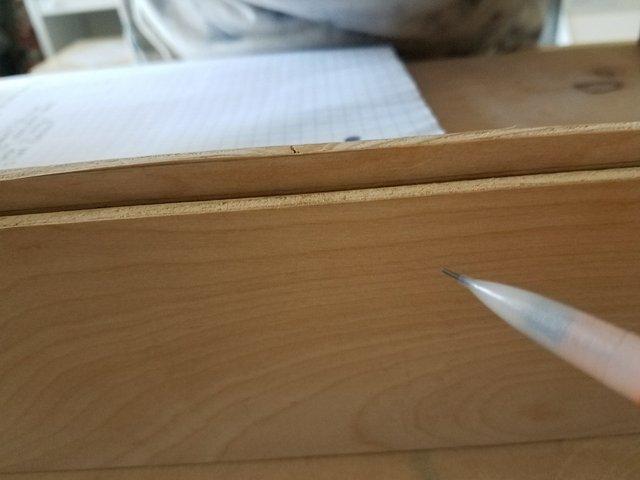
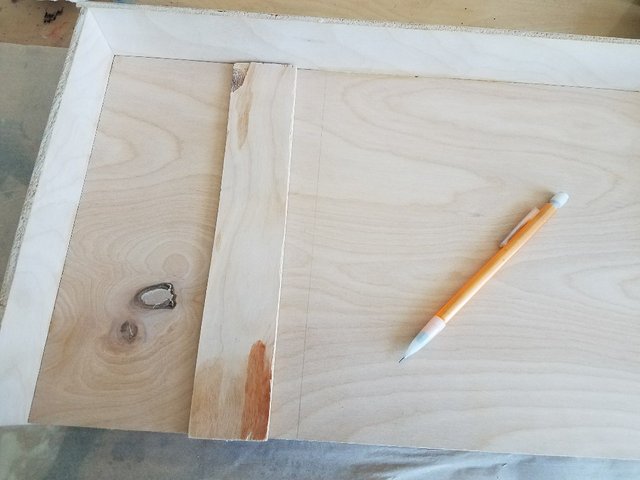
Next I was ready for the shelf dividing wall. This is where I ran into my problem. To fix it, I just lined up the piece I needed with the piece that was already there, drew a line to mark that difference, cut off the difference, sanded it, and voila!
I drew a line for where I wanted it. I wanted the right side to be able to hold paper or a notebook, so I gave myself 11.5 inches on that side.
When I glued it in, it managed to stay put really easily, so I didn't use any tape or supports. You can, though, if you don't feel that it is sturdy.
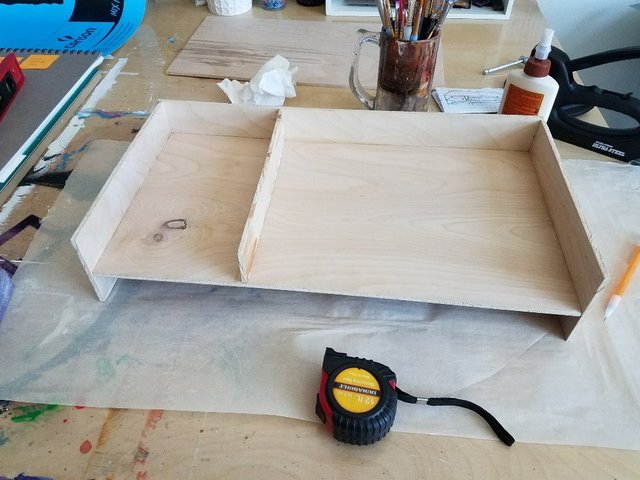
Next up, the final piece! I laid it on and discovered yet again how inaccurate cutting wood can be. I would love to gain more skill to become more accurate. Fortunately, though, it honestly doesn't really matter, at least in this case. I examined where the deficits in structure were, and determined it wouldn't make a difference in structural integrity.
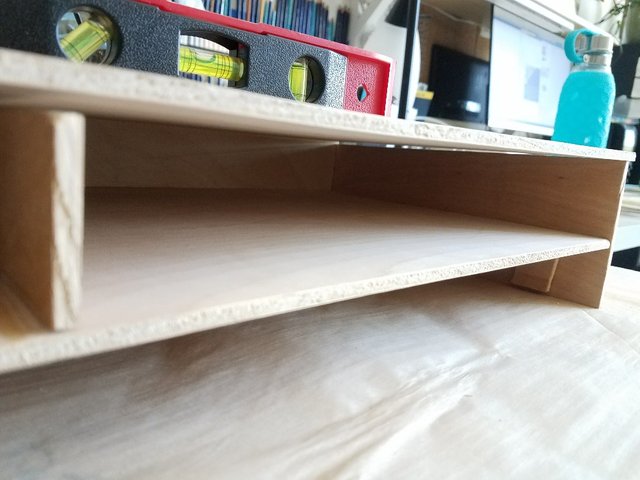
My level wasn't exactly in the middle, but it's definitely close enough for my purposes. I'm satisfied! So I added glue along all the top edges and placed my top piece down to dry. I also added tape at the corners, from the top to the walls, pulling the tape down toward the walls. This just helped maximize correct position while drying, and eliminated the gaps you saw above.

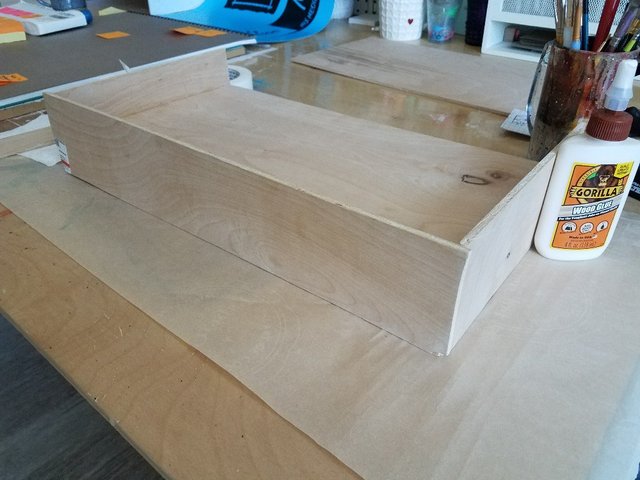
And there it is!! All done, super sleek, totally functional, very sturdy, and only $14 of wood!

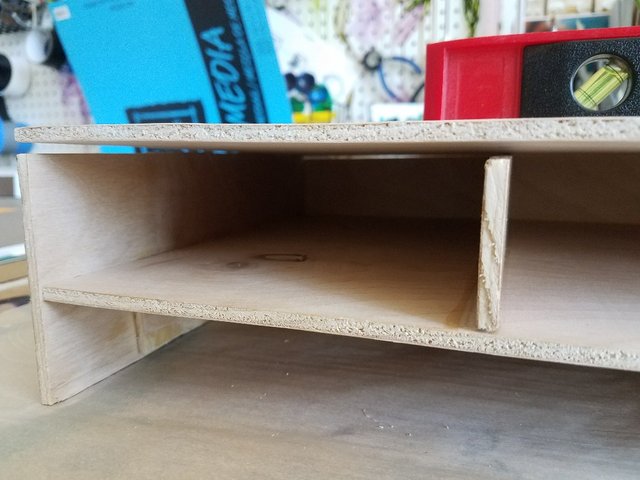
Now in my dream world I would build a small drawer to slide into the left-side compartment. I might still try, but after these experiences with how easy it is to cut inaccurately, I might find the process too frustrating. We'll see. If I do make one, I'll definitely share!!
Ooh and here's a fun thing I also did: I recently switched from using my laptop as is, to plugging it into an external monitor. I wanted a nice airy space to store my laptop, though, that was also accessible if ever I wanted to use my laptop. I grabbed some wood and installed this! It's basically the size of a spice rack, but it works great. You just want to make sure you make the shelf deep enough to allow your laptop to lean against the wall at an angle that isn't precarious.
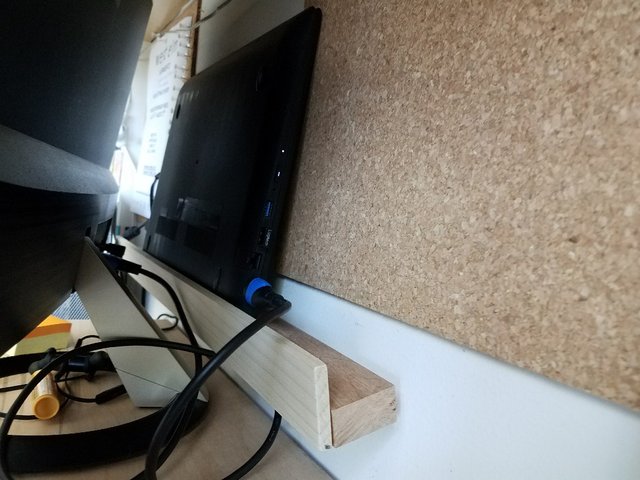
Although now that I am checking on it with that pic, I see I probably should reinforce it against the wall a bit more!! I just used some L brackets, and it appears they are bending some under the weight!
Anyway, thanks for viewing! If you decide to try this project, I would love to see your results!!
Until next time!
We have a woodworking community here on steemit and would welcome you. We have a discord channel, link here: Woodworking on Steem Discord Channel
Cool, thanks!!
Congratulations @kaitleevenable! You received a personal award!
You can view your badges on your Steem Board and compare to others on the Steem Ranking
Do not miss the last post from @steemitboard:
Vote for @Steemitboard as a witness to get one more award and increased upvotes!