DIY: Make Lotus Tile Pattern Easily
DIY: Make Lotus Tile Pattern Easily
by @bramvbilsen
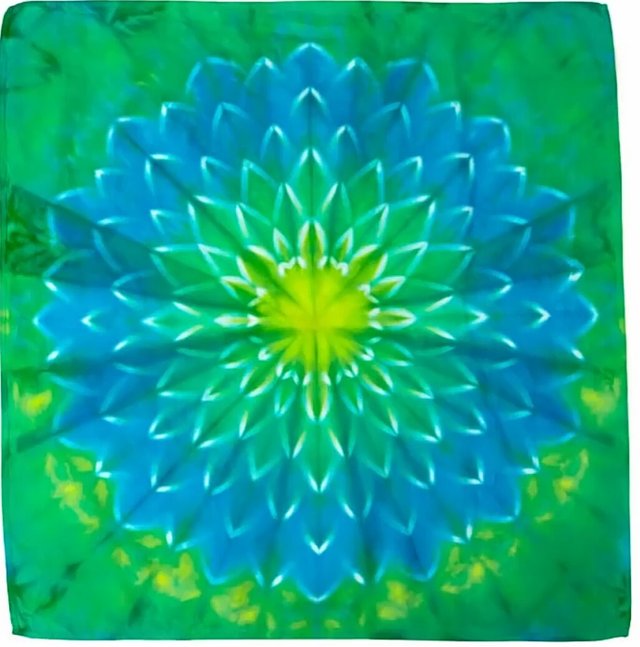 This pattern is a lotus tile pattern
After that you need a few fairly large blocking forceps and this is a piece of cotton.
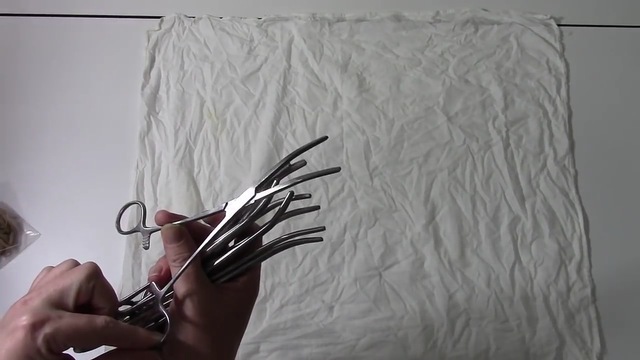
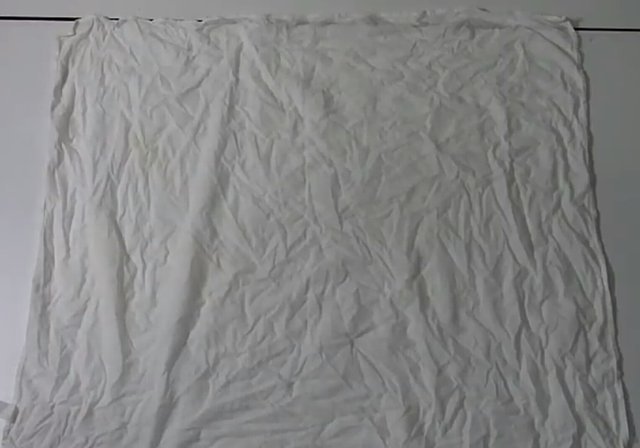
It's been so far at least 20 minutes in this case has probably been in marker for at least a month. Because I keep a large bucket ready of material and then its been in the washing machine on the spin cycle to get.
It to a just barely damp state.
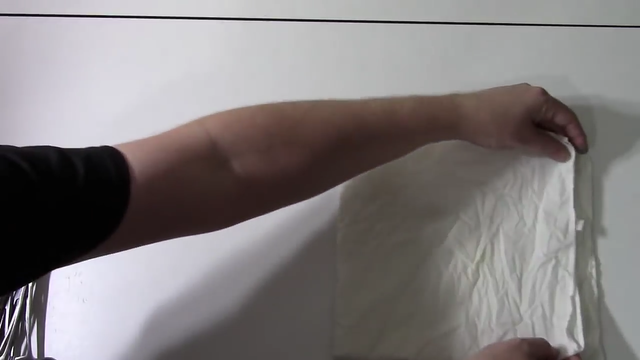
We start by folding the cloth in half. We are going to fold it in half again. hopefully to get the central line..
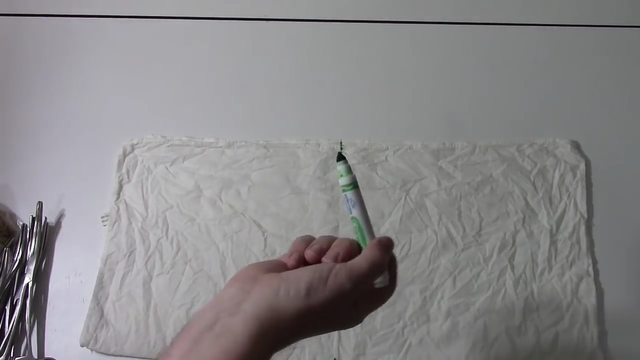
Unfold it and then come back if you can see if you don't have to make it if you can't see it probably a good idea to go ahead and take a washable marker and marks is out we go from there to there and their Slam reschedule soda Ash compare and they then take the score of their from death
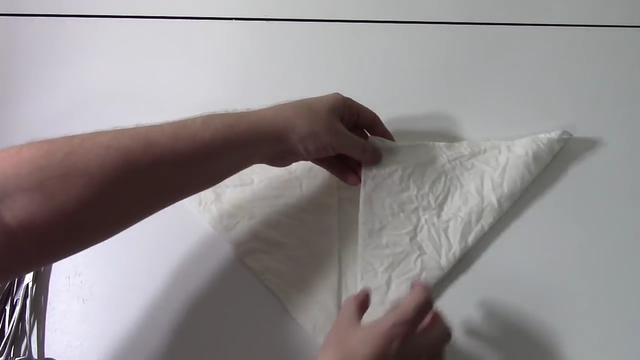
And go back in again
Open that up
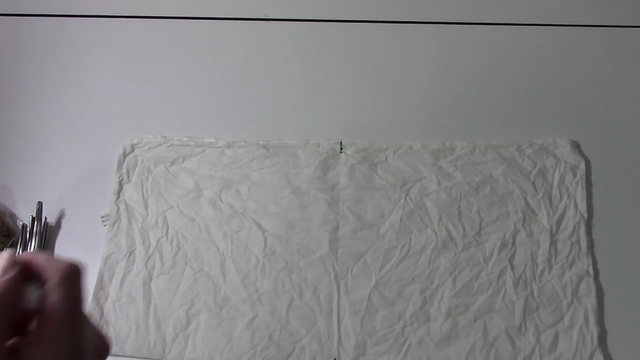
And then to do more of the Petals you would fold that in half again
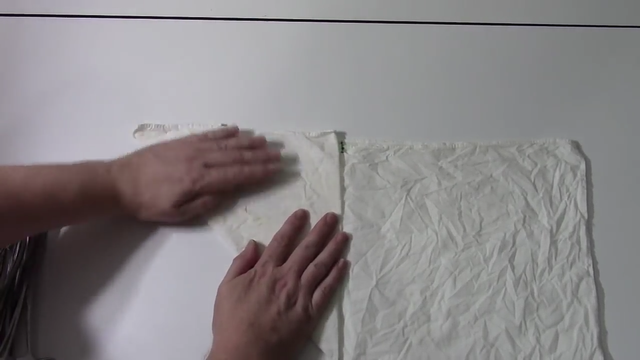

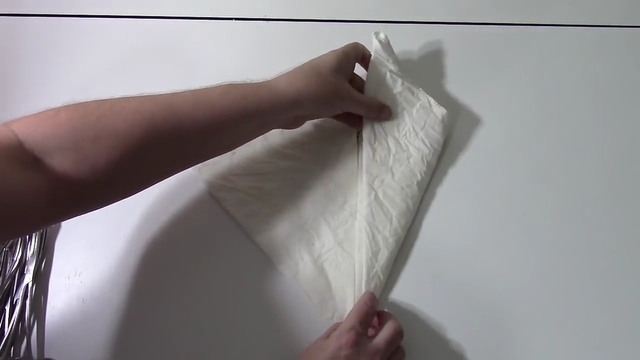
And this is what you are working with
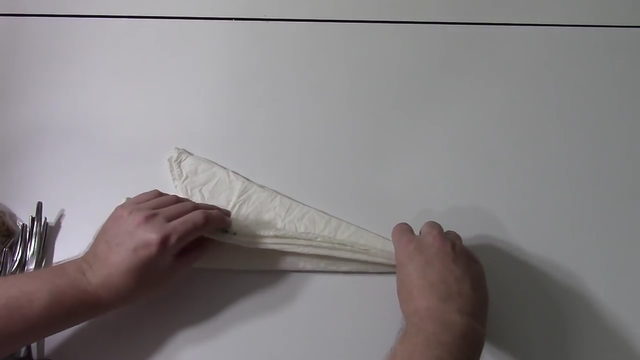
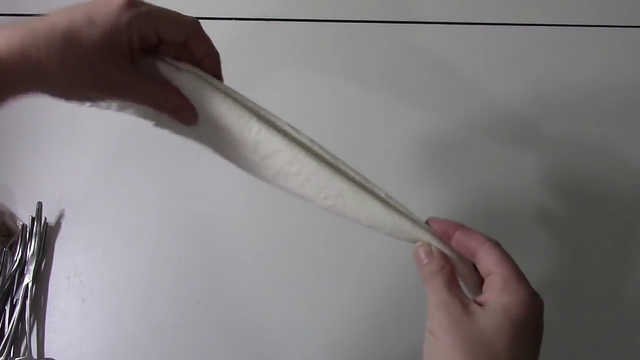
so for the actual design
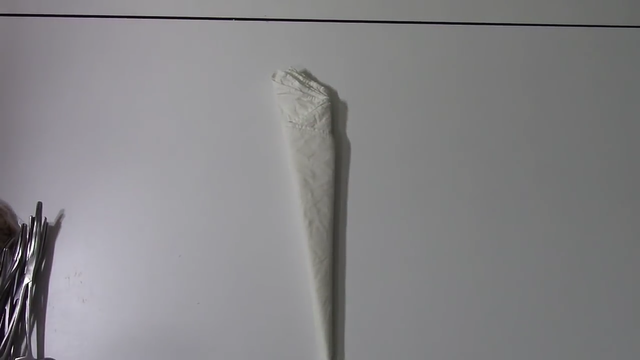
I am going to mark this out just. so that you have a good idea of how these are supposed to be placed the one right.
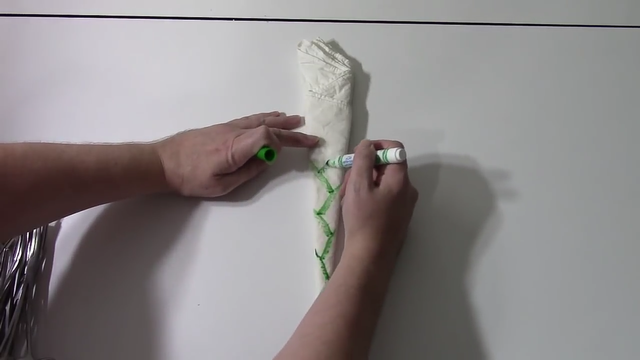
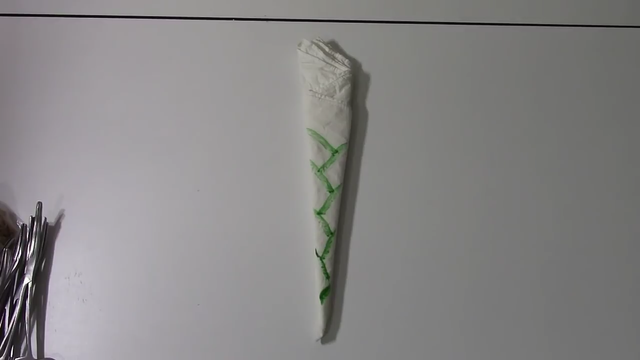
About here and then you will actually come down
and overlap
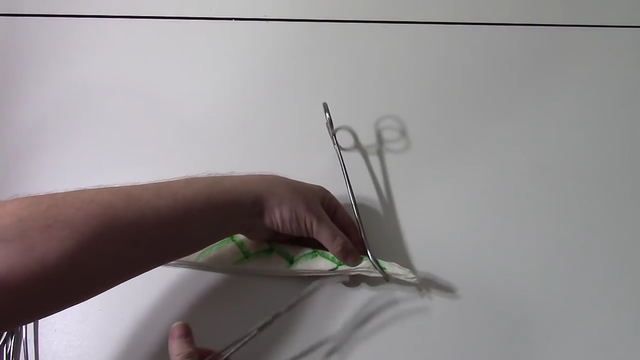
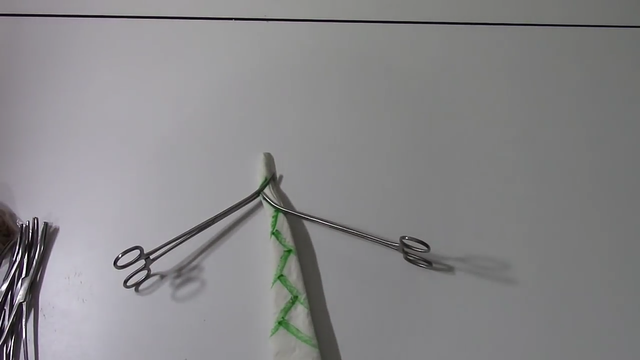
something like that as far as you want to go
And I lock this completely. You are working with larger pieces. That can get a little difficult to find Clamps that are actually large enough. These have a lot of tension stored. So if it's release. You really don't want your hands about it can leave a lasting impression.
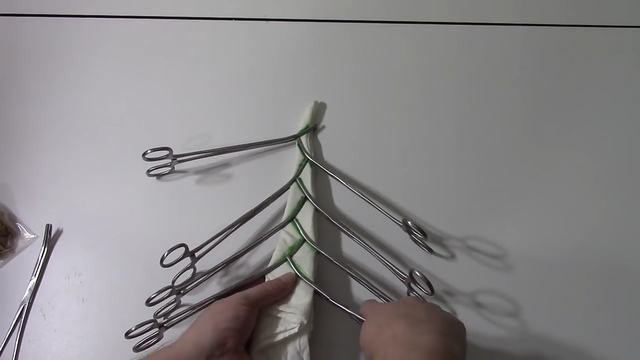
And you keep working your way up making sure that you try to keep it as a straight as possible on the side. So everything's lined up and you certainly don't want to get fingers caught in the clamp. When you doing this okay! If that and then just keep everything is somewhat tight down here.
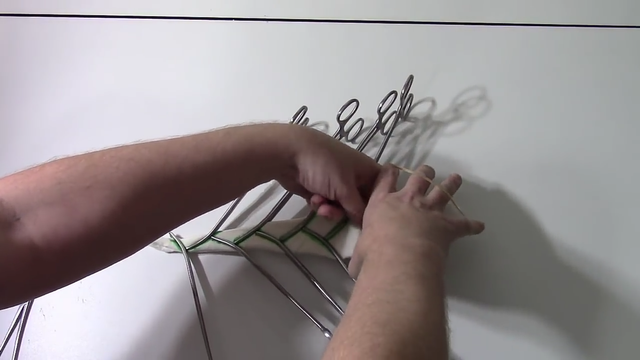
You can take a rubber band or two and then just kind of loosely pull that together.
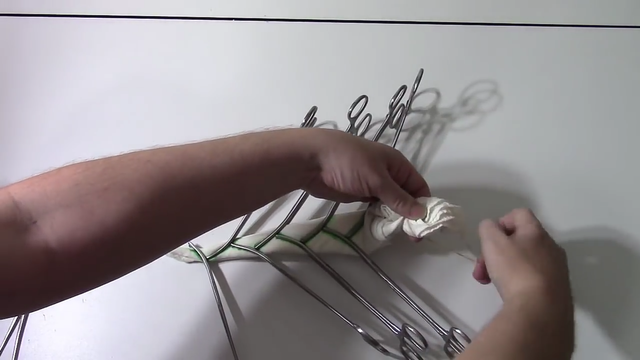
So that it does not flop all around. When you are trying to work with it. Most of time there are done is solid colours and not iced
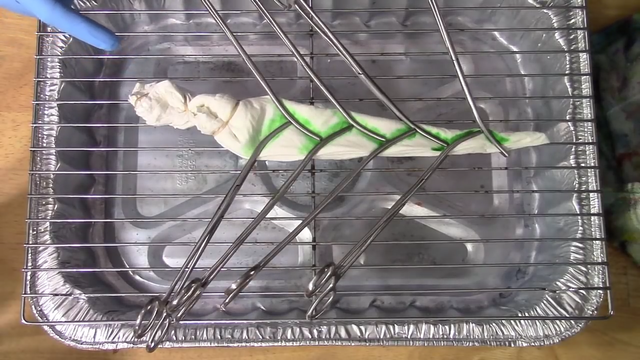
I have not decided on this one we'll on the next clip what I decide to do. So off to dye this- type of design is very difficult to iced dye unless.
You have a huge container to put it in. And you are using in like 10 pounds of ice per side.
So I am just going to use regular dying dye stuffs fairly old.
So we're going to see how well this work.
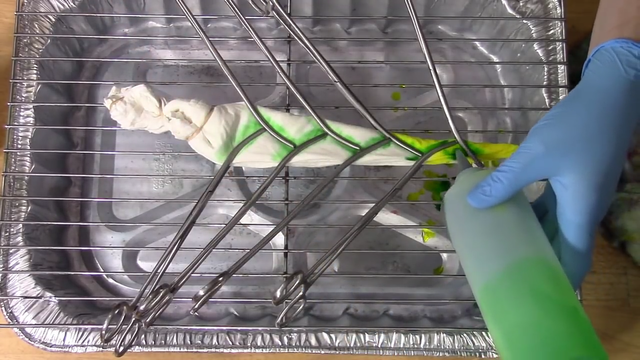
I have a yellow blue and green and I am going to go from there. I am going to alternate between leaves going with a different amount of yellow, blue and green for each level.
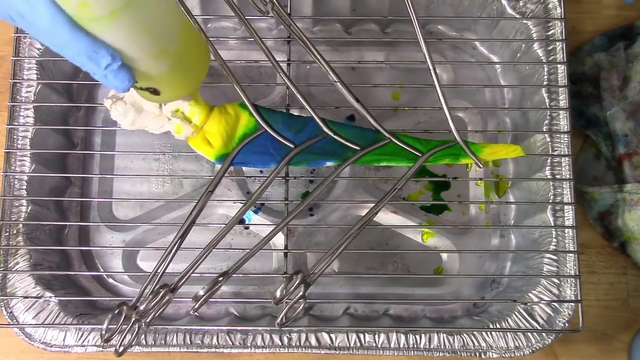
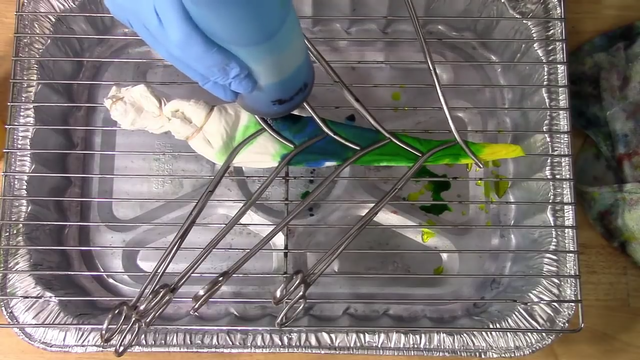
Okay! now I am going to flip it over and do the other side. Hopefully without any of these coming late
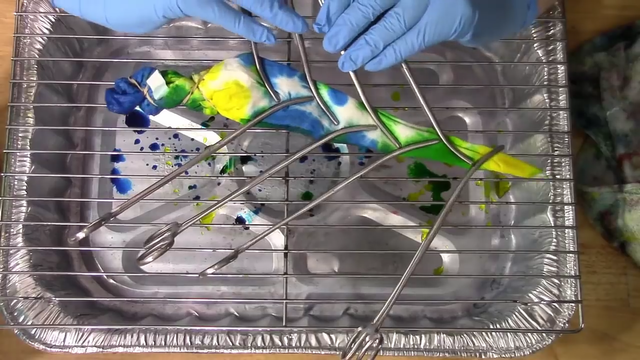
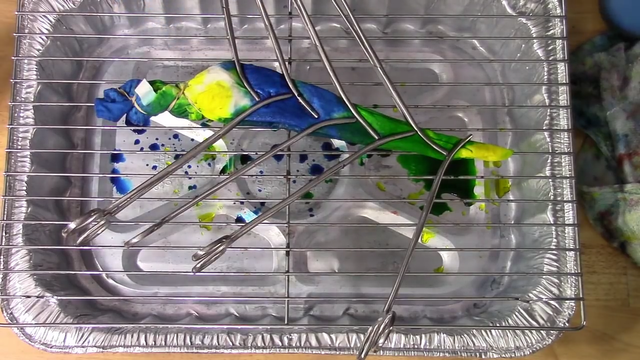
And then we let this sit for at least 24 hours.
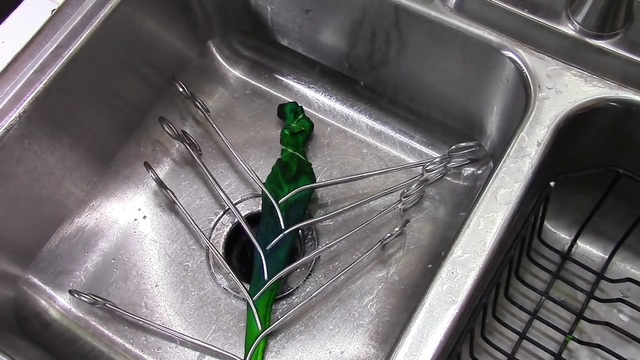
Here's the Lotus pattern after about 24 hours I am going to start running water.
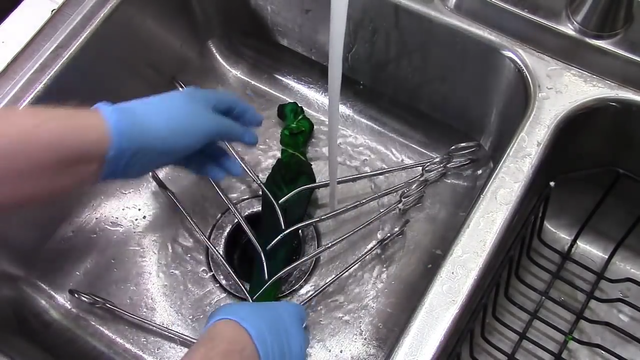
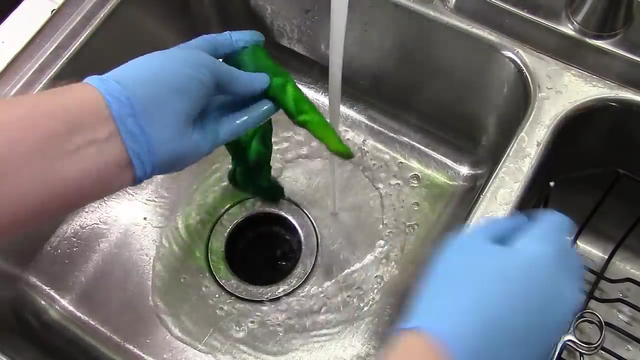
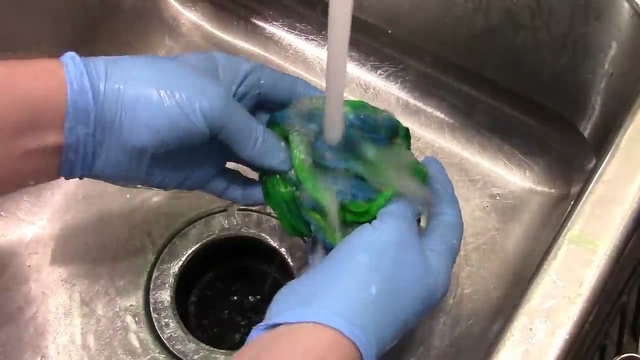
Okay! Here's an idea of what it looks like before. It's washed. Let's go through this is in the washing machine and you'll see is finished example in a minute.
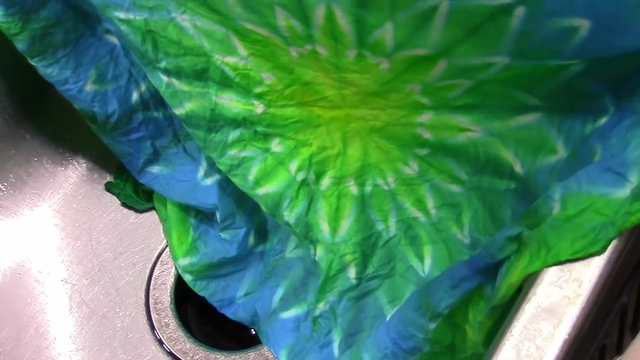
Here's the finished lotus pattern the liquid dyes. I use for this were mixed couple of month ago.

So that's why the result are a petals in color instead of a highly structured.
You can make it easily follow these steps.
In next I will do something different DIY…
Congratulations! This post has been upvoted from the communal account, @minnowsupport, by bramvbilsen from the Minnow Support Project. It's a witness project run by aggroed, ausbitbank, teamsteem, theprophet0, someguy123, neoxian, followbtcnews, and netuoso. The goal is to help Steemit grow by supporting Minnows. Please find us at the Peace, Abundance, and Liberty Network (PALnet) Discord Channel. It's a completely public and open space to all members of the Steemit community who voluntarily choose to be there.
If you would like to delegate to the Minnow Support Project you can do so by clicking on the following links: 50SP, 100SP, 250SP, 500SP, 1000SP, 5000SP.
Be sure to leave at least 50SP undelegated on your account.
thank you for sharing this! the result is lovely!
Join our Discord Channel to connect with us and nominate your own or somebody else's posts in our review channel.
Help us to reward you for making it ! Join our voting trail or delegate steem power to the community account.
Your post is also presented on the community website www.steemmakers.com where you can find other selected content.
If you like our work, please consider upvoting this comment to support the growth of our community. Thank you.