DIGIWAGE Step by Step Tutorial of Setup MasterNode
.jpg)
- How To Make first MasterNode Of DigiWage Coin !
Before starting about Installing Masternode you can be
know what IS DigiWage Coin !
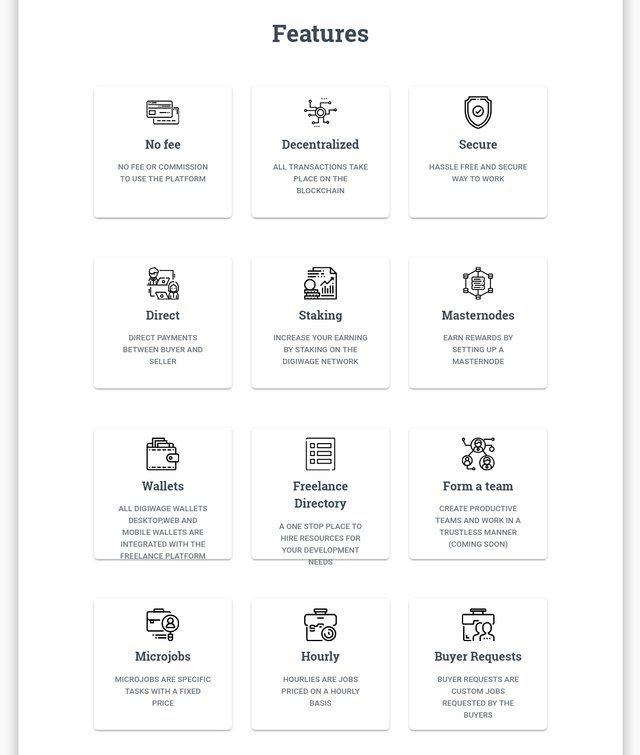
- security. - services - Strong projects. -No fee. - MasterNode
- staking. - freelance ( programmer , designer , wagers , marketing , ... )
This Site Digiwage Is a Service Provided To People In Exchange
For Advertising For The Currency And This Is The Best Thing I Have
Seen Since The Beginning Of The World Of Crypto .


- For information please enter here:
https://discord.gg/eFmy9qD - Whitepaper :
https://coin.digiwage.org/Digiwage_White_Paper_2.0.pdf
Before you start working MasterNode you should be aware that there are many ways to do that :
- The first way you can work from your wallet.
( Windows , linux ) - The second way you can work through other sites to do this
The first way is better for me because it's safer
- Follow Instructions Step by Step ( Windows ) :
1- DownLoad DigiWage Wallet And Install It .
https://github.com/digiwage/digiwage/releases/
2- Open Your Wallet After Install .
You must send 12,000 Coin of DigiWage to your wallet
To buy here :
- https://wallet.crypto-bridge.org/market/BRIDGE.WAGE_BRIDGE.BTC
- https://crex24.com/exchange/WAGE-BTC
Note:
       The price of MasterNode 12,000 coin so you should
       have in your wallet more than 12,000 to avoid errors
       in the transmitter. The amount of the sender must
       be 12,000 pieces and not 12,001 or less To avoid
       theirr loss
3- Wait when your coins confirmed in the transactions
You can show here : http://explorer.digiwage.org/
4- Go tab File -> receiving addresses -> Create a new address, label it MasterNode 1
5 -Send 12000 coins to the address createed no fees! With transactions will be sending 12,00 only .
Wait to confirms transactions , the full amount won’t show, but the fee will.
You can show transaction confirmed or no here : http://explorer.digiwage.org/
6- debug Console
tab console : Tools -> debug console.
Write in row :-> masternode outputs
You will show & looks something like this:
"xxxxxxxxxxxxxxxxxxxxxxxxxxxxxxxxx" : "0"
You must wait for the result to appear
You must save the file in a safe location and it will show
you the output of the console that you will need again.
Note : your MN needs exactly 12000 Only attention please .
7- go debug console again and type: masternode genkey .
Go to copy/save that output to a file txt. Don’t lose it,
you will need it for the VPS setup
You will use the genkey & txid in just a minute for window conf...
8- Now you can edit two conf files, just use notepad.
Location Windows Find conf files in :
c:\users<username>\AppData\Roaming\Digiwage
Location file in mac :
users: /Users/username/Library/Application Support/Digiwage/
9- Open path file the digiwage.conf :
Make it look exactly like this (replace with your own pass)
rpcuser=digiwage
rpcpassword=any_random_string_here_you_do_not_need_to_remember_it
rpcallowip=127.0.0.1
rpcport=46002
Save file it . Don't forget to Save file .
10- Open the masternode.conf file edit by notepad
Make it look exactly like this, but swap out your vps IP, genkey, and txid from above
Also, your index which was probably 0
MN1 VPSIP:46003 your_genkey_goes_here your_tx_id_goes_here index_id_num_here
- that's it, that file only needs 1 line (unless you have 2 MN, then it will have 2 lines, etc).
Save it
11- Close your wallet and re-open to load the new configs.
Go back to the console:
startmasternode alias false MN1 , It should start!
do this to check it's windows status:
masternode list-conf
you want to see ENABLED
If you want to show video for that
Part I - Digiwage (WAGE) MN Cold Wallet Setup (Single MN)
Part II - Digiwage (WAGE) MN Cold Wallet Setup (Multiple MN on Single VPS
For more information comment me
Or join here to ask me about problem !https://discord.gg/eFmy9qD
See all soon .