Creating a design in CorelDRAW: A Step-by-Step Guide
CorelDRAW is a powerful vector graphics editor that has been a staple in the design industry for years. Its intuitive interface and robust features make it an ideal choice for both beginners and seasoned professionals. Here's a simplified guide to help you start your design journey in CorelDRAW.
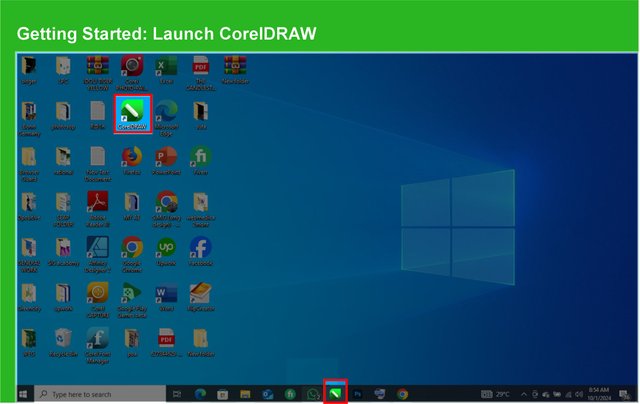
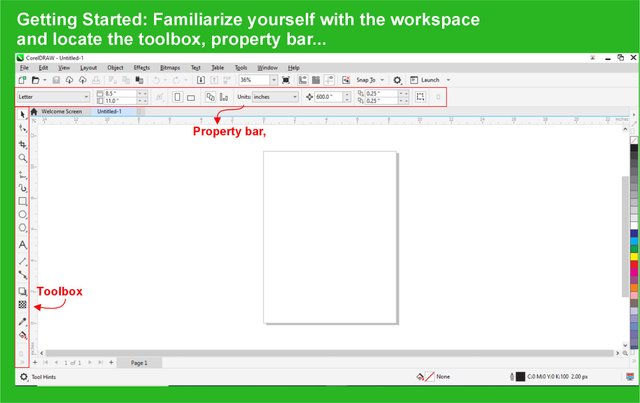
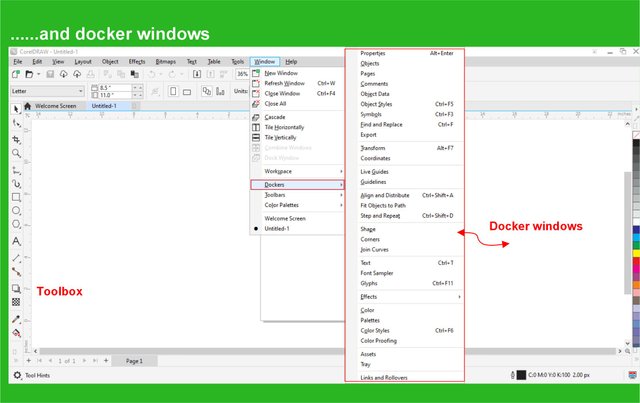
Getting Started: Launch CorelDRAW and select 'New' to open a blank canvas. Familiarize yourself with the workspace and locate the toolbox, property bar, and docker windows.
Setting Up Your Page
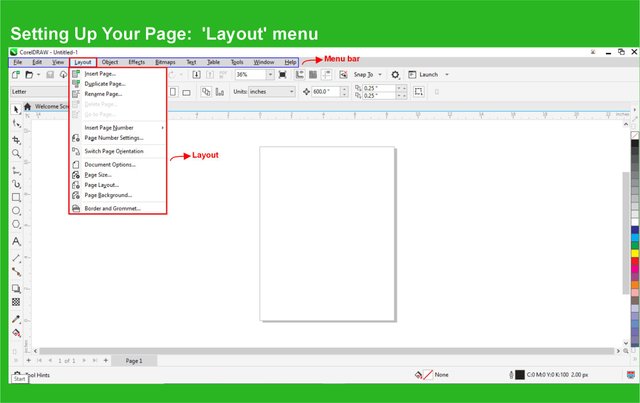
Adjust your page size and orientation according to your design needs. You can find these settings under the 'Layout' menu.
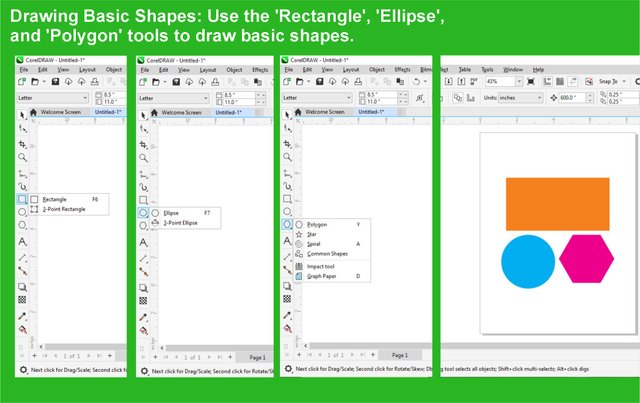
Drawing Basic Shapes: Use the 'Rectangle', 'Ellipse', and 'Polygon' tools to draw basic shapes. These are the building blocks of your design.
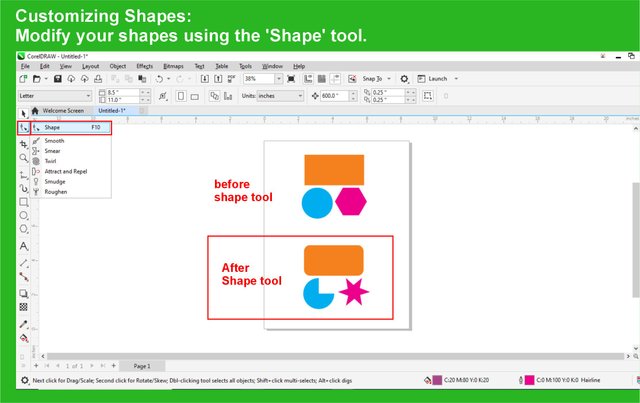
Customizing Shapes: Modify your shapes using the 'Shape' tool. This allows you to edit nodes and curves to create custom shapes.
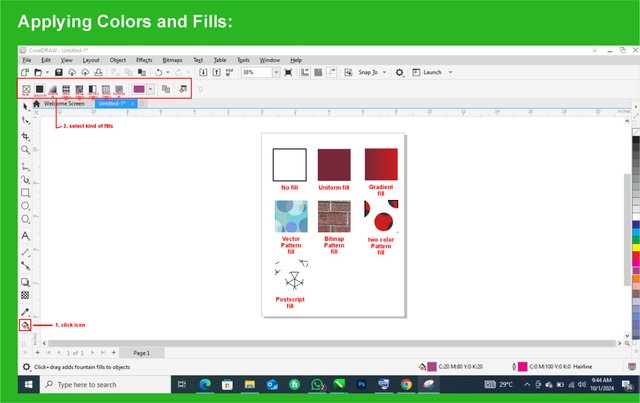
Applying Colors and Fills: Select your object and choose a color from the color palette. Use the 'Fountain Fill' tool for gradient fills or the 'Pattern Fill' tool for textured effects.
Adding Text: Select the 'Text' tool and click on your canvas to start typing. CorelDRAW offers extensive font options and text manipulation features.
Layer Management: Organize your design by using layers. This will help you control the arrangement of different elements within your design.
Saving Your Work: Save your design in the native '.CDR' format for future editing. You can also export your work in various formats like '.SVG', '.PNG', or '.JPG' for different uses.
These resources provide comprehensive instructions and tips to enhance your design skills in CorelDRAW.