Diagnostic WAX-UP [Dentistry practice]
Hello, people from the internet.
It's me, again.
Today I want to share with you, some of my knowledge about DENTISTRY and what I call the art side. I'll teach you and show how to make a diagnostic wax-up for the preparation of a crown.
The first thing that we need is, of course, a patient or as I like to call them "the victim". Clearly, we need the informed consent of the person where specify that we can do the treatment they need.
Once we have all this, we can start with the procedures:
1). We need to take an anatomical impression with alginate from the maxilla and mandible to allow us to record the occlusion.
2). We obtain our study model and mounted on an articulator to know what's happening inside the patient's mouth.
3). We started with the fun part. We make 3 lines 2 in a horizontal direction and 1 in a vertical sense. These must continue with the cusps of the neighboring teeth.
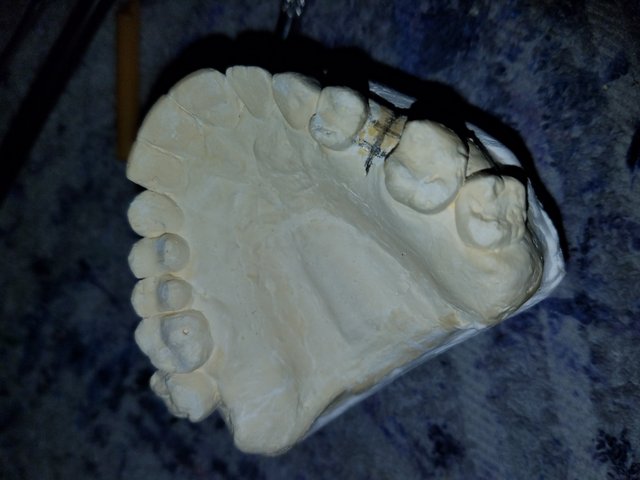
4). Apply a sticky wax on the surface previously drawn that would be the edentulous space where we would later lodge the crown. In this case, it would be tooth number 25.
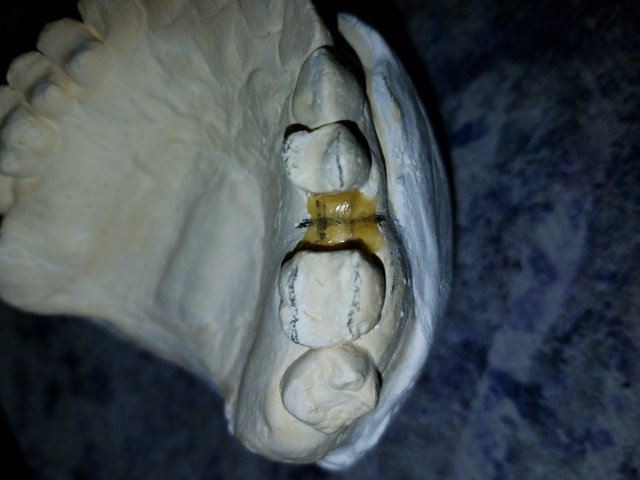
5). We begin with the construction of the cuspids. We heated the instrument of carving in the lighter with alcohol to burn, we touched the yellow wax to melt it and we began to place it in the union of the lines that previously we made. The height of the cuspids must be equal to the neighbors.
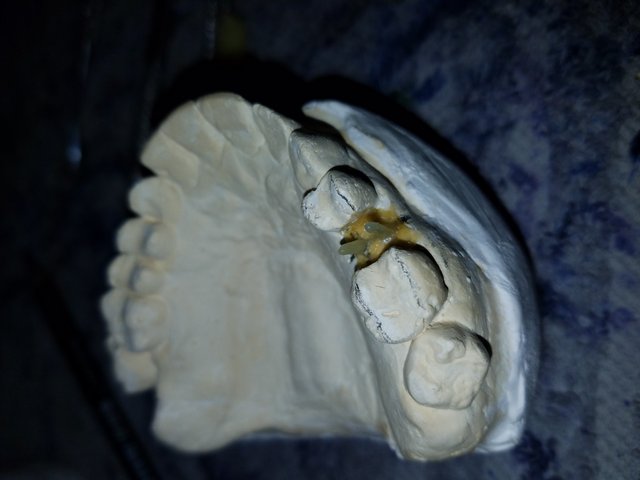
6). After building the vestibular and palatal cusp, we performed the above procedure but with red wax to build the triangular crests, these are located in front and behind each cusp.
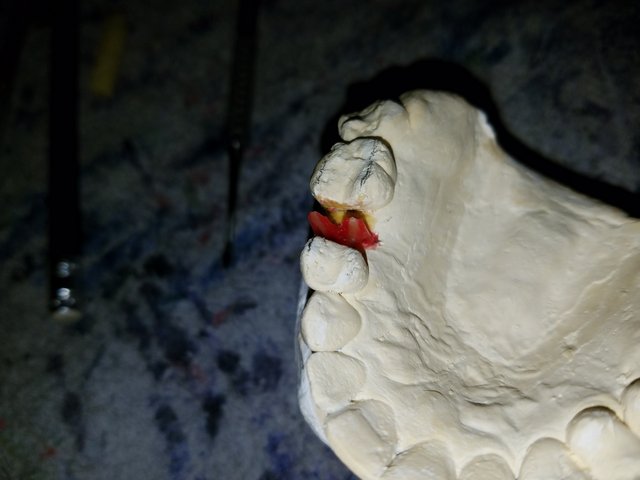
7). Finished the triangular edges we continue with the axial crests with the green wax that are located on the right and left sides of each cusp, we will give once the vestibular and palatal contour to the tooth.
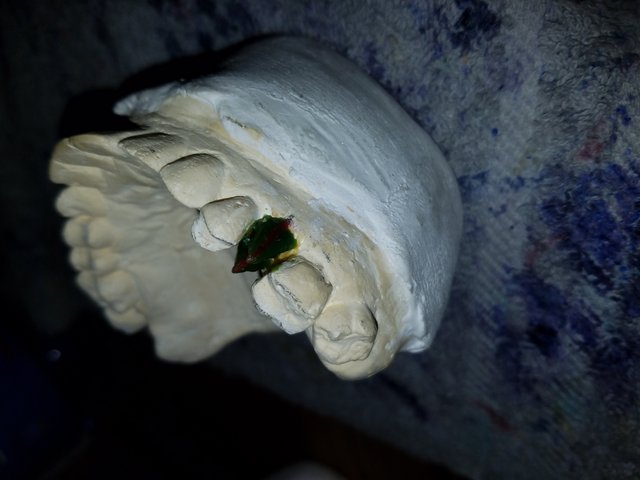
8). The last wax that we add is the blue one that represents the marginal edges and we complete the occlusal spaces of the tooth.
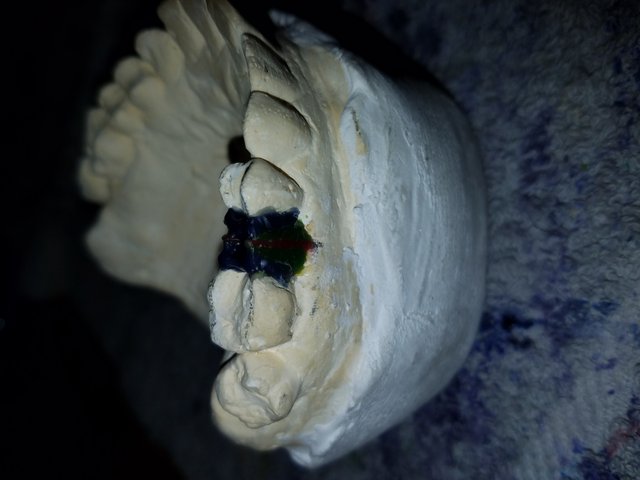 (Don't be scared)
9). After adding all the waxes we start with the carving itself, giving it the anatomical shape of the tooth on all its faces. 10). We give form to the cuspids, pits, and grooves. 11). Verify the occlusion, checking that we do not have any premature contact.
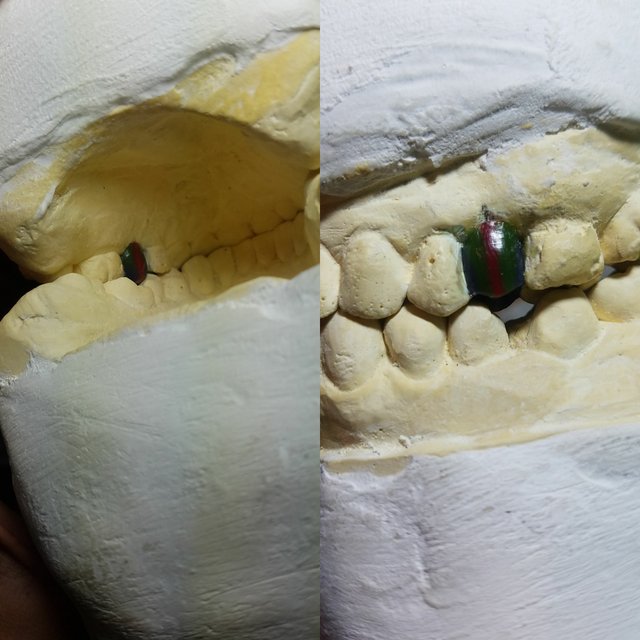 (In this case, we also have to make a diagnostic wax-up for two individual crowns in mandible tooth number 45 and 47)
12). Once the tooth is carved, we clean the excess with a toothbrush and polish the surface with a pantyhose.
13). If everything is in order we finish the preparation with a cotton impregnated with alcohol.
_FINAL RESULT_ 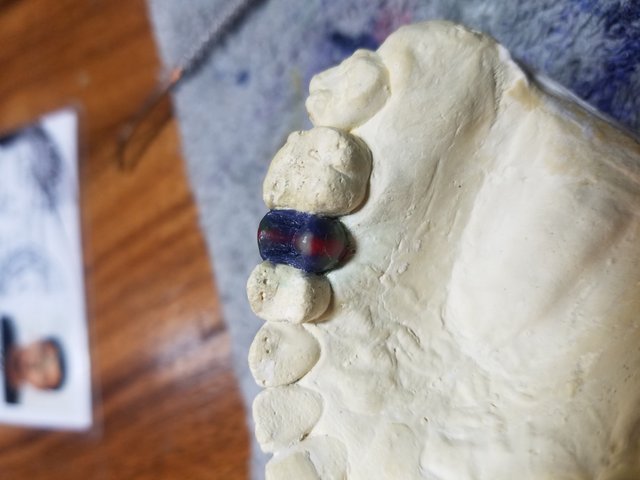 *All the pictures were taken by me with a Samsung S7 Edge/Own case*
Hope to see you again, reading another episode of this dentistry student who loves cooking and helping people.
Peace out.
Very informative
Thank you
Resteemed your article. This article was resteemed because you are part of the New Steemians project. You can learn more about it here: https://steemit.com/introduceyourself/@gaman/new-steemians-project-launch
I had always wondered how this was done. Very fascinating. I love your little jabs of humor in there too. Keep up the great work!!!
Yes, it's really fascinating. Hahahah thank you. I like to entertain readers so they don't get bored
Congratulations @pinavid! You received a personal award!
You can view your badges on your Steem Board and compare to others on the Steem Ranking
Vote for @Steemitboard as a witness to get one more award and increased upvotes!