How to sign message with your BTC private key manually and securely
Dear Steemers,
Sometimes you'll need to claim some Bitcoin YXZ by signing a message like we have seen with the Bitcoin Rhodium... (In fact, I was originally writing this article for it, but they closed the second airdrop earlier... ouch)
This article is for you if your wallet doesn't allow you to sign a message [1][2]
[1] Signing a message (provided by the new coin's website) with your BTC address (holding your funds) and private key, proves that you are the legit owner of those BTC.
[2] Sure, you can send your BTC to another wallet that does it, that would be much more convenient, however, convenience doesn't come with security (especially after seeing recent releases of Electrum wallets).
Let's begin
After exhausting searches on Google, I haven't found much... except an 7 months old article from Steemit, yay!
Basically, it demonstrates how to sign a message with an (HTML, JS, CSS) open source signature tool.

1 issue reported...
0 pull request...
3 watches...
6 stars...
277 forks...
m'okay, that must be a rock solid project...
Kidding...
When talking about your BTC private keys...
You should not trust!
You should not trust!
You should not trust!
Being a developer, I tried to go through the sources, you know, m'okay...
The truth is it's a waste of time! Too many scripts, they may obfuscate code or I might simply miss something etc...
Solution; run it in an isolated environment; a virtual machine that has never been connected to the internet!
Let's (really) begin
1/ Download and install VirtualBox that virtualizes guest operating system
Optionally or not really optional, compare the checksum to make sure what you got is really what they published. You should always do that!
2/ Download your preferred Operating System to run
In my case, I choose Ubuntu Linux.
Again, compare checksum!
3/ Download bitcoin-signature-tool
4/ Create a new virtual machine
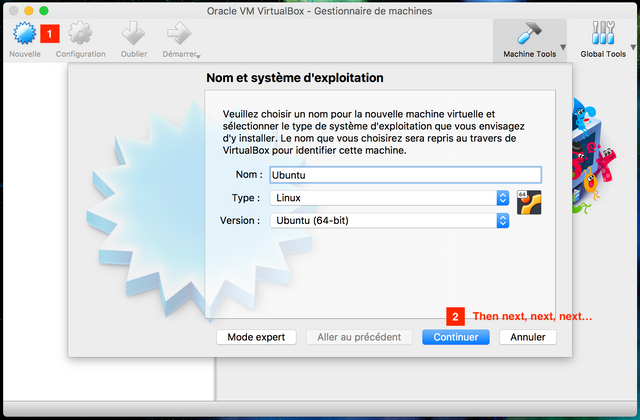
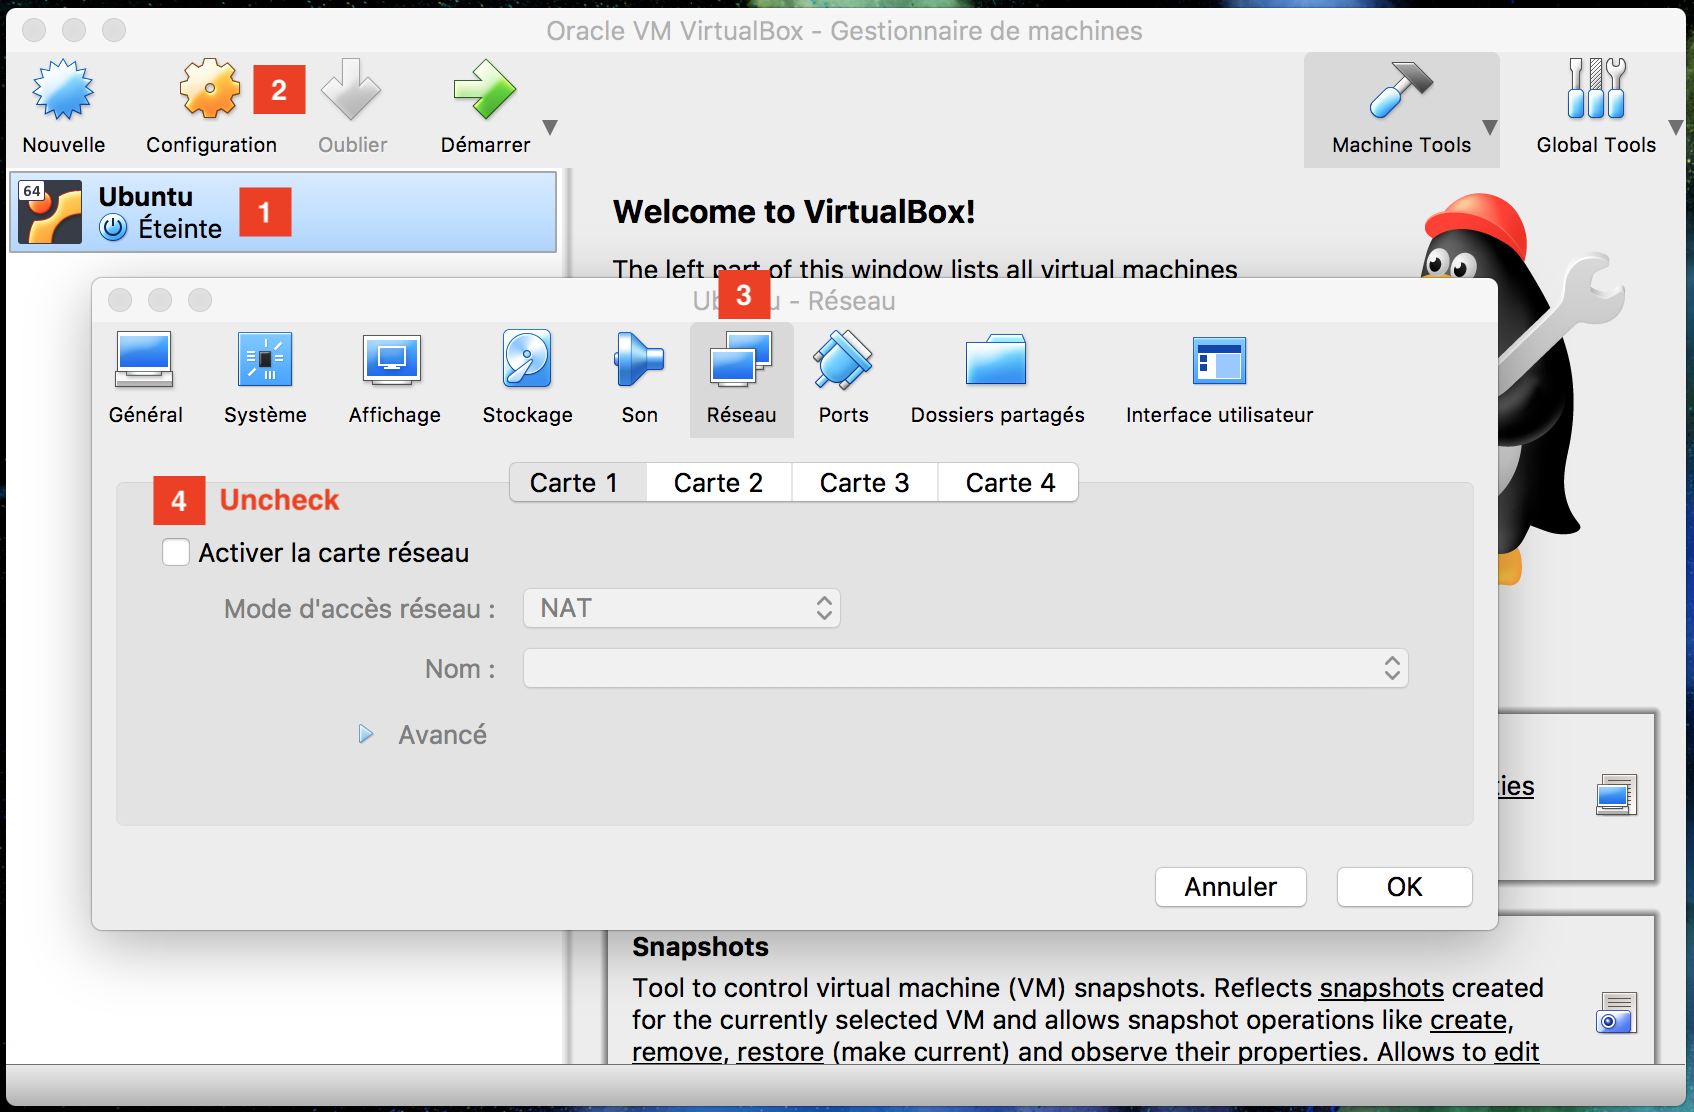
5/ Configure it so it won't have access to the internet. Don't miss that step!!!
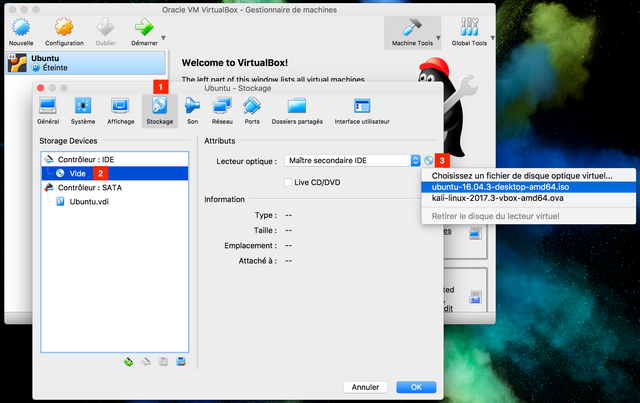
6/ Configure your OS that is gonna be used.
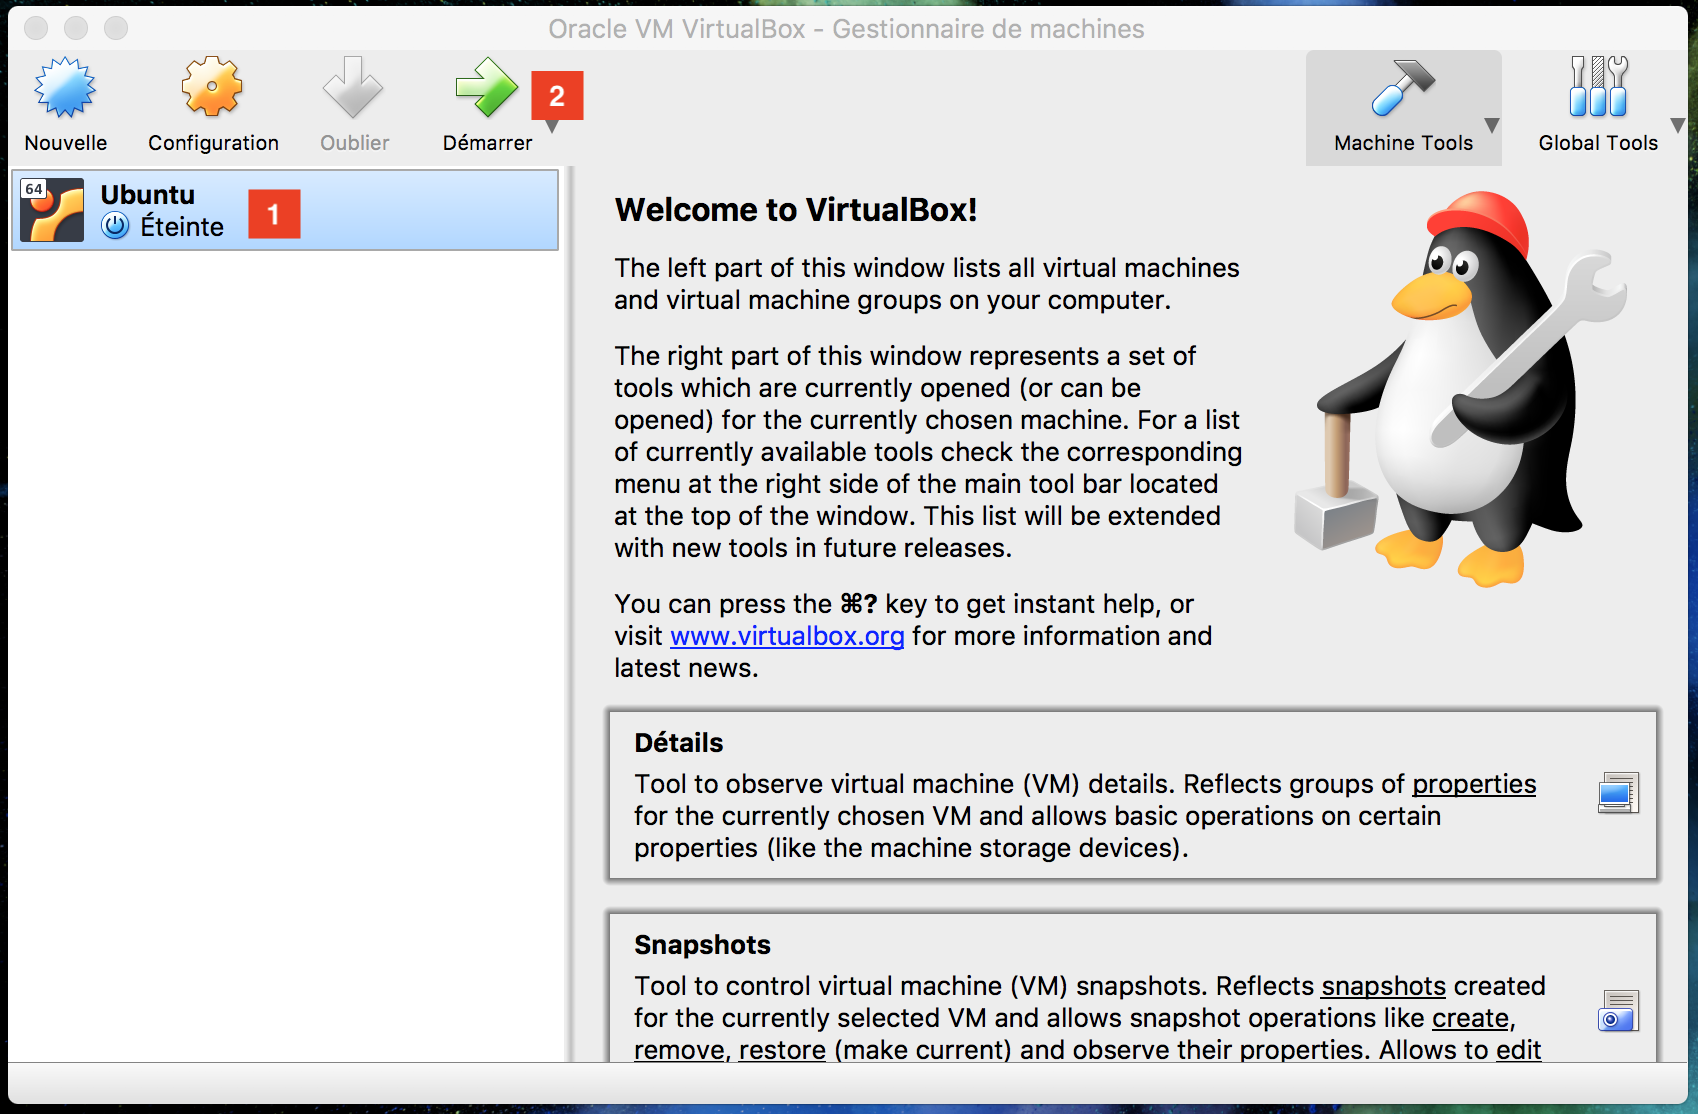
7/ Start your virtual machine and proceed installation!
8/ Install VirtualBox "Guest Additions".
In order to access copy/paste, drag and drop or shared folders features, you will need it. More details can find at the official documentation

9/ Restart your guest machine
10/ Enable copy/past and drag and drop.
Try to move the bitcoin-signature-tool folder... If you did not succeed, no worries... I haven't myself... I was just curious... Otherwise, jump to point 11.
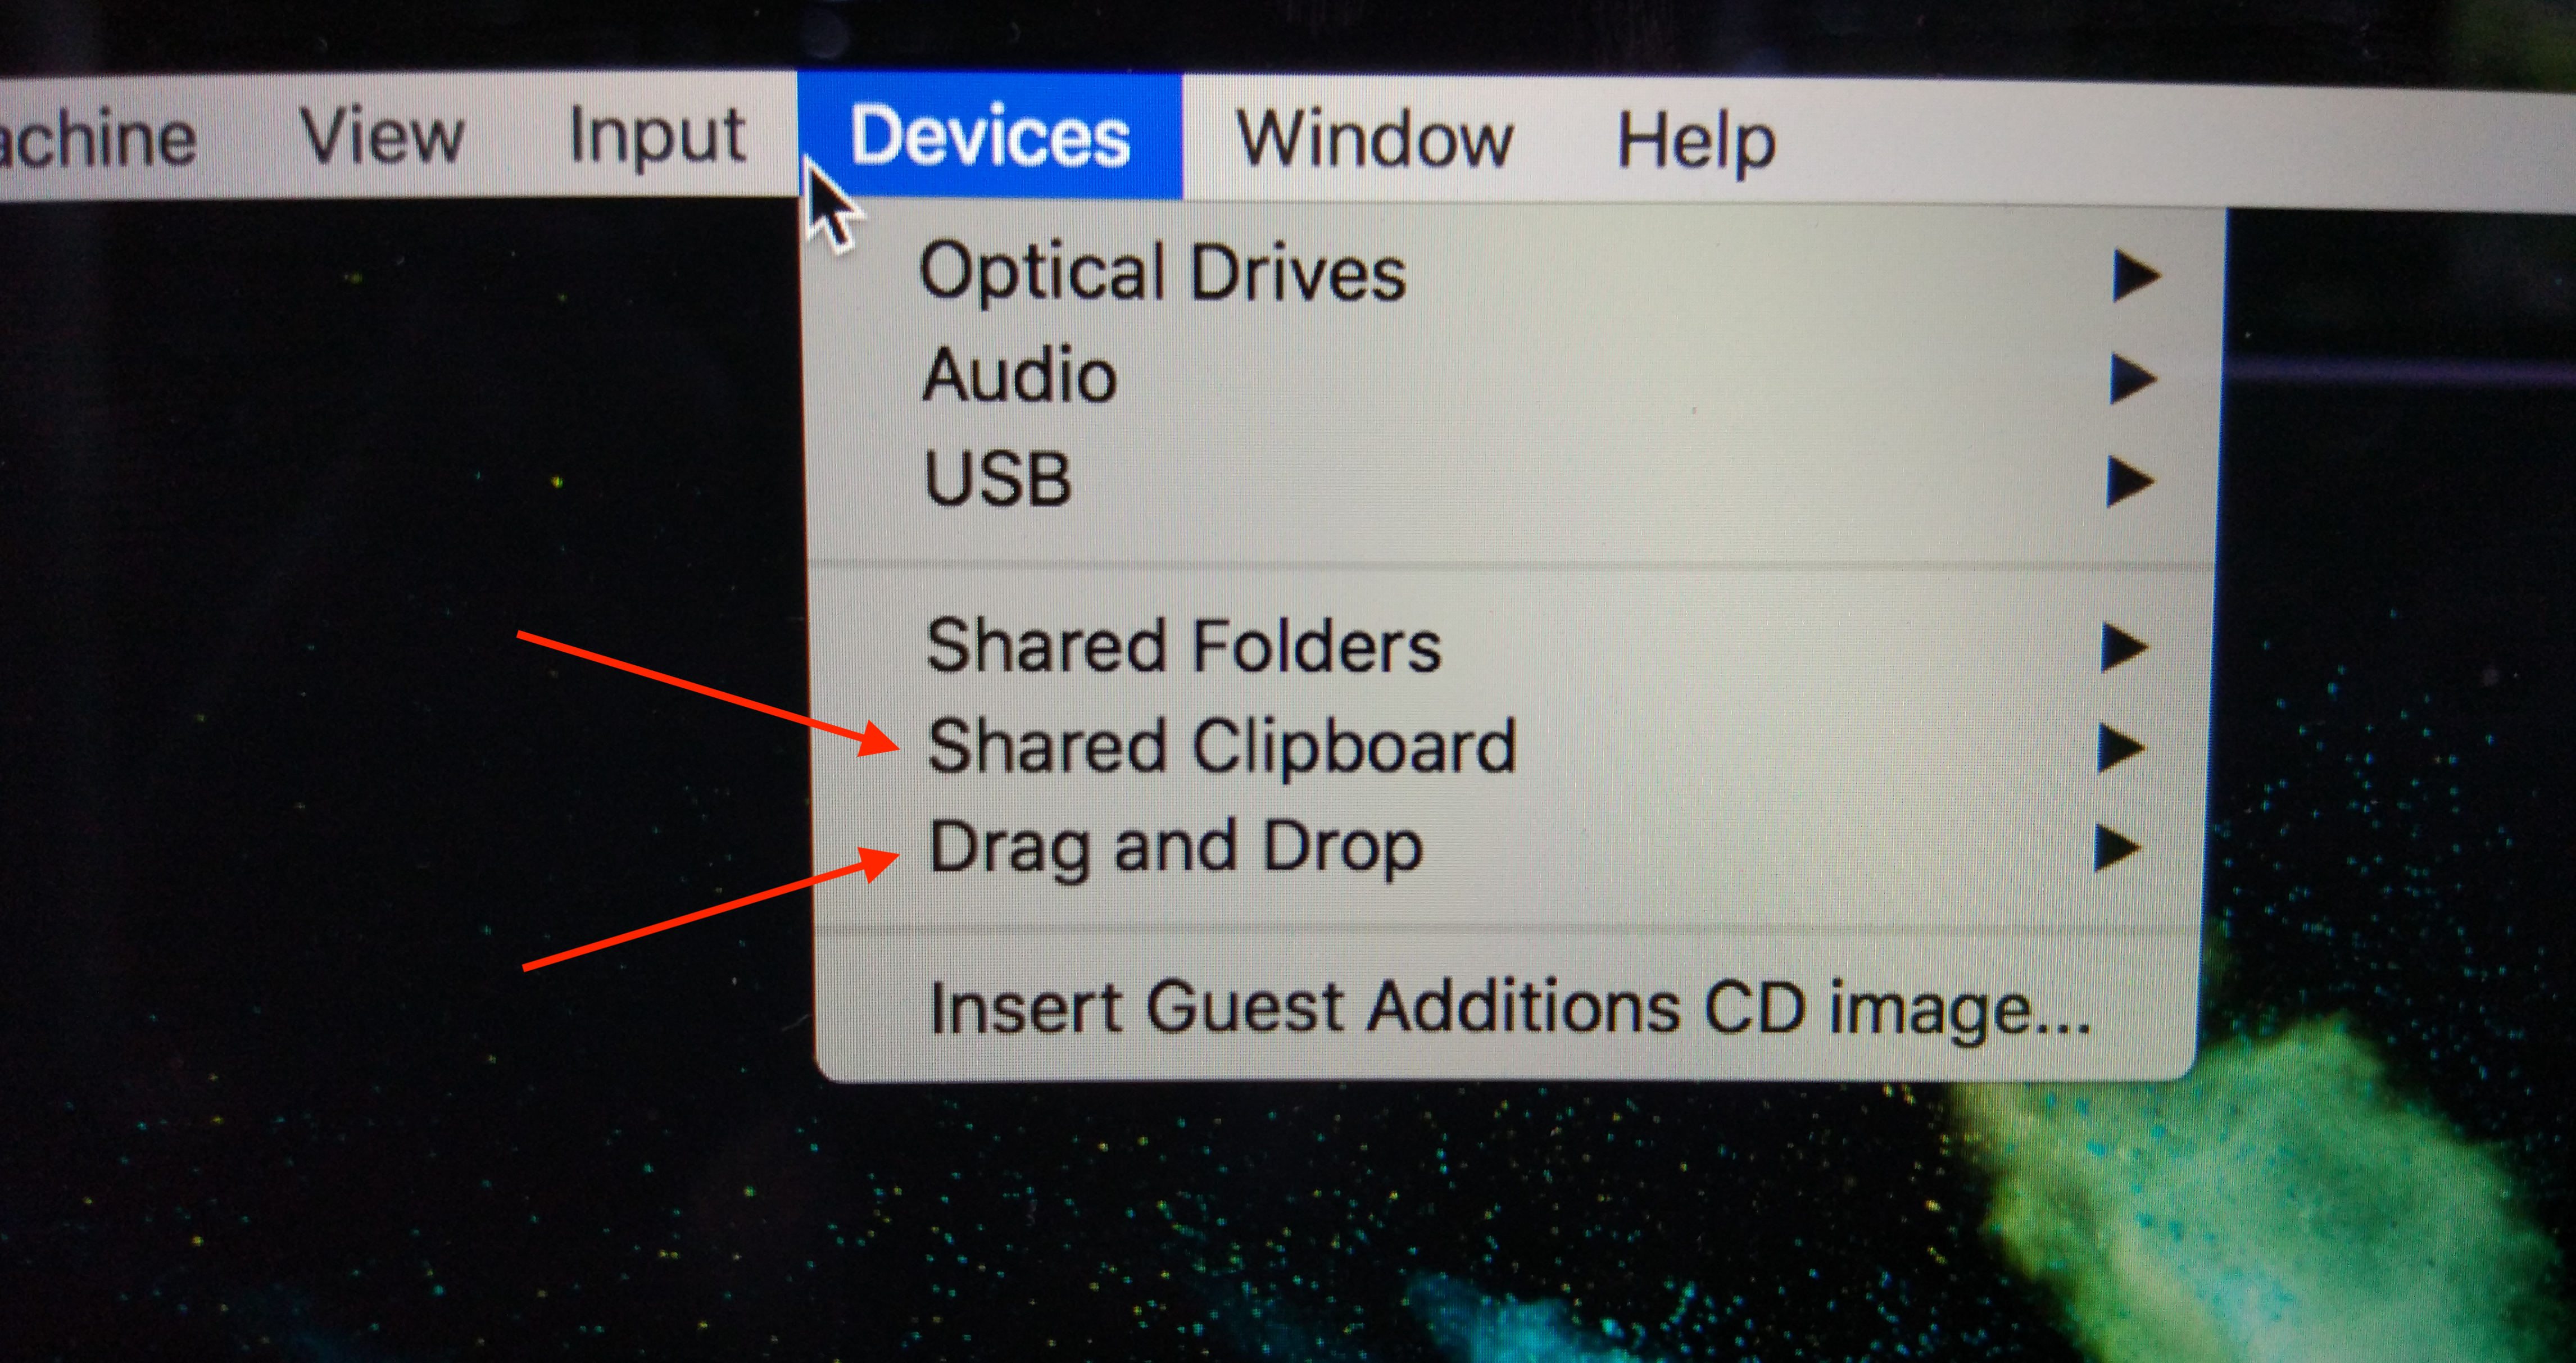
11/ Last option left is via shared folders.
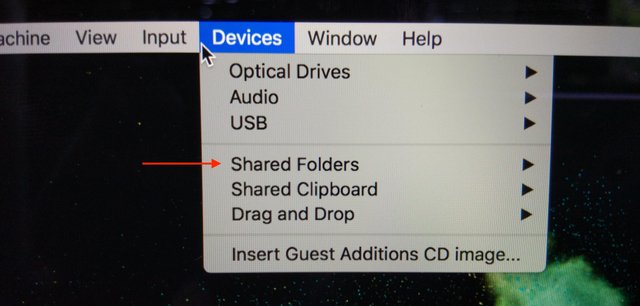
Additionally for Linux, I had to run the following commands in the terminal:
sudo usermod -G vboxsf -a <yourUsername>
sudo adduser <yourUsername> vboxsf
After a restart, you can access the content of the folder at /media/
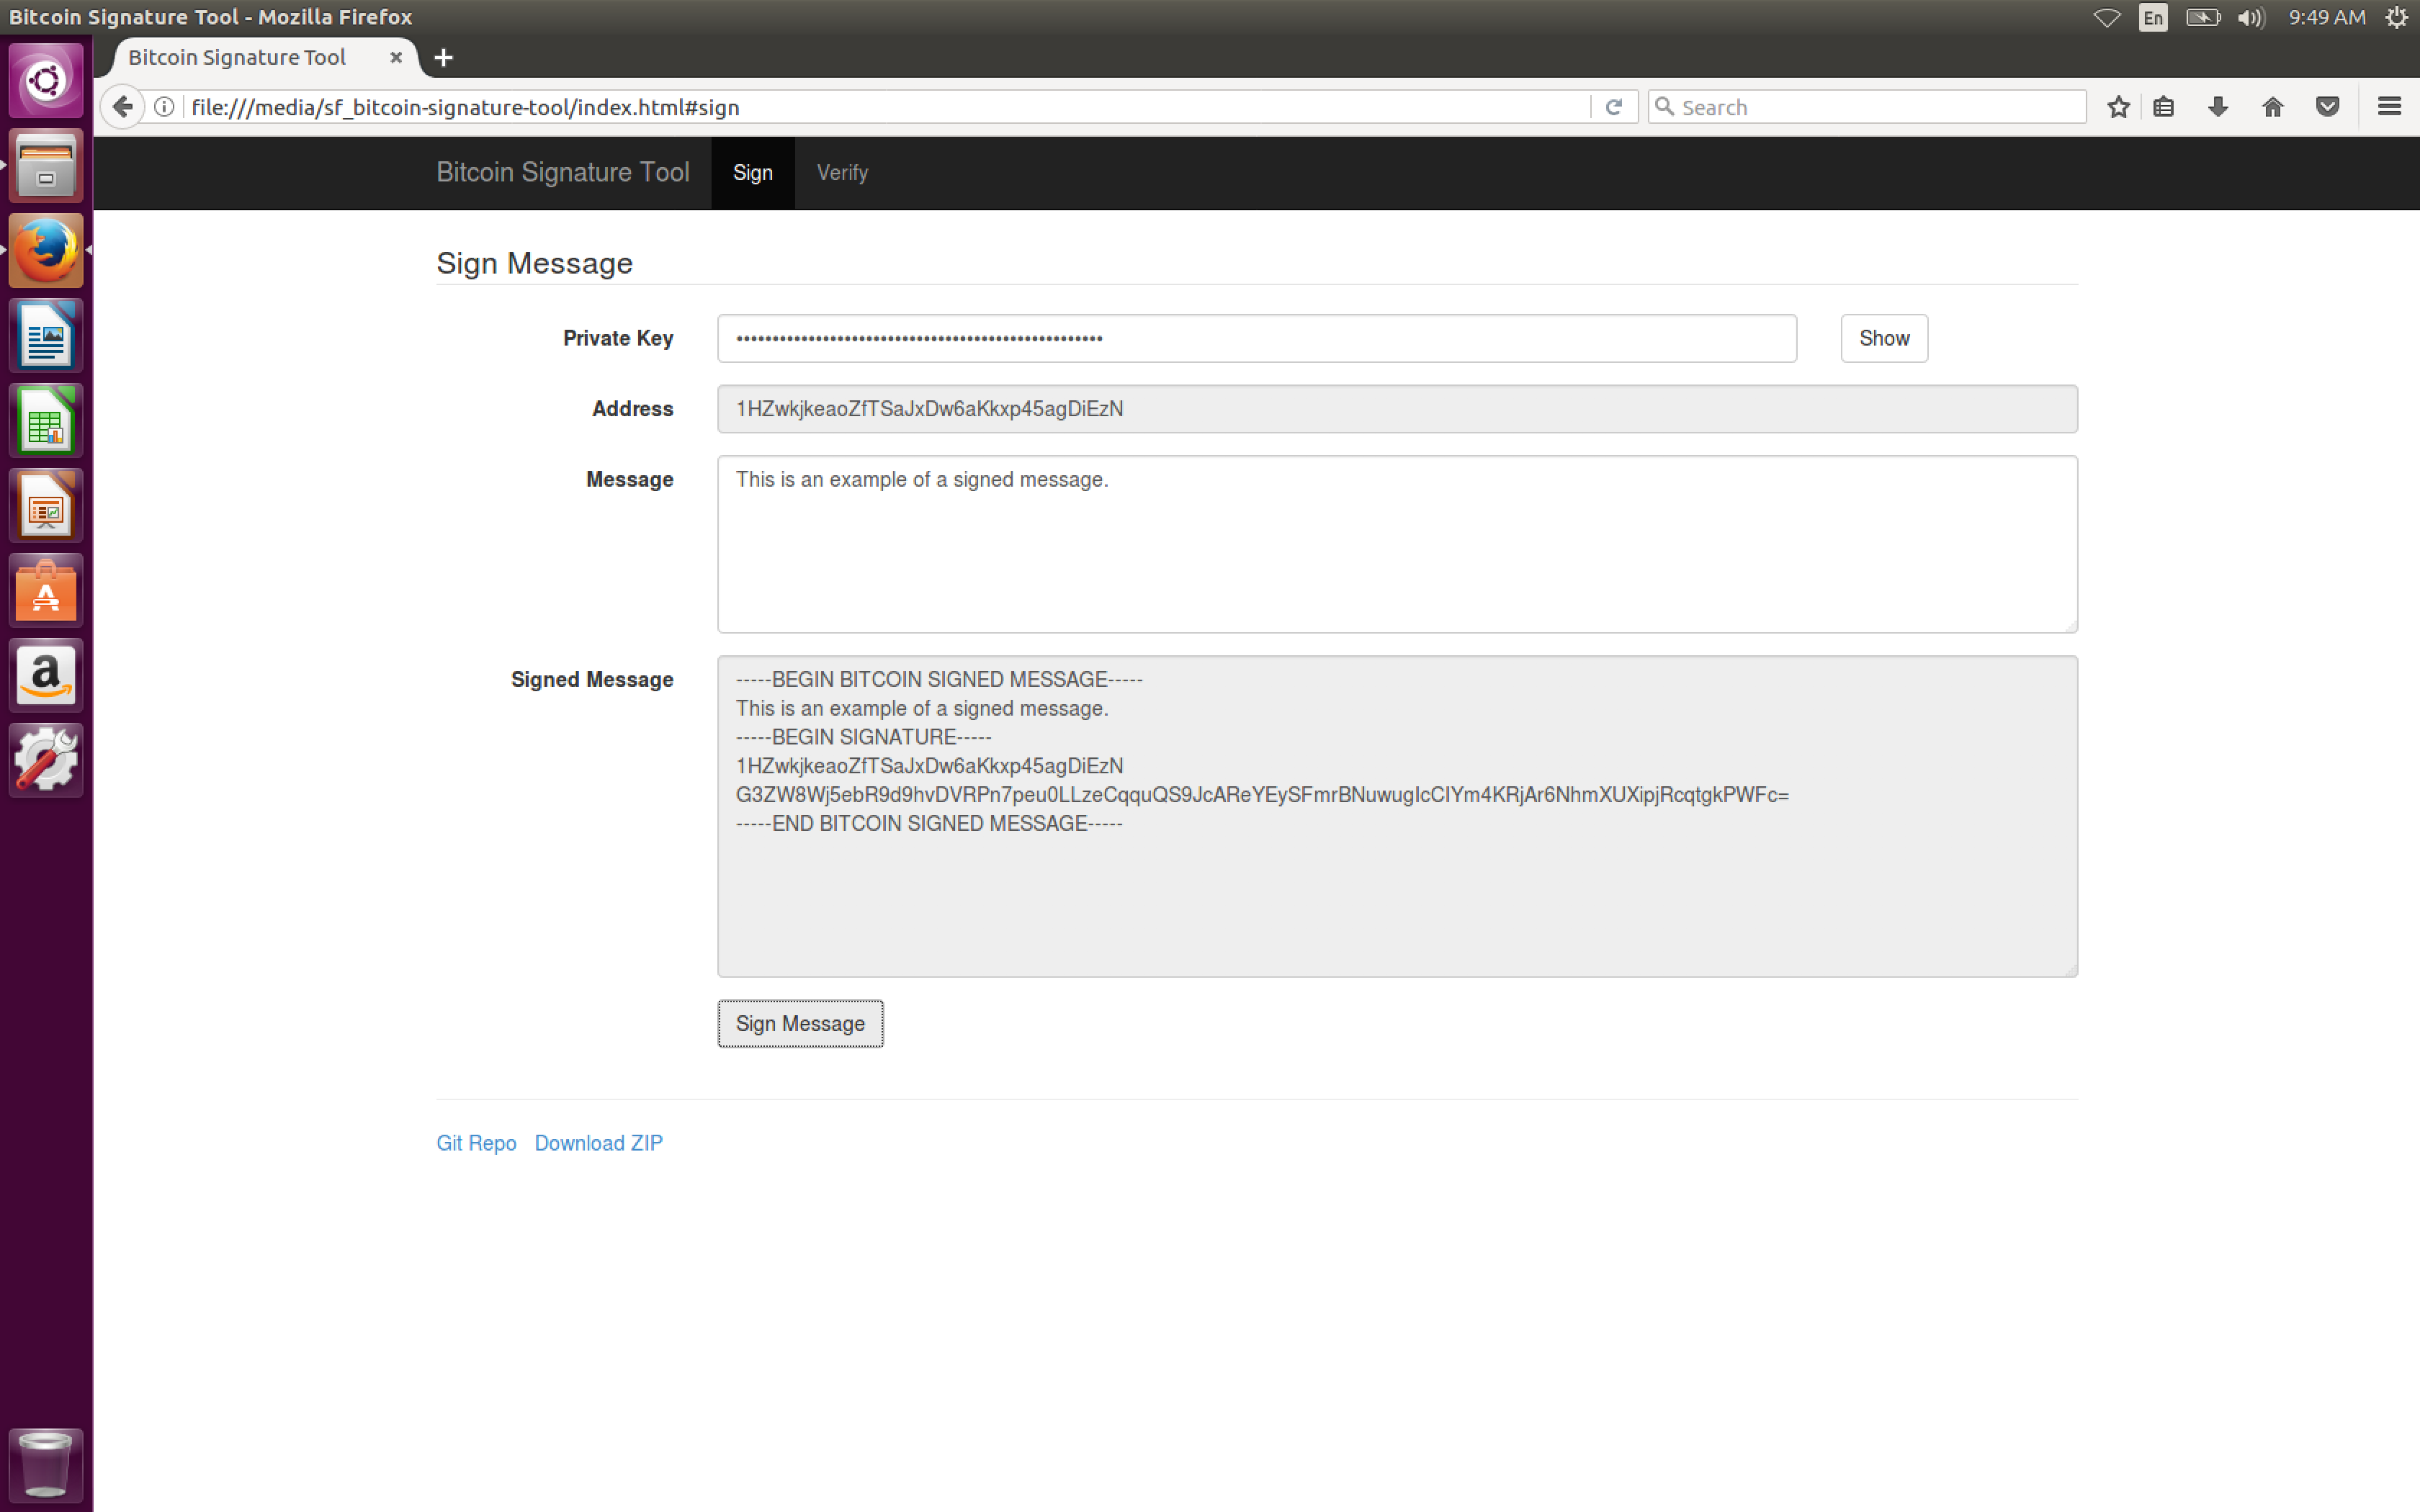
12/ So now you can open the index.html file and sign your message, yihaaa!
Because it is nicely explained there... and I won't reinvent the wheel... and I am lazy... please refer to our beloved 7-month-old article.
13/ Don't forget to remove the virtual machine
Voila! You're ready for upcoming BTC forks/airdrops!
Credits:
- The 7 months old article: https://steemit.com/bitcoin/@bitsignal/how-to-sign-a-bitcoin-message-using-your-private-key
- The bitcoin-signature-tool: https://github.com/ReinProject/bitcoin-signature-tool
Seb.