Building Theater Flat Frames
For a recent show we, the set and prop students of Toi Whakaari, had to build a train station theater set and to do so we built theater flats. In this post I'm going to show the process of how the frames were made.
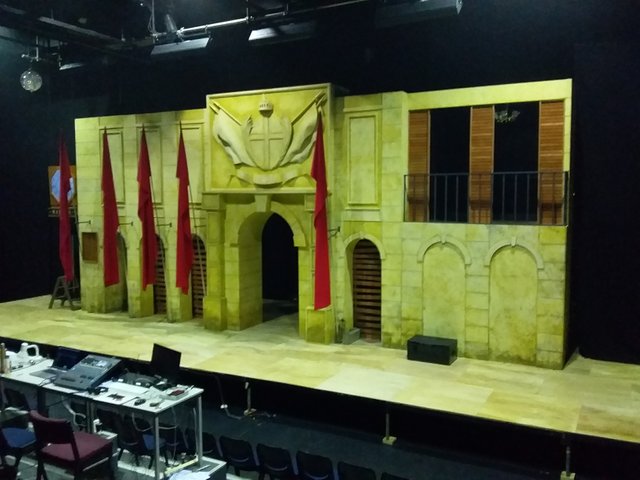
Before we begin though there's one thing I need to explain regarding flats and the type we used.
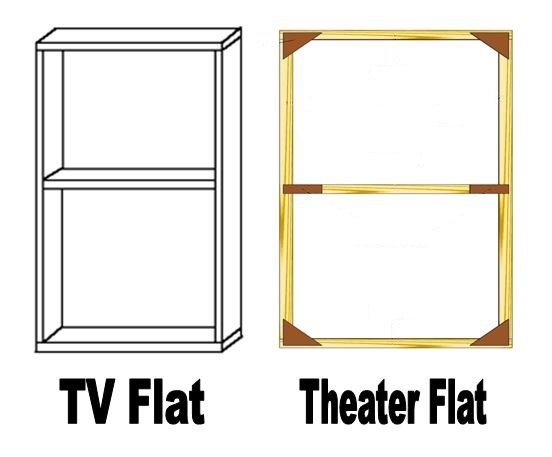
There are two types of commonly used: TV flats and Theater flats. Theater flats want as much flat wood on the finished surface while TV flats have the wood orientated differently (it's a bit hard to explain in words, so here's an image to help). Theater flats is what we used.
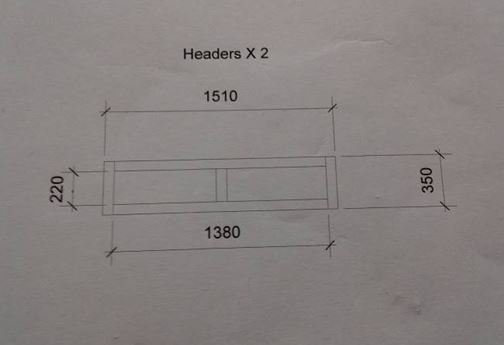
To begin we got drawings of the pieces that would need to be made and made cutting lists for them. This is just a list of all the pieces of wood you'll need to cut, and I personally prefer to make two lists:
- All the pieces you need to cut sorted into groups for each individual piece
- A master cutting list to show all the pieces you'll need from all the different flats, sorted from largest to smallest
By doing this we could easily cut all the largest pieces first and use as many offcuts as possible for the smaller ones rather than run out of long lengths by cutting the small pieces first. The 2nd list then let us tick off what we'd cut for each individual piece and sort it into piles accordingly.
With the list now done all the pieces could simply be cut from our timber and assembly time was nearly upon us. One last thing that was needed was a whole bunch of wooden triangles (you'll see why sortly).
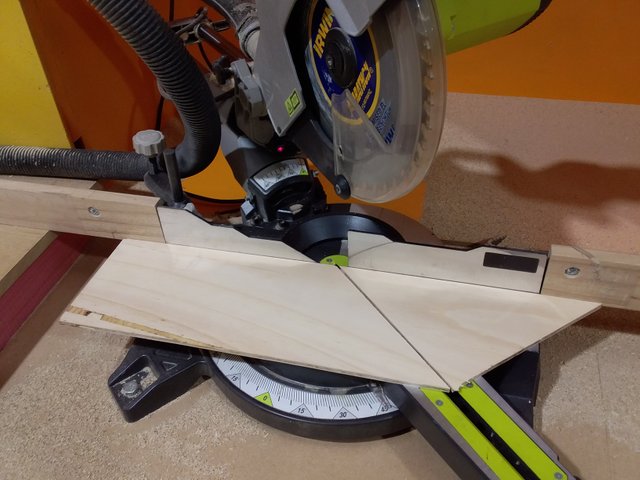
To make these I simply got a sheet of relatively thin timber, cut it down into strips, put a dropsaw blade onto a 45 degree angle, and cut it up. I made several hundred for the whole process (we had a lot of pieces to build).
With the triangles now made and the piece of wood all cut it's time to assemble!
Before beginning we used a piece of the timber to draw a boundary line (we needed to leave enough space for a piece of equal thickness to join onto the outer edges since we'd need to build returns to help the set stand up), and drew on lines where the inner pieces would sit against the outer edges.
Basically all the flats were rectangles so we began by laying out the outer edges, clamped them in place once we were sure they were square, and got the triangles ready with glue and brads (pins that get shot by an air compressor to hold the piece in shape). After applying the glue we put the triangles into place (just inside of our drawn boundary line), and bradded them down.
The glue will be what holds the pieces together eventually, but since this takes a while to dry the brads will hold them in place in the meantime.
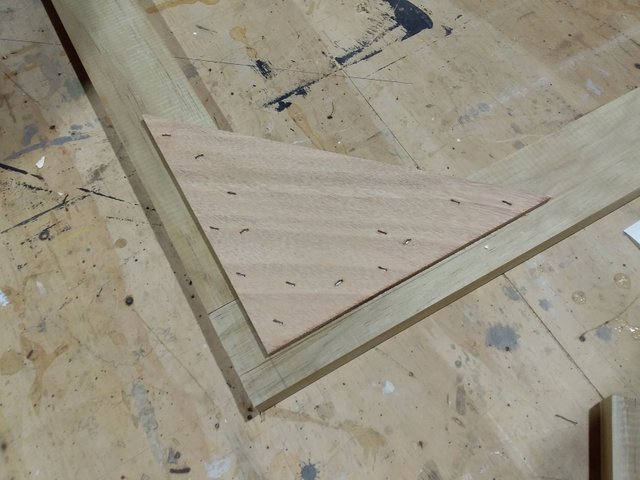
We now had the outer edge of the frame so using the lines drawn on earlier we could add on the center beams using the same method. We used large clamps to pull the wood into place since it was rather warped, and where the beams were so close together that the triangles didn't fit we either just cut off a corner or we used smaller triangles.
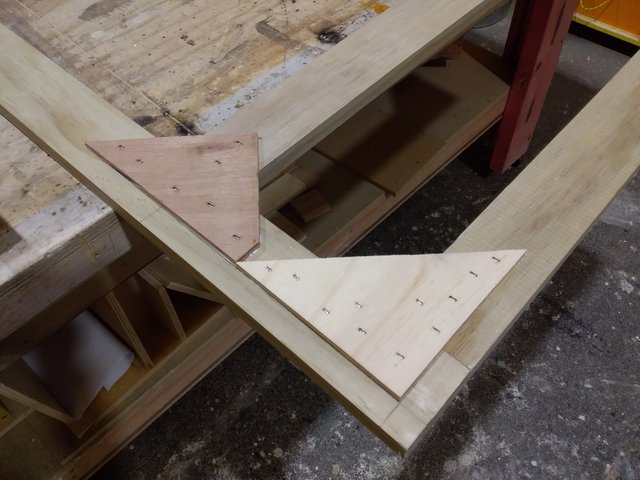
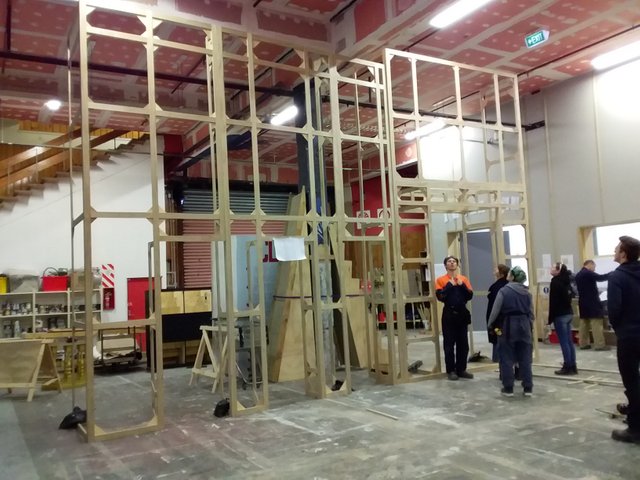
And that's the basic process for building theater flat frames! To turn these into flats all that's needed is to clad them with whatever surface you want your theater pieces to have (for example we used 5mm MDF on flat parts and the made raised blockwork areas using 15mm MDF which we then glued and screwed onto the frames).
Feel free to leave any questions down below! =D
Hello @kimberprime, thank you for sharing this creative work! We just stopped by to say that you've been upvoted by the @creativecrypto magazine. The Creative Crypto is all about art on the blockchain and learning from creatives like you. Looking forward to crossing paths again soon. Steem on!
Congratulations @kimberprime! You received a personal award!
Click here to view your Board of Honor
Do not miss the last post from @steemitboard: