Making Breadcrumbs And Other Major Undertakings
In most homes, when you need breadcrumbs, you go to the store and buy them. (It's about now that I begin to wish I was ... “normal”.)
But you also have to know what you want. We want a good quality, organic product. After all, if your base product is tainted or altered or otherwise (mis)handled... you can't have clean product. So we want the least possible incursion on our food. We use organic flour because we believe it to be clean – as safe as it can be. Organic, by definition, is unbleached and I just don't care, at all, if my breads or cookies aren't as white as my teeth after a cleaning. Well, actually, that brings us to an important point. We wanted the breadcrumbs to be a pallet – something that is a conveyance for other flavours. We will season the egg and breadcrumbs as needed. We don't want a breadcrumb with a particular flavour of its own.
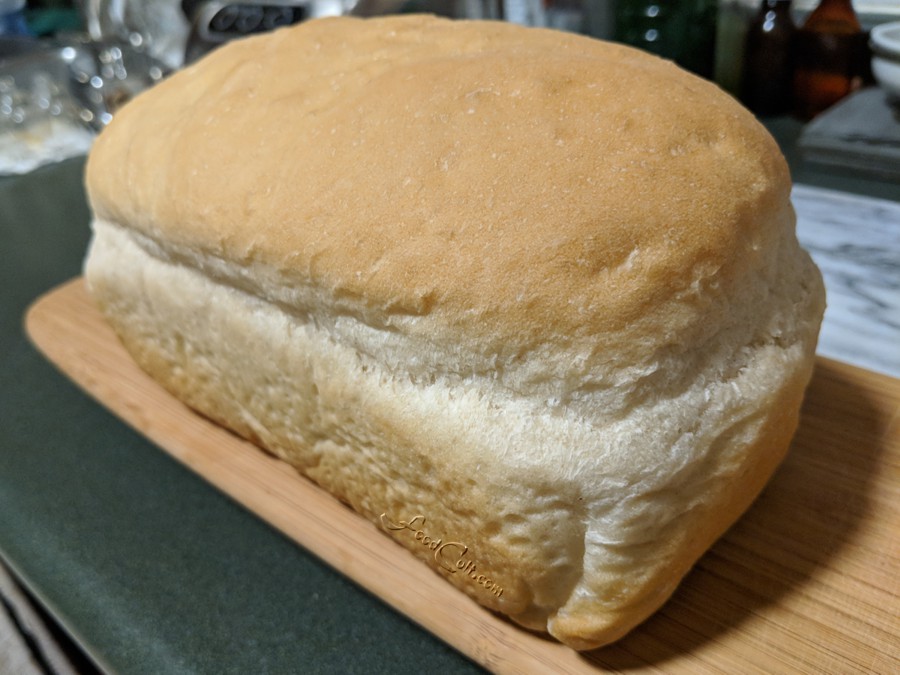
There's another advantage to baking a plain, utility white bread. We don't usually have it so ... we get to do a grilled cheese sandwich on white, or a BLT, or club sandwich on white. It's a fun treat to have around. Nothing fancy and we get the perfect breadcrumb and fun white bread sandwiches (and Texas toast ;-] ). Six ingredients: flour, water, oil, sugar, yeast and salt. That's it! (We use this recipe for a basic, utility white bread: http://www.foodcult.com/basicwhitebread.php .) So we doubled the recipe (and added a little for a mini loaf for a friend – a 1/4 scaled loaf).

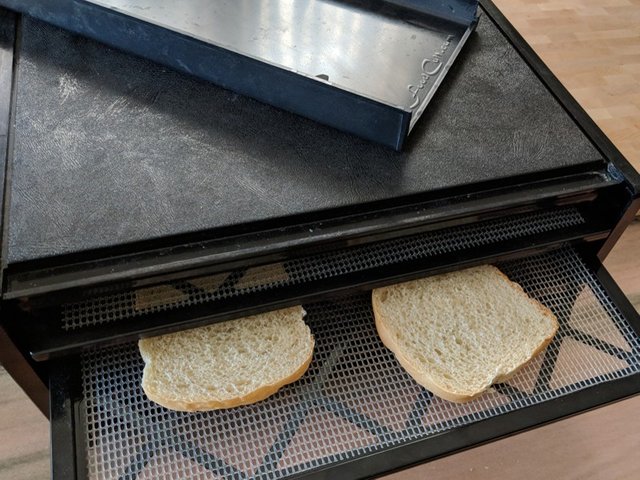
Okay ... we've baked and we're left with two of these (the destination of the smaller one is decided). There exists the risk that we will become greedy and make less than a full loaf (over 500 g [more than a pound]) of breadcrumbs. Doesn't matter. We can always dry more bread. I cut slabs of the bread and arrange them on a drying tray of the dehydrator and turn the thing on to dry our bread.

Here's the truth - I'm SO embarrassed ... I have no words but – I fell asleep. I have NO idea how long it takes to dry bread properly. Here's the thing, though; You don't want to have any moisture spots in your pre-breadcrumb bread. The slices should be entirely free of soft/moist spots prior to “crumbing”. One may also, absolutely, dry the bread on the counter or in the oven – just let it sit there with the oven off – or even the lightbulb will help dry it. If you turn the oven on the risk arises of browning it ... and you really only want to dry it.
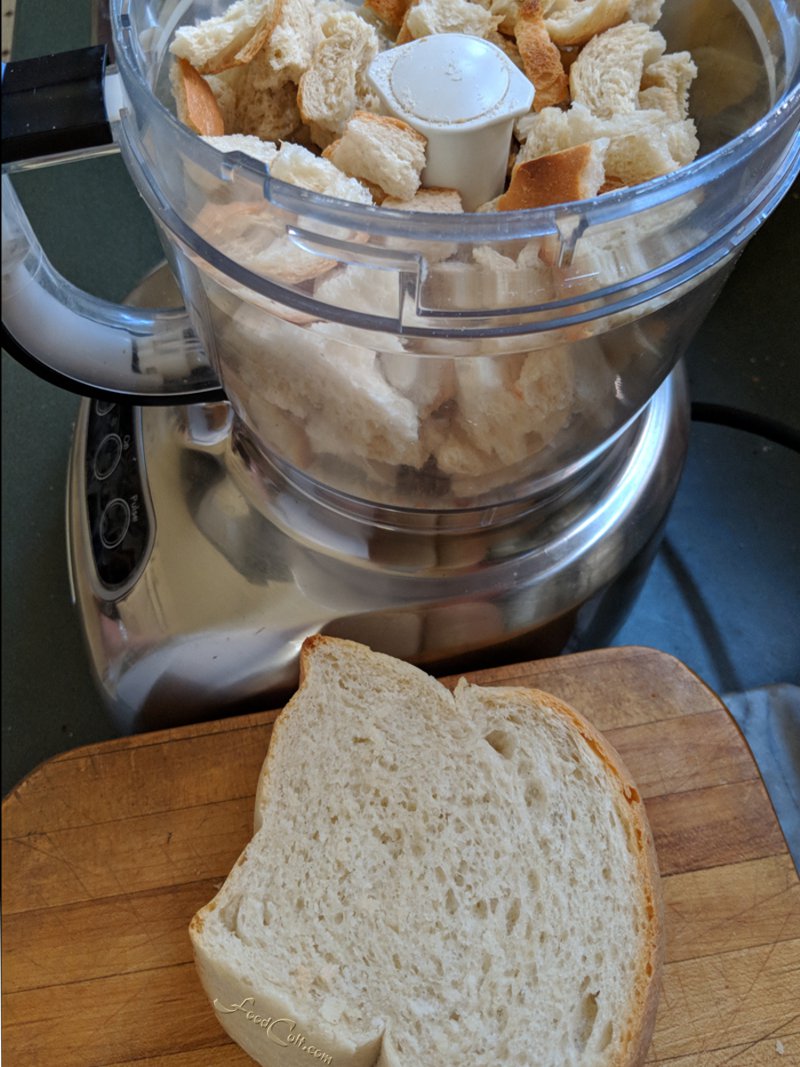
So, once dried, it should break, easily, into pieces – almost cubed depending upon the bread you used, of course. It will be nice and crisp and reflective, in its density, of the loaf you baked/used. This was very dry and broke very easily into cube-esque pieces.

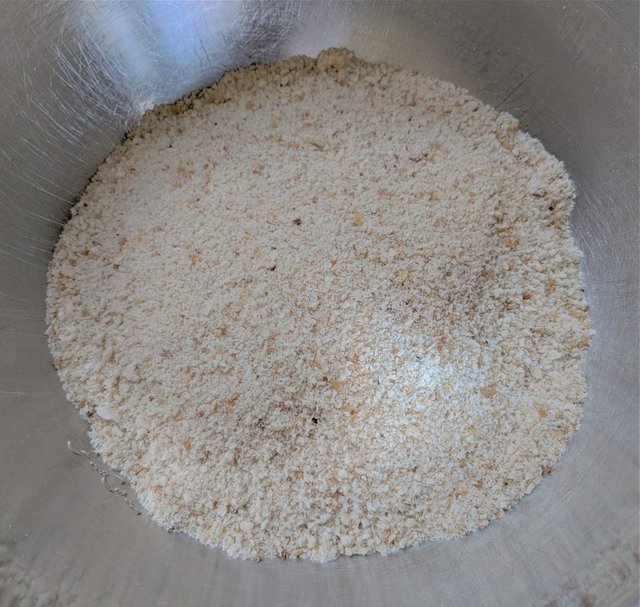
If you've used a beautiful French baguette an Italian Calabrese or something like that it will be harder to break apart. This bread had a short ride in the food processor. In no time it was exactly what we needed – plain, white breadcrumbs!

I could have walked to the store in less time. I could have driven to the next major city and bought them faster ... but we wanted a good quality, organic breadcrumb. We got the best!
World of Photography
>Visit the website<
You have earned 6.50 XP for sharing your photo!
Daily photos: 1/2
Daily comments: 0/5
Multiplier: 1.30
Block time: 2018-05-18T17:12:03
Total XP: 123.50/200.00
Total Photos: 19
Total comments: 0
Total contest wins: 0
Follow: @photocontests
Join the Discord channel: click!
Play and win SBD: @fairlotto
Daily Steem Statistics: @dailysteemreport
Learn how to program Steem-Python applications: @steempytutorials
Developed and sponsored by: @juliank