BBC 示範港式菠蘿包做法 Hong Kong style pineapple buns demonstration by a BBC by @livinguktaiwan
This article was written by @livinguktaiwan / 本文由 @livinguktaiwan 撰写提交
About the authour / 关于作者:
大家好!很高興又在這平台跟大家見面。如果想認識我多一點,請看我之前介紹自己的帖子。謝謝!
Hello everyone, nice to see you again on this forum, I hope you will like my post today. If you want to find out a bit more about me, take a look at my previous posts. Thanks
- https://steemit.com/cn/@livinguktaiwan/leisure-wednesday-bus-rides-and-a-north-korean-story
- https://steemit.com/introduceyourself/@livinguktaiwan/first-post-hope-i-got-it-right
Follow the author @livinguktaiwan to find the other great articles from him/her.
请关注/追随作者查看他/她的其它优质文章。
Original text/原文如下:
雖然我是 BBC (British Born Chinese) 但我很喜歡吃港式菠蘿包。以前在英國不容易買到,於是自己學做手工麵包。來到台灣也不容易買到好吃的菠蘿包,以前學的小小手藝又可以派上用場。
Althought I'm a BBC (British Born Chinese) I love Hong Kong style pineapple buns. When I was still in UK they're not easily available unless you live near China town, so I figured I'd learn to make them myself. In Taiwan, good ones are not easy to come by either, and now I often make them for afternoon tea.
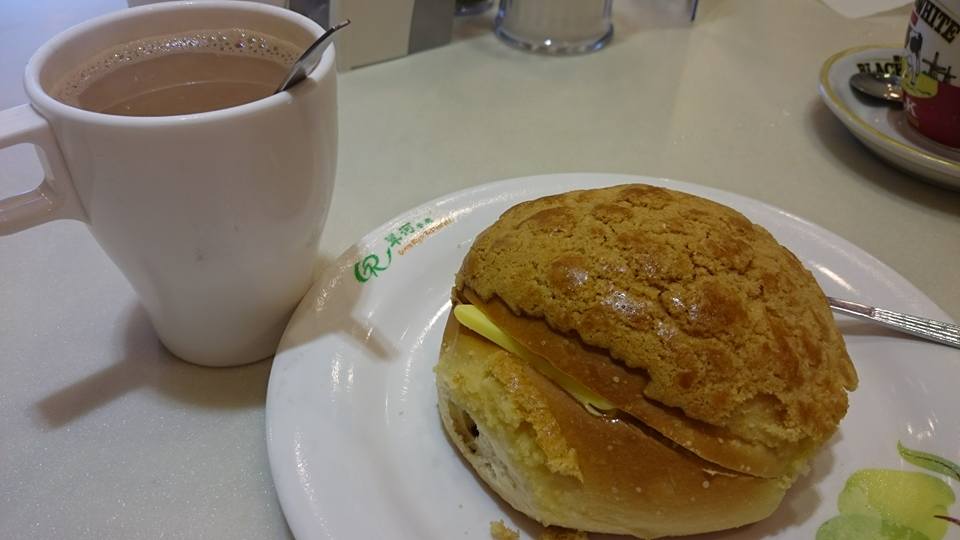
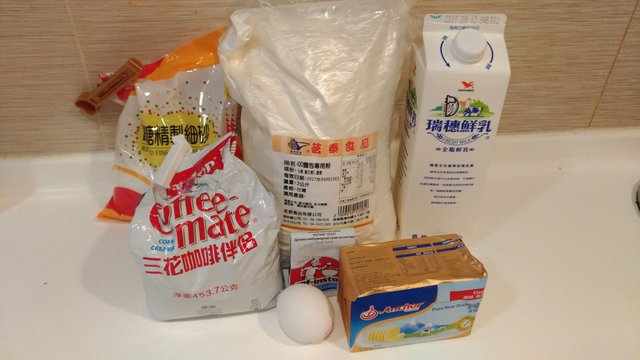
今天我同大家示範怎樣自己做美味港式菠蘿包。材料如下:
Today I'm going to demonstrate how to make Hong Kong style pineapple buns. Here are the basic ingredients:
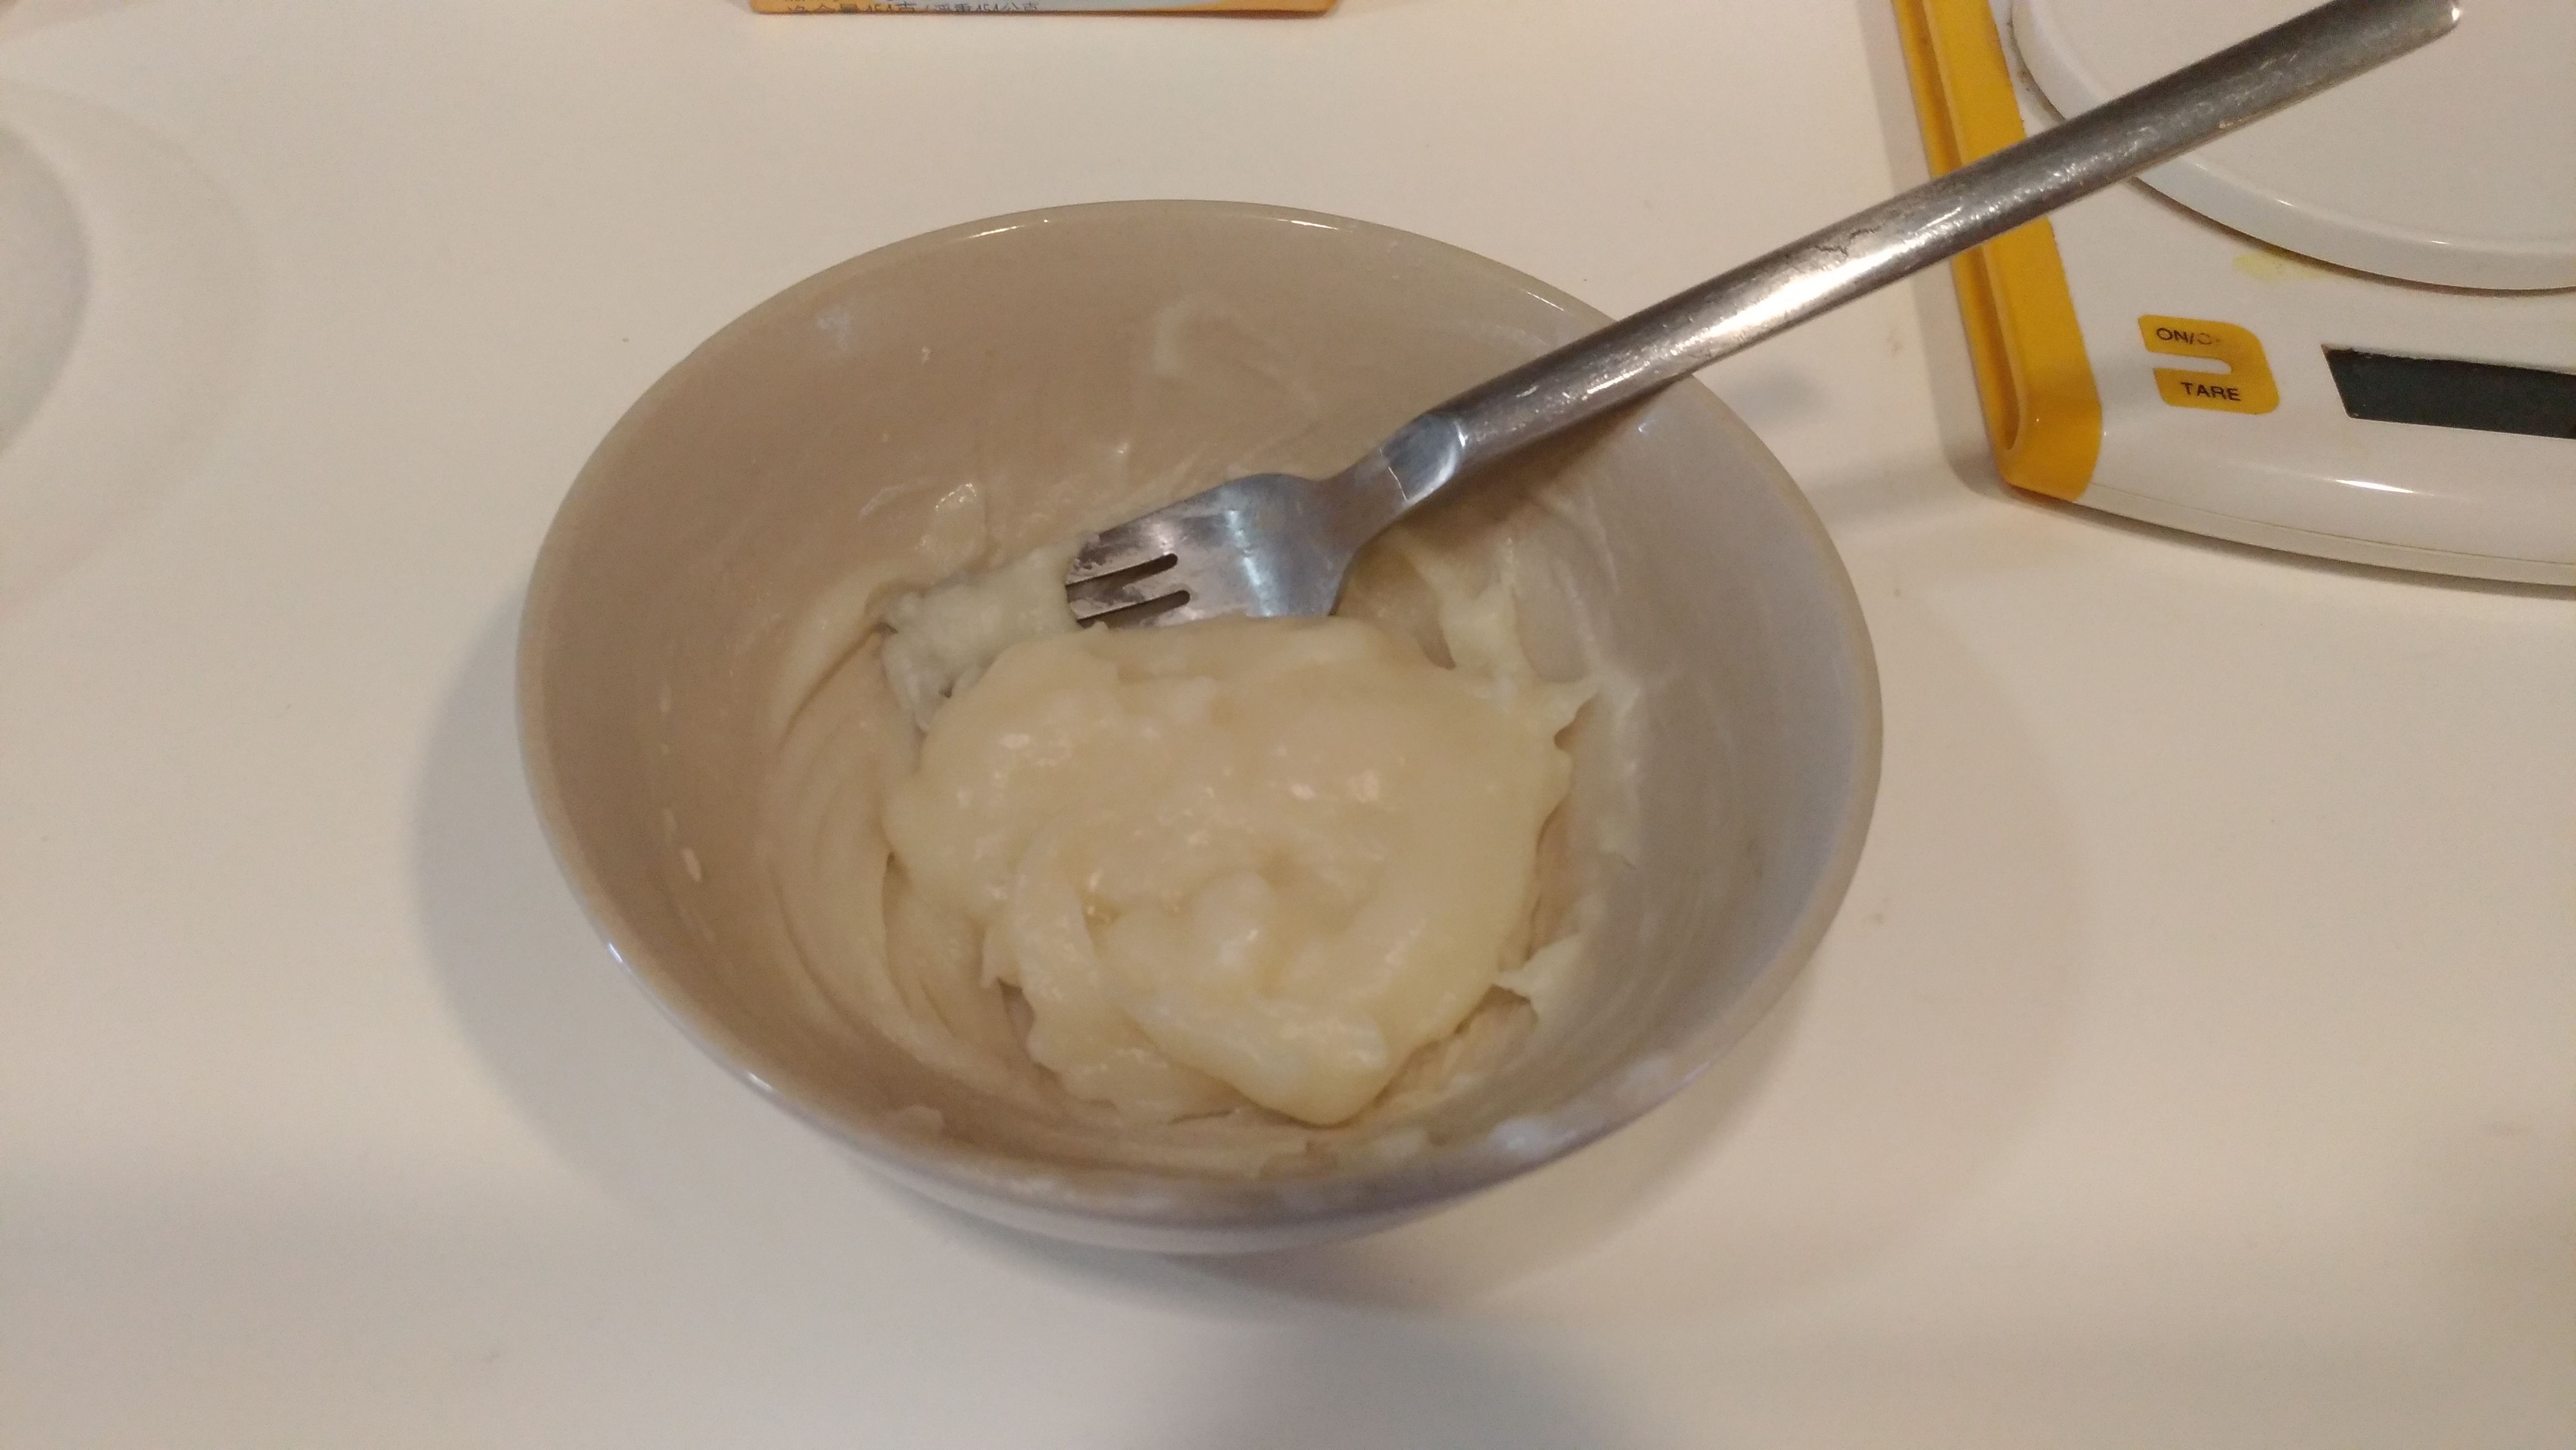
首先把一部份麵粉和水放入微波爐煮大概40秒,這是湯種,會使麵包更柔軟。
First of all, mix some flour with water and cook it in the microwave for about 40 seconds till it becomes a paste. This is called Tangzhong and gives the bread a lovely soft texture.
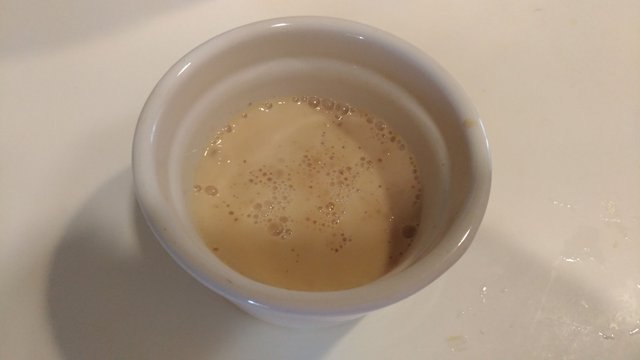
然後把酵母倒入小碗水裡,讓它先開始發酵。你看到的小泡沫就是酵母在發酵。
Next add the yeast to some luke warm water and cover it for about 10 minutes. This gives the yeast a head start in the activation process. The little bubbles you see is the yeast working away.
其實這兩個步驟可以省略,把材料直接加到麵粉也可以,但我覺得花點時間多做一些工夫,出來的麵包比較好吃。
You can omit these two steps if you want and just add the ingredients directly into the mixing bowl. I like to spend that little bit more effort as I think it improves the texture of the bread.
現在我把所有的材料倒進攪拌碗,攪大約10-15分鐘。如果沒攪拌器可以用手搓,會辛苦點但會是很好的運動。有時候我兩個方法都一起用,因為很喜歡粉糰那軟綿綿的感覺。但今天要拍照,不想弄髒手。
Next add all the ingredients to the mixing bowl and mix it for about 10 - 15 minutes. If you don't have a mixer, you can use your hands which takes a bit longer but gives you plenty of exercise! Sometimes I do both as I love to feel the softness of the dough, but I can't today as I need to take photos.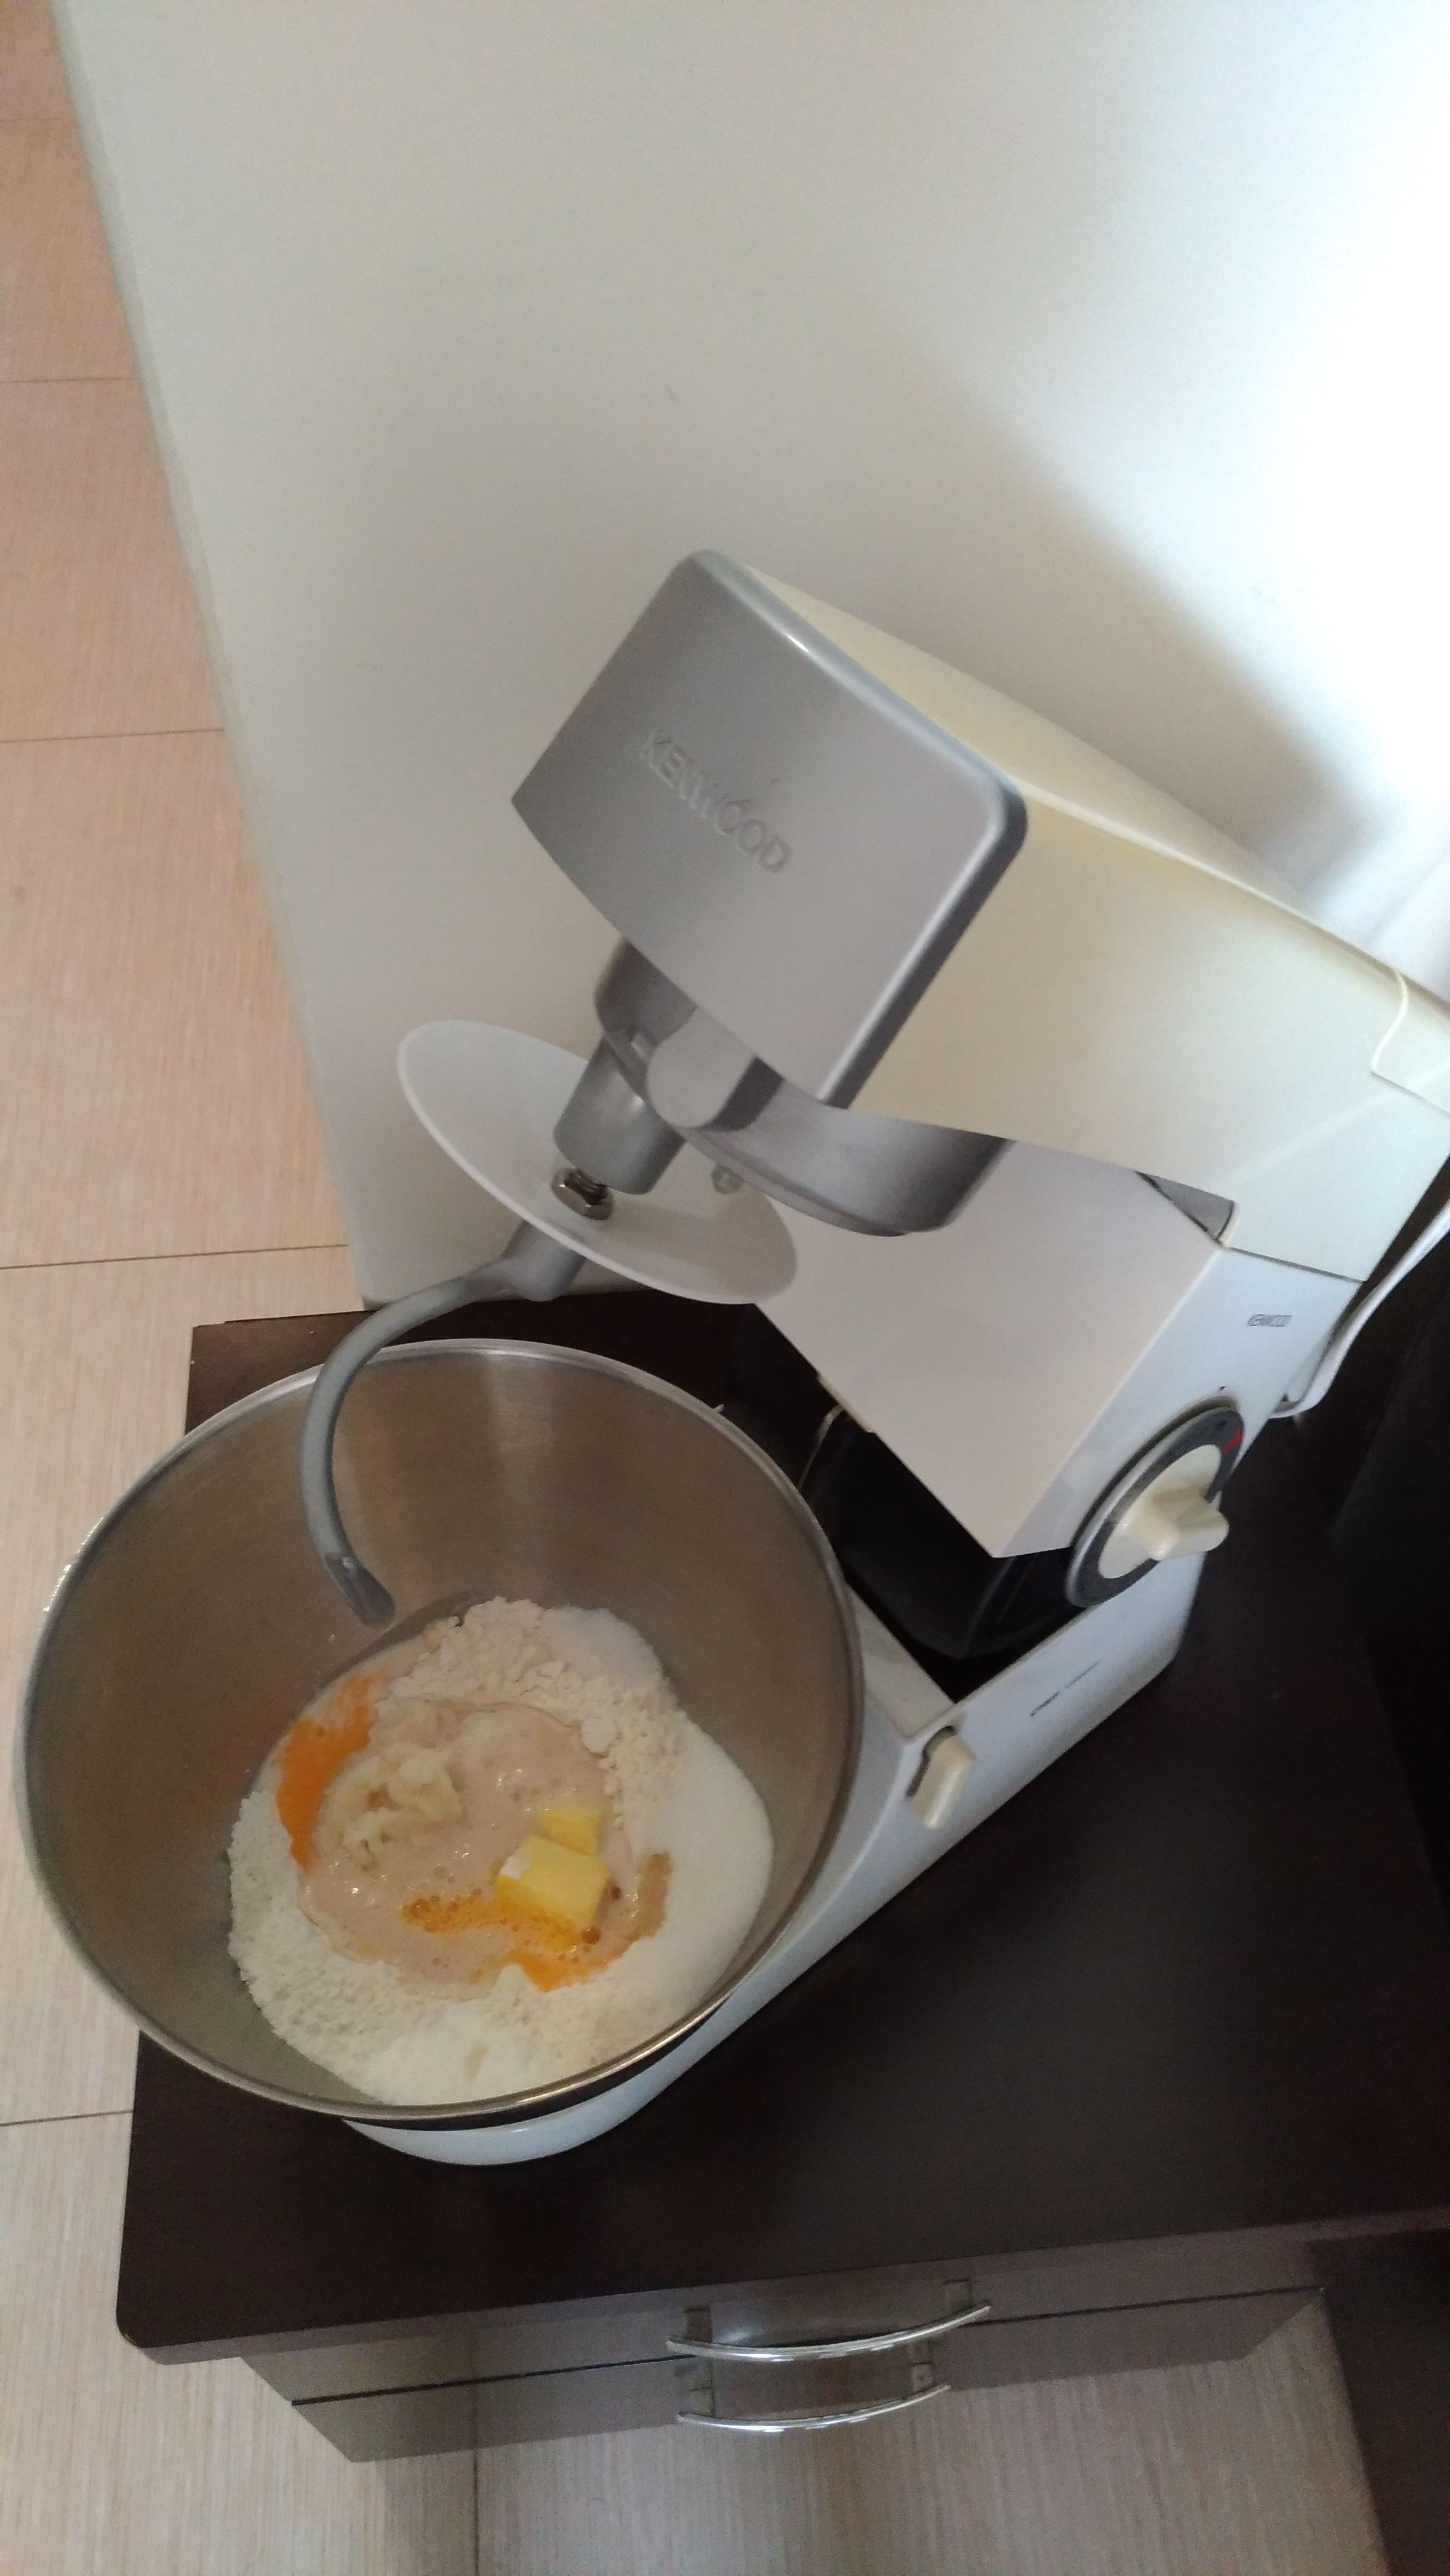
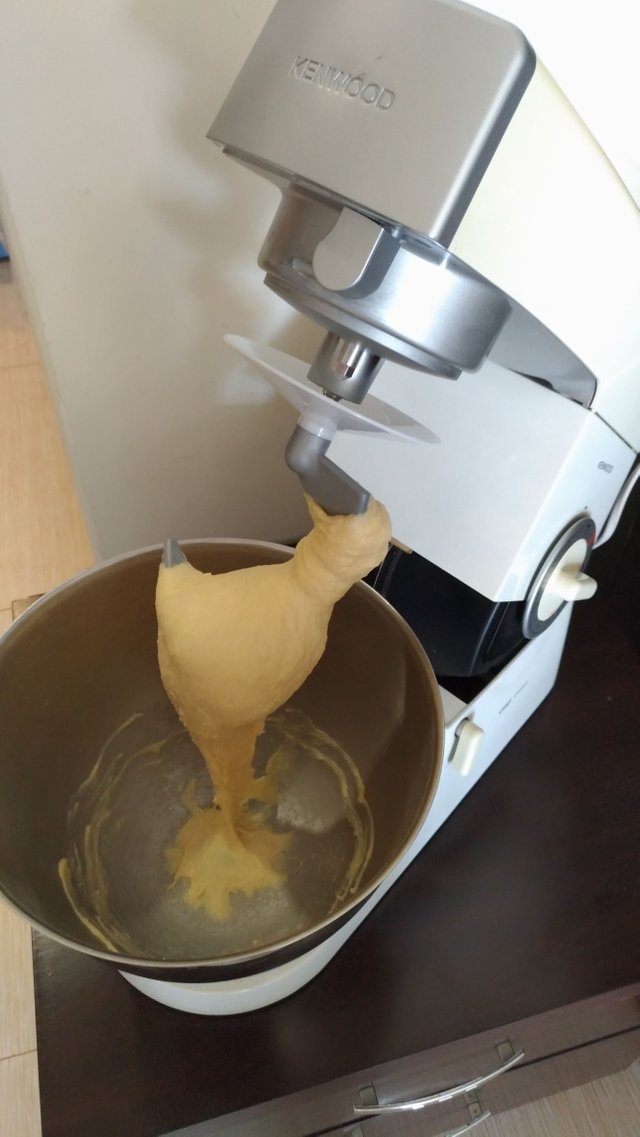
粉糰攪到這樣就差不多。現在要用布或是保鮮膜蓋好不要讓粉糰乾掉,然後等大概1.5 至 2 小時讓它發酵,確實時間視乎當天氣溫而定。
When the dough looks like this, its ready. Cover it up and wait for about 1.5 to 2 hours depending in the warmth of the room.
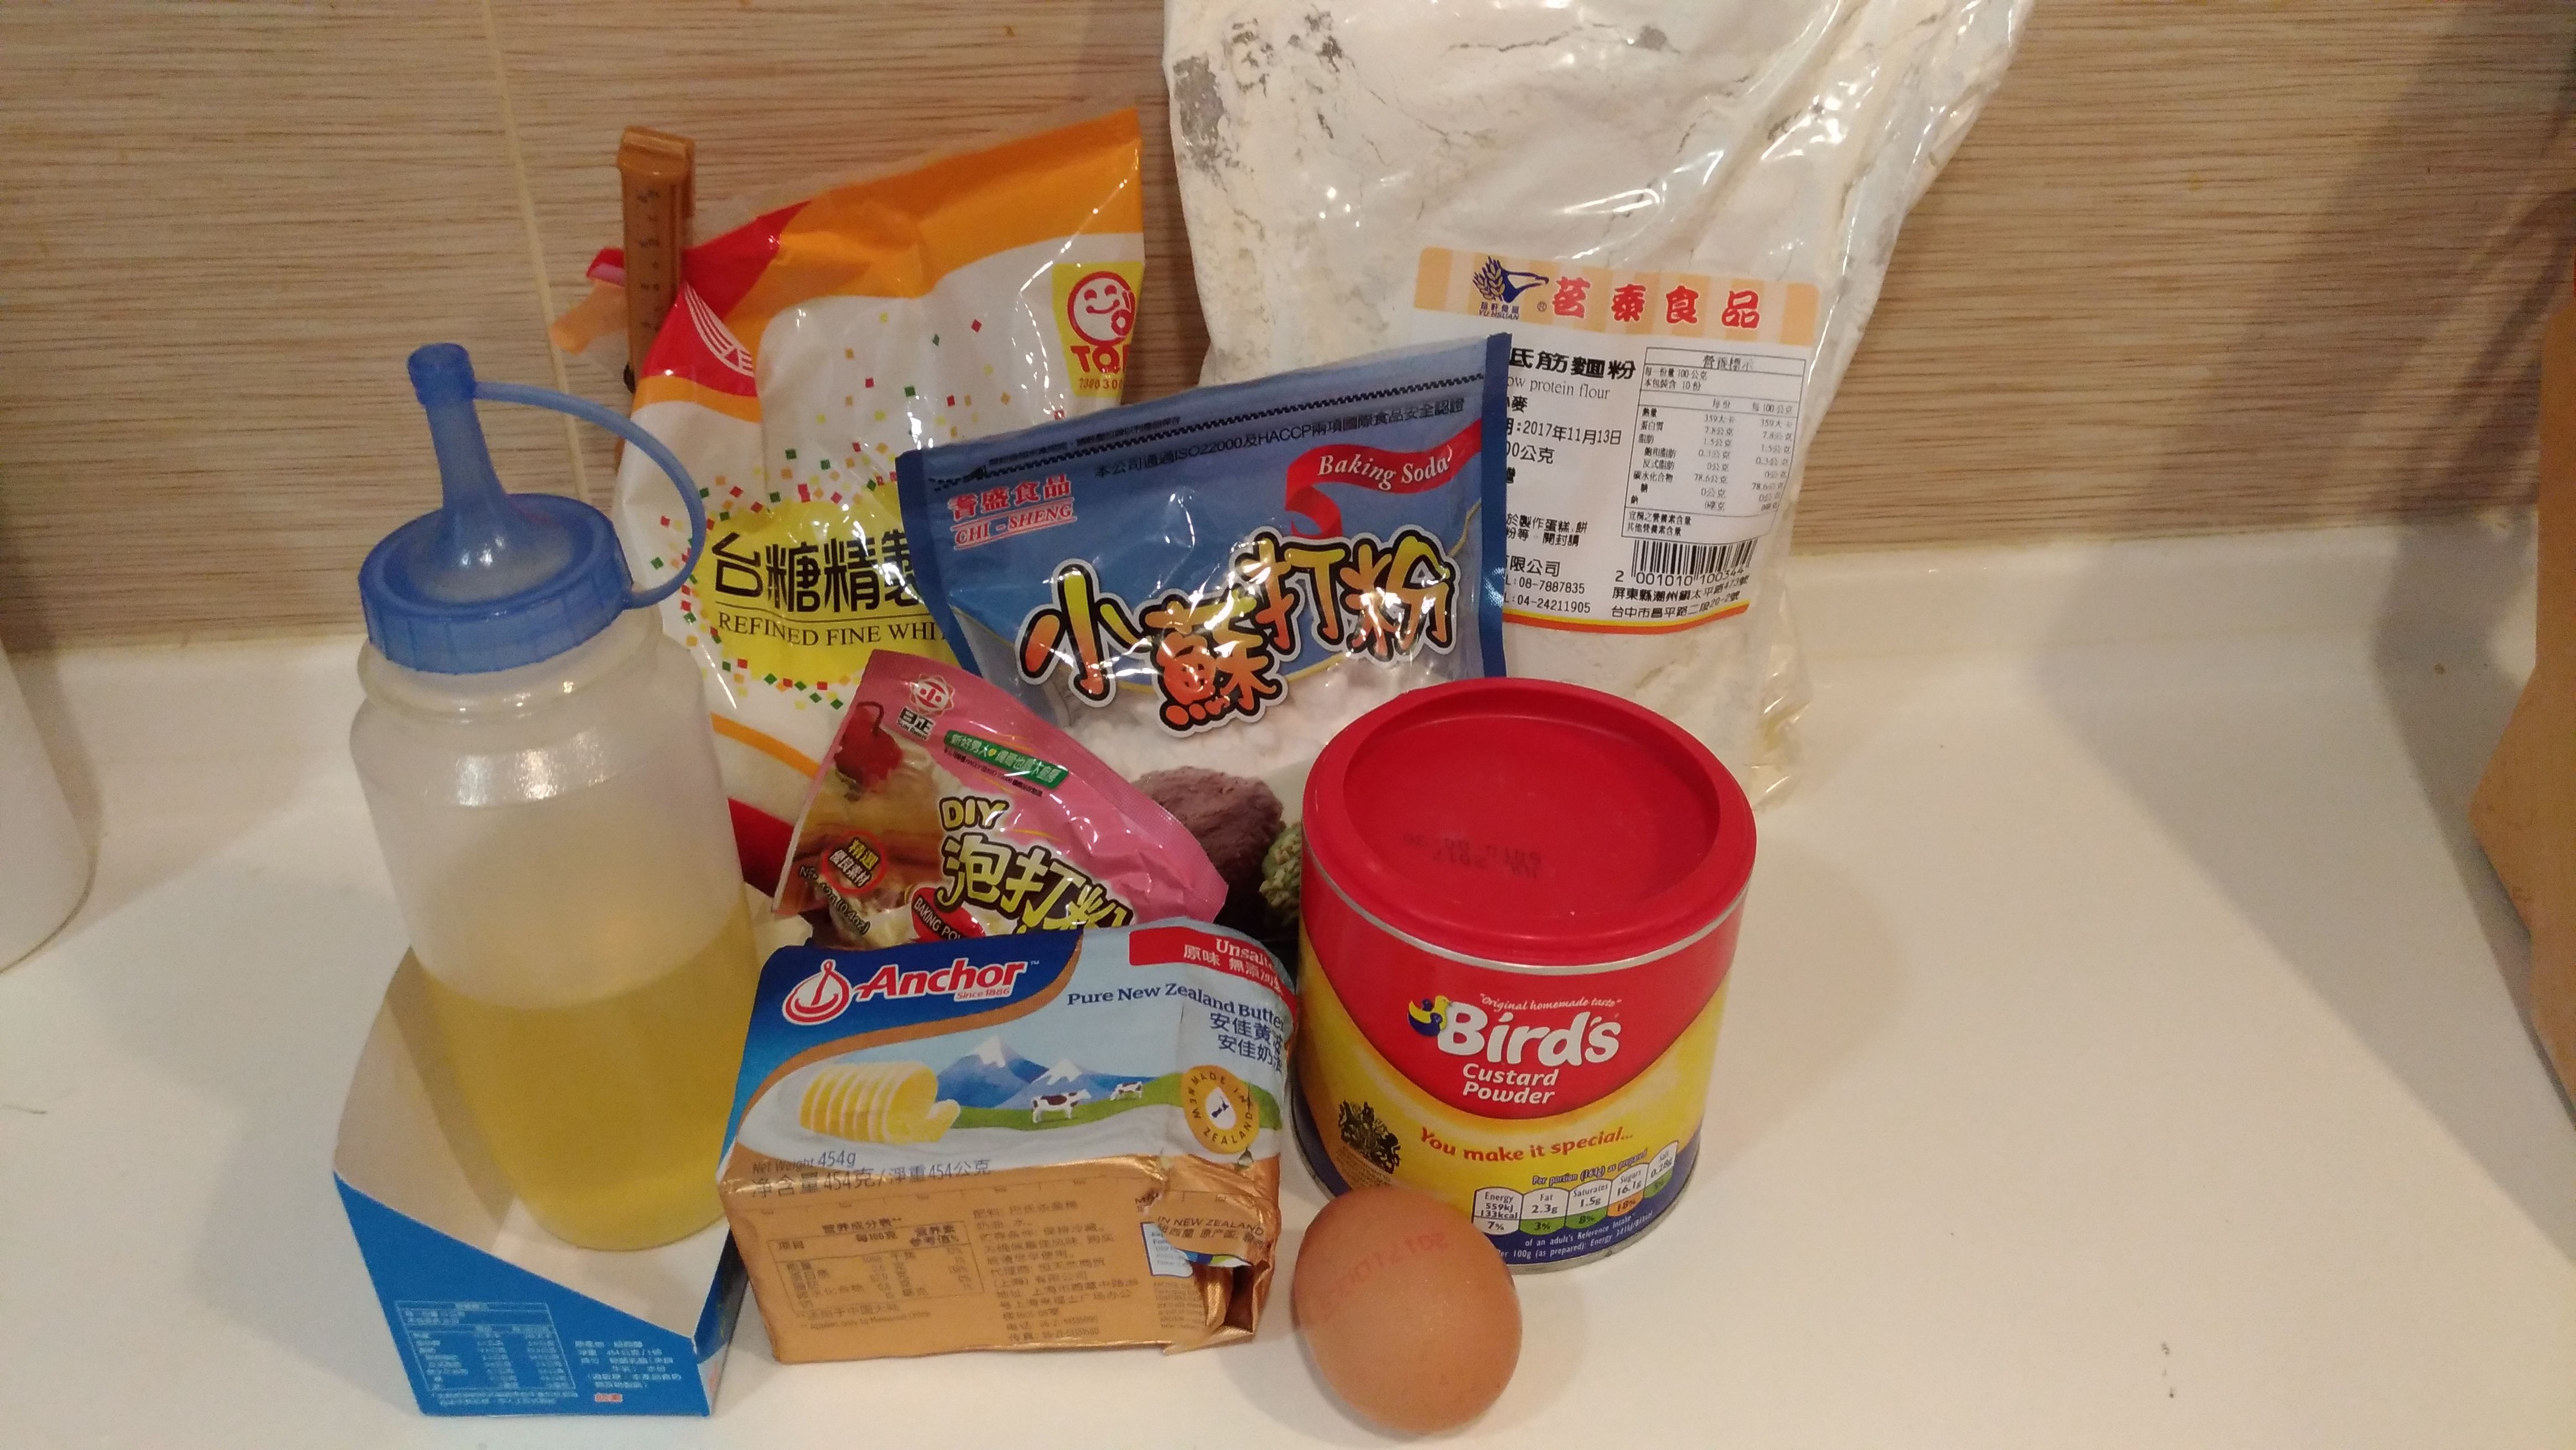
在等的時候我要準備菠蘿皮。其實菠蘿包並沒有菠蘿,只是它表面的皮像菠蘿所以叫菠蘿包。材料如下。
Whilst I'm waiting for the dough to rise, I'm going to make the crunchy pineapple topping. For those who don't know, pineapple bun doesn't have any pineapple in it, is so called because the topping looks like a pineapple. Anyway, here's the ingredients to make the topping.
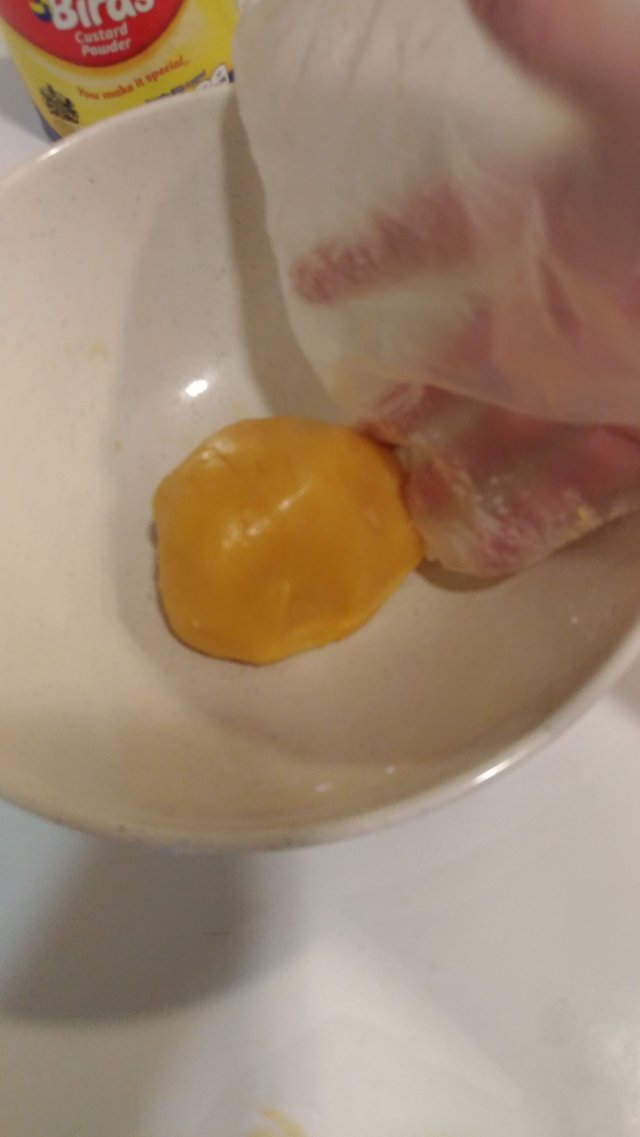
我覺得做菠蘿皮最方便是把膠袋套在手上,將材料搓成一糰。只需一至兩分鐘,然後馬上套進塑膠袋放進冰箱待用。
The easiest way to make this is to mix it by hand using a plastic bag. It only takes a couple of minute, then I can just put the mixture directly into the bag and pop it in the fridge.
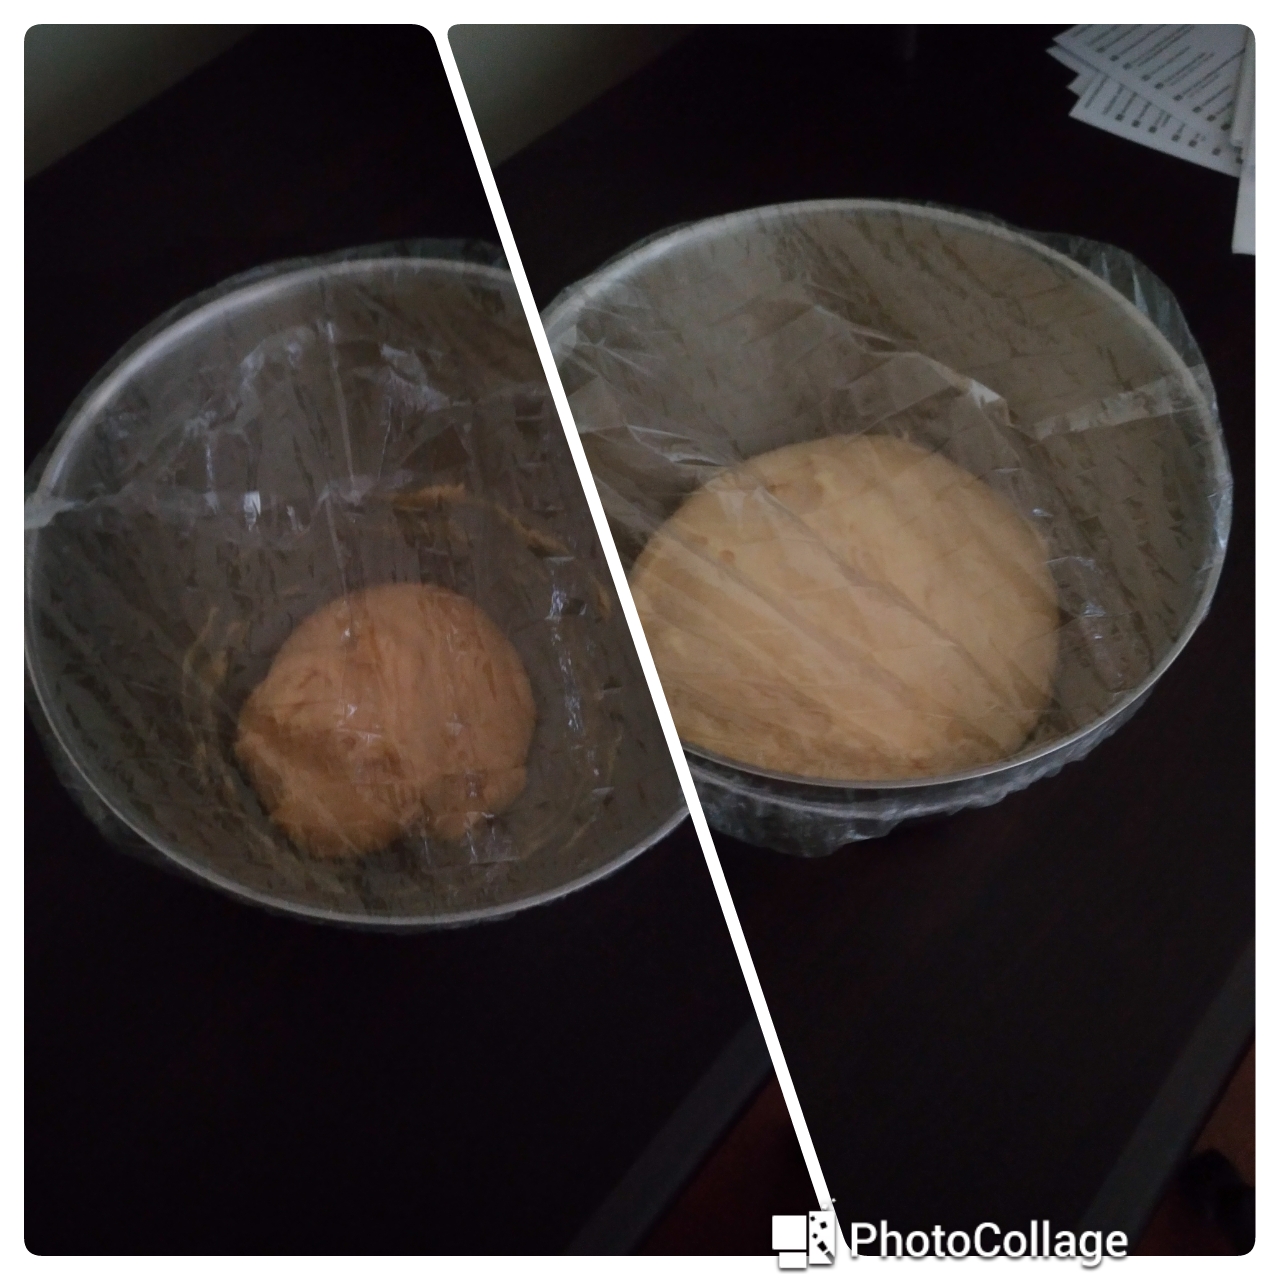
麵糰已發酵好了。今天天氣較熱,只需要1小時10分鐘。你看,它已漲了差不多一倍。
My dough is ready now. It took one hour ten minutes today as its warm in my flat. See how much its risen!
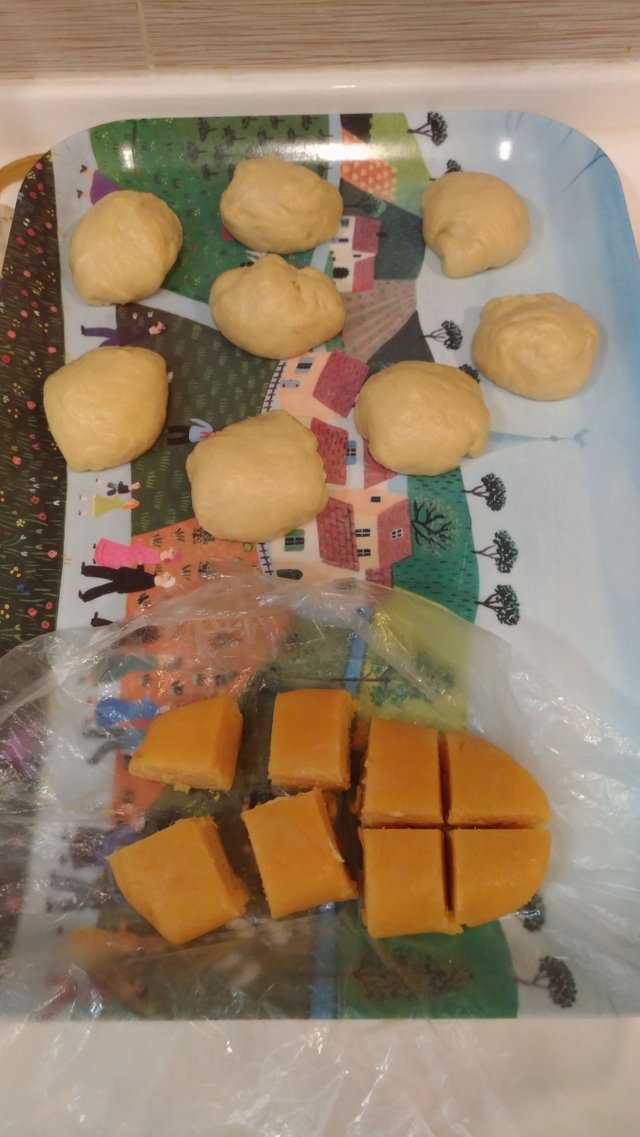
今天我會做八個菠蘿包,連同之前做的菠蘿皮,全部分八份。現在要把小麵糰搓成圓球型。
Today I'm going to make 8 buns, I've divided the dough and the topping I made earlier on into 8 pieces. Next, I'm going to shape each of them into a round bun.
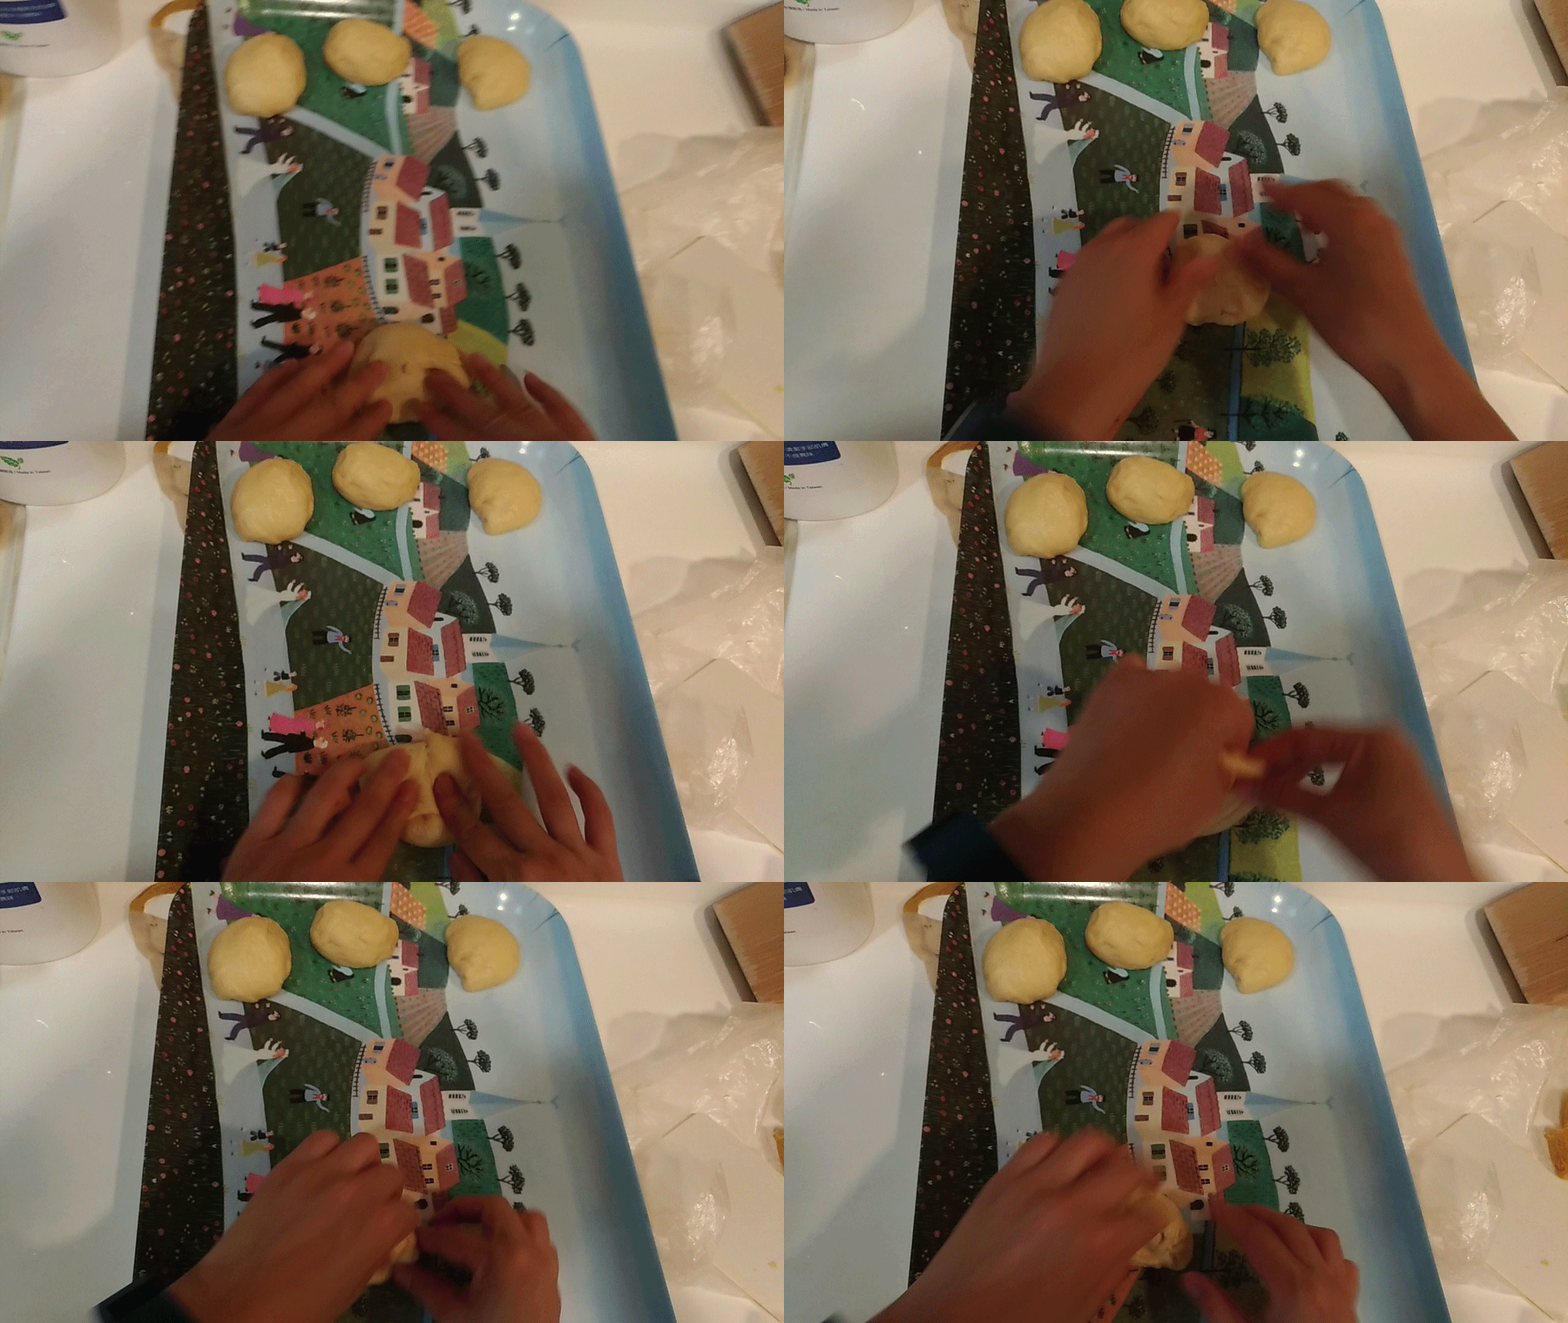
我已有一段時間沒做菠蘿包,所以忘記菠蘿皮不應該那麼快放到麵包上面,在發覺時已放了五個,沒關係了。麵包要第二次發酵,這次大概要 45分鐘。
I haven't make pineapple bun for a while and forgot that I shouldn't put the topping on yet. By the time I remembered, I've done five already. Anyway, now I need the dough to rise for the second time which takes about 45 minutes. 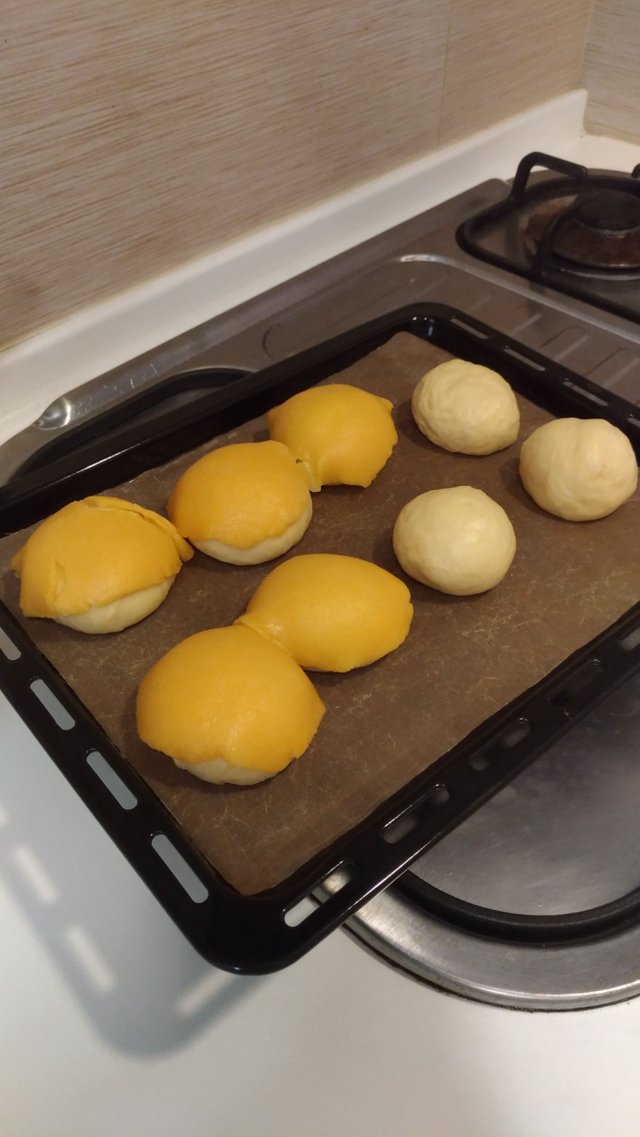
時間好了!麵包又成功再發大。
Time up! The buns have expanded again which is a good sign.
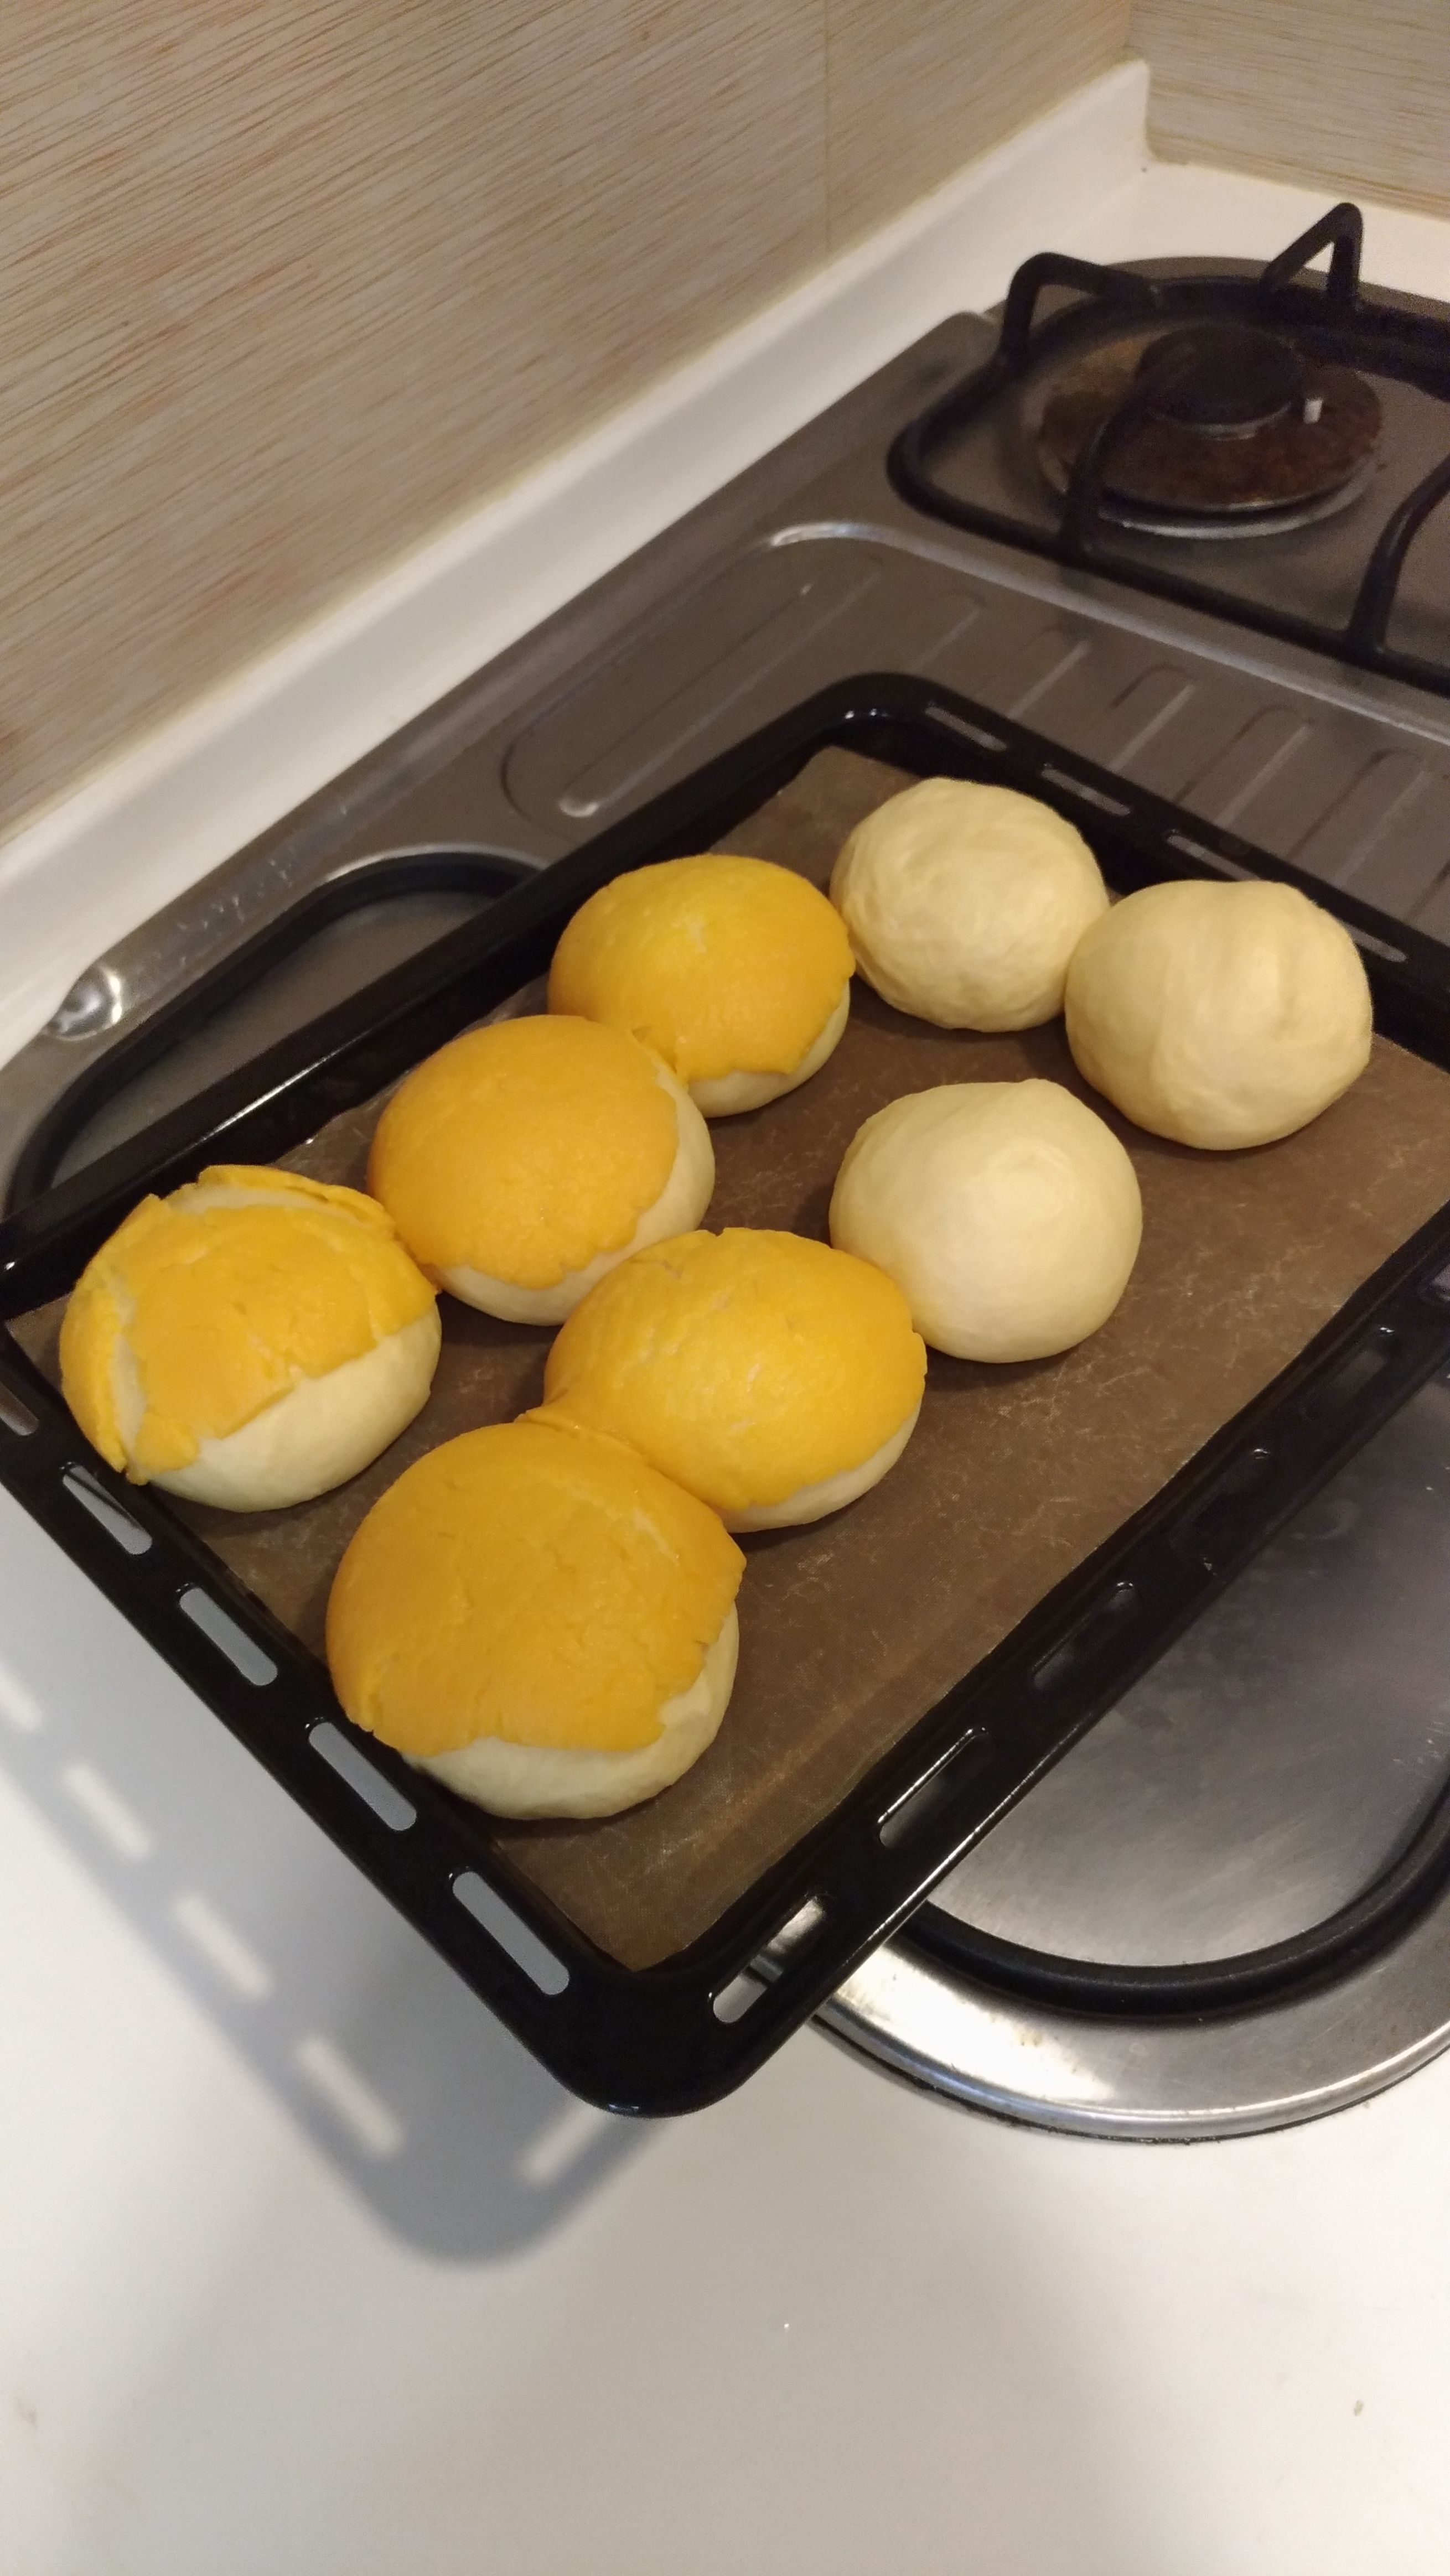
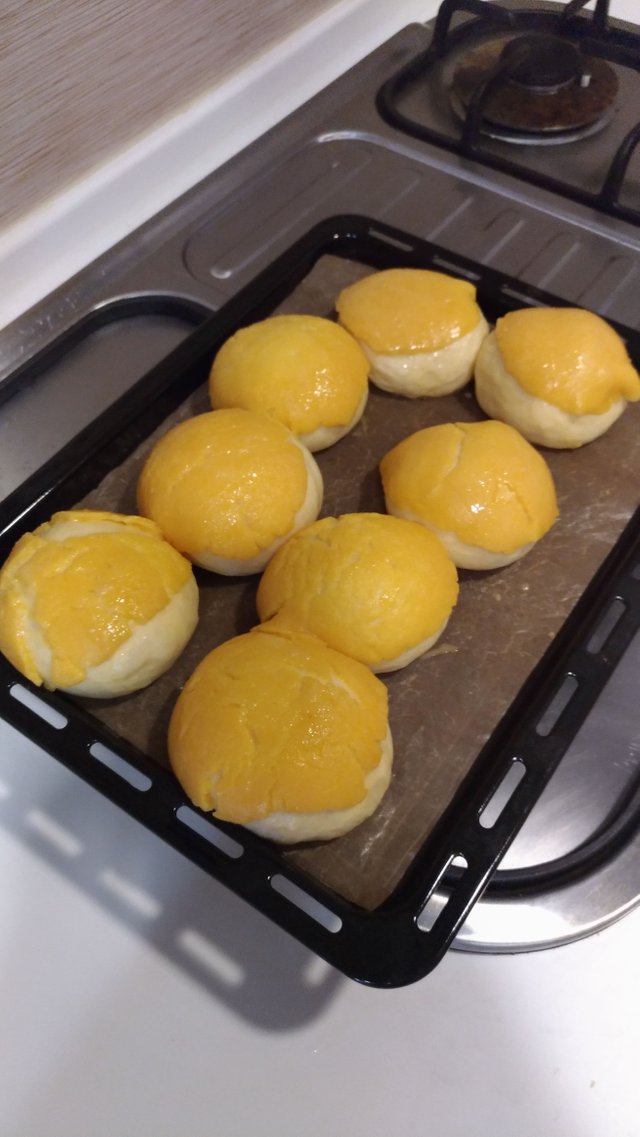
最後步驟是把餘下菠蘿皮放在麵包上,用牙籤劃幾下做出菠蘿般爆烈的效果,然後塗上蛋液,烤 20分鐘就大功告成。
Now all I need to do is to add the topping to the rest of the buns, score it with a toothpick to get the pineapple effect and add some egg wash on top. Finally, I'm going to bake it for 20 minutes.
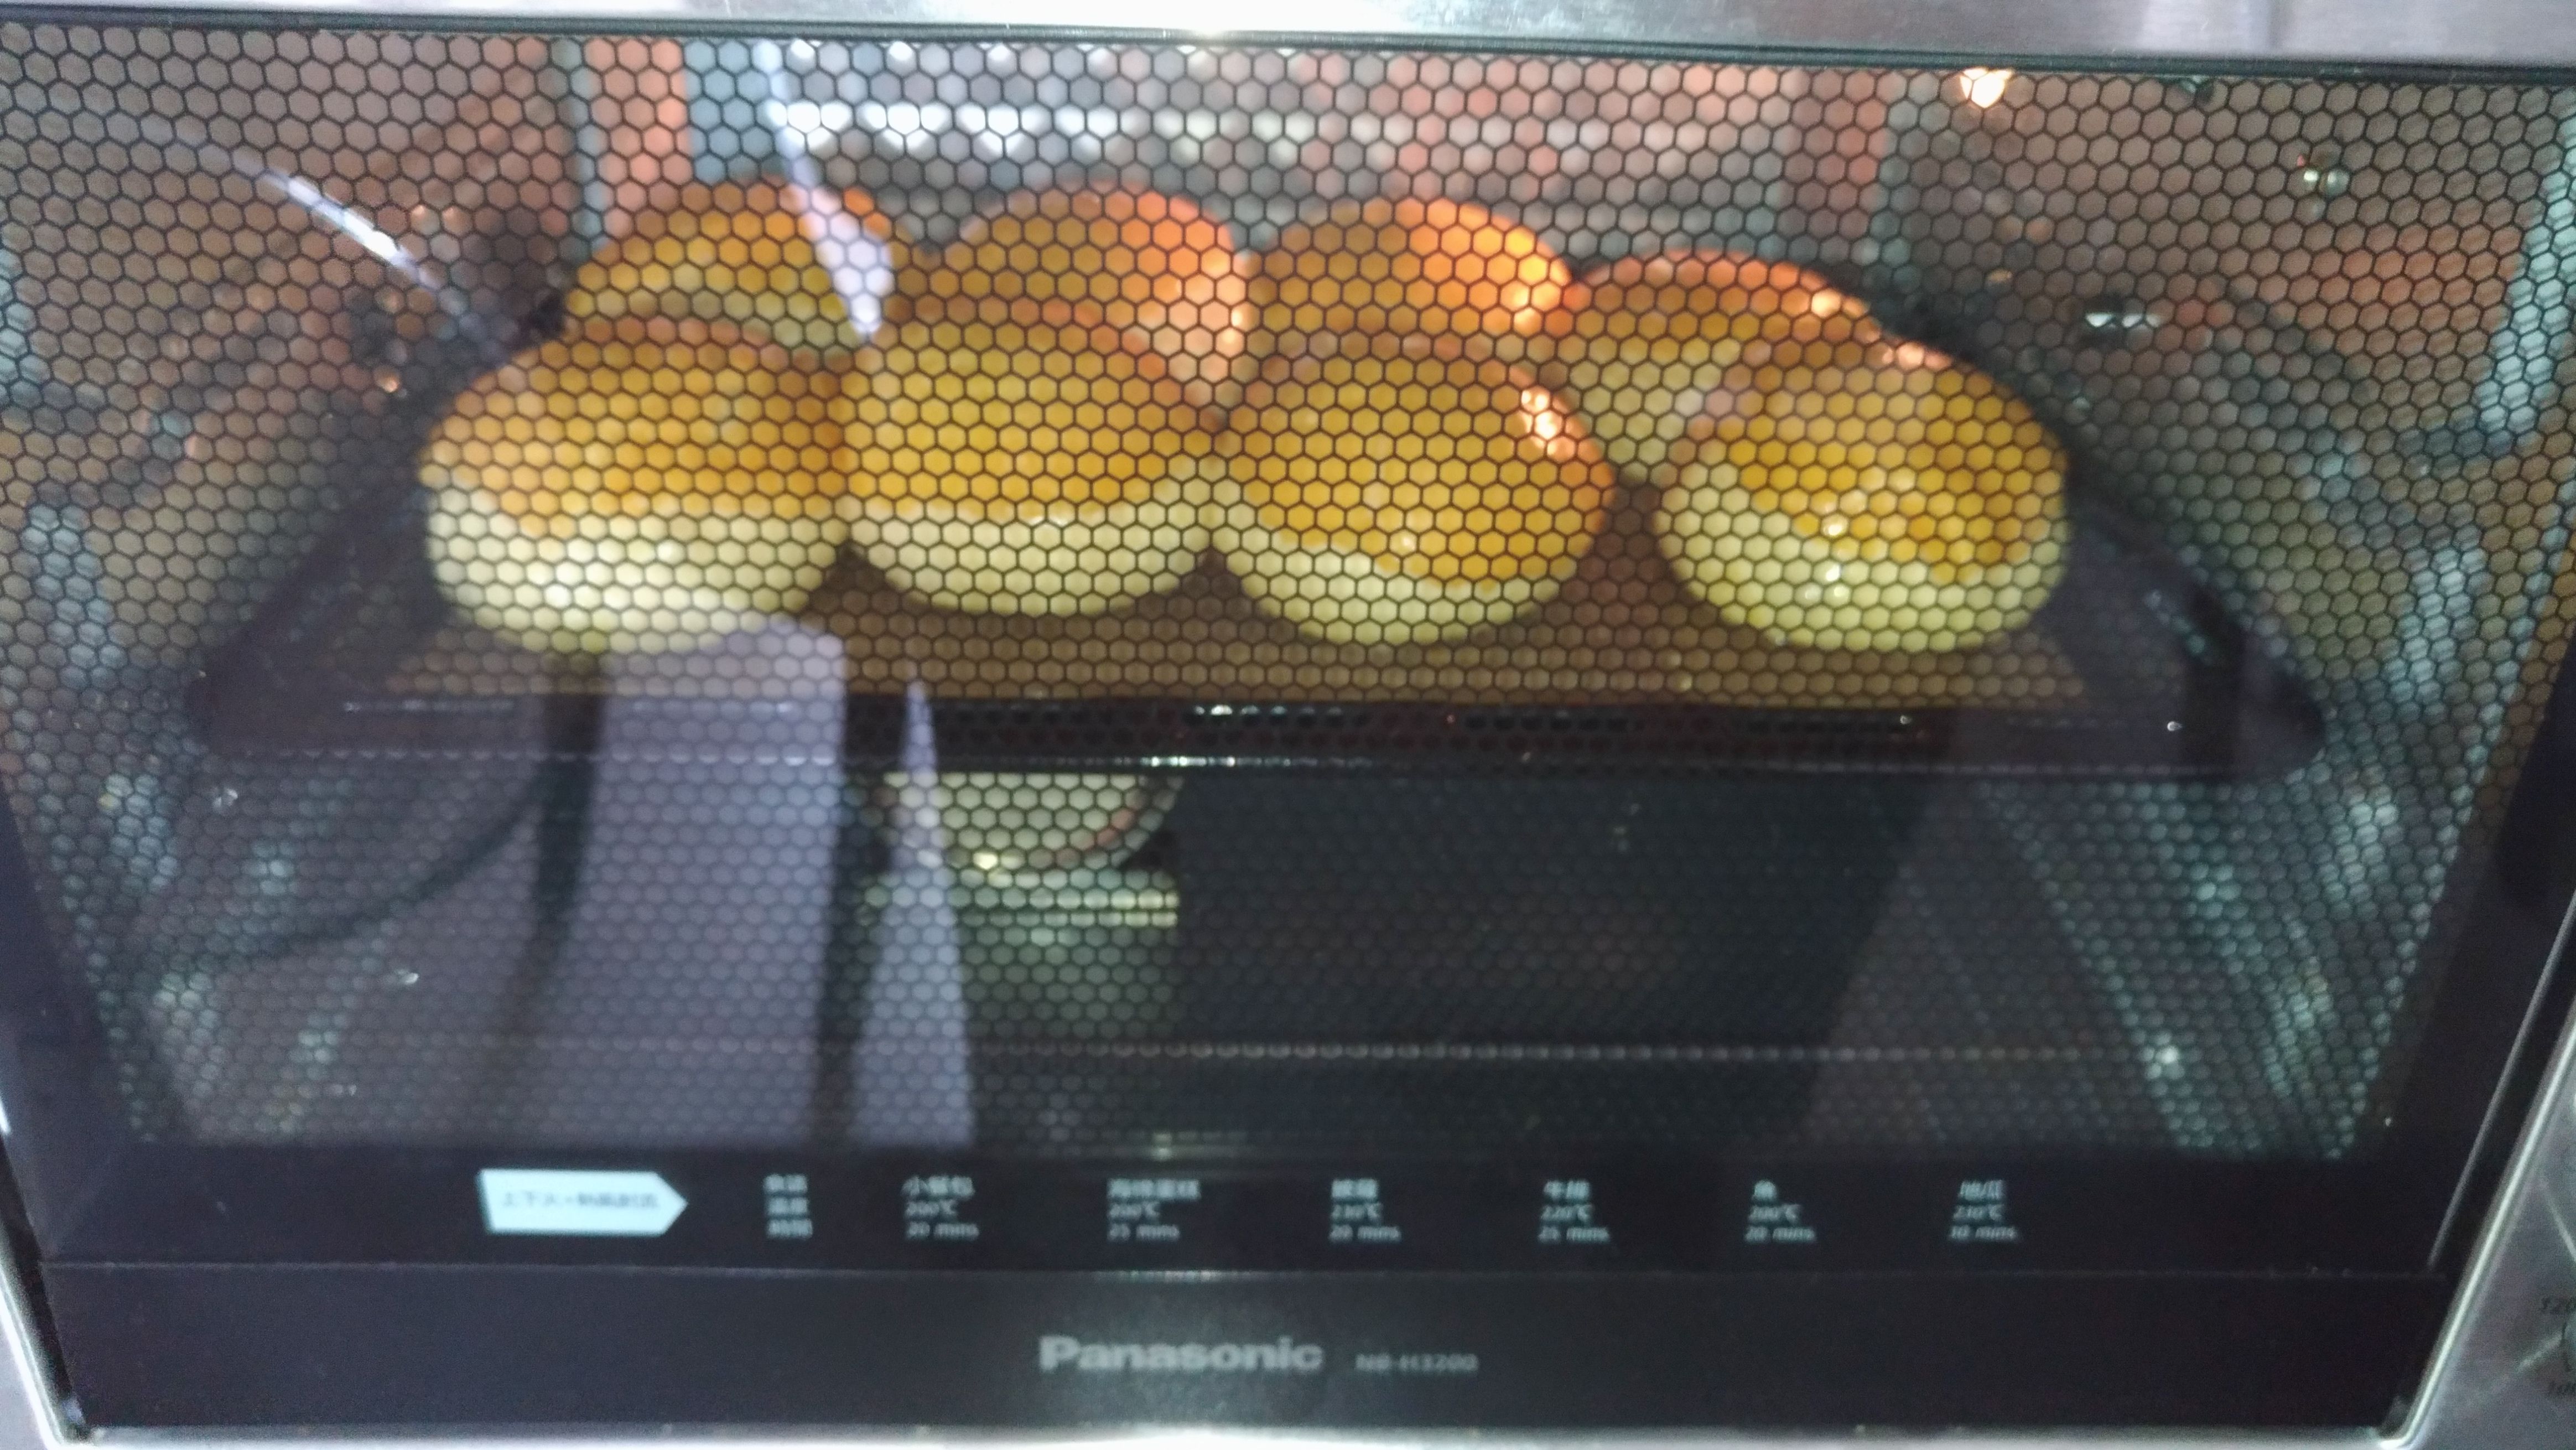
麵包出爐啦!賣相比較失望,過火了一點。但麵包店柔軟度我十分滿意!
This is the final product! Unfortunately it's a little burnt on the top and not as pretty as I would like it to be. However, see how soft the bread is, I'm really pleased with it!
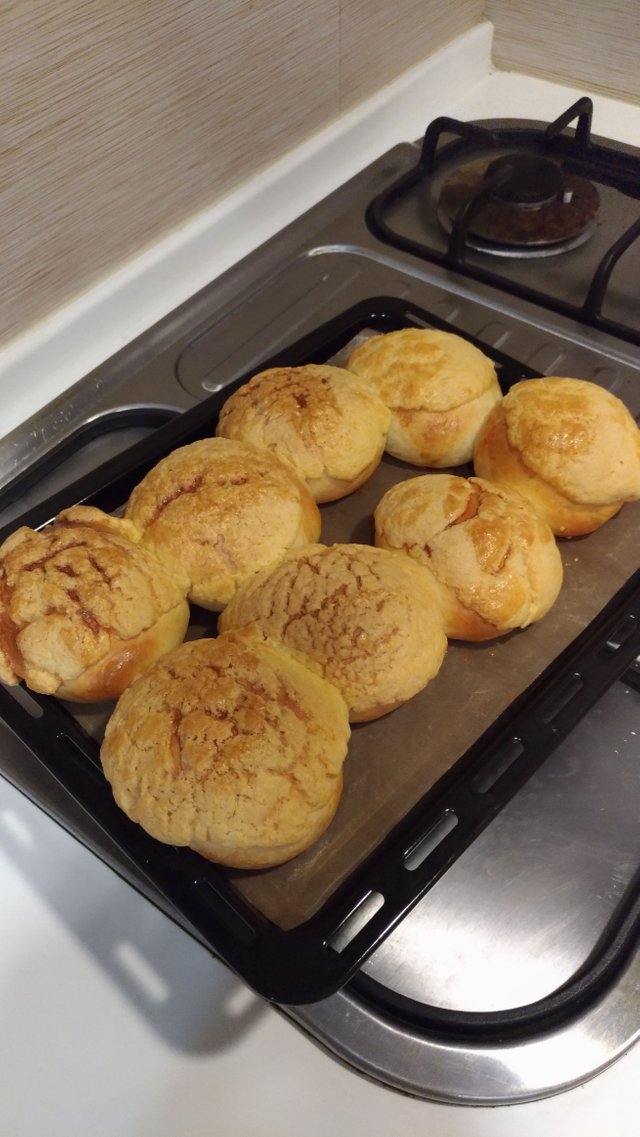
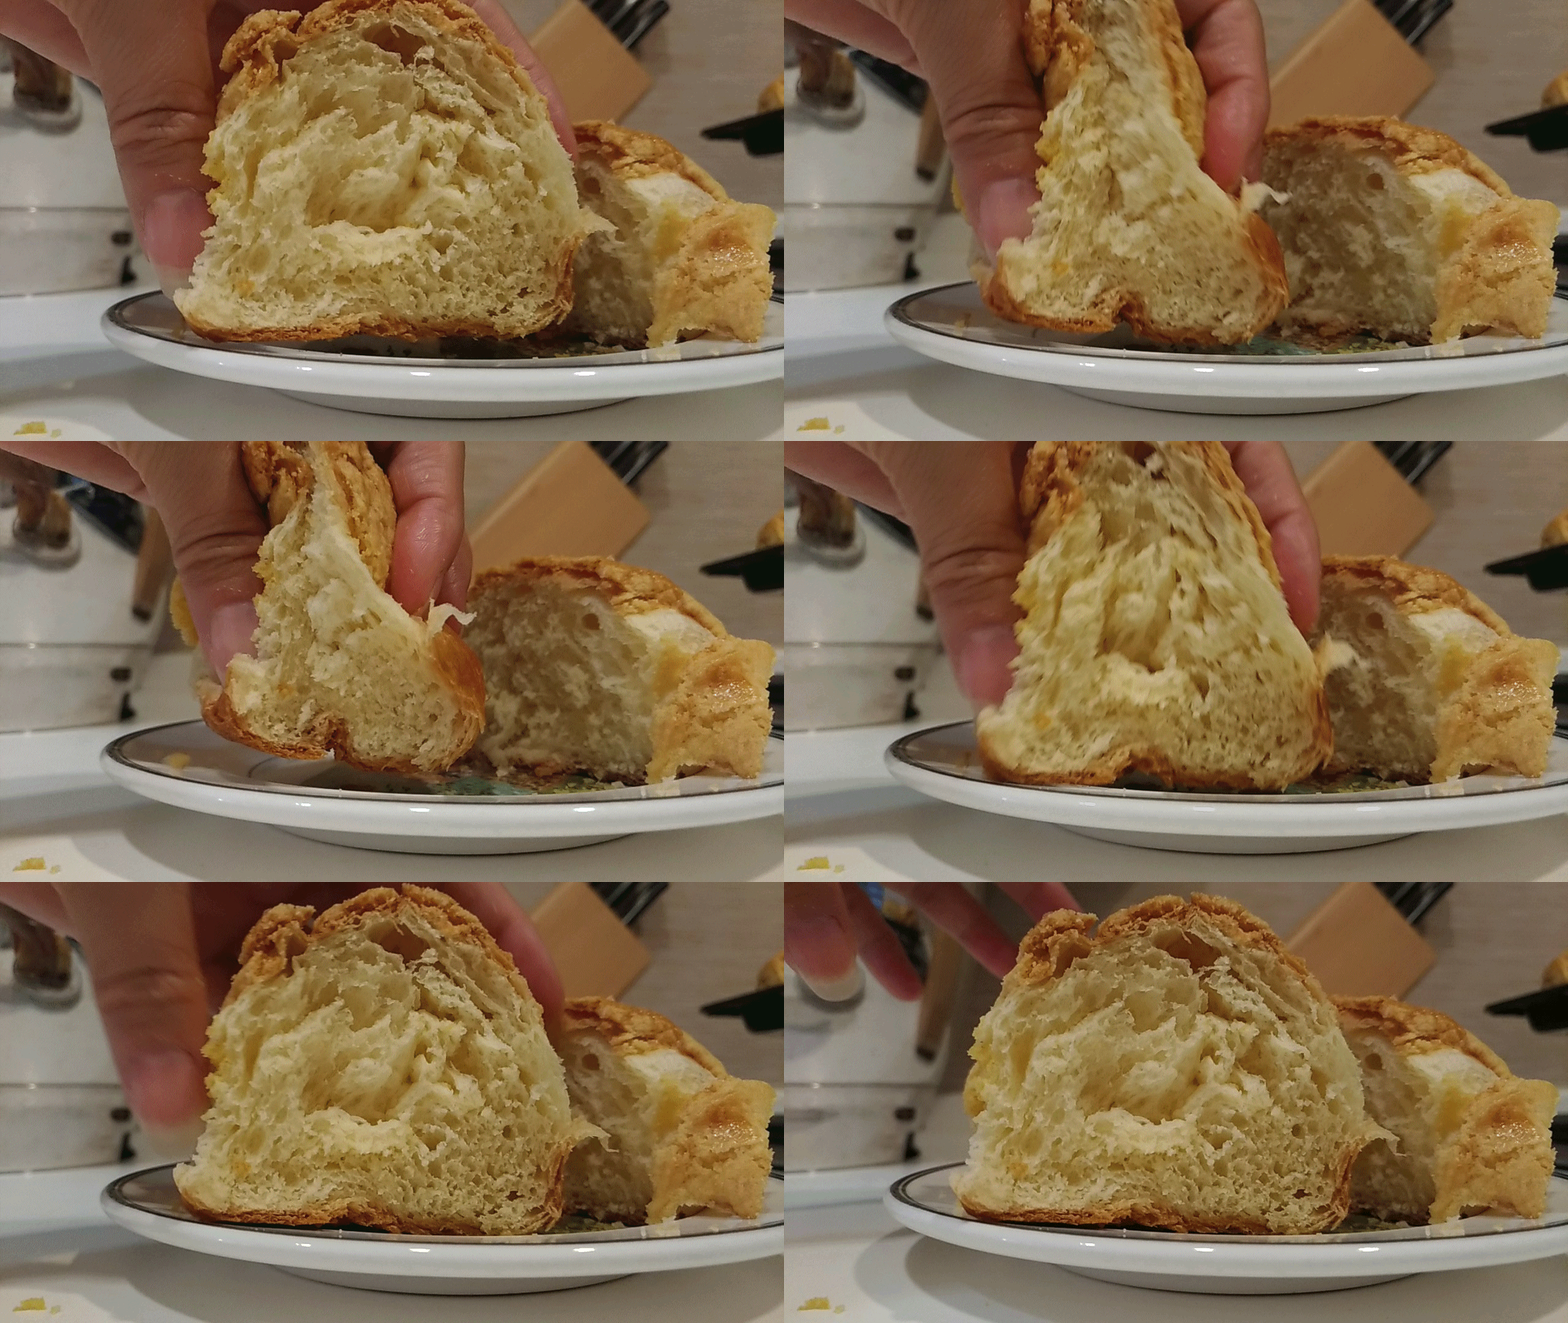
我希望你喜歡我今天的示範。現在我要去下午茶喔!
I hope you like my demo today. I'm off for afternoon tea now!
Author @livinguktaiwan, Posted By @someone

It really looks good.
The last picture looks so good.
I want to eat it all!
Thanks!
Súper!
It is refreshing to see buns made from dough to finish in crumbs in stages. And it has pineapple flavor, it should be tasty.
好想吃波蘿包吃到飽 :Q
Thank you for sharing your recipe. Cheers.
Follow me @Yehey
Thank you.
Glad you enjoyed the demo
Thanks for sharing the recipe in step by step :)
Youre welcome
YOU HAVE DONE A REALLY GOOD JOB ON THAT MY FRIEND
I really enjoyed your presentation! It was so thought out and really descriptive! That looks absolutely delicious! I would totally eat all of it! Haha keep up the good work!
Yummy thanks for sharing this recipe I will definitely make it soon:)
I always visit your blog because you inspires me. Do what you do. Thank you very much for sharing inspiring content.