FIRST 100% ORGANIC CANNABIS OUTDOOR GUERILLA GROW STORY [PART 2/HD PHOTO]
Flowering stage
So in the first post I showed you the beginning part of vegetative growth, how the plant changed during the summer months and what I had to do and overcome, so it could grow to its full potential.
In this part I will explain more in depth the flowering period, how I did the drying and curing process, then show you the end result.
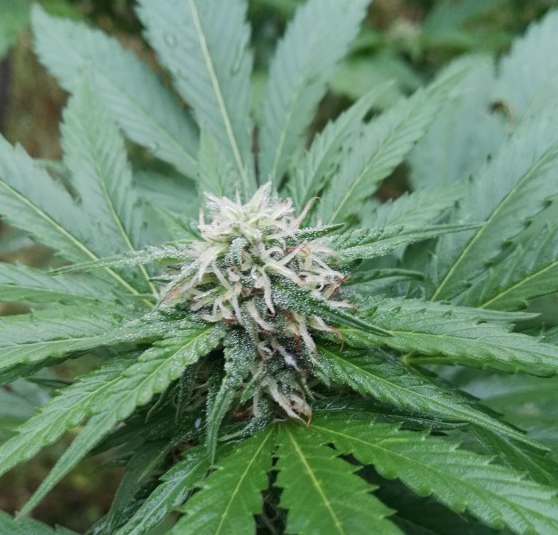
The first sight of flowering was a big relief, because the seed wasn't feminized I didn't know If all the hard work was going to turn into useless branches and male pollen sacs.
But fortunately everything went as expected and it turned out to be a beautiful skunky female!
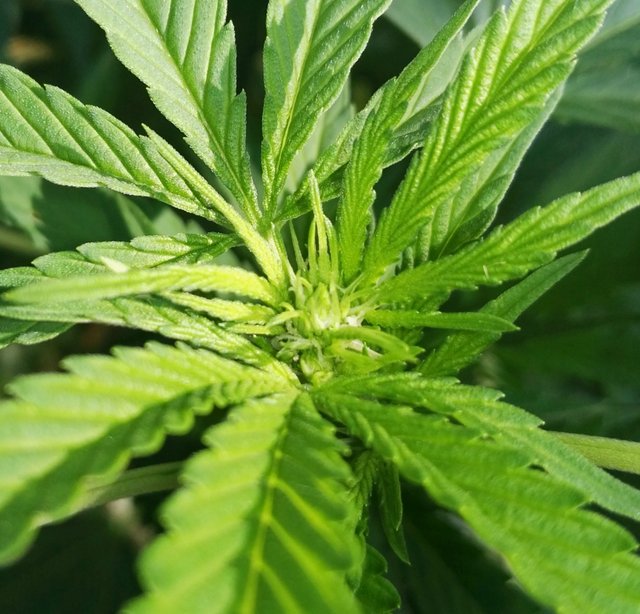
September came quickly, and the summer temperatures we're still in the mid 80's F/ 25 C, ideal for flowering and developing new growth.
It also rained every third/fourth day, so watering wasn't that big of an issue.
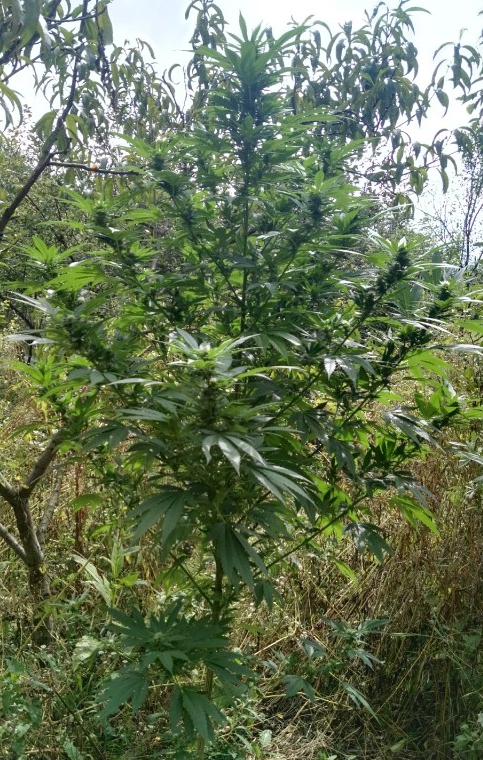
By this time it had grown huge! Much more than I ever expected. I never knew that ganja could resemble christmas trees so much! It was damn near 7'5/ 230 cm tall!
It made me a bit nervous because, now it was taller than the vegetation that was surrounding it. And it sticked out like a sore thumb.
Also the odor was just amazing, every time the wind blew you could smell it from twenty yards away.
It had this piney/lemony/skunky smell to it that is really hard to describe, but it smelled like some damn good weed.
The terpenes we're really kicking in, and I was happy as hell!
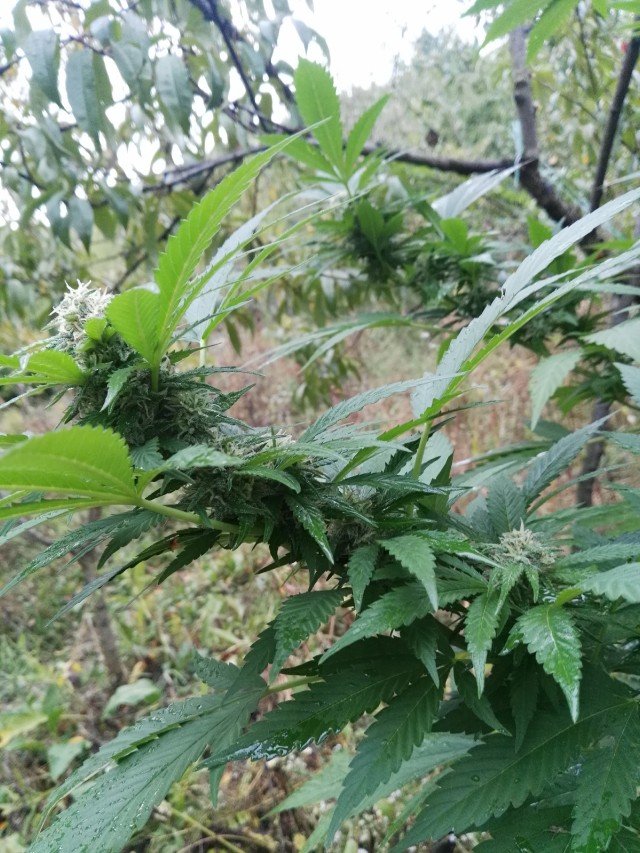
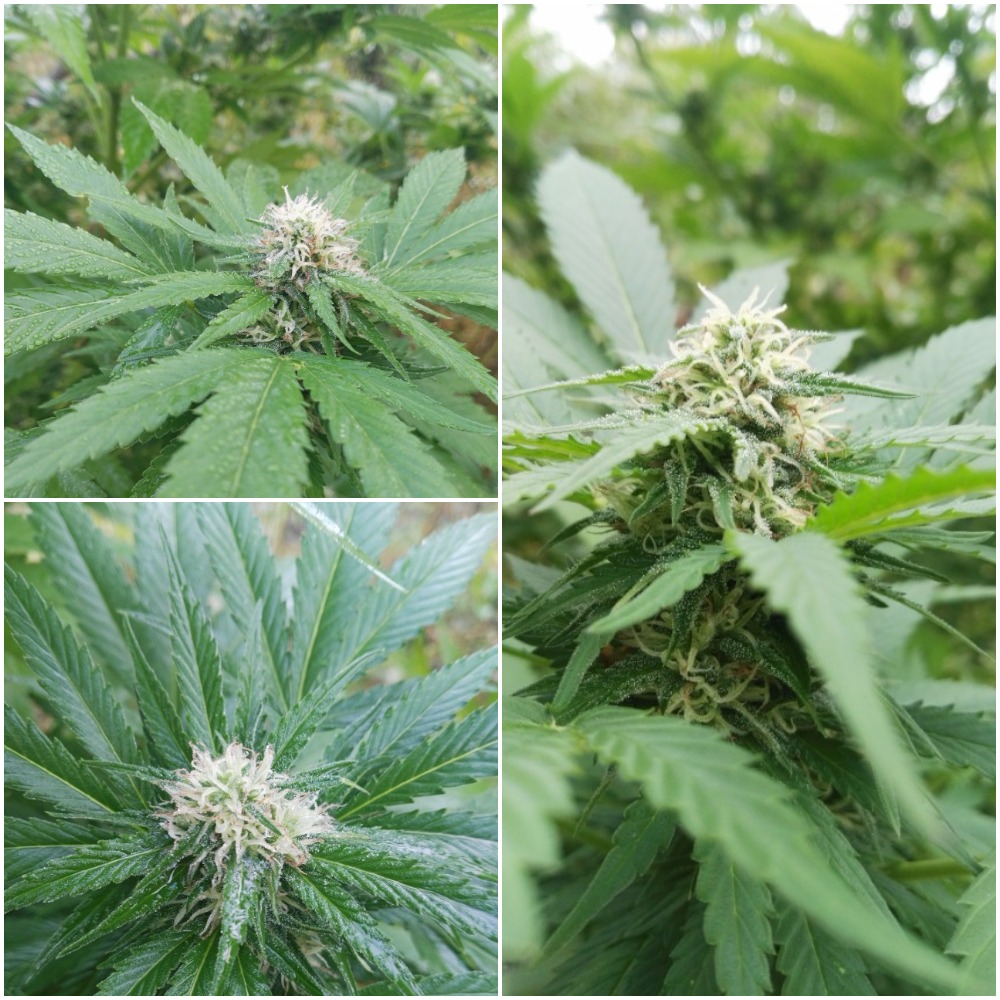
By mid-September the colas really took shape and the plant started looking like something you would see in the High Times magazine.
Sugar leaves we're covered in translucent resin and the pistils grew longer and thicker!
I knew it was just a matter of time and patience, and I would be smoking my own organic cannabis soon.
I could already taste it.
.jpg)
At the end of September pistils started turning amber colour, and that was the first sign of maturing. I could see the colas bending the branches as the buds started to gain thickness.
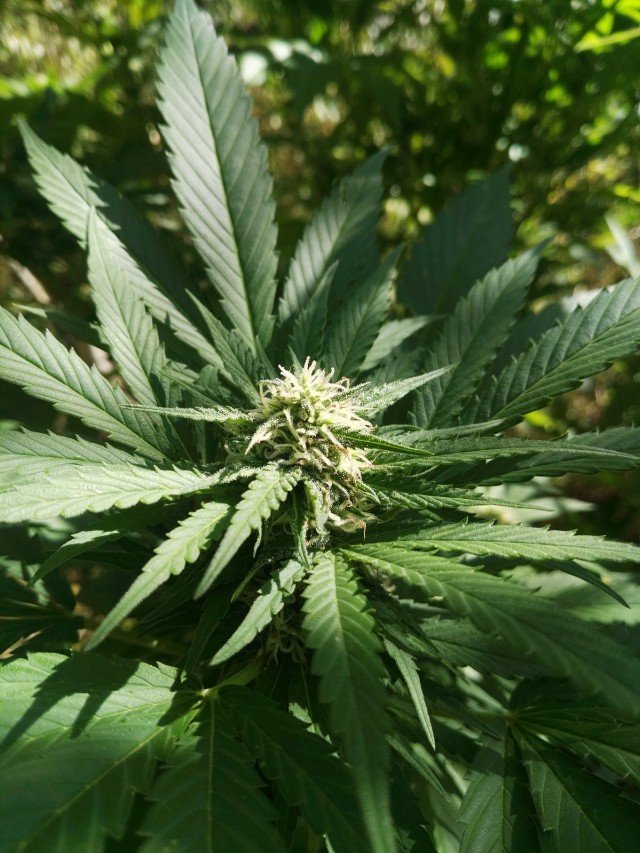
Each morning it was looking more promising and the crystallized layer over the leaves was making me really impatient.
And the harvest day came!
That morning I woke up really pumped!
I grabbed my trusty scissors, grabbed a pair of latex gloves and went into action.
To cut the branches, I grabbed a pair of big pruning shears and snapped them of at the bottom, so the branching made a V shape and it could be easily hanged to dry in my garage.
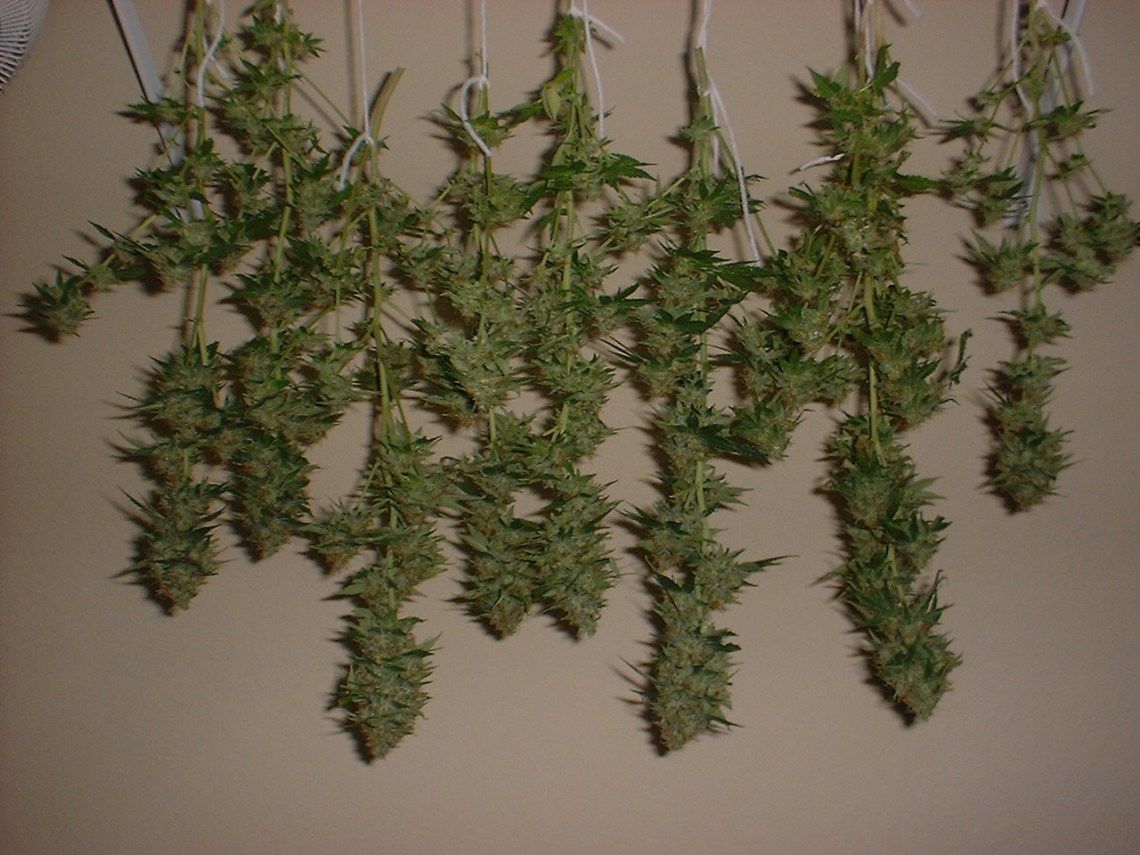
During this initial drying phase, the main goal is to let your buds dry out relatively slowly (usually 3-7 days) while protecting buds against mold and bacteria growth.
I left everything to dry eight full days.
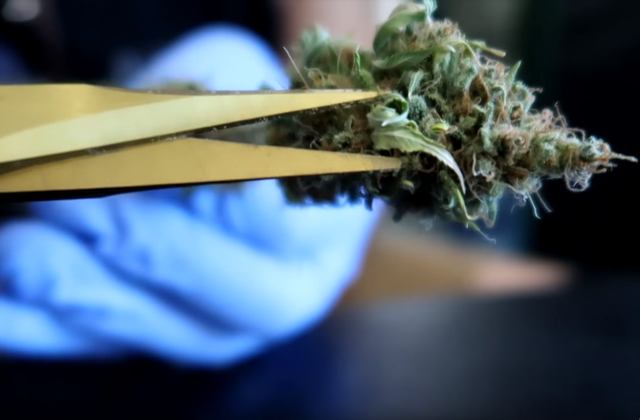
Then goes the trimming part. You want to make sure you have sharp scissors, preferably spring loaded trimming scissors so your hand doesn't get as tired and you're able to manicure the buds perfectly.
I placed a bucket in between my legs so the trimmings and all the sugar coated small leaves would be kept for making edibles later on.
Once I was done with everything, I grabbed a couple of mason jars and placed everything inside for curing.
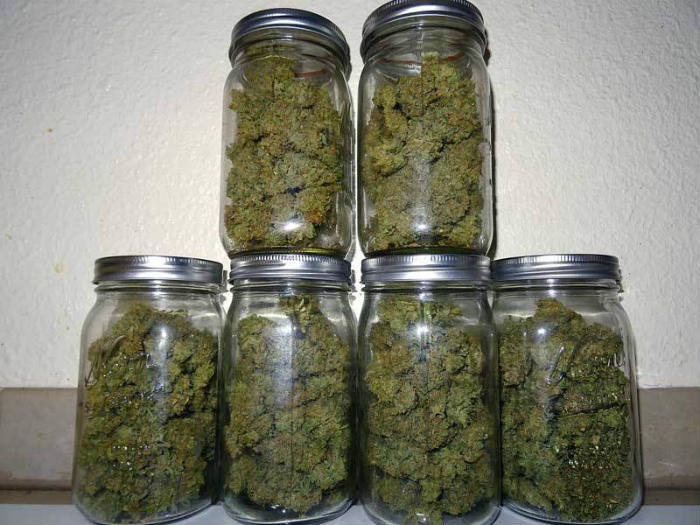
It doesn't need to take forever, but any time you “speed dry” your freshly harvested buds you’re losing many of the benefits of curing.
However, your buds are still improved by curing even if you overdry your buds or dry them a little too quick.
And it really improves the taste!
So, there you have it. Everything I did and everything I learned about my first grow.
And all I could say is, that it's really worth it!
It's worth the risk and it's worth the hard work because that was some of the best weed I've ever smoked, not just because it's organic and looks pretty, but because I made it happen!

@originalworks