How To Make Bokeh Effect: A Step By Step Guide
I want to re-post the article from Snapshot by Mona Teo,originally Indonesian to English which explains the bokeh technique by using a canon kit lens. Here we comes
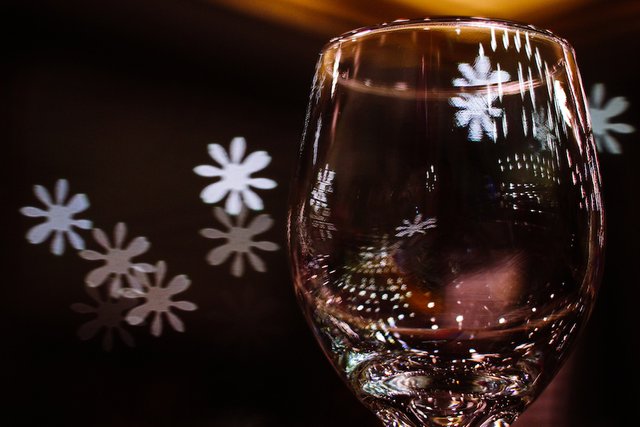 Canon EOS M10, EF50mm f/1.8 STM lens, f/2.8, 1/5sec, ISO 1600
Adapted from the word meaning 'blur' in Japanese, bokeh is a popular photography effect featuring a soft background that loses focus
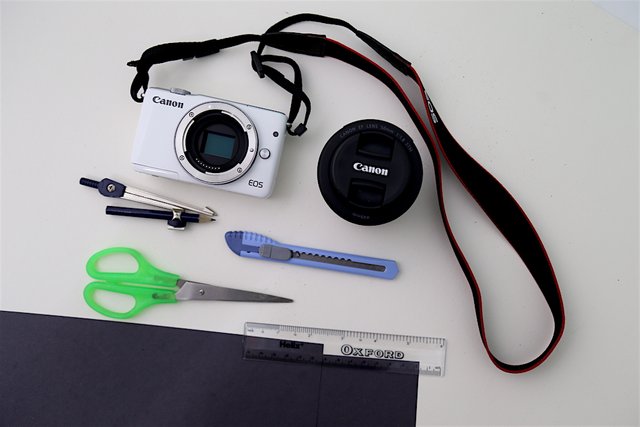
You will need: a camera, lens, construction paper with black, scissors, ruler, folding knife and a protractor.
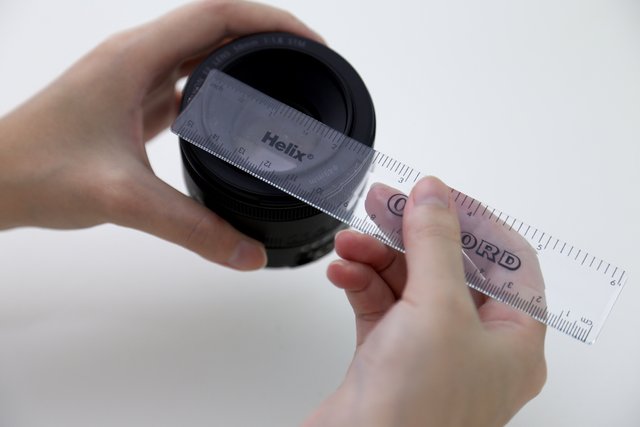
Step 1: Use a ruler, measure the width of your lens
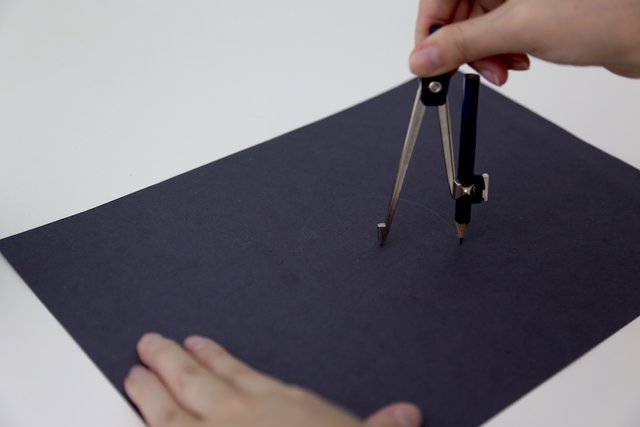
Step 2: Divide the width to half and arrange your degree bow. Draw a circle on a construction paper. This will be your filter.
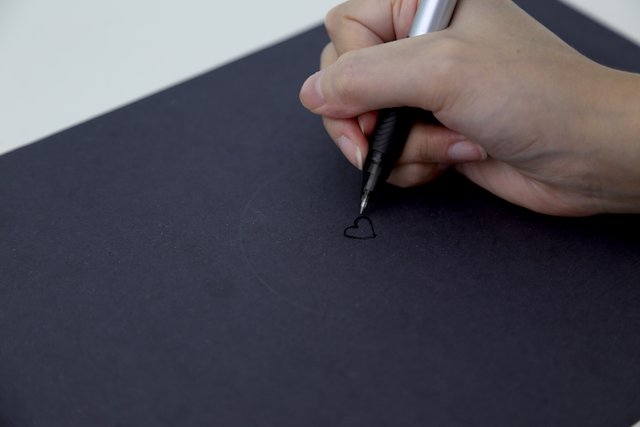
Step 3: Draw your shape as close as possible to the center of the circle, then cut it with a folding knife or art knife. You can be creative as you wish!
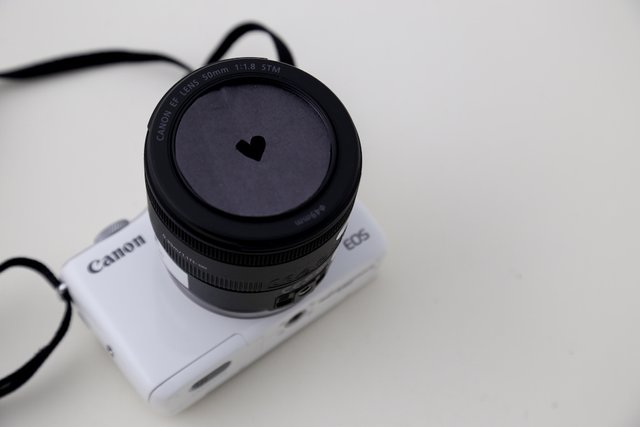
Step 4: Place your filters carefully on your lens (you may want to add a small section on the side for easy removal).
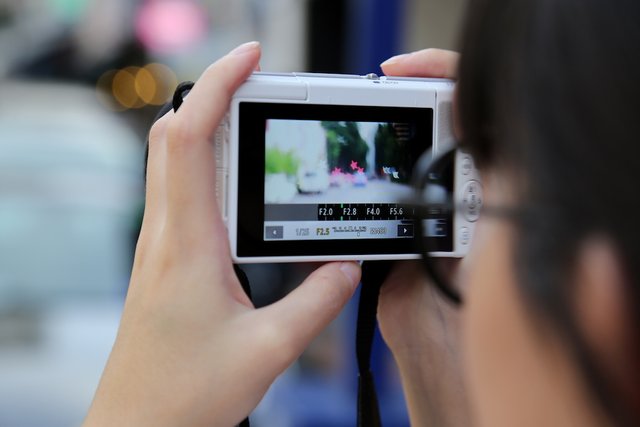
Step 5: Set the camera with the widest diaphragm because the filter will block out a lot of light. You can also choose a longer shutter speed, but note that you will need a tripod to reduce shocks on the camera. Congratulations to experiment and have fun!
this is the resulting photo
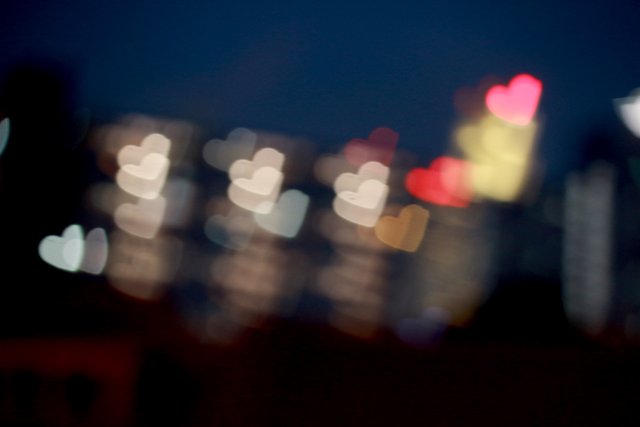
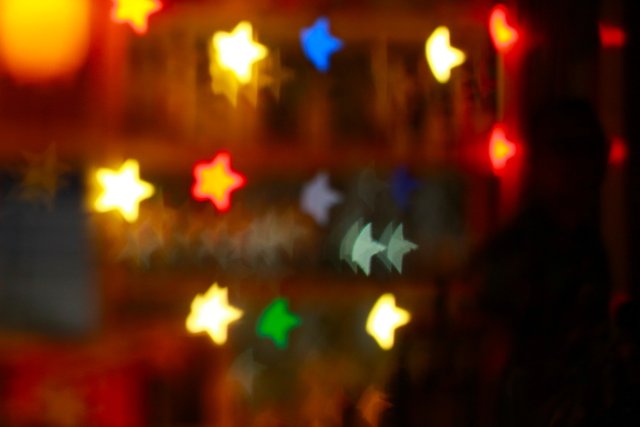
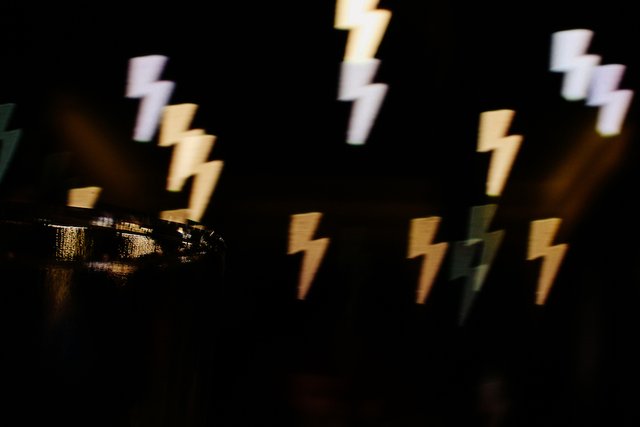
article source https://snapshot.canon-asia.com/indonesia/article/id/how-to-bokeh-a-step-by-step-guide
Conclusion
1.post articles aimed at learning the art of photography and reintroducing to steemit colleagues how bokeh photos use simple kit lenses
2.explore the science of art of photography is a professional experience in pour back to be taken an example
Thank you for your attantion
Translate by @zakiumaya
Get get that poto neucok. Lon hana meulon tuoh pih.
Lon cok ngon kamera DSLR. Lensa fix pak saiful hehehe