How to compile your very own Devcoin Wallet in Ubuntu 18.04 💪 💻 💾

For a Spanish version of this article click here please

Let’s begin! 💻
You basically will need three things once inside the computer OS: A terminal or command line, a bunch of tools that can be installed from the command line and the devcoin wallet source code and a some spare time!
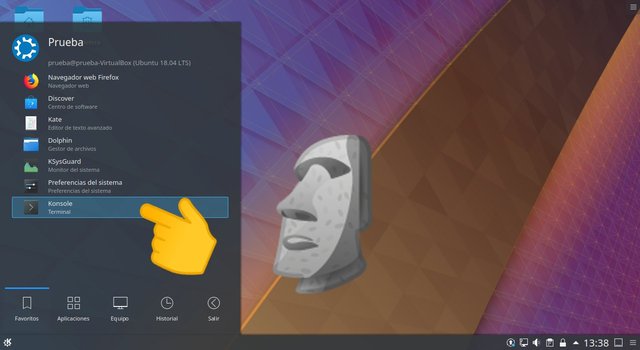
1- First, open a terminal, in this case I’m using Konsole from the main program menu (Fig.01). You can choose any software you like that came with your distribution.
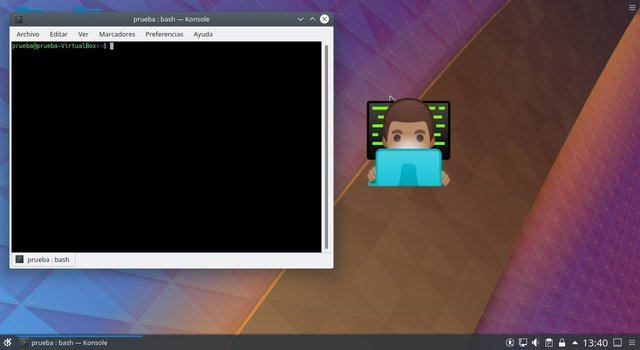
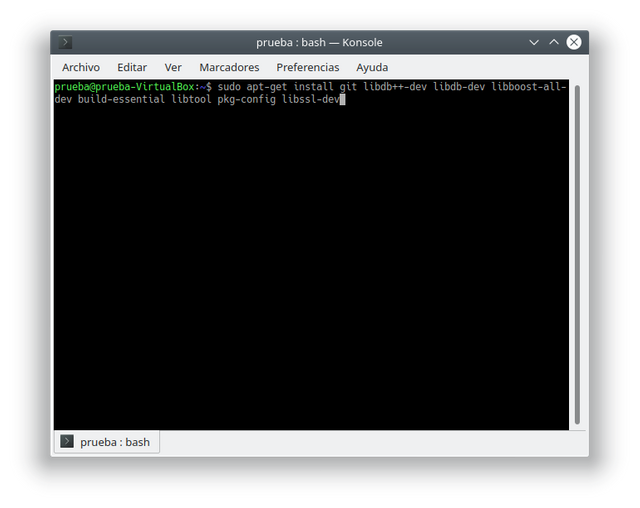
2- Once it has opened up (Fig.02), you need to install first these new packages (Fig.03):
sudo apt-get install git libdb++-dev libdb-dev libboost-all-dev build-essential libtool pkg-config libssl-dev
Once the installation has finished, and everything looks fine and dandy, we can now download the source code!
I strongly recommend you to try a stable branch. Nevertheless, this can be done with any cutting-edge source code inside the devcoin wallet repository.
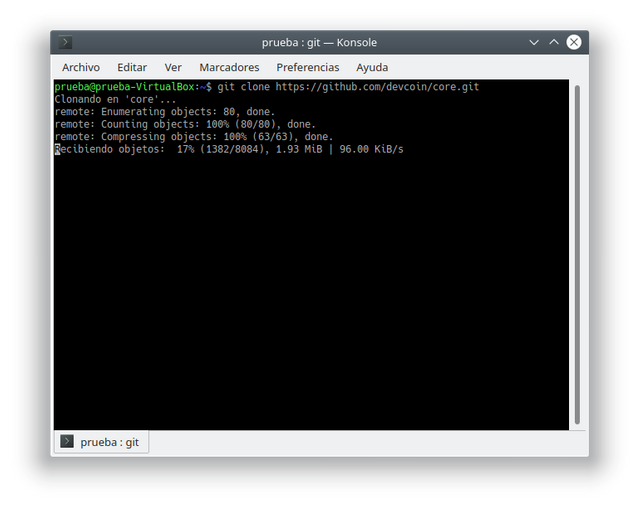
3- There are two ways to download it. The simplest one is downloading it through git and the second one is downloading it as a zip file. In order to do it through git we use the same terminal window and write the following command:
git clone https://github.com/devcoin/core.git
If you want you can go to https://github.com/devcoin/core/archive/master.zip and unzipit anywhere you want.
For the sake of this tutorial, we will continue as if we have used the git method (Fig.04).
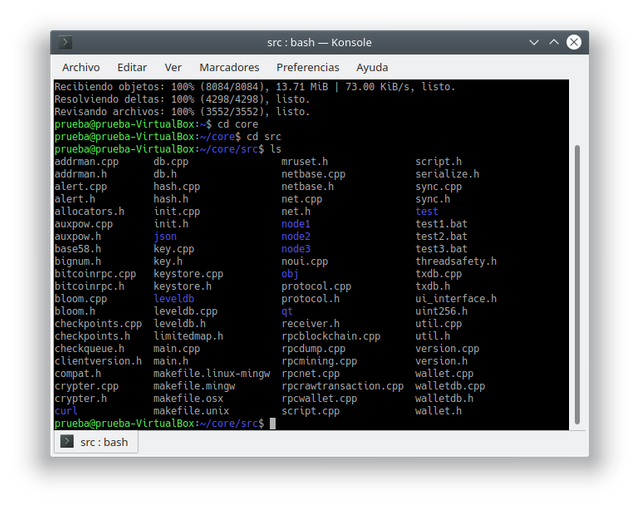
4- Once the program has been downloaded, you can enter the directory writing in your terminal:
cd core/
In there you can see using the command ls a bunch of files and more directories. The blue ones are directories and the white ones plain files.
5- Now write the following command:
cd src/
This command will take you into the main source program directory, where the compiling of the core wallet, called devcoind, will be built (Fig.05).
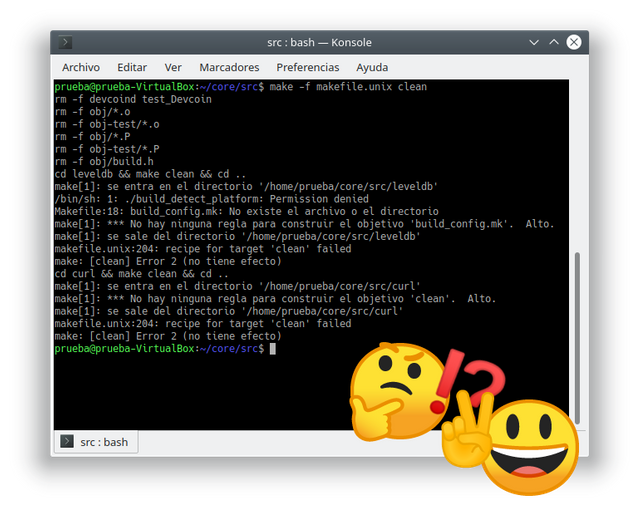
6- As a way to assure you that the main branch is cleaned of a previous compilation, you should always execute the following command:
make -f makefile.unix clean
Usually when the source code has just been downloaded, it came with nothing and it will give you an error, but that’s fine (Fig.06). This step is necessary to assess that the source code hasn’t been compiled before, so if at this point you got an error, it’s because it’s clean! Yay! 👏 However, it’s useful to always execute this step as a way to assure yourself to correctly setup the code before compile anything. It’s a good practice in my opinion. 😉
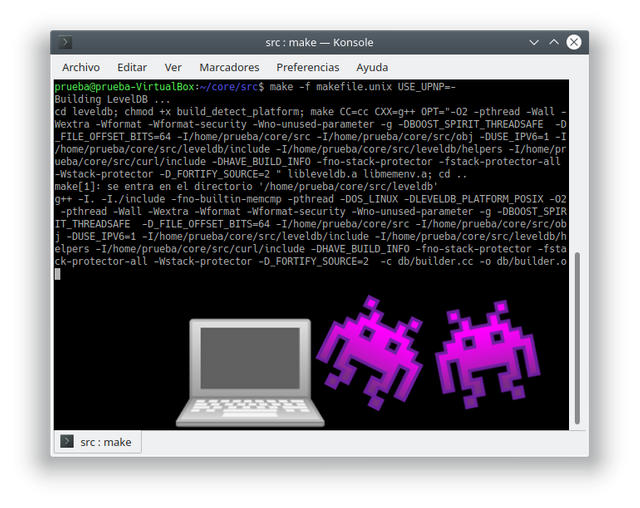
7- Then we will begin the real deal. Inside the terminal enter the following command:
make -f makefile.unix USE_UPNP=-
Now, this will take some time depending on your computer or your configuration. Usually in a slow computer it will take around 30 minutes to compile, or two hours in a virtualization environment using a slow computer. Maybe you got a cutting-edge computer with a great performance and probably will take it much less time to compile the source code, but for this tutorial, expect at least 30 minutes. (Fig.07)
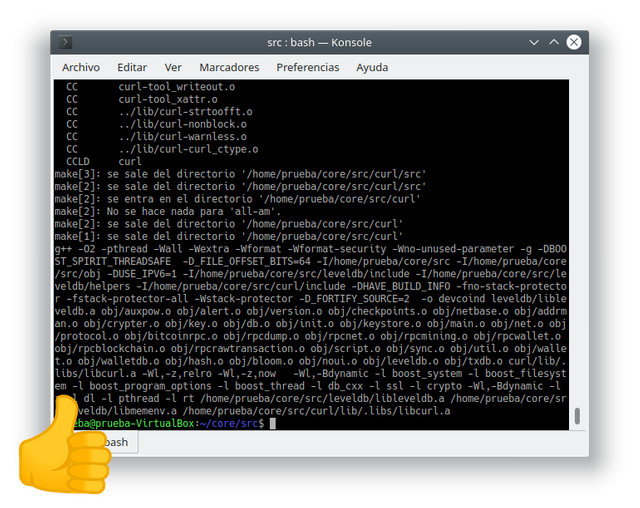
When it finishes, it’s done! You won’t see any message, it just returns to the command line without any problem! (Fig.08) If it ends with an error, it probably is because of a dependency problem or you need another package that isn’t installed correctly, 😵 but hopefully if you followed these steps, you won’t find any. Fingers crossed! 🤞🤞🤞
8- To finish the devcoind compilation we will write the following command:
strip devcoind
That removes symbols from the object files, that in other words is to get rid of things not necessary for the compilation process, slimming down the binary file.
Now, we have to compile the GUI! Without it, you are stuck with the command line and we don’t want that huh? 🤓
9- So, in order to compile the GUI, we need new dependencies installed. So, we write the following command:
sudo apt-get install libqt4-dev qt4-qmake libqt5gui5 libqt5dbus5 qttools5-dev qttools5-dev-tools libprotobuf-dev libminiupnpc-dev libpng-dev libqrencode-dev
10- Once it finishes, we need to go back to the core/ directory and exit the src/ directory. To accomplish that, we need to write the following command:
cd ..
- Note that the space between cd and the two dots is required!
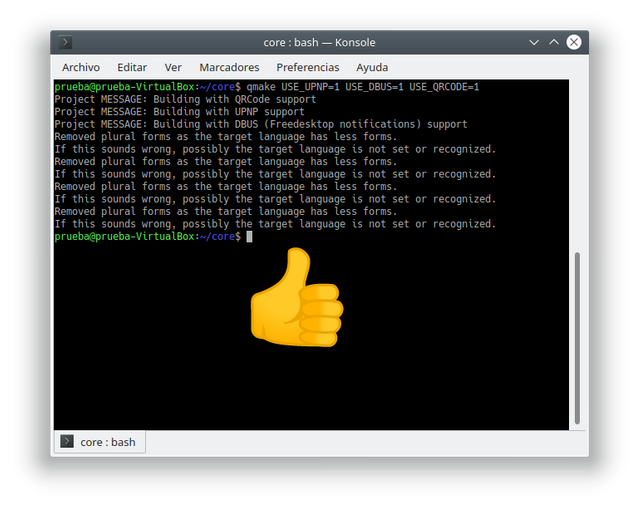
11- Now we need to prepare the compiler and tell it what settings do we need (Fig.09). For that, we write the following command:
qmake USE_UPNP=1 USE_DBUS=1 USE_QRCODE=1
It will show you a bunch of letters, symbols and numbers, just like before: It will swiftly give you back control of the command line. And of course, that’s perfectly fine!
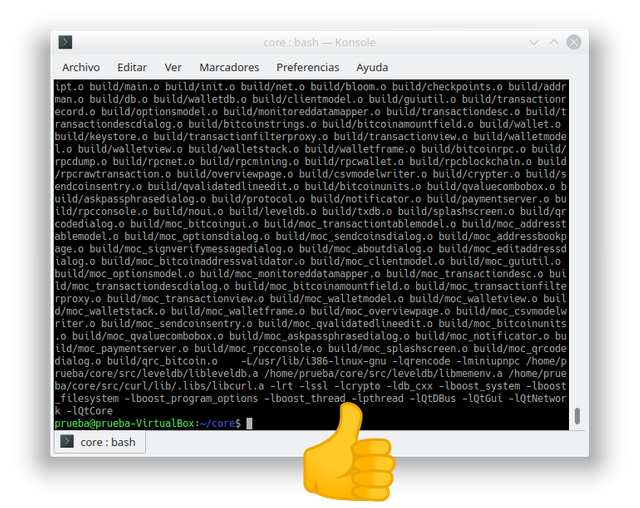
Now to compile the GUI!
12- Enter the following command in the terminal
make
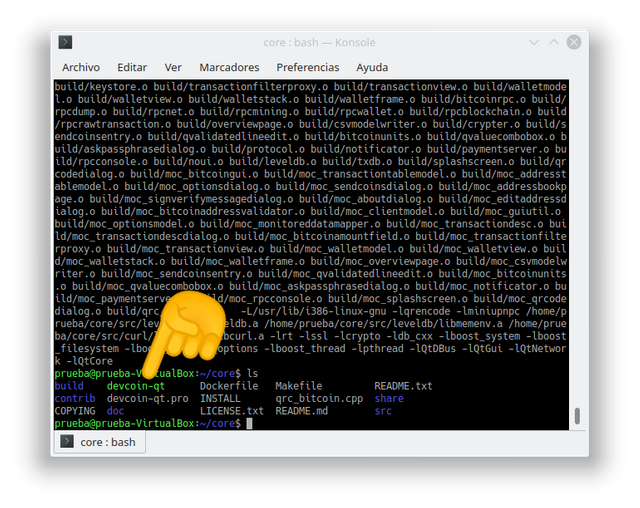
And that’s it! (Fig.10) It will be much faster than compiling devcoind, but once it has ended you can use the command ls to see a list of files and names as before, but now you will see a green file called devcoin-qt (Fig.11) That’s how the system shows an executable file.
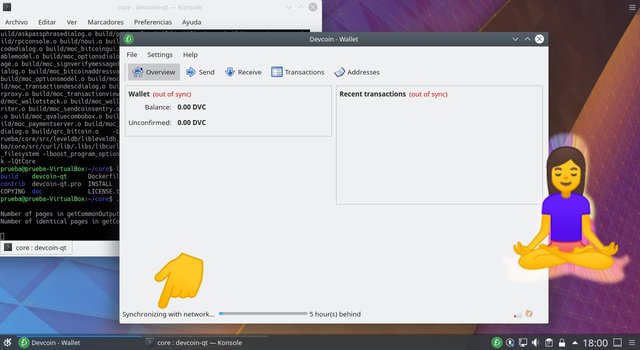
In order to execute it, you have to write the following command in your terminal:
./devcoin-qt
The dot and the slash before an executable file name tell to the system that you want to run that file.
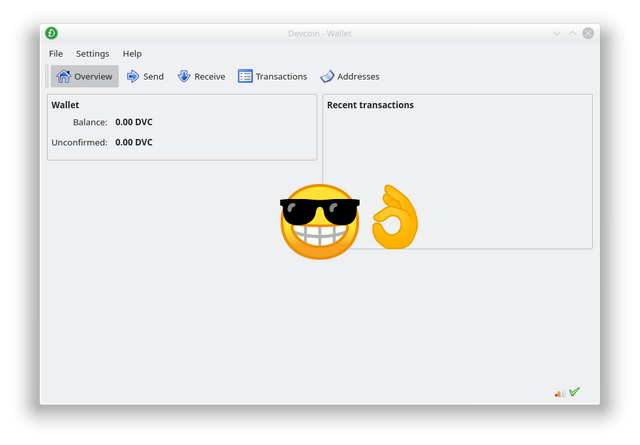
And now you can see the handsome wallet working! (Fig.12) 😎 To download the blockchain completely, it will depend on your Internet speed. The blockchain size is around 2GB in size, so, it could take from 30 minutes to five hours (Fig.13). The good news is, you don’t have to wait for the whole blockchain at once, you can close the wallet and continue later and it will pickup where it left, so don’t worry about the time, but take note in case you don’t have much space left in your hard drive (Fig.14).

Well, I hope you have found this tutorial helpful and I will try to write more in the future. Just tell me what you want and if you like it, what things can be improved or anything you want!
Keep steeming! 👋👋👋👋
| Table guide: Steps for compiling |
|---|
| 1. Open a terminal |
2. Installing dependencies: sudo apt-get install git libdb++-dev libdb-dev libboost-all-dev build-essential libtool pkg-config libssl-dev |
3. Download the code: git clone https://github.com/devcoin/core.git |
4. Enter the source code directory with cd core/src |
5. Clean before begin: make -f makefile.unix clean |
6. Begin compile devcoind: make -f makefile.unix USE_UPNP=- |
7. Remove unused symbols: strip devcoind |
8. Install GUI dependencies sudo apt-get install libqt4-dev qt4-qmake libqt5gui5 libqt5dbus5 qttools5-dev qttools5-dev-tools libprotobuf-dev libminiupnpc-dev libpng-dev libqrencode-dev |
9. Get out of the source code directory using cd .. |
10. Prepare the compiler for the GUI qmake USE_UPNP=1 USE_DBUS=1 USE_QRCODE=1 |
11. Execute make |
| 12. Enjoy! |
This article is licensed by @cpol under CC-BY-SA 3.0 license. September 24th 2018 ✍
References:
Ctya. (2018, September 5). Failed compilation from source #2 · Issue #56 · devcoin/core [Github comments]. Retrieved September 22, 2018, from (https://github.com/devcoin/core/issues/56#issuecomment-418958715)
GDJ. (2018, February 19). Free Image on Pixabay - Abstract, Decorative, Divider [Stock images]. Retrieved September 22, 2018, from (https://pixabay.com/en/abstract-decorative-divider-fancy-3166168/)
Nice read. Is it possible to have something written up for a mac OS wallet? as the one on the devcoin.org page isnt the best and I am having issues with mine.
Thank you for your kind words. I think is possible, but I'm not familiarized with compiling tools environment in mac OS nor I have a mac OS myself. Maybe @develcuy could share some light regarding this. I'm gonna research this around and see if it can be done. Thanks for asking and happy new year!
Would you have any ideas, @cpol, why my old wallet (previously installed using this guide) would now be complaining about the present version of libboost? Perhaps it has to be re-compiled with a more updated version which may have happened since last use, which was some time ago? Below is some feedback from the system that may give you an idea...
Unfortunately, I don't have any idea. My library versions are exactly the same as yours and I could compile the source code from main without problem.
Are you using the main branch or another branch? Could you try with fresh install in a virtual machine like virtual box if you can reproduce the problem?
Congratulations for this detailed tutorial :)
Let's compile your wallets!
Thank you very much! Glad you liked it!
Great post! Accepted for Round 83.
Posts for rounds 84 to 86 still pending.
Yay! Wonderful @devcoin!
Really nice guide here great article and lovely to see this translated in Spanish as well, keep up the great work :)
Thank you@fuzzzybearbtc! Glad you like it!!!
A wonderful guide, @cpol. Managed to get a new wallet running under Ubuntu 16.xx. Thank you! 😎
I'm so glad @novacadian!Thanks to you for using this guide and resteeming! 😃😃😃
Heads-up that error appears as of recently, so blockchain doesn't update properly - i.e. it's stuck at block 3999 (at first) if you just installed wallet by following this guide or some later block depending on your last receiver file.
To fix it, you need to manually download receiver files (e.g. from https://github.com/devcoin/receivers - apparently all receiver files, or https://galaxies.mygamesonline.org/receiver_files.zip which has only 80 files tho) and then put them inside your receivers folder e.g.
~/.devcoin/receiversfolder (you can only download the ones you are missing). Then restart the wallet and it should start syncing properly.Some more discussion with regards to the issue:
https://bitcointalk.org/index.php?topic=233997.msg50510377#msg50510377