SLC22W4 | Basic Children's Clothing Pattern Layout

Follow the points mentioned below for tracing circular neck;
• Choose width of neck around 5 cm and then multiply it with 2 so it will give total width.
• I draw a rectangle who's width was around 10 cm which was half of back width ,as back width is 20 cm that's why box width is 10 cm. Height is also around 10 cm which is total width of neck.
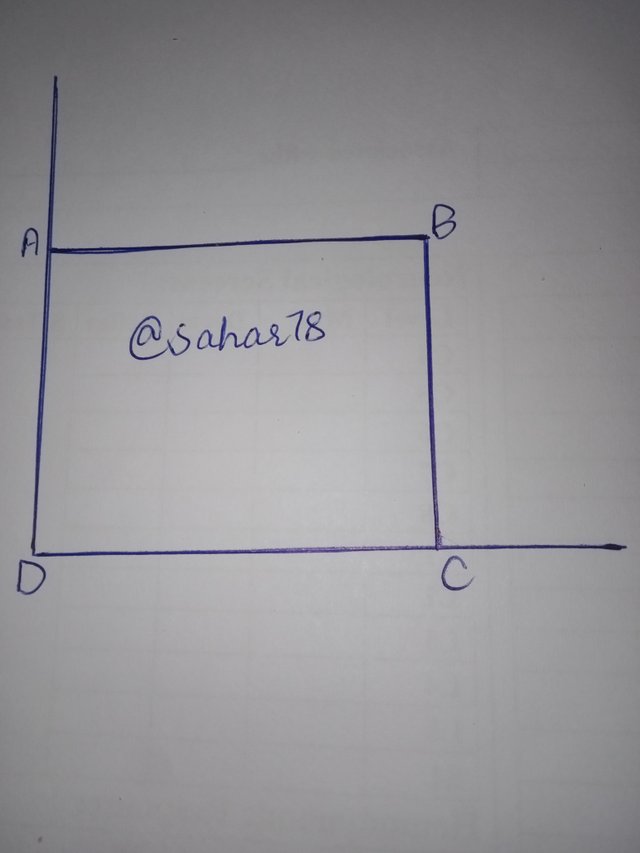
• Now you need to mark corners of rectangle as A, B, C, and D
• Midpoint of BC line is marked as point number 1.
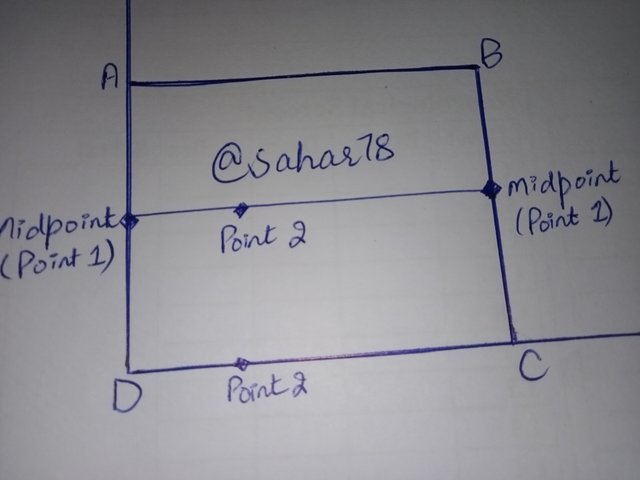
• Now you have to divide AB horizontal line in three parts and then Point 2 will be marked at AB and DC.
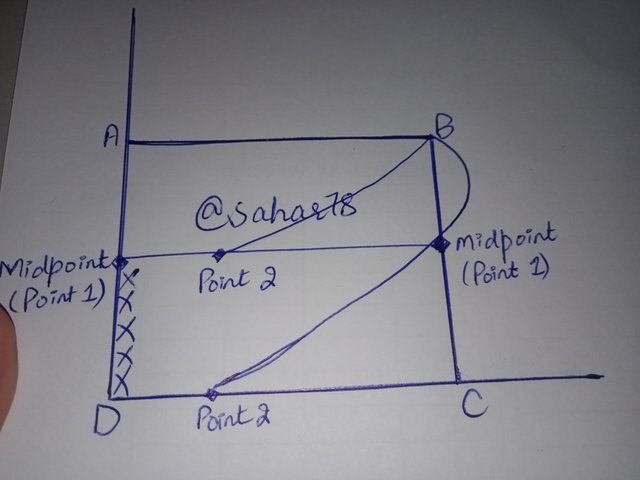
• At last I draw curve by combining point one with two, Point 2 with b, point b with one so a smooth curve coming outside of the box you can see as final result.
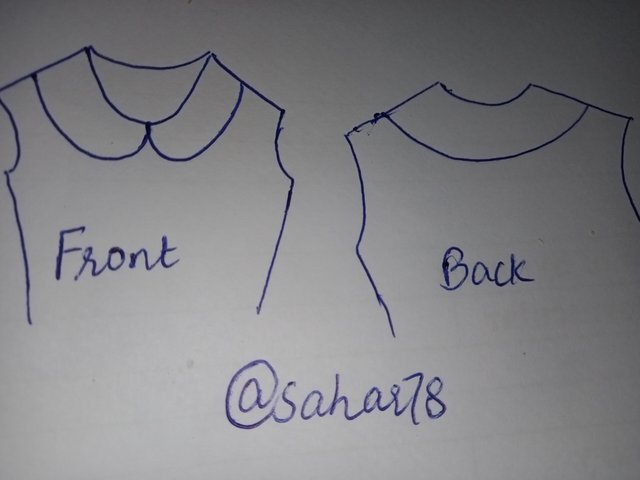
Follow the points mentioned below for tracing baby neck;
• I started by creating a rectangle with measurements of width and height as 4th part of circumference of back and as width of neck multiplied by 2 respectively.
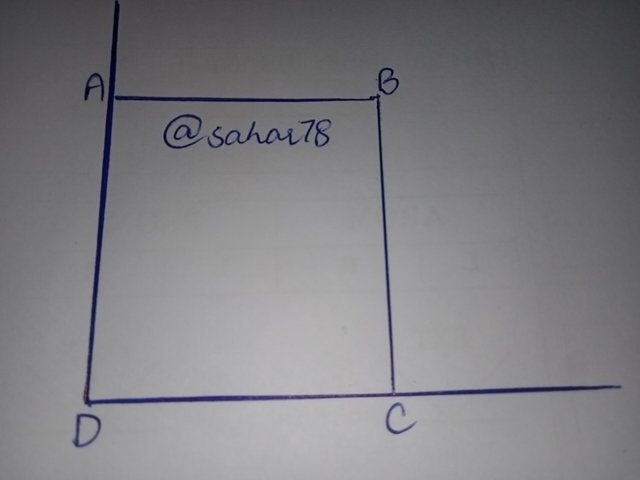
• I label rectangle corners as A, B, C, and D.
• Measure mid of rectangle and by locating them I mark them as point number 1.
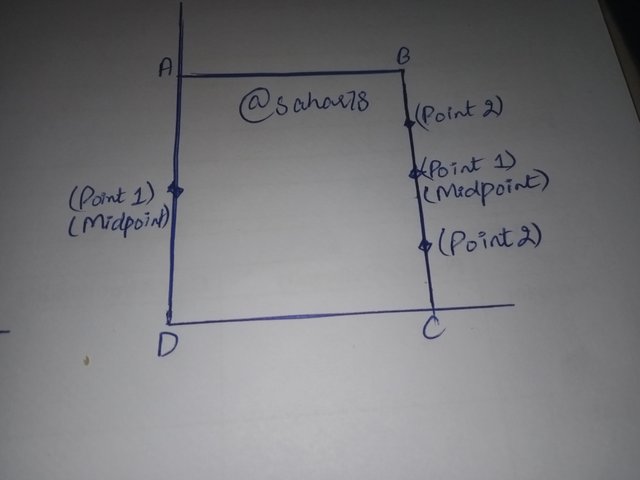
• I am dividing AD and BC lines in 4 equal parts and I mark these points as point 2.
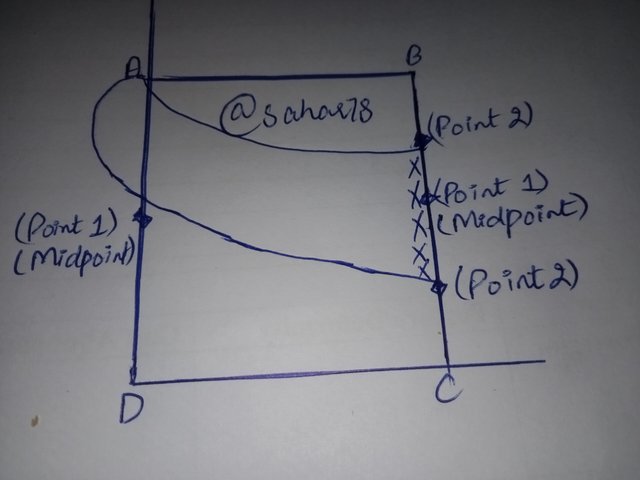
• At last I need to draw curves by joining A to 2,1 to 2 and c type curve will be formed by joining A to 1.
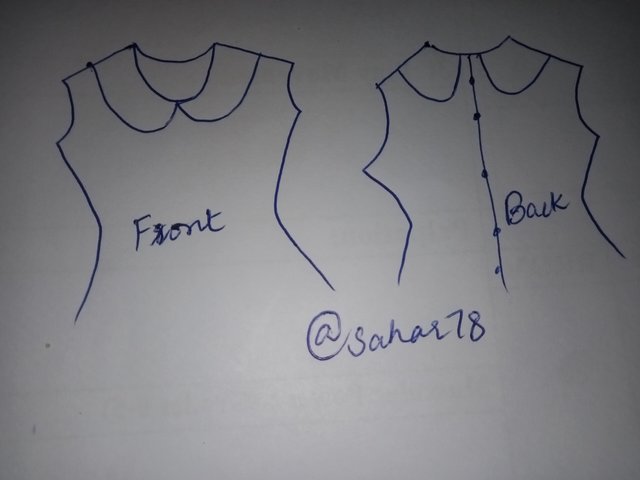
Follow the points mentioned below for tracing yoke collar;
• I started joining back and front patterns at shoulder by leaving separation of around 1.5 to 2 cm.
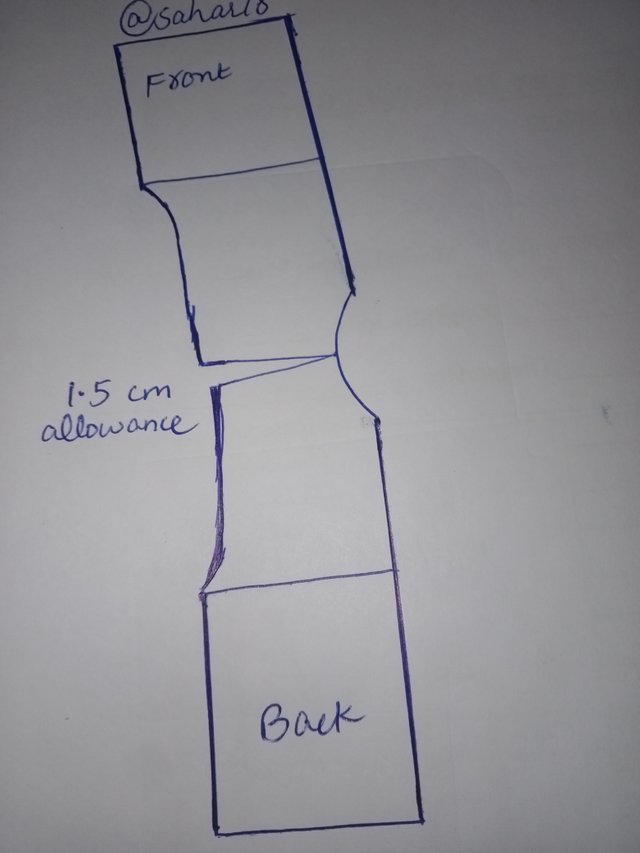
• By around 10 cm I lower neckline in this step and then I connect back and front with curve shaped line.
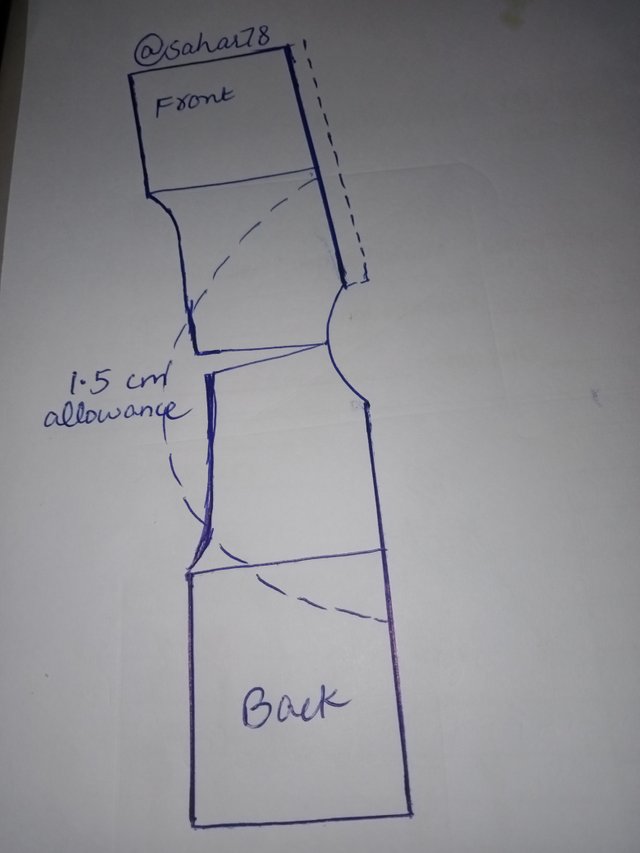
• At last I add opening of button by leaving around 2 cm at back.
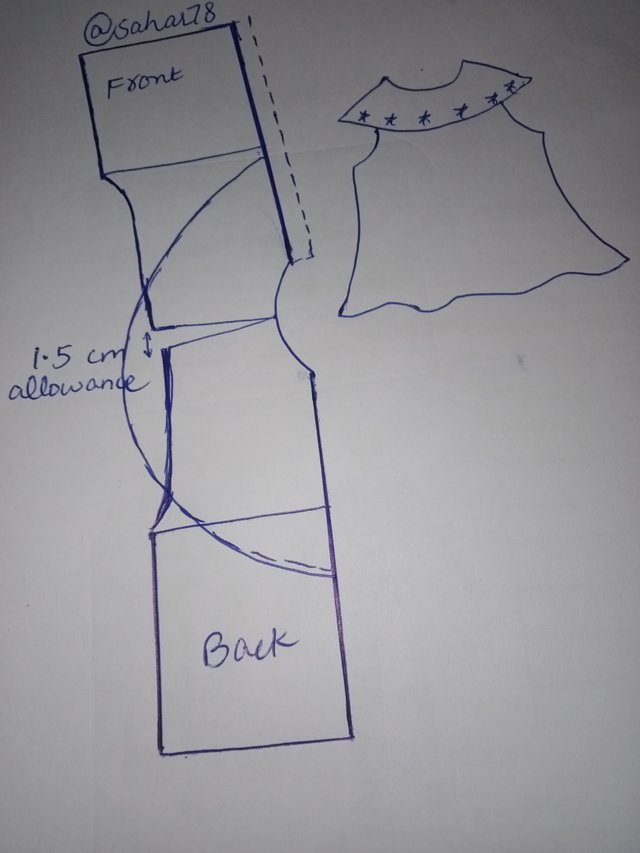
Follow the points mentioned below for tracing sailor collar;
• I started joining back and front patterns at shoulder by leaving separation of around 1.5 to 2 cm.
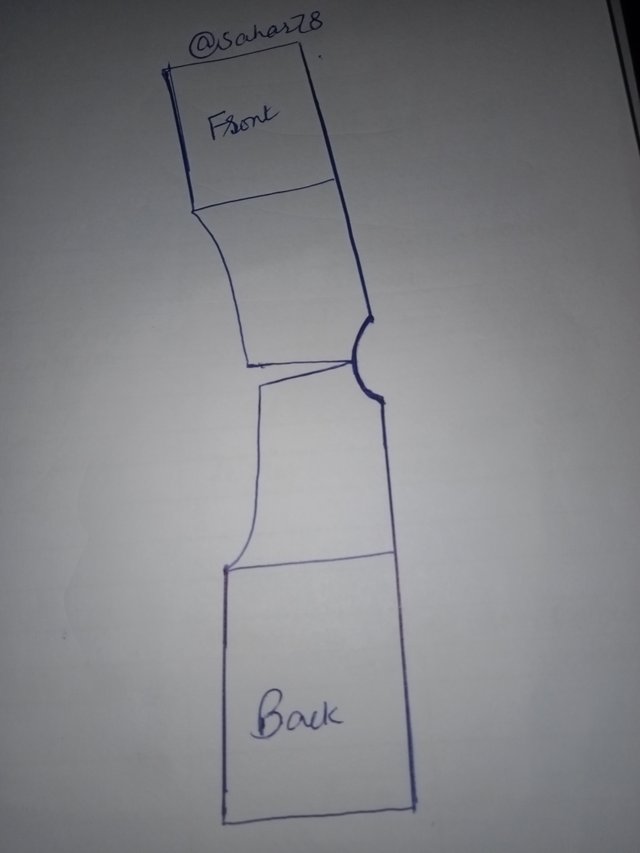
• From front neckline I measured around 10 cm and make depth of V shape.
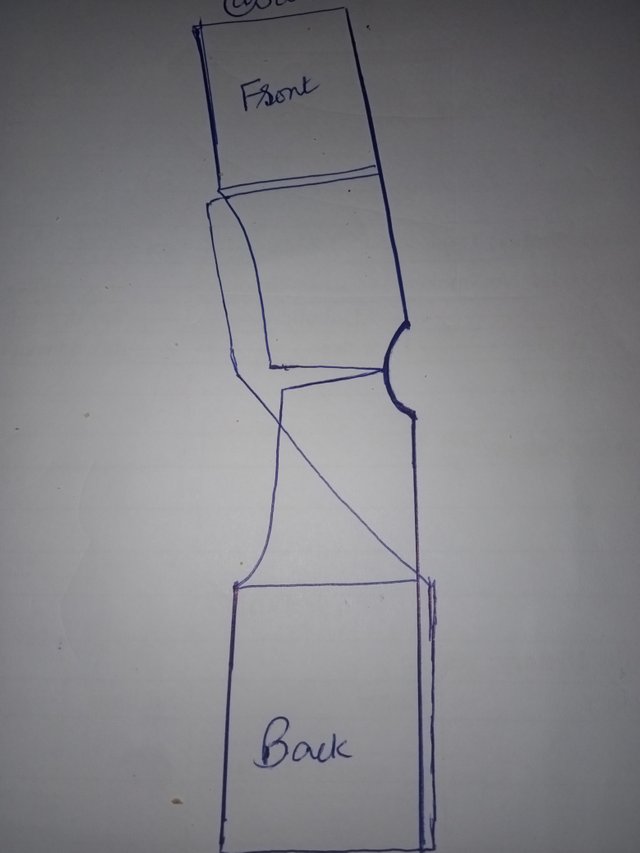
• From back neckline I measured around 10 cm and make a square with shoulder.
• At last I joined front and back point by creating a smooth curve,10 cm from shoulder.
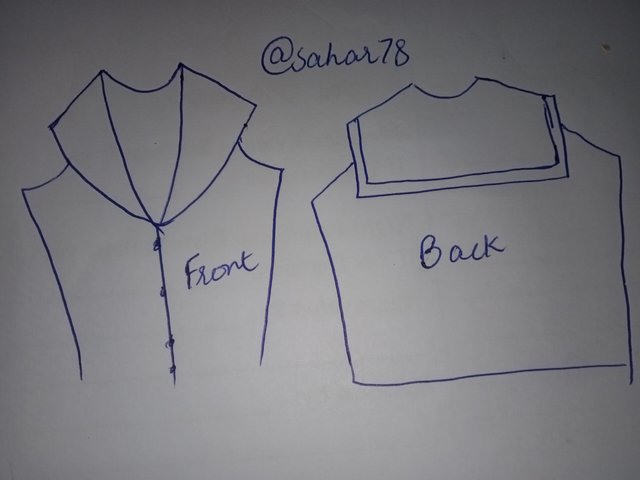
Now sailor collar pattren will be created with square shape back and "V" shape front.Now you can make adjustments of measurements for model and size of your own choice.
| Round patch pocket |
|---|
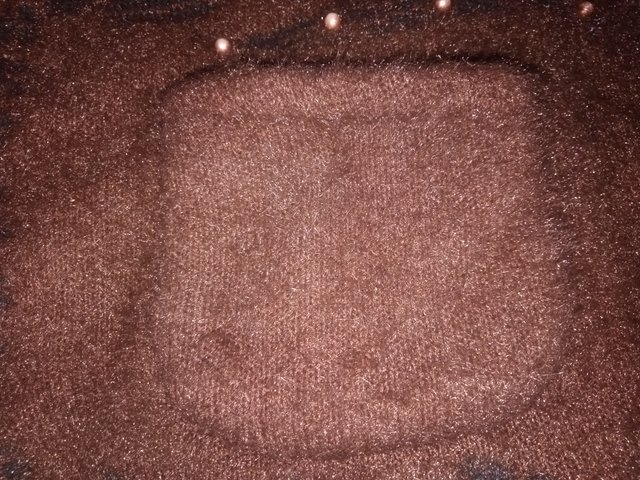
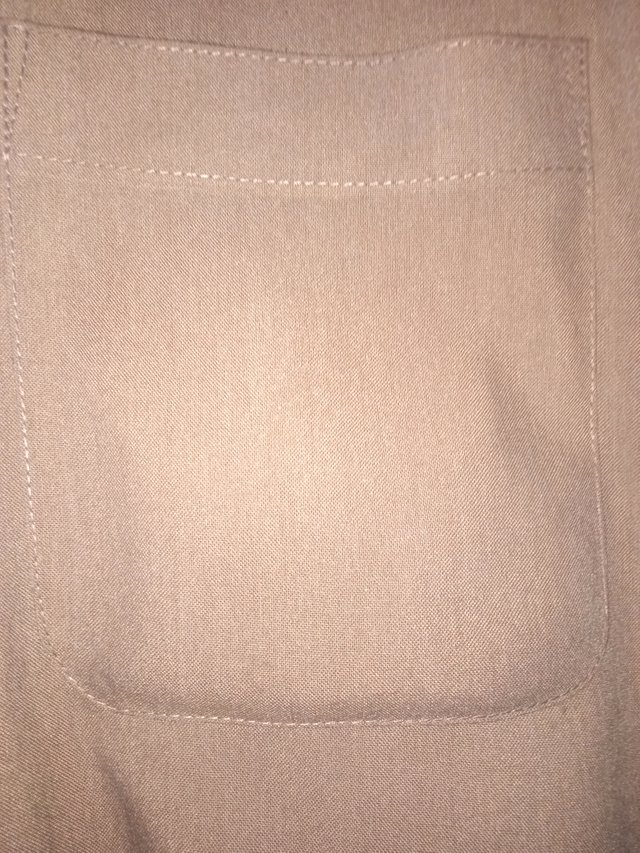
Round patch pocket is functional pocket style which have rounded edge and circular pocket shape.Mostly used in overalls.
| Straight patch pocket |
|---|
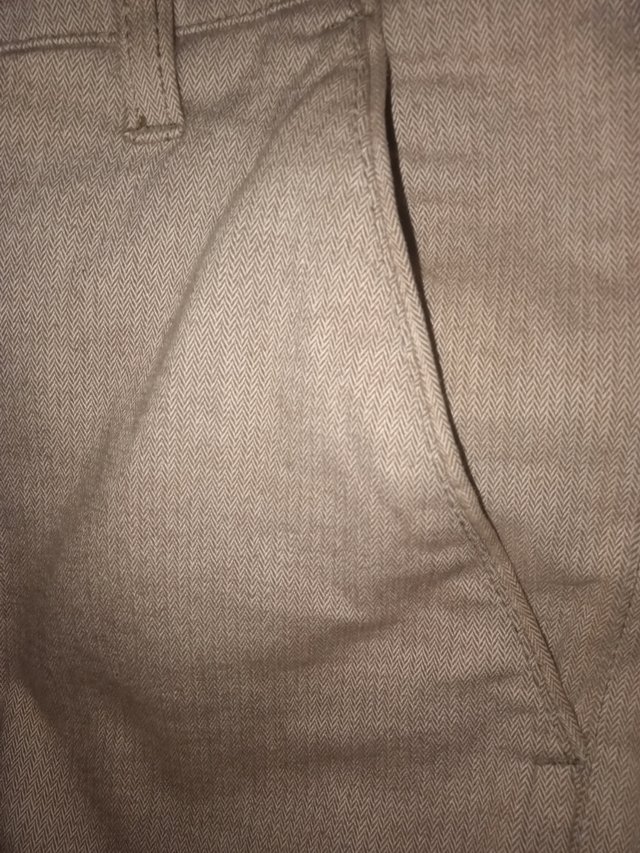
Straight patch pocket is rectangular in shape with straight edges.Mostly present in jeans,pants etc.
| Double stitched pocket |
|---|
Double stitched pocket is durable pocket style in which there are two rows of stitches for adding more strength.Mostly present in casual garments or work wears.
| Buttonhole pocket |
|---|
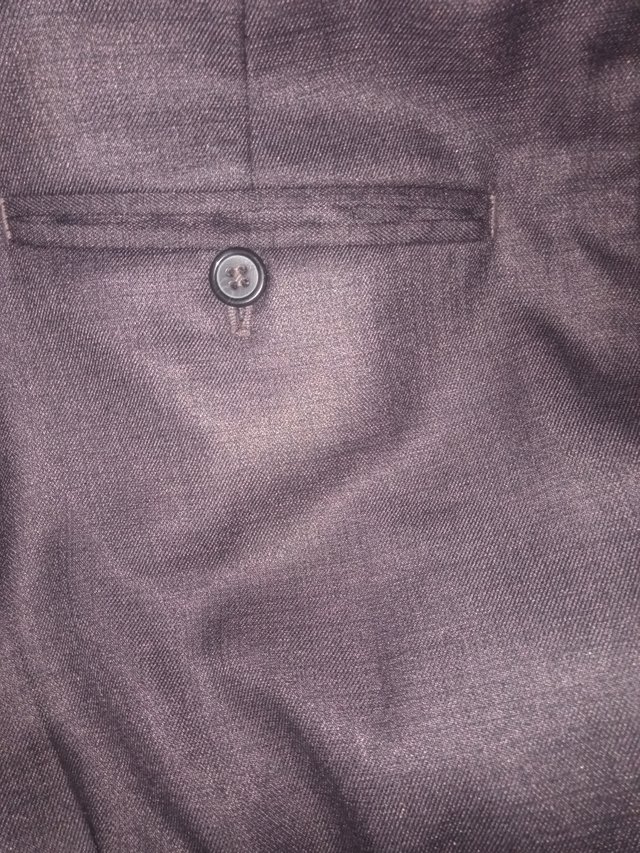
• Buttonhole pocket is discreet so for this you need for drawing a rectangle 15 cm into 30 cm,4 cm below waistline.
• Then you have for sewing 1.5 cm wide rectangle along opening of pocket.
• You need of locating rectangle mid and then you should follow the pattern.
• Mostly present in formal pattern.
Special invitation to;