Part Two of Four Part Series - How To - Turn Sculpture into Finished Resin
Hello everyone, welcome back to the second installment in our tutorial series. Today we will finish up the rubber glove mold getting things ready for the mother mold process. Thing will go a little quicker today for we are mostly repeating the steps from yesterday. The one exception will be the third layer. This one is the thickened layer used to fill in the undercut. I have pictures of this so don't worry if you're not sure what this step entails. I've got you covered.
Set up is the same as in part one.
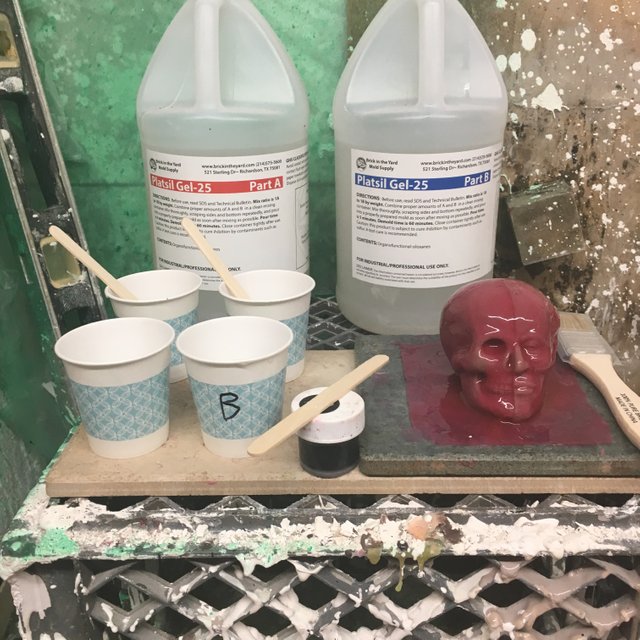
As you see we are remembering to change the color of the silc-pigment. We have chosen a color that is in stark contrast to the color we use previously. This will stand for each layer you apply. I've chosen black as our color for this layer. I tend to do this on the second layer regardless. For me and my particular set of eyes, black seems to work best. You may find another color that works better for you. Feel free to use what you find works best. This tutorial is only meant to be a basics guideline. You will find several things may change. Most markedly will be curing times which rely heavily on your environmental variable, as we discussed int he previous post.
I like to start by pouring a thin line of rubber onto the top of the sculpture.
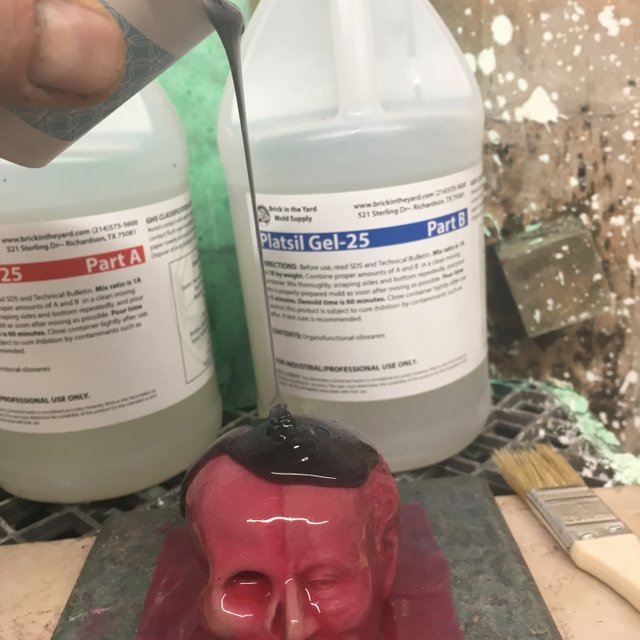
Tip: Holding the pouring cup high and allowing a thin stream when pouring keeps the air bubbles at bay.
Once you have poured a little, like in the picture, start using your chip brush to make sure the whole thing is covered entirely. Don't worry about stippling this time or going forward for the layers to come. Just make sure that the whole surface of you sculpture is covered. Also make sure to paint it over the whole flange, even over lap it by a hair. This makes it easier to cut once it is to the tacky stage; In preparation for the next layer.
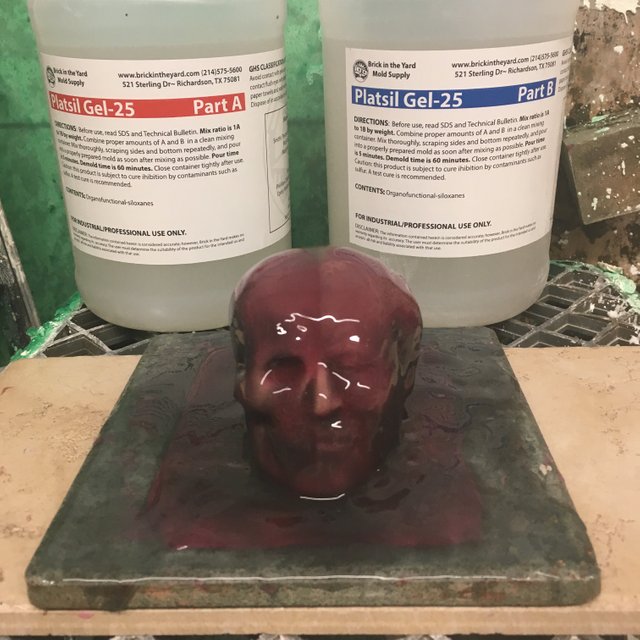
After the approximately 20min wait and the finger test it's time for us to fill in the undercuts. These include all the sockets (eye and nose) and anything else that creates an overhang, like the cheek bones. I use Tin Thix. Most distributors have something akin to this.
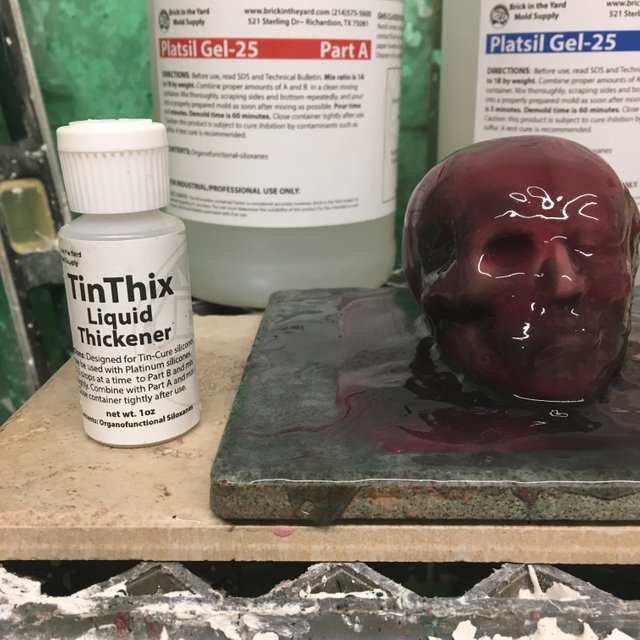
Tip: Make sure to ask if the thickener you are contemplating purchasing is compatible with the silicone you are using. Sometimes, based on wether you use tin based silicon or platinum based can matter. The people selling to you will know. Don't be afraid to ask.
Set up just like we did for the previous layers. But this time after you pour into cup B and add your color add 1-2 drops of the thickener. I mean it too. Don't go crazy with this stuff. You want it just thick enough not to be runny. I promise you do not want it too much thicker than that. It becomes a nightmare trying to apply it if you do.
The following pictures show just about the consistency you want. I hope the picture translates into understanding. Sometimes pictures don't tell enough of the story, am I right? Stick to the advice above and with a little experimentation of you own you will quickly know just how much is too much or too little.
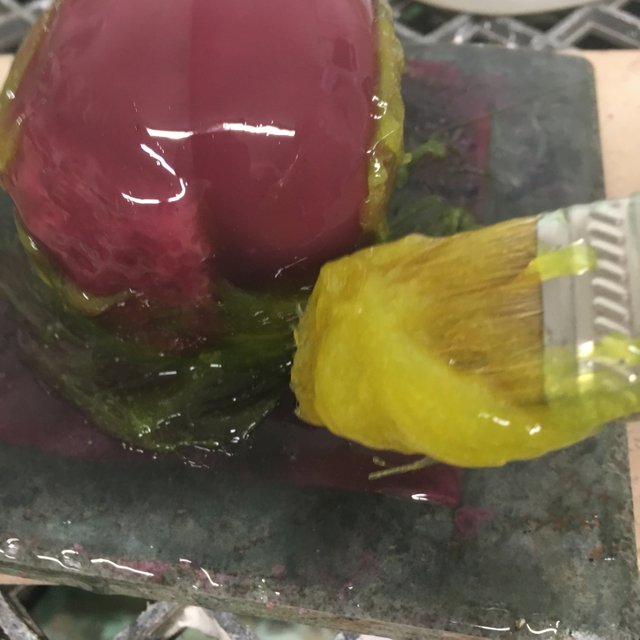
Undercuts filled in and what is left over was applied in a thin layer just like we did before.
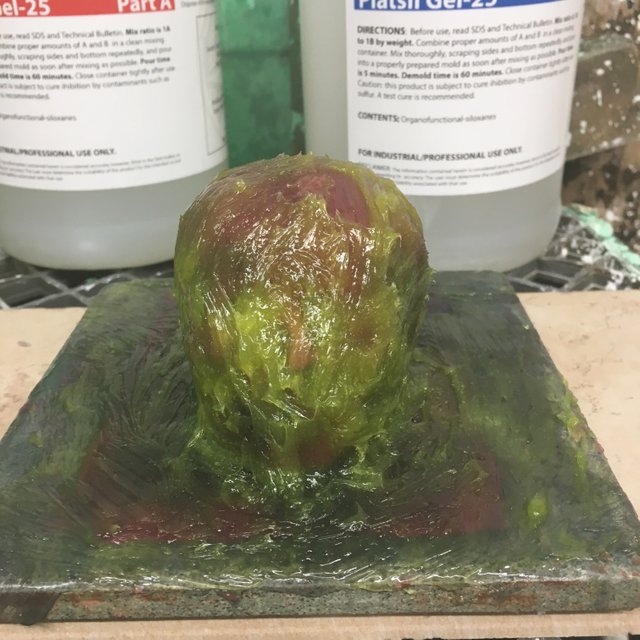
Last layer, whoo hoo!
goes here
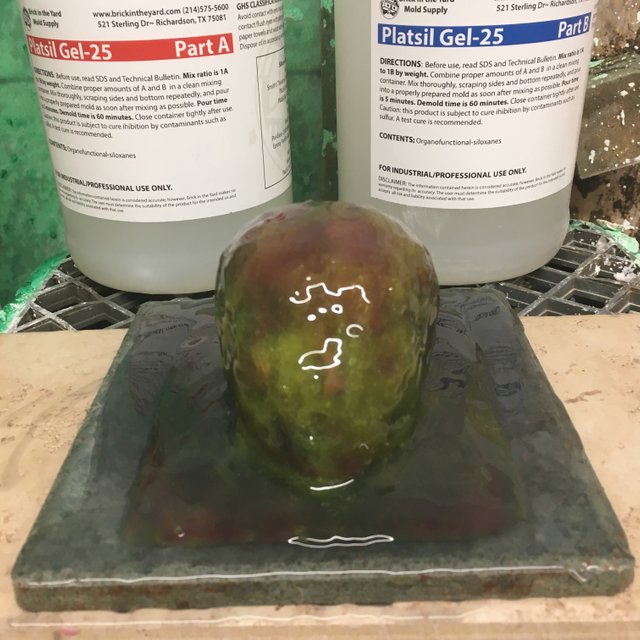
This one is done exactly like the first two layers. After this layer cures remember to cut the flange, I use a razor blade, like I showed in the last tutorial. Now we are ready for to make a mother mould (hard outer shell) for this sculpt.
We will cover all that in the next tutorial. I know this was a short post but it was a necessary one. I hope you enjoy and got something useful out of todays part two in our series.
As for part three I've already taken all the pictures we need now I need to write up the process. With that said. I look forward to seeing everyone in the next couple of days to continue the fun we are having.
I forgot last post to say; If anyone has any questions at all about what we've covered so far, feel free to hop over to discord and hit me up. I hang out a decent amount of time at Steem Terminal. I do not mind getting DMs to answer questions. Here is where I also point out that I am not a super expert at mould making. What has driven me to make this tutorial is that when I started I could have really use something like I'm trying to put together. I'm also, quite sure I may lack the writing skills to be super clear. So don't worry about asking anything. If I don't know (distinct possibility) I at least know how to find out.
Cheers and much appreciation,
Matt (SC)
I think your explanation is perfectly clear. You give great instructions and you made if easy to follow with the superb part l introduction.
Thank you again and I truly look forward to the next installment!
!tip .20
Thank you. These are nice things to hear. They give great amount of motivation to continue. Now all I have to do is figure out my next tutorial :)
🎁 Hi @sleepingcowboy! You have received 0.2 STEEM tip from @dswigle!
@dswigle wrote lately about: What Are The Odds Of A Trifecta? Feel free to follow @dswigle if you like it :)
Sending tips with @tipU - how to guide :)
Congratulations @sleepingcowboy! You have completed the following achievement on the Steem blockchain and have been rewarded with new badge(s) :
You can view your badges on your Steem Board and compare to others on the Steem Ranking
If you no longer want to receive notifications, reply to this comment with the word
STOPTo support your work, I also upvoted your post!
Vote for @Steemitboard as a witness to get one more award and increased upvotes!
This post was shared in the Curation Collective Discord community for curators, and upvoted and resteemed by the @c-squared community account after manual review.
@c-squared runs a community witness. Please consider using one of your witness votes on us here
Thank you @csquared
Thank you for using the #build-it and #how-to tags. This post has been rewarded with BUILD tokens in the form of an upvote.
Build-it is a central hub for DIY and How-To projects. It's an opportunity to find and share the latest in DIY, and How-To tutorials. The recommended tags required when creating a DIY article are #diy, #build-it. #how-to, or #doityourself. Please read our guide
Need help? Live technical support on Discord or Telegram
This project is run and supported by our witness @gulfwaves.net. If you like what we do, click here to vote for us
You are welcome and thank you for for the reward.
Hello!
This post has been manually curated, resteemed
and gifted with some virtually delicious cake
from the @helpiecake curation team!
Much love to you from all of us at @helpie!
Keep up the great work!
Manually curated by @veryspider.
@helpie is a Community Witness.
For more information about our project,
please visit this month’s UPDATE post.
Thank you cake people.