Pruning Douglas Fir: Bonsai Hands-On Walkthrough [Bonsai]
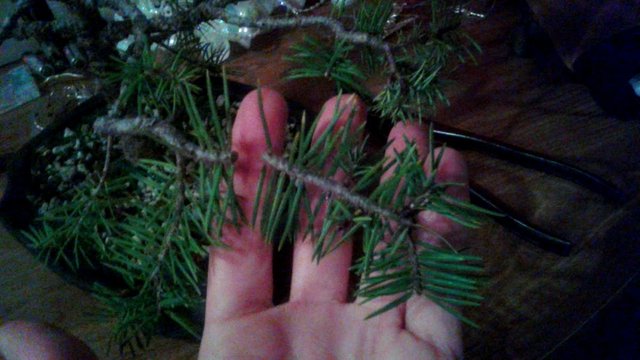
Freshly pruned, and hot off the press.
For today's article, I am sharing photos and instructions of the various pruning choices I made on this young Douglas Fir tree.
Readers can learn my approach to tree pruning, and practice it the same way, or differently to master the techniques of effective pruning through experience and experimentation.
It is January 10, 2020 today when I pruned this tree. Since it was super rainy outside, I brought the tree into the garage to work on it.
Apologies for the low light and high contrast re-sampling of these photos. The tree was already a month overdue for pruning, and I did the best I could in this dark space.
First, let's go over the style of this tree and the goals I have for it, prior to pruning anything off.
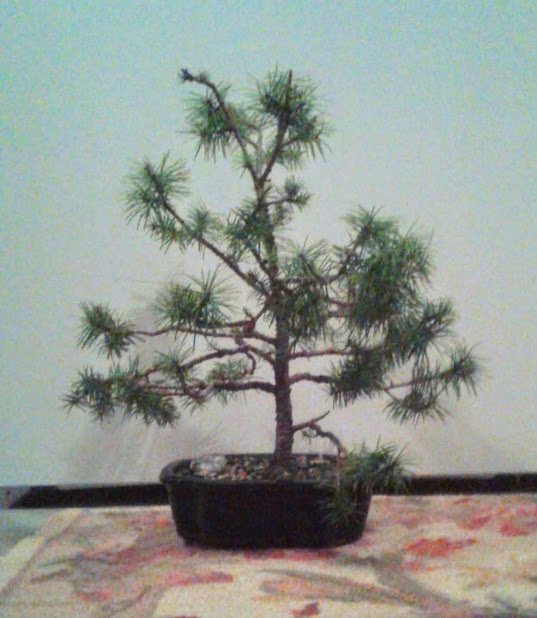
This tree is grown in a strong formal upright style.
It's meant to look like a tall conical tree with many boughs and branches. In Christmas time, I decorate the tree with holiday lights and ornaments.
If you want to see how I decorated the tree this year, you can check out my past articles:
Now that the branches are getting older, the wood is harder, and there is less green wood for the tree to bud from easily. This is a consequence of the pinching I did last season to keep the branch ends short.
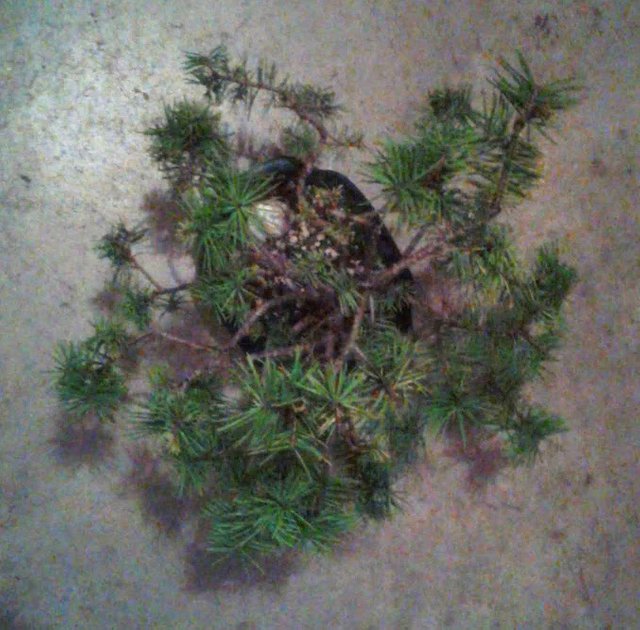
The lack of branches filling in the open spaces is possibly due to lack of sunlight to these areas, and perhaps not using enough fertilizer. Growing the tree in a small pot also reduces the health and vigor of the tree by limiting the roots. The pot also keeps the tree small and ideal for bonsai.
What I ended up with this year is mostly thicker branches that are long with only tiny bits of needles and buds tufting at the ends, and very few secondary and tertiary branches. The result has limited how many buds and needles can develop. The top of the tree has also becomes overly thick and coarse.
My goal is to spark this tree into becoming lush with more branches, needles, and tons of thin side stems. Most people would give the tree plenty of extra fertilizer to do this (and I'll do this eventually, when the season is right), but today I am going to force the tree to redistribute future growth by making various pruning decisions.
By taking away unnecessary branches strategically, I am hoping the tree will develop buds to fill in weakened interior areas, and turn these into stronger zones to provide energy throughout the tree. Making new buds is what the tree will be slowly working on this Winter and Spring.
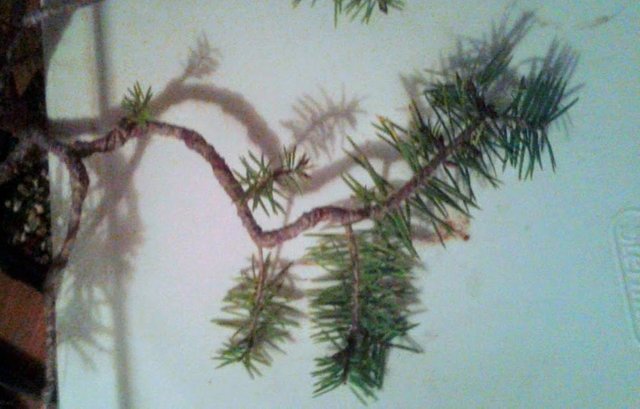
After analyzing the entire tree bottom to top, I selected this low branch first.
The branch has a nice curved zig-zag shape developed from prior wiring this year. Bends and twists in the branch were created to emphasize younger branches and buds spreading out on alternate sides. Ideally secondary branches form on the outside center of a bend.
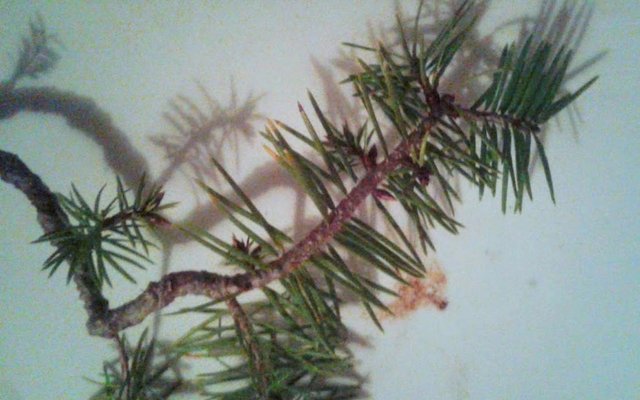
In a close-up view, the buds are easier to see.
The first side branch has a bud. After the next two branches, another bud. Then there are two buds on alternate sides in the middle of the main branch. Beyond this is two branches with only needles and non-budding wood.
A scar of last year's pruning shows where the central leader was cut at the end, which successfully caused multiple backbuds to form below the cut.
If I want to be conservative I will cut the main branch slightly beyond the two furthest buds, so they become the new leaders.
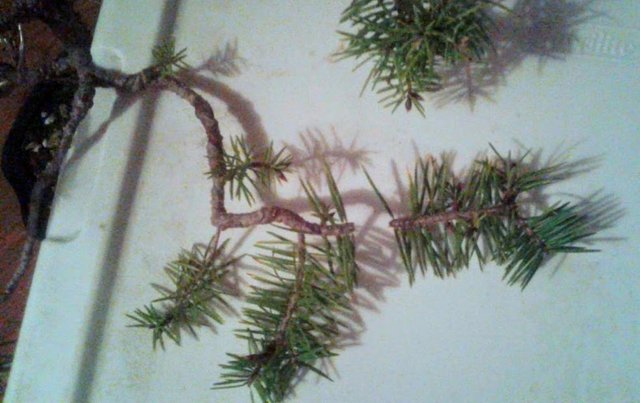
However, I decided to cut slightly further in. This removes the long, straight, thick portion that was extending. A bud angled up away from the cut provides a perfect angle for a new thin branch to grow and fill in the space that was removed, and without extending the length of the main branch.
Buds are very delicate on this tree. I make sure any prune mark I make is a centimeter or more away from any living buds or branches I do not want to harm. The pruned wood will dry up and die, and eventually I can snap it off or prune it again at a later date to make the prune mark flush against the future branch that will appear from the bud.
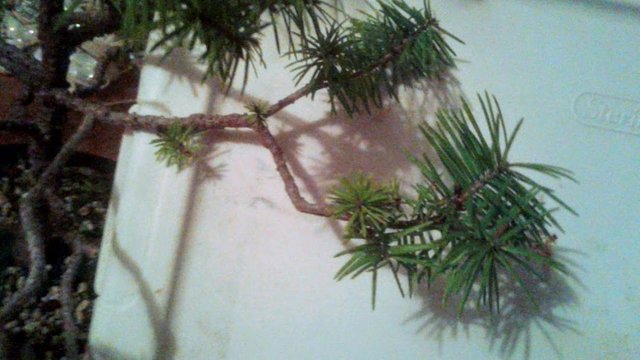
On this branch, the internode from one branch to the next is extremely far apart. It is not an appealing look on a tree to have a thick branch with nothing green on it, and end in a small puff ball cluster. Sometimes topiary is designed this way on purpose, but not a good look for a bonsai Christmas tree.
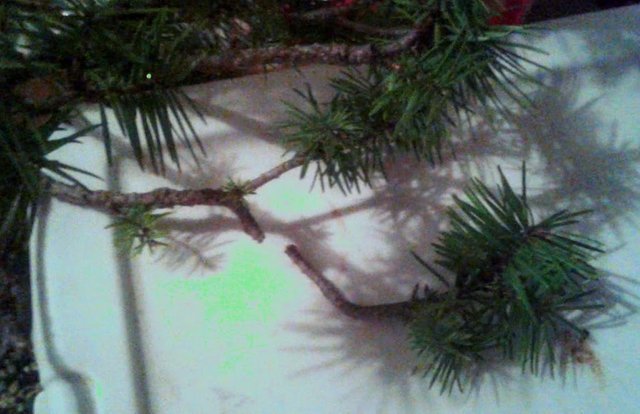
So, I decided to remove the entire unsightly secondary branch. The removed portion will eventually be filled in by the new bud that opened at the connected internode. The remaining branch has much tighter internodes and is showing signs of good branch divisions forming.
By removing the secondary branch, these areas will receive more of the available growth energy stored inside the tree.
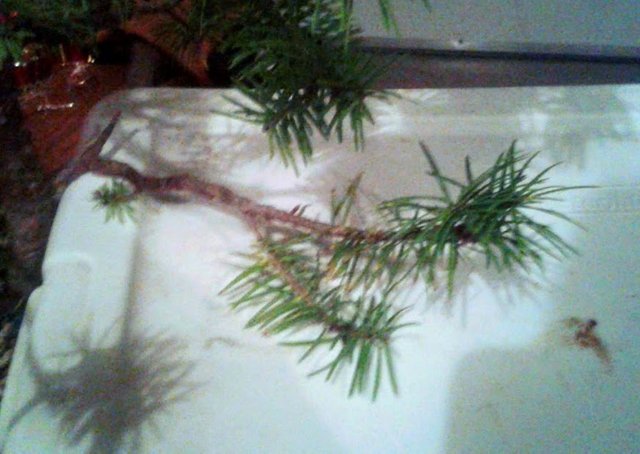
In this photo, I know it is very blurry. Most of the buds are clustered at the ends. Without intervention, this branch will continue to thicken at the ends, and the buds closest to the trunk will weaken and wither away. The oldest needles are weakening, and will eventually fall off leaving the branches long and bare.
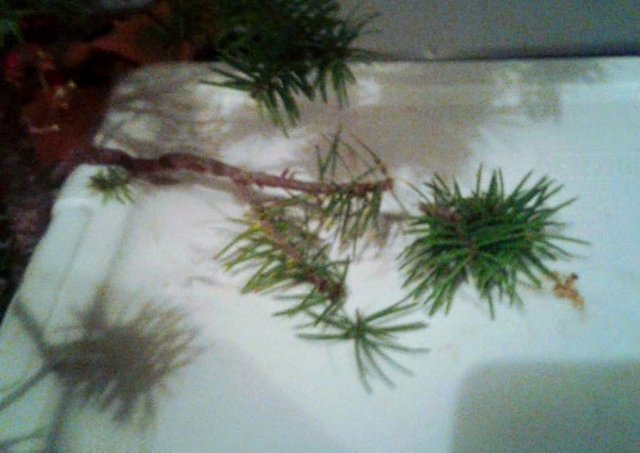
By trimming a very conservative amount, and removing the furthest buds, the wood will now have to refocus on distributing its stored energy somewhere else. The inner bud will be renewed with increased vigor to develop new branches. Perhaps more new buds will appear to fill in the areas where the needles are weakening.
Look closer, and there is one bud barely visible, facing upward near the Y-shaped branch division.
On the lower branch of the Y-shaped division, I did not find signs of buds, but with the needles remaining, there is still a chance that new ones can form here. New buds do not form as well on wood that is not covered in needles, or near weak needles. Usually buds form at the base of healthy needles.
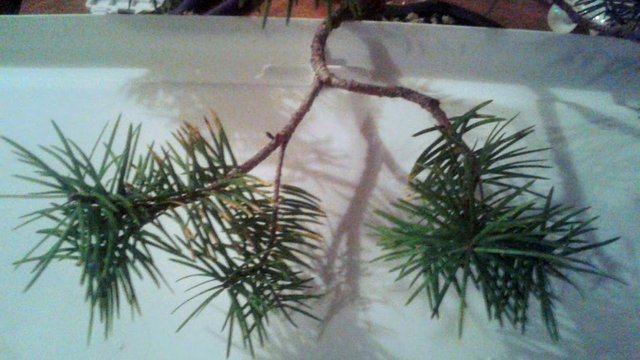
This branch has a beautiful fan shape that was developed from the wiring I applied earlier this year.
Most of the vigor is headed to the ends of the branches, with few signs of growth along the interior of the branch. This will be challenging to add interior growth.
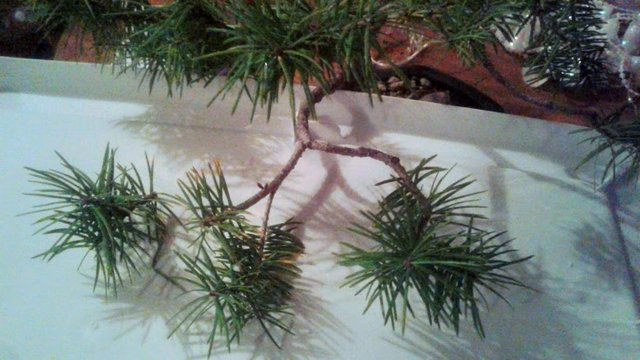
Capitalizing on that one lonely bud on the left side, I remove a portion of the connected secondary branch. I left some needles next to the bud to help retain some nourishment to the branch the bud is connected to, but there are no other buds inside those needles.
I'll have to keep a close eye on the other two branches and make sure they do not steal too much energy from the lonely bud I am aiming to boost. If the other branches grow too fast and long in Spring, I can pinch their growth back.
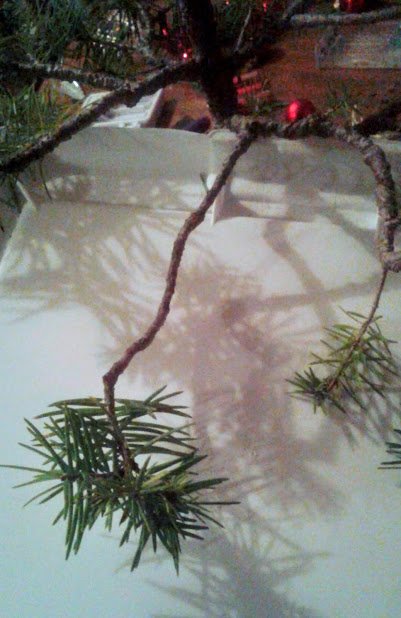
Above is my most problematic branch. Long, straight, thickening, needles only at the end, and buds only near the end.
I thought a long time about this branch, and considered removing it entirely. It does serve an important purpose to the tree. It provides a good radial branch (branches that are like the spokes of a wheel to form an even circle) to fill in space on this side of the tree.
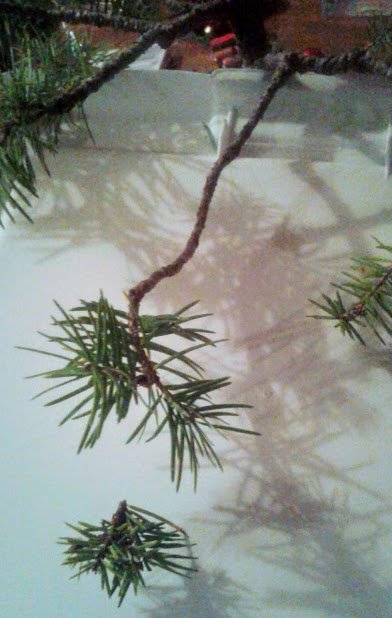
Instead, I decided to only remove the tip end where a couple terminal buds were.
The best I can hope for is that the wood below the prune mark will be renewed with growth to form new backbuds closer to the trunk of the tree. Then I can reduce the branch length further to end at those buds.
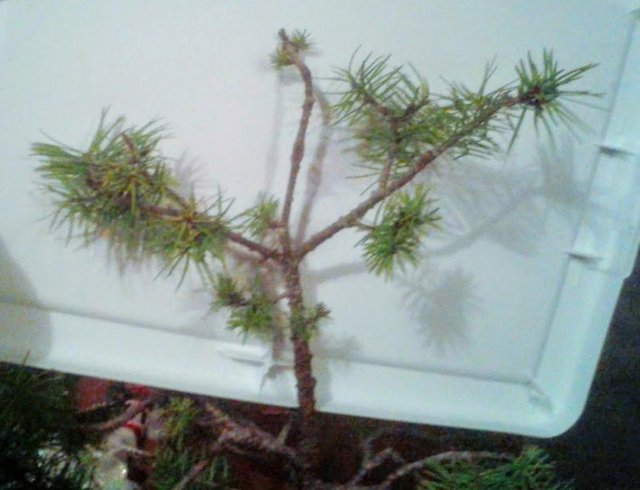
Here is a close-up of the top of the tree. This area of the tree is sometimes called the crown or the apex of a tree.
Notice the small needle size. This happens in bonsai trees when many new buds are forced to balance out a limited amount of energy.
This area needs to be radically altered. It has too much thick, bare wood. The internodes are far apart. The branches are not heading upward in line with the trunk.
I did notice a long, flexible branch below the apex of my tree, full of needles, side branches, and buds. Many people will choose to chop off the crown of their tree if it looks like mine, and train with wire the next lowest branch to become the new central trunk leader.
However, I did not like the sideward angle of the possible branch, and knew it would be impossible to make it look like a true staight line up, as I want. So I decided to leave that branch as a sideward branch, and tidy up this apex as it is.
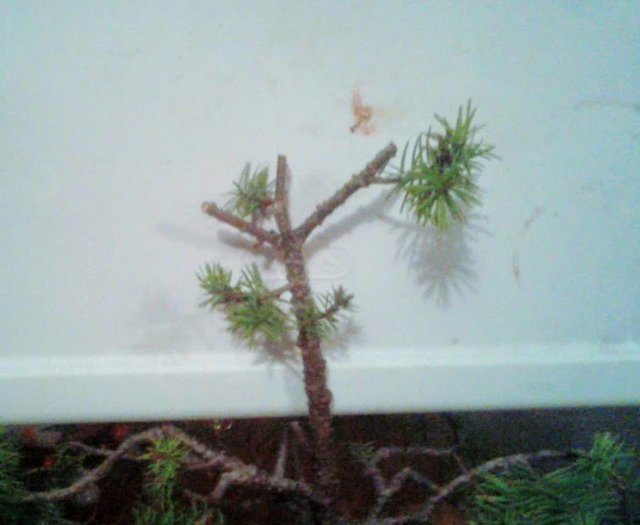
Five tiny buds are remaining, clustered close together. A good apex of a tree has lots of young green growth and tightly packed small branches, which this area can now achieve.
Here at the top of the tree it will receive the most sunlight. The trunk of the tree will rocket plenty of energy to all of these buds, because they are in direct line to the roots. These buds also have apical dominance, which is a hormonal advantage inside the tree given to buds closest to the top. I would be extremely surprised if this part of the tree does not receive strong support to grow and develop many more buds, branches and needles.
One of these buds, I can train with wire to grow straight upright, and it will become the new trunk leader.
The rightward side branch is a bit ugly in shape. In the future, I may remove it. For now I'll leave it on the tree because it has needles that will help support the health of nearby buds. Leaving old healthy needles can also help the wounds to heal better, and assists in fighting off diseases.
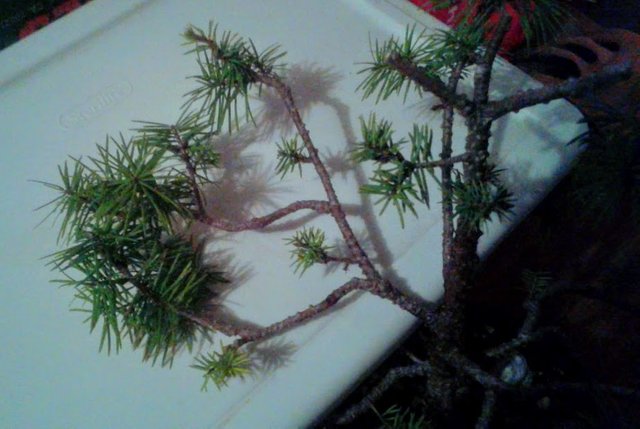
This branch pictured above is a good example of the type of branches I would love to have staggered all around the trunk of my tree.
The white plastic backdrop is held underneath to help display this branch separately for the camera. In reality this branch has needles that blend in with the needles of other nearby branches underneath.
The branch has buds opening up into smaller branches along the interior of the older branches. Doing what it is supposed to do, this branch is dividing into smaller, and smaller branches to fill in all available spaces the light can reach. On the outside the needles have formed a nice wall of canopy around this side of the tree.
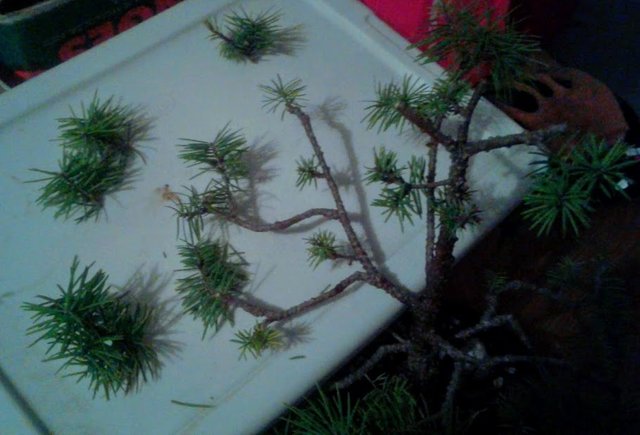
Even a branch that looks great needs to be pruned sometimes into a temporarily less desirable shape. By pruning it slightly shorter than what is preferred in a show-ready bonsai branch, it allows for the inevitable increase in size during the growth season, and new growth a strategic space to return in the same spots where the tidbits were removed.
Now that the exterior branches have been reduced to have close to the same amount of needles as the interior ones, I can more likely count on all branch ends to receive the same amount of balanced growth energy. Reducing the dominance of the longest branches may also trigger this branch to make more buds, making it look even more lush than before.
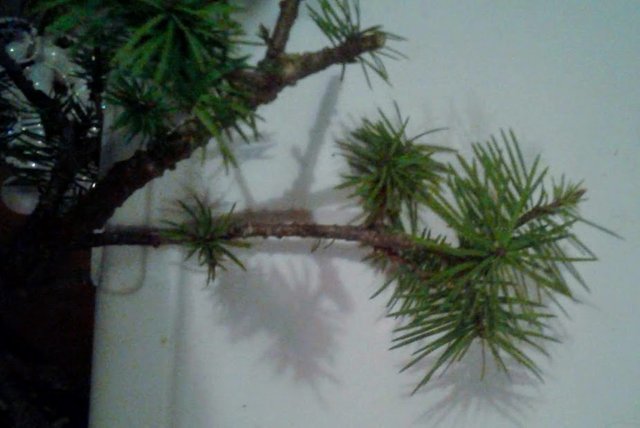
Here I repeat the same strategy.
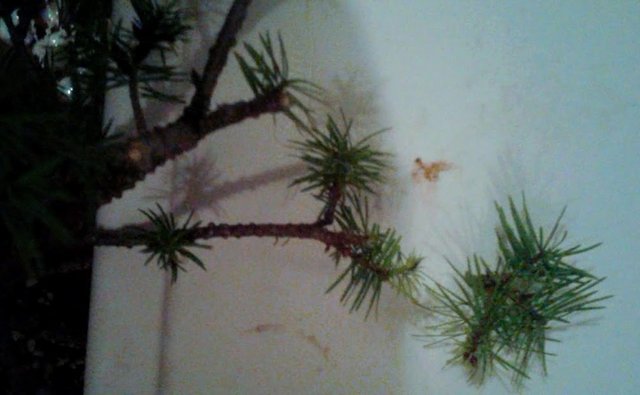
Each branchlet now has a similar number of needles. It is in better balance to grow evenly in all directions.
Sometimes it is better to remove a nicely dividing branch end for the sake of supporting stronger growth closer to the trunk.
On a deciduous tree, like Pussywillow, I usually would not remove these nice branch divisions, because it will back-bud on its own without pruning. On a coniferous tree like this, I have to prune strategically to force it to grow in areas I want it to bud.
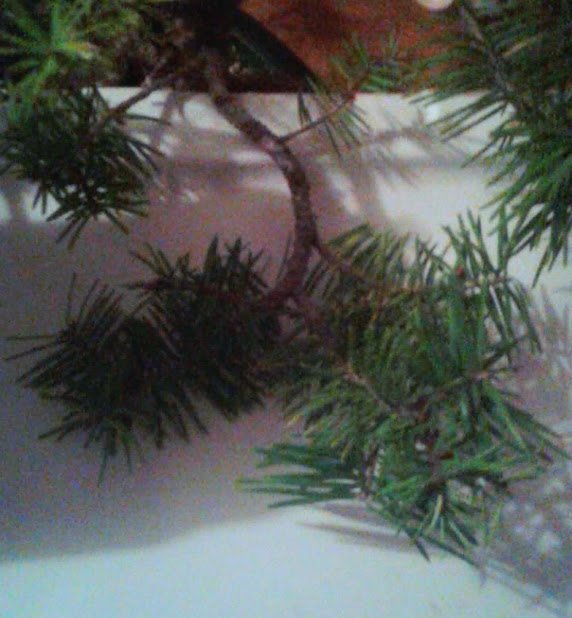
This branch has a good shape I like, but now the two rightward branches are competing with one another.
Most likely the branch furthest out will receive the majority of the growth energy, and cause the ones behind it to weaken and wither.
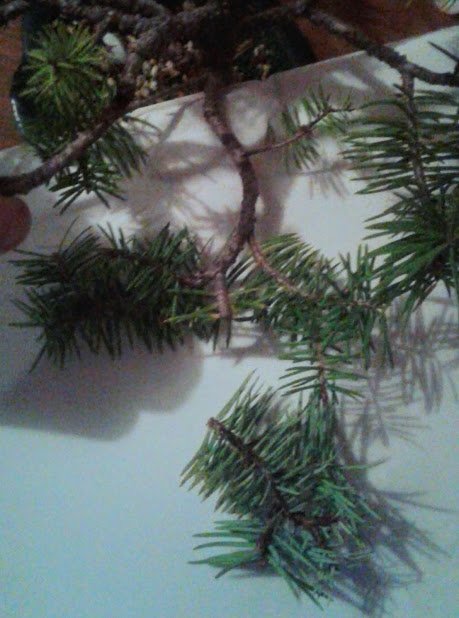
Removing this twin branch opens up the space a lot. The branch has been reduced in length, and plenty of green growth remains to fill in this area.
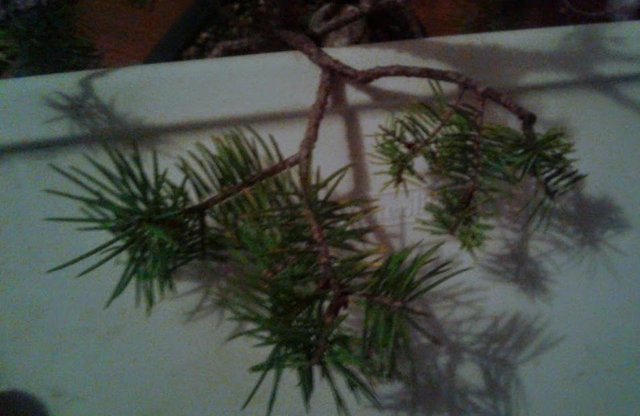
Above I saved this branch for near the end to work on. I thought it provided a challenge in deciding where to prune it, because it had no interior buds where I wanted buds, but many needles.
Also I do not like the three twin branches on the right competing to grow in the same direction, with nothing else growing nearby. They will compete for sunlight and dominance.
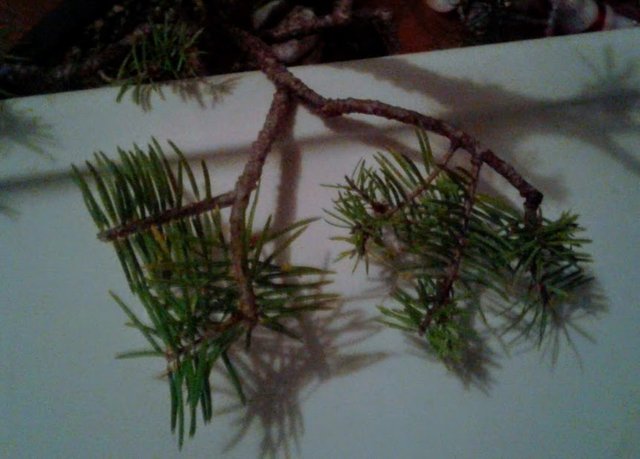
Not sure if this was a good decision, but I chose to reduce the length of the branches on the left, and leave enough needles on to balance with the branches to the right.
The three twins will be allowed to remain because they are petite in size, and this entire branch area needs more vigorous growth to develop additional buds I want it to have. The main branch internodes are a bit far apart, and this tree is lacking thick lush growth around the middle tier branches here.
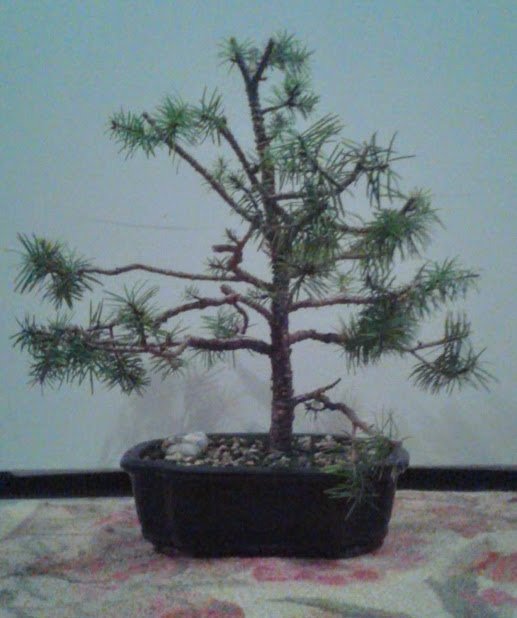
Above, I am showing the tree after it has been pruned.
No major branches were removed. Mostly, all main branches were reduced in length.
It's got many bare spots fully revealed. These spots were actually there before I did the pruning (I mostly pruned the outside tips only), but now these open areas between branches are more obvious how far apart the inner internodes are on the interior of the tree.
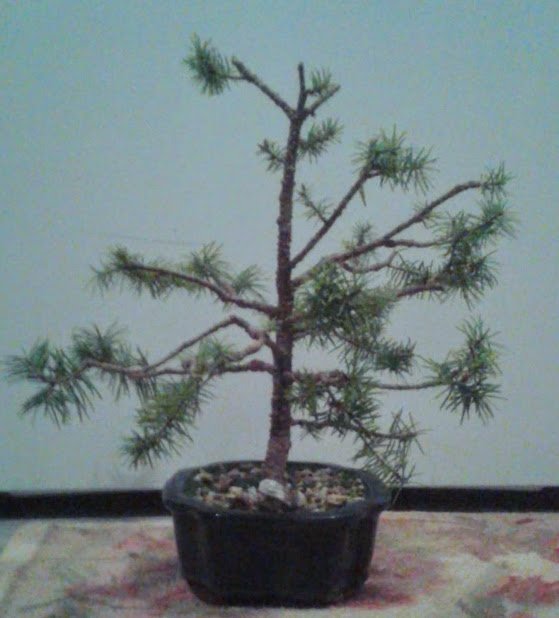
The uneven spacing can be masked by wiring the branches into more pleasing angles. For now the tree needs to enjoy a winter vacation for a while, and in Spring when the new buds appear, the tree will be better recovered for additional work.
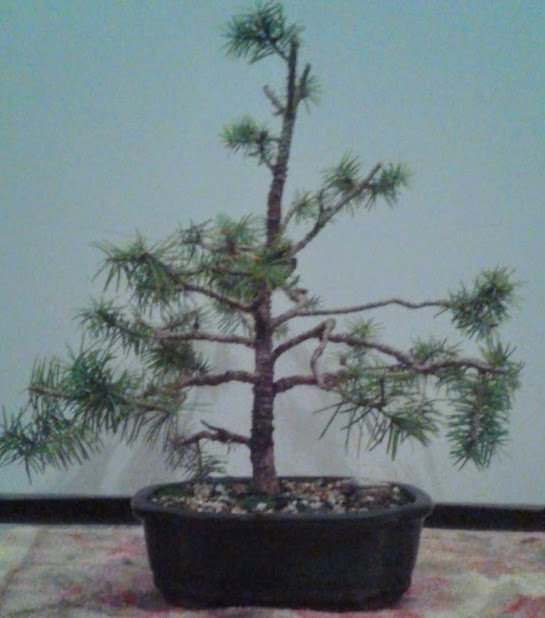
It will be easier to position branches with wire when I see where the buds have formed, but I'll need to be careful not to tear the delicate buds with wire.
By Winter next year, let's hope it looks like a Christmas tree again.
There is one sacred rule when pruning trees. Whether pruning a shrub, a bonsai tree, or a full grown fruit tree...
Never prune more than 1/3 of the total living green wood and foliage for the entire year.
This rule includes pinch and additional pruning we might choose to later in the year.
On the flip side, removal of any amount of dead/diseased wood and leaves can be done throughout the year. It doesn't bother the tree a bit to have a dead, broken limb removed. In fact, it can really help the tree lighten it's load, and make it easier to grow.
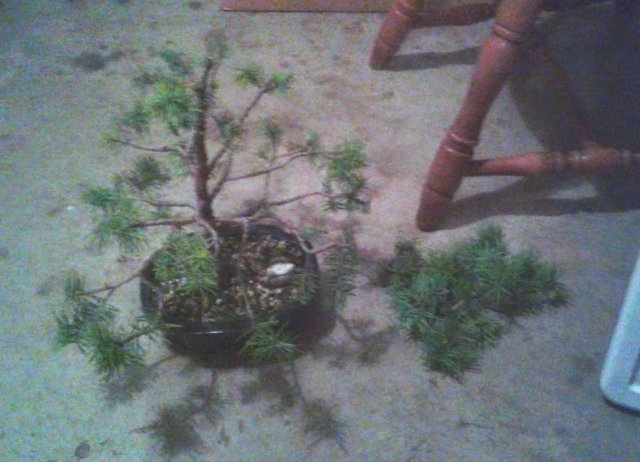
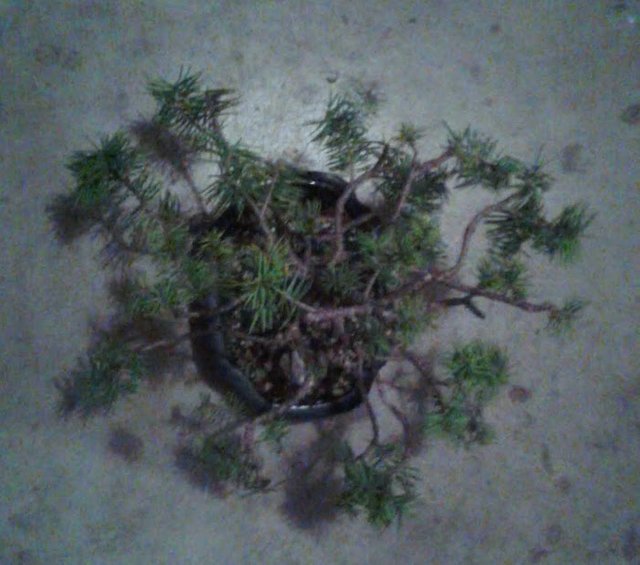
I pictured the clippings next to the tree to show that I pruned off close to 1/4 of the needles today attached to living wood.
That means I should leave the tree alone for most of the rest of the year, in terms of pruning and pinching. It cannot continue to support growth if too much energy in the wood and needles has been removed.
Without needles, a coniferous tree cannot replenish depleted energy at all.
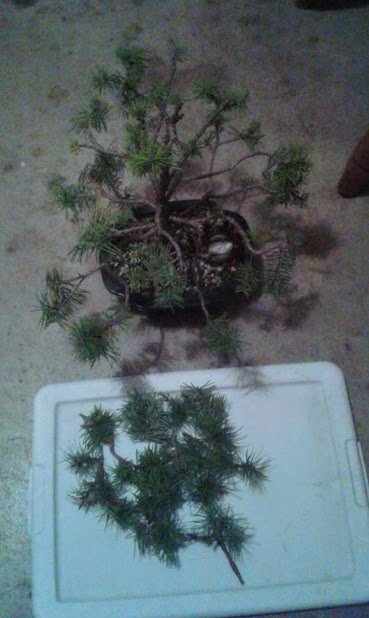
Most of the tissue removed from my tree looks to be needles.
The actual amount of wood removed from the tree is probably very small. Probably less than 1/8 of the total wood that was on the tree.
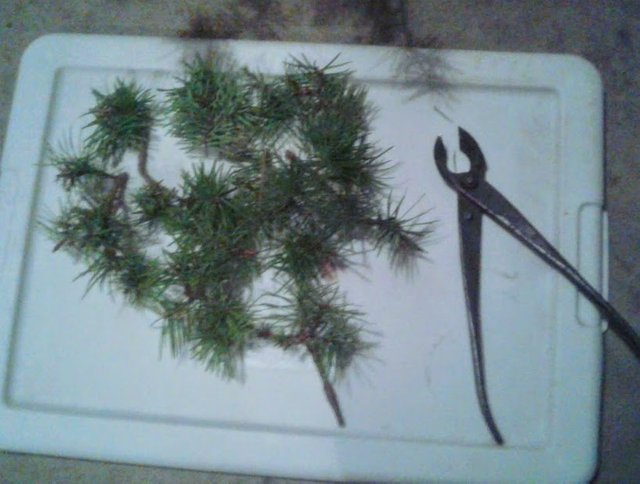
This is the most this tree has ever been pruned in a single year, and I probably pinched close to 1/6 of the new growth this past summer.
Pruning can be a bit nerve-wracking, because it's always a gamble. Practice, experiment, research, and learn from experience, and our trees will teach us many things about how they react.
Below, I've made an artistic rendering of how the tree might look in 6 months, after the buds become new branches and needles. It will be allowed to grow wild, and in Winter, we can prune again to fix the conical shape of the tree.
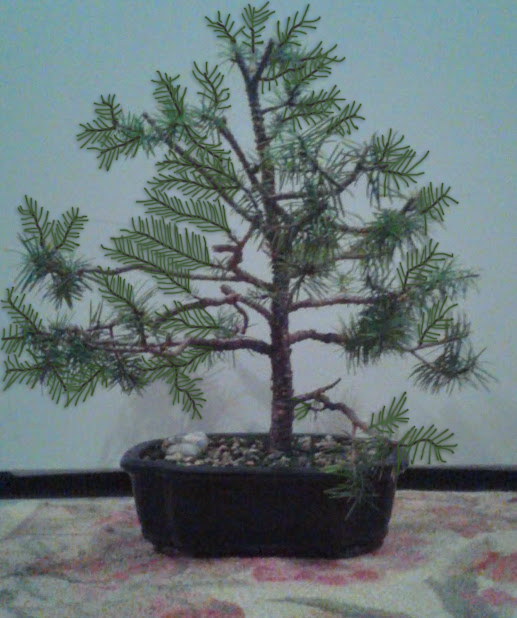
Thank you for viewing this article detailing my pruning demonstration. I hope it was fascinating, illuminating, and inspiring.
Feel free to share your comments and question below.
Photos in this post are all #originalworks by @creativetruth, unless stated otherwise.
Find me on discord and chat with other tree growers, bonsai enthusiasts, and gardeners. We have quite a few accredited experts filling out our ranks, and a helpful Spanish-speaking community.
#douglas-fir #conifer #coniferous-tree #pine-needles #evergreen #pruning #bonsai-pruning #learning #diy #educational #teaching #grwoing #trees #hobby

Downvoted as overrewarded. Don't get me wrong, this post is 'okay', the text is reasonably interesting and the subject matter is fine for a feature post, but the photos are frankly terrible.
This is not a post that would be featured as one of the top most visible post (in fact not at all) on professionally curated sites in its present form, and we should expect better here too.
Hehe, we talked about the quality of the photos actually but figured it wouldn't get as high up on trending as the post yesterday, but yeah, hope the author gets a better cam. :D
The downvote actually validates the critique I included, so don't really have an issue with it TBH. Some high res photos and next time more potential rewards. I hope the OP recognizes that and raises the bar next time!
Fair enough! I included that as a critique in my reply. My thinking is that the effort is there (which is getting harder and harder to find), and we can continually raise the bar and communicate to authors how to keep the ball rolling with quality.
I'd rather see this than a potato post in any case! :-)
Actually I agree the over rewarded amount should be shared back. Not sure why it went so viral. Guess mostly due to trails following whale votes.
Hope you don't feel I am to blame for anything that occurred with rewards. My camera and lighting is not very good, and these kind of articles are mostly for my own benefit to archive my tree's progress stages over the years, though I do like to share publicly for eveyone's benefit too. Bonsai tips are rare to find, and usually only found in books, magazine subscriptions, or taught in expensive master classes. I think people find value in seeing bonsai experience offered freely here in detail, but more likely in this case are trying to cash in on curation rewards. Glad to get few welcomed reward tips along the way (in all my posts), but I never expect it as a deserved requirement. It takes patience and persistence to build up.
A few lucky rainbows are always nice to see once in a while. Think this is my first post to make it onto trending.
Thank you for leaving a fair comment @smooth.
Certainly not and quite honestly I would not have downvoted at all if it would have removed too much of the rewards. I think your post was entirely reward-worthy, just not quite at the premier level where it ended up. But this is all healthy, people can disagree a bit with upvotes and downvotes on rewards and have the end result be somewhere in the middle.
Honestly, I was impressed how much effort put toward documenting your process, and see potential in you bringing a post like this to the next level.
This is nothing to do with people chasing rewards, but a concerted effort to get specific posts to trending to provoke these conversations in order to raise the bar for everyone.
Please don't sell yourself short, take a minute to scroll through the trending and decide for yourself if there is any call for elitism in its current state. We are all here to grow.
Interesting post.
I am now attending gardener courses.
Just on January 8, we had a topic on how to prune fruit trees and roses.
Excuse me, but suddenly it will come in handy:
I don’t know if we have a theme about bonsai.
Our next lesson will be about Aloe.
Yes, these are great instructions you shared.
When you have a thicker branch, like roses and fruit wood, the angle and location of the cut really matters to stimulate the growth bud correctly.
The behavior of the water sprouts that form on fruit wood are a whole area of study, which dictates how much wood, where, how, and when a fruit tree can be cut.
With pruning, every species can have different rules. Anything with the same growth patterns, or type of vegetative or woody growth will often follow similar pruning guidelines.
In bonsai, they insist on using far different pruners than you would use for roses, fruit trees, or hedges, and will usually cut much closer to the collar. When trimming for permanent wood design features in bonsai, it is a different goal than boosting fruit, blooms, or foliage. Yes, it get's confusing for me too. I'm still learning.
Thank you very much for the information.
I want to ask you:
Have you ever grown Adenium from seeds?
No I have not. I live in the wrong climate for these to grow.
If you can find someone one steem who lives in South Africa and enjoys gardening, I bet they can give you some insight.
Thanks for the answer!
I sowed. I have almost all the seeds sprouted.
And when they had a height of growth of 3 to 5 centimeters, they began to die.
At the moment I have only 2 normal of 18 sprouted Adeniums left:
one 7 cm., the second - 8 cm.,
and the third 9 cm. - half-dead, but holds on.
Your post has been chosen to be elevated to the trending page due to its high effort, and great information.
Photo by YesManProductions
Great post!
A little critique if you'd like to continue to raise the bar and to ensure a higher chance of getting to trending:
Notificaton: @theycallmedan, @azircon, @smooth, @twinner, @superhardness, @postpromoter, @adsup, @redpalestino
Tanaman yang sangat unik
Normally I wouldn't read a post about bonsai but recently I ended up taking in a large succulent that was pruned bonsai style and should probably be maintained. This post was highly informative although most of it went over my head.
I have always been fascinated with Bonsai trees, but have never owned one.
I liked the detail here about where and why you took off each part and what you expected for the tree in the future.
Very interesting.
Congratulations @creativetruth! You have completed the following achievement on the Steem blockchain and have been rewarded with new badge(s) :
You can view your badges on your Steem Board and compare to others on the Steem Ranking
If you no longer want to receive notifications, reply to this comment with the word
STOP