Goat Farm, Day 10: Learning About Ceramics & More!
Hello again, gang. I'm checking back in with you with another tale from the goat farm.
Today, the better part of my day was spent down at the "Ole Farm House" / Studio where I got my first introduction to producing ceramics.
Have a look at how it went:
Prep:

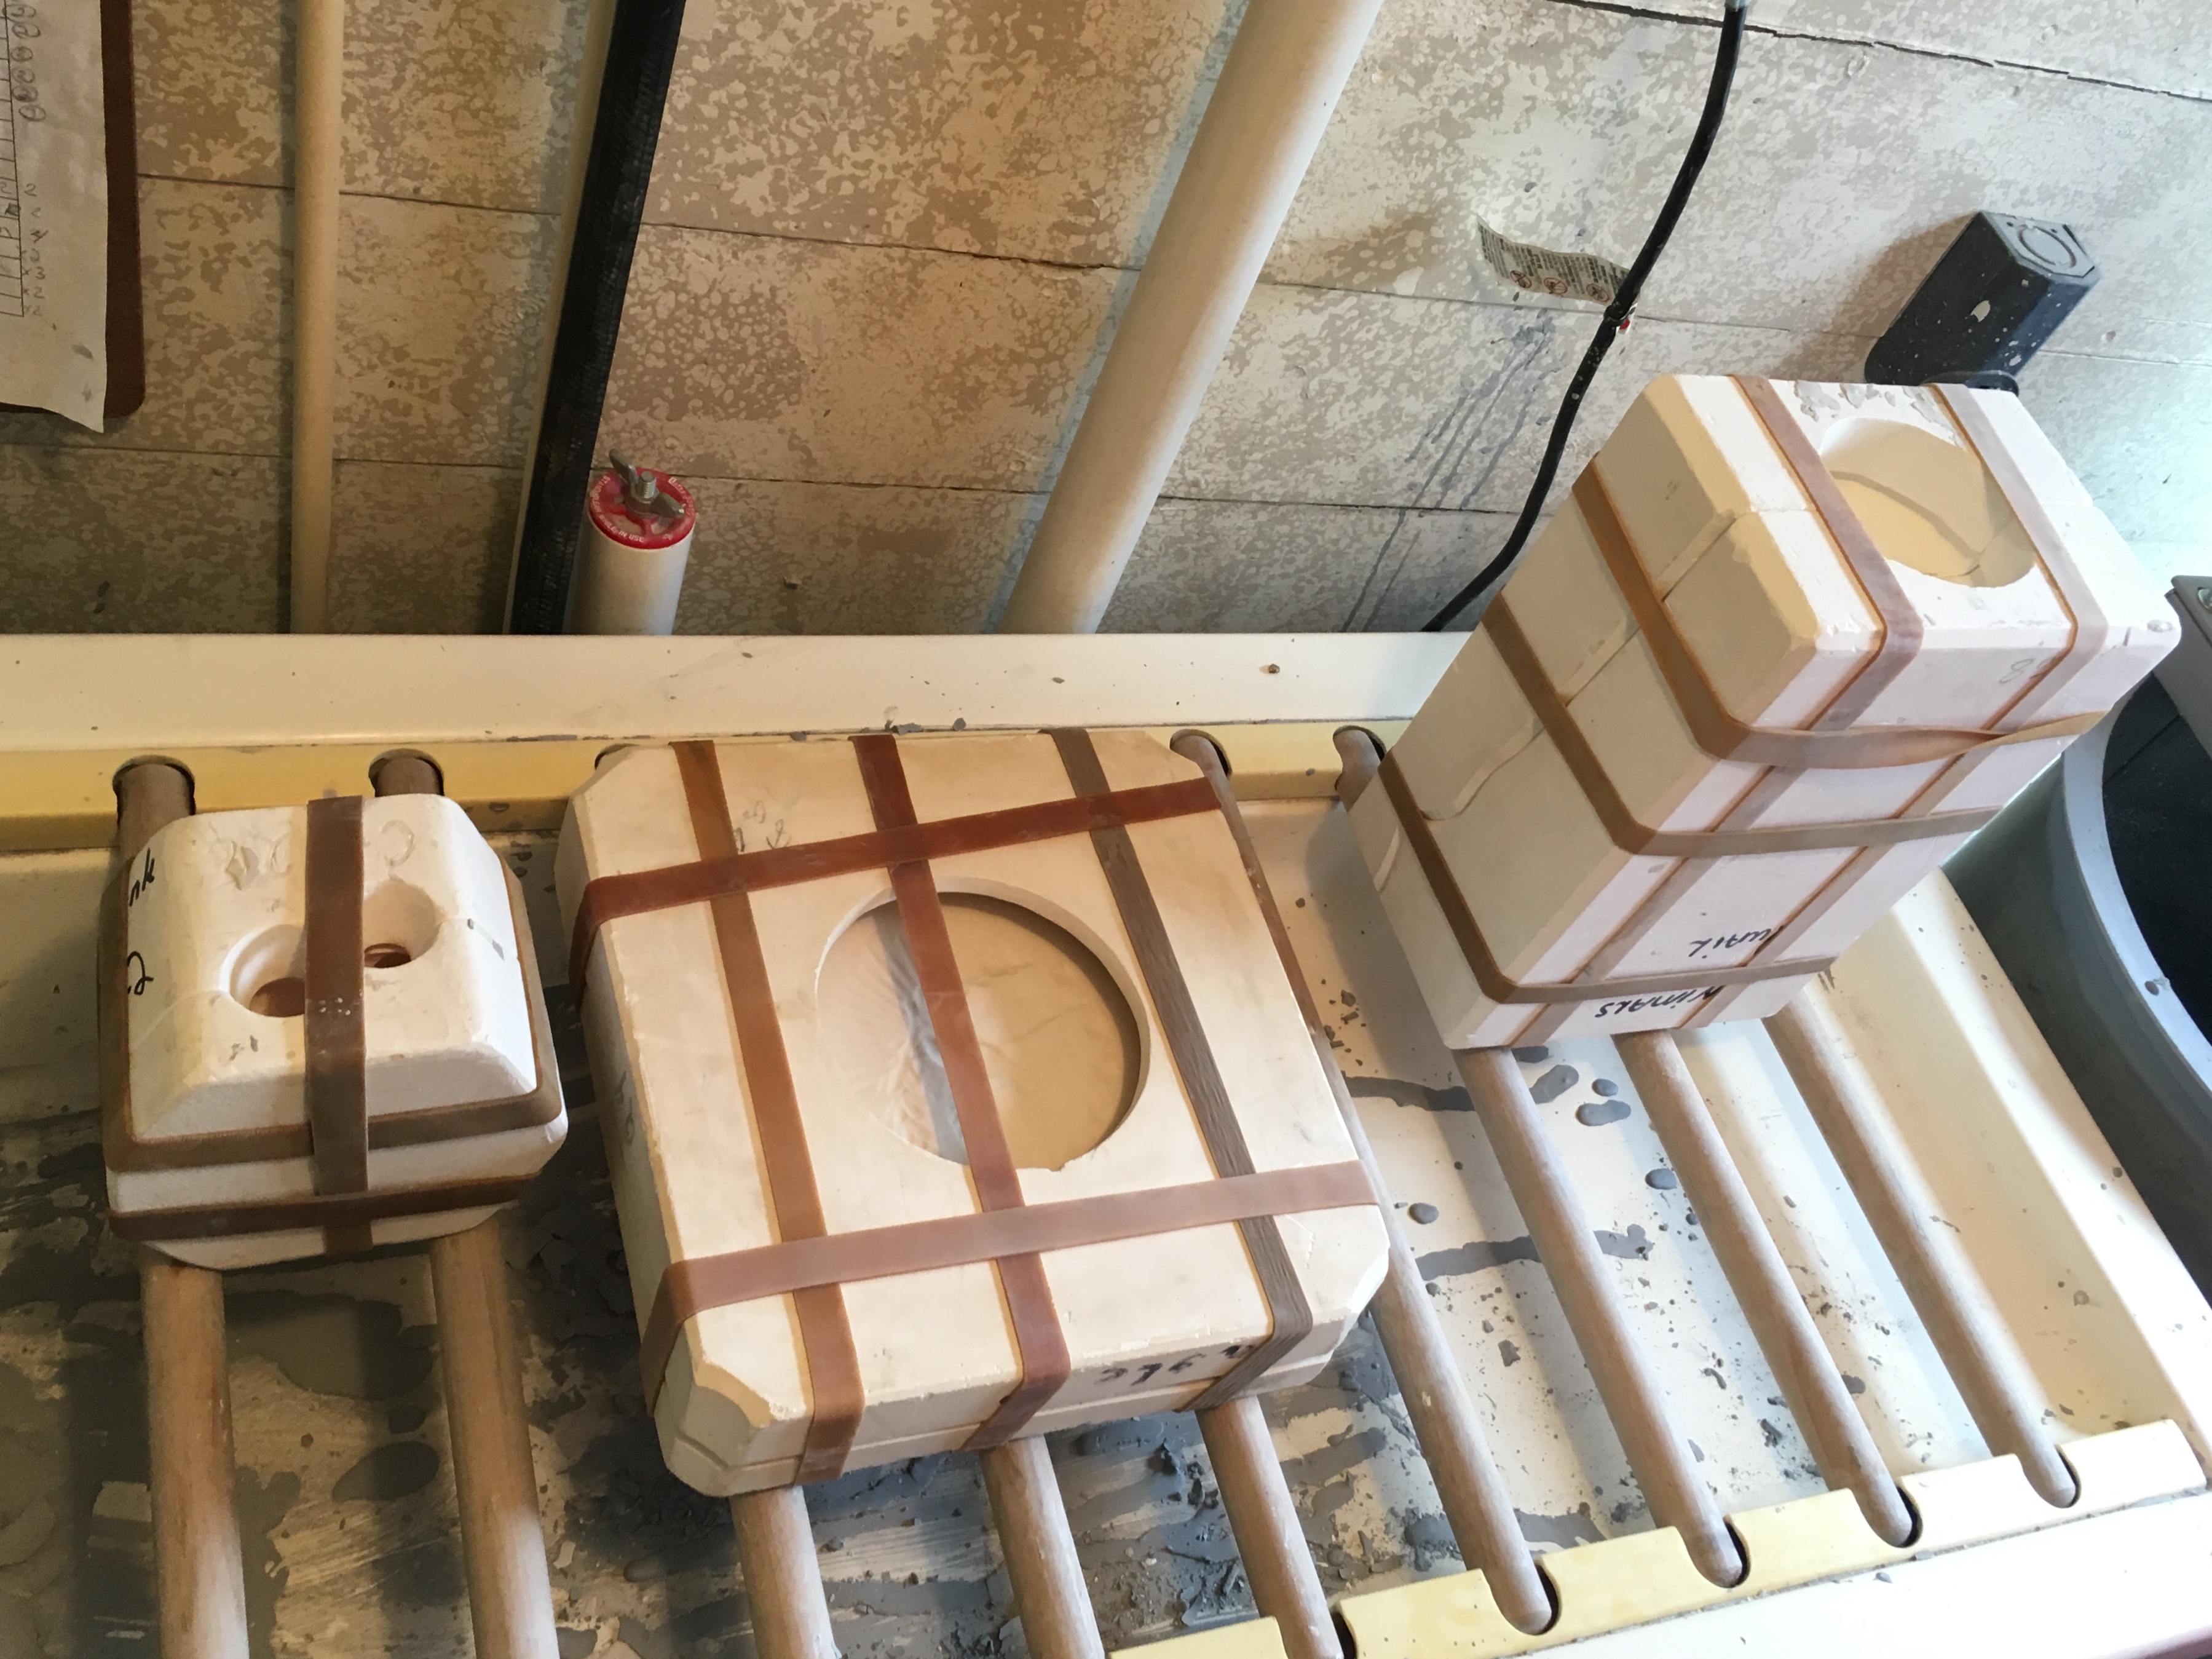
You need to set up your molds. These, if I recall correctly, are made of plaster, and in this case, were ordered. They have to be dusted inside and held together with rubber bands so the material, called slip goes in the mold, but doesn't drip out the sides.
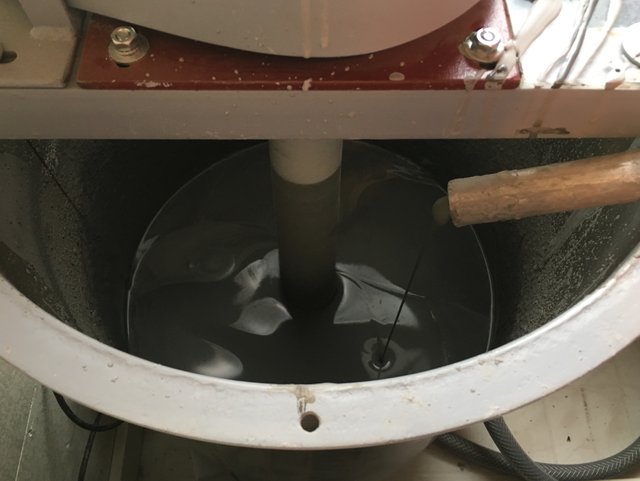
The "slip" mixer, with some slip inside.

This is the stuff that gets poured into the molds. It gets churned around with a motorized mixer, and sometimes we use another one attached to a hand drill if it's not fully mixed using the regular motor.
Pour it in

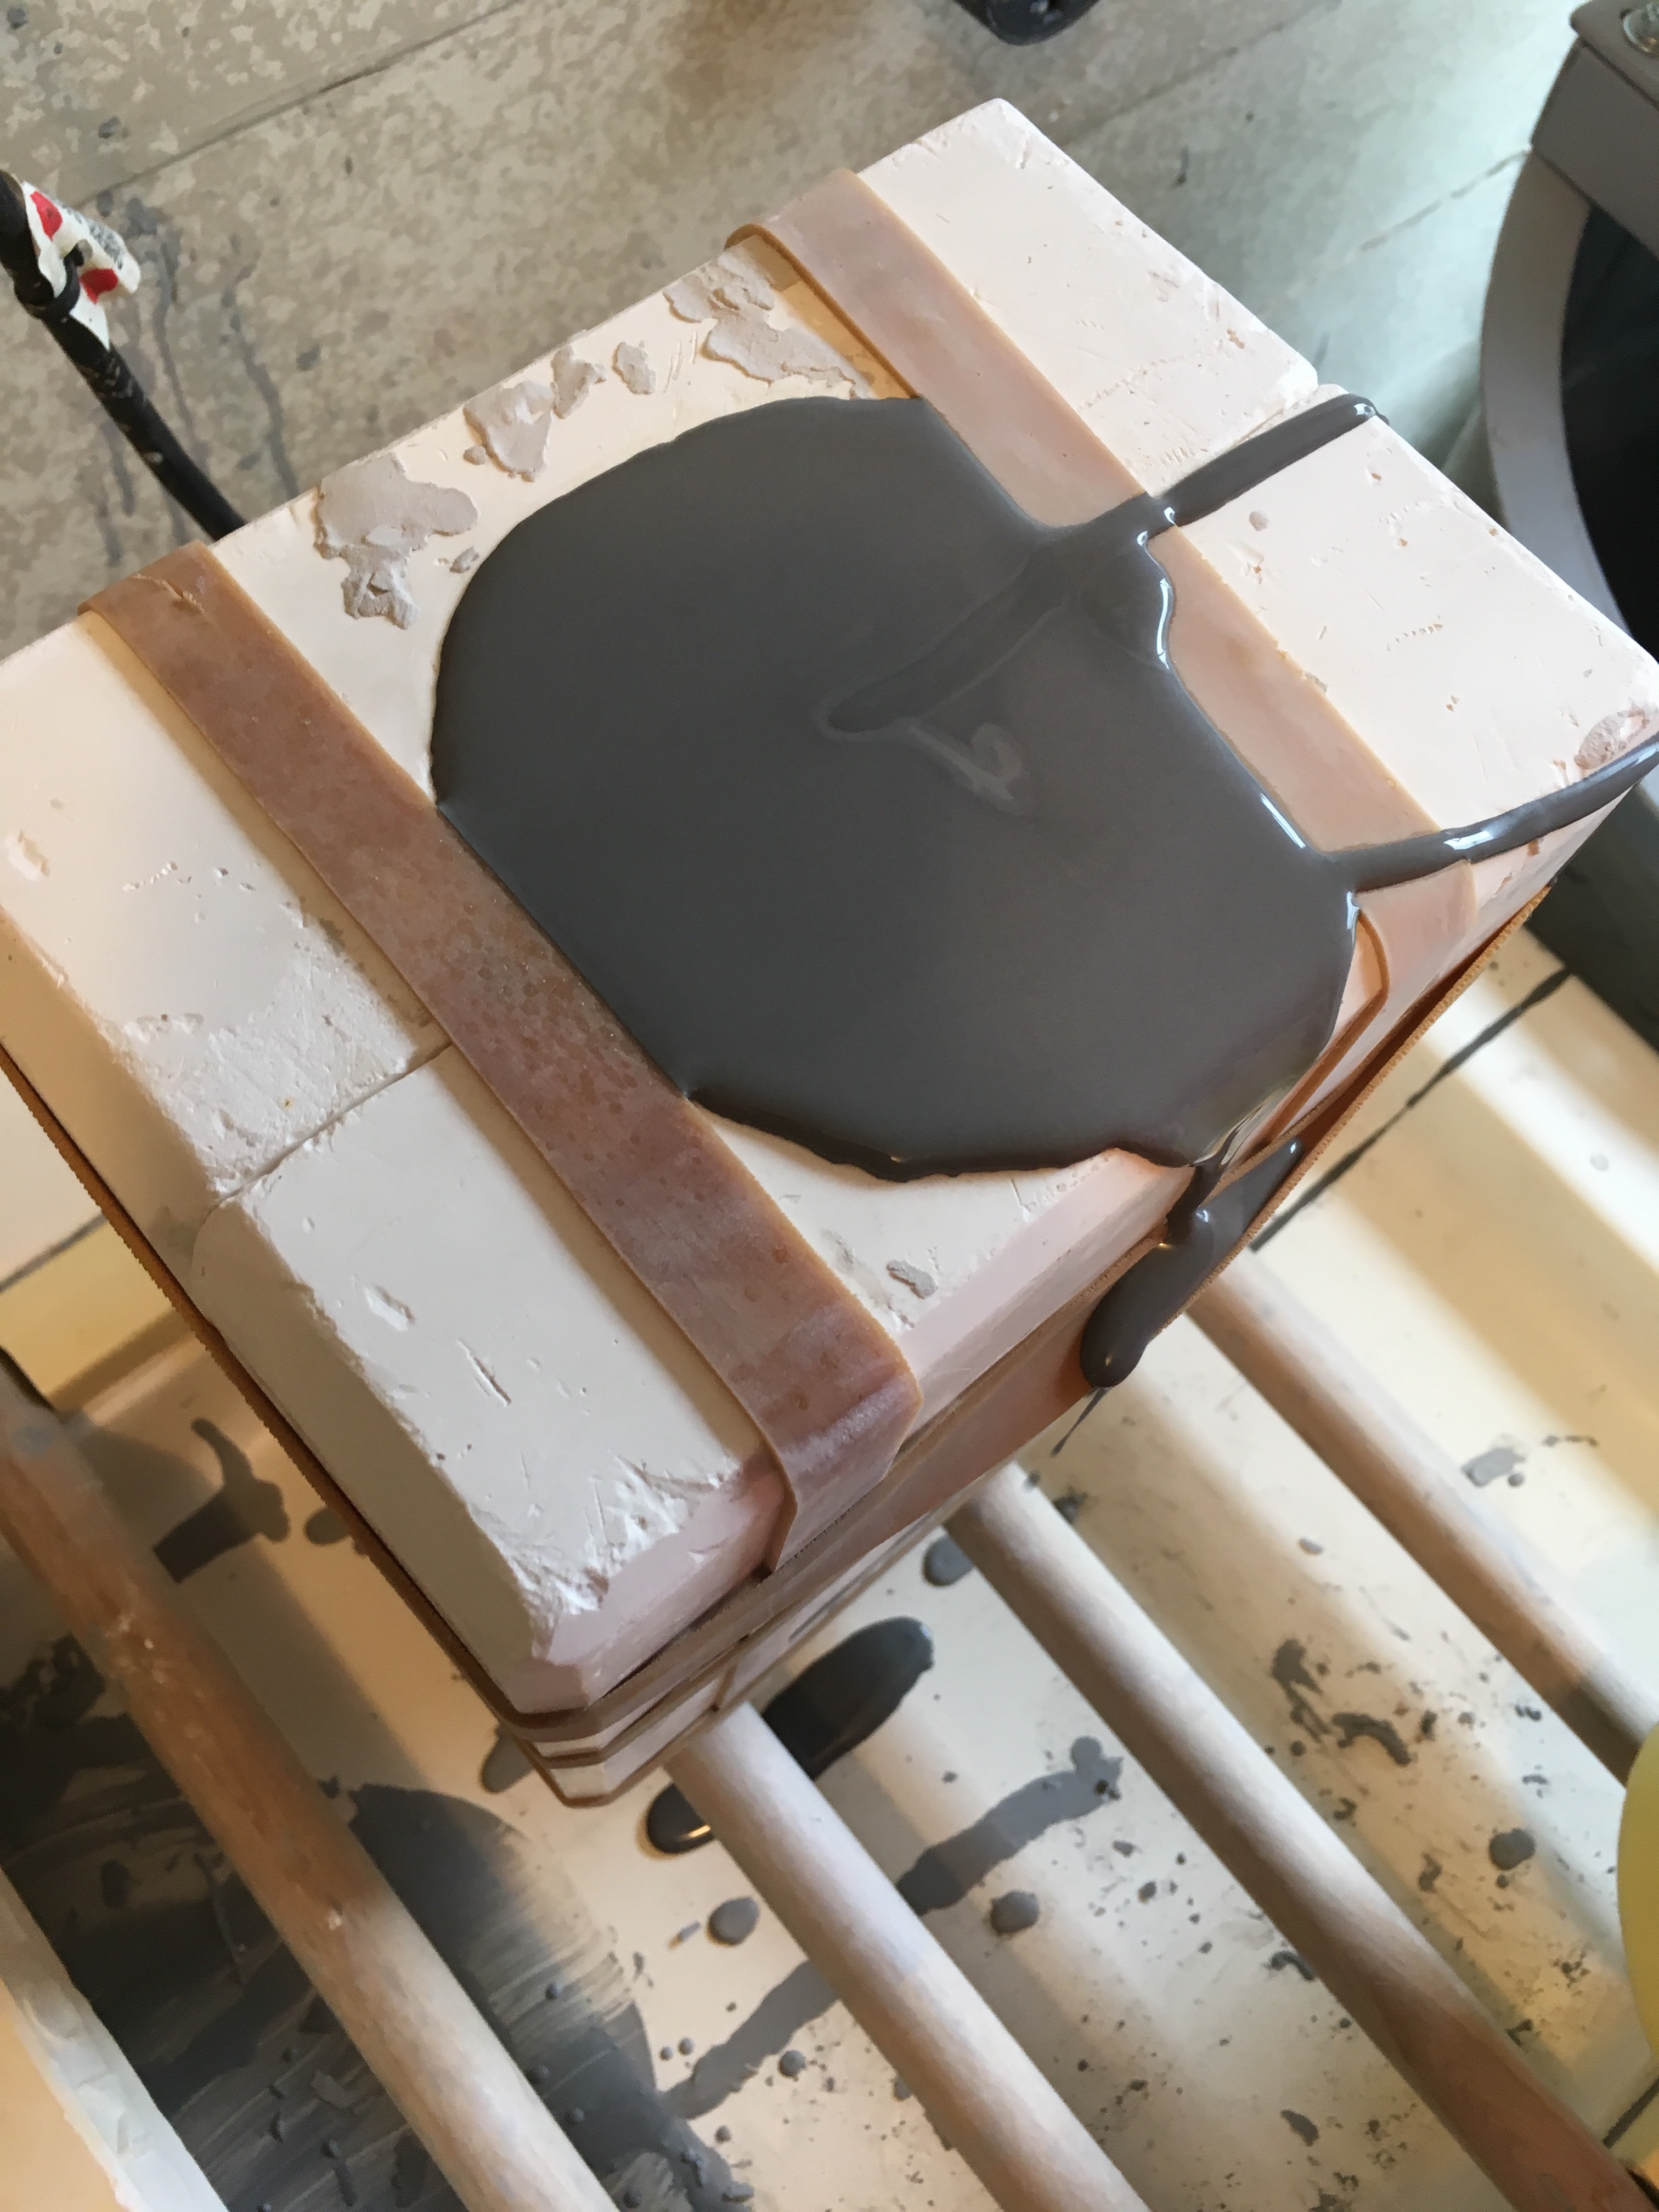
Common sense. You want to pour the slip in so that it fully covers the opening, if not even bubbling over just a tad. Every so often, as the slip hardens, and moisture is drawn out, the slip will kinda slip (har har :D) into the mold further, requiring more to be added. I was doing this every 3-5 minutes or so for about 30 minutes until it stopped shrinking.
Close-UP
You can see the slip material getting harder around the edge of the opening. Eventually, this hardness will be what you look at to see if the mold is ready to be opened.
Paint wall:
Skipping ahead, here's the wall of paint the owner of the studio has on hand once the ceramic pieces are fired in the kiln.
Other embellishments
Some finished products:
These were all already made prior to today's session, but they're here for illustration purposes so you can see how a plaster piece in Goat Granny's studio looks once it's complete. At the time of writing this, one of the three pieces we were trying to make was destroyed because I did a amateur job of pouring out the slip, and it had to be sacrificed.
Christmas trees.
Our Lord in the manger.
These look really nice in my opinion. I'm not sure what kind of glaze or finishing was used here, but I like it.
The chipmunk is almost ready to come out of its mold.
This one ended up being OK. Goat Granny took it out and trimmed off the excess and cleaned up the seam lines (not shown) later on.
I still had one more chore for the day... well a few chores, but this one was down by the ceramics studio. I set up some tires for GG's loofah crop, which is going to go in any day now.
I filled some tires with wood chip mulch, and in the process gathered as many earthworms as I could find for the soil in the greenhouse. Worms are about the best thing you can have in your soil.
- They aeriate it.
- Their dead carcasses eventually return a lot of otherwise hard to get nutrients to the soil.
- They help create paths for plants' roots to fill thus creating stronger, healthier plants.
You certainly have a variety of chores to do. I love the blue pot and the pumpkins are soo cute :)
Yeah, I like it being varied. I also like when it rains and there’s no inside chores. Days off were more plentiful for me before I got here but generally, I like the lifestyle. I’m feeling tired today though.
You might want to try using the homesteading tag - it might help people see your posts :)
Good looks.