Quick Glam Graduation Make Up
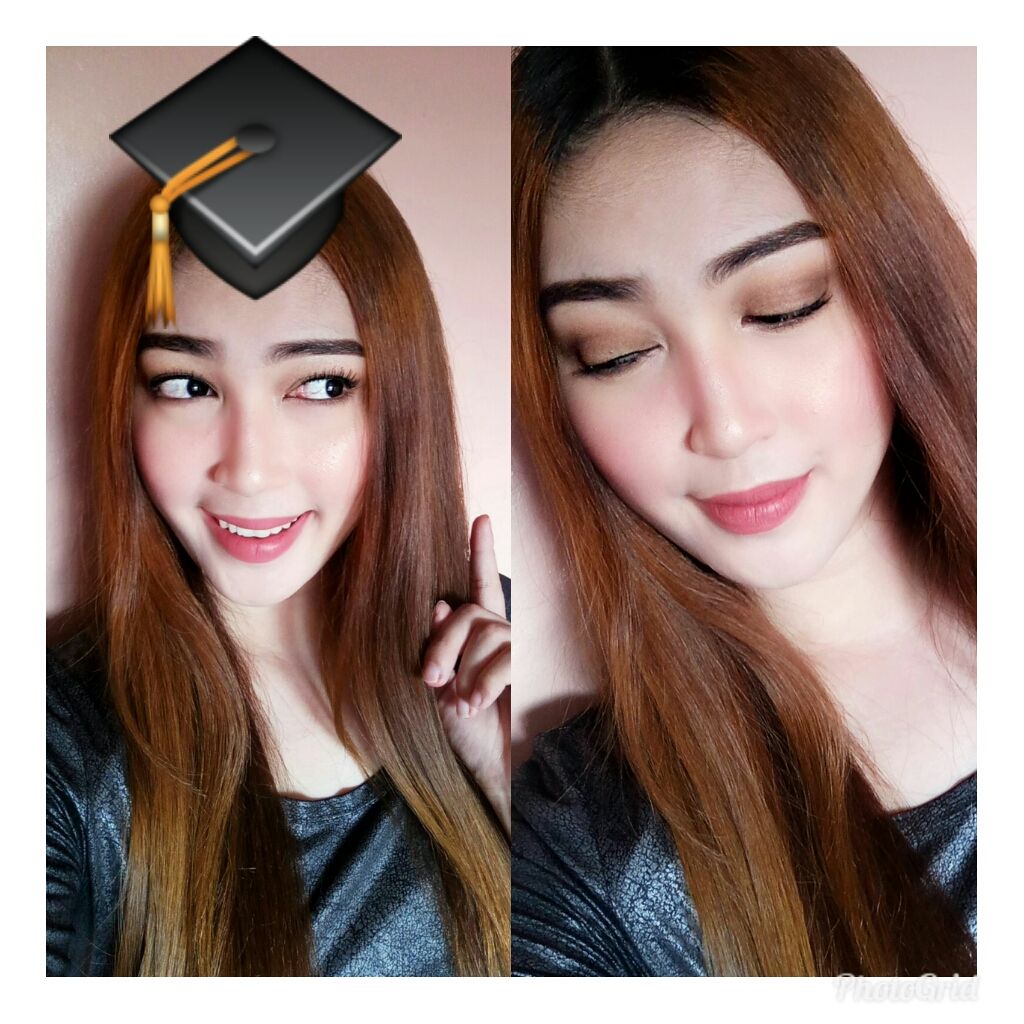
Nothing feels more fulfilling than holding that hard earned diploma while walking that aisle with pride! You should feel like a true winner on that special day. Trust me, you don't wanna look like me on your graduation day. I was a total mess and asked someone to do my make up for me (worst experience ever). I looked like a washed up barbie on crack! Luckily, I've made an easy to follow guide to slay with flying colors🎓🎉🎆
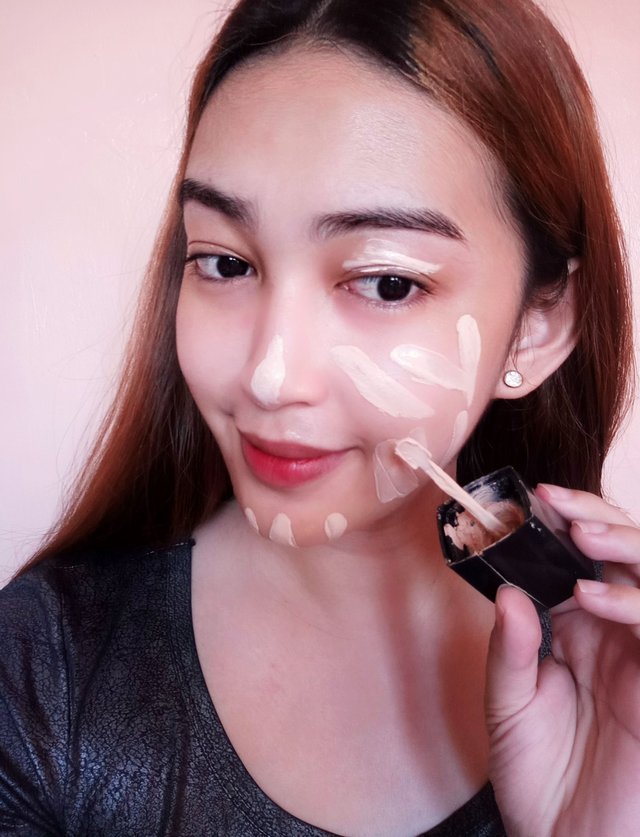
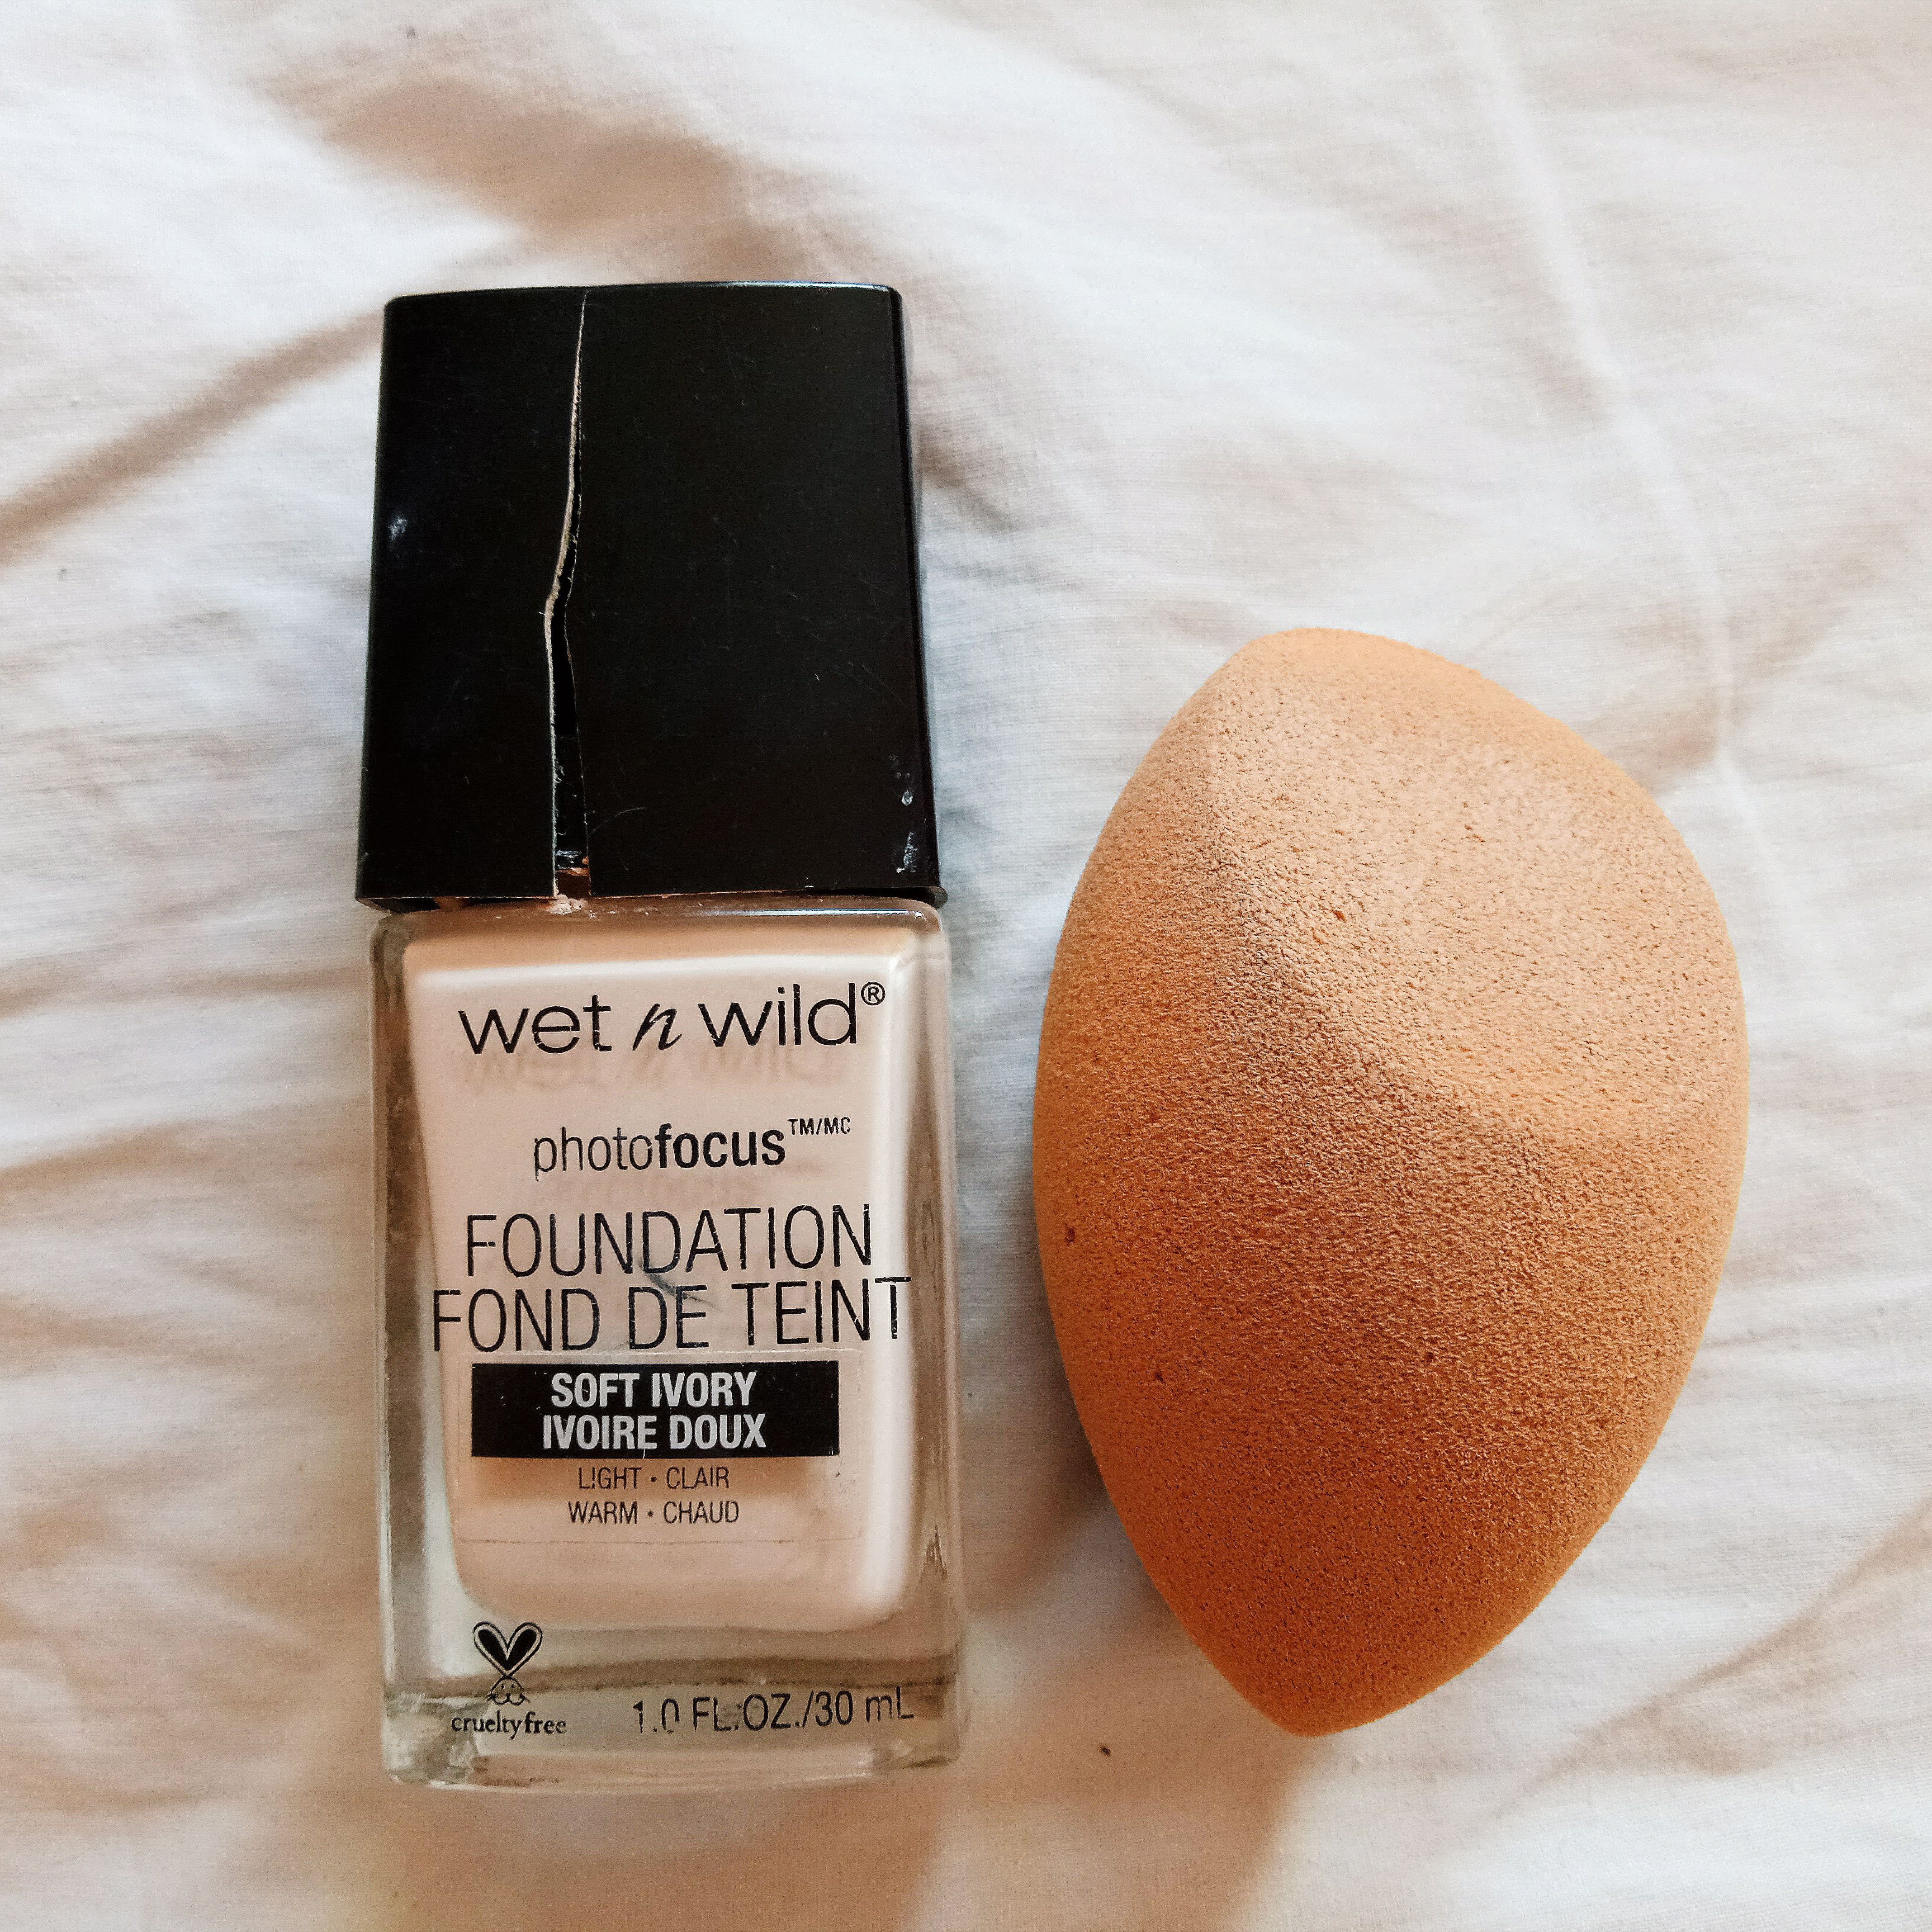
Step 1- You need to look flawless in person and in pictures gurl! The perfect base for that is this WetnWild Photofocus foundation. As the name suggest, this foundation really looks amazing especially in photos. Say goodbye to ghostly flashback pictures😂 Apply on one side first and quickly blend with a damp sponge. You wanna blend quickly with this foundation because it sets kinda fast but that's a good thing! If you want your base to last the entire day, find a base that sets rather quickly because those tend to be more sweatproof and smudge resistant!
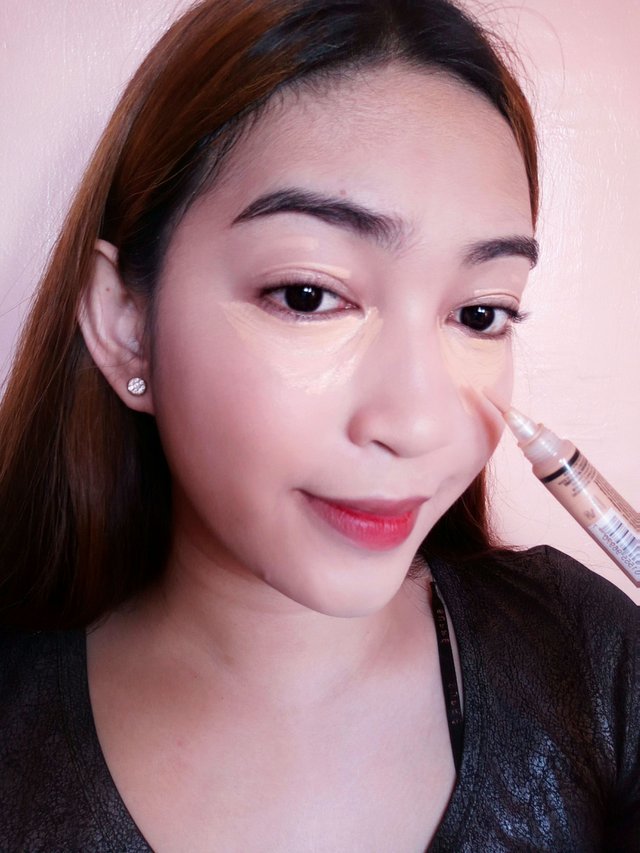
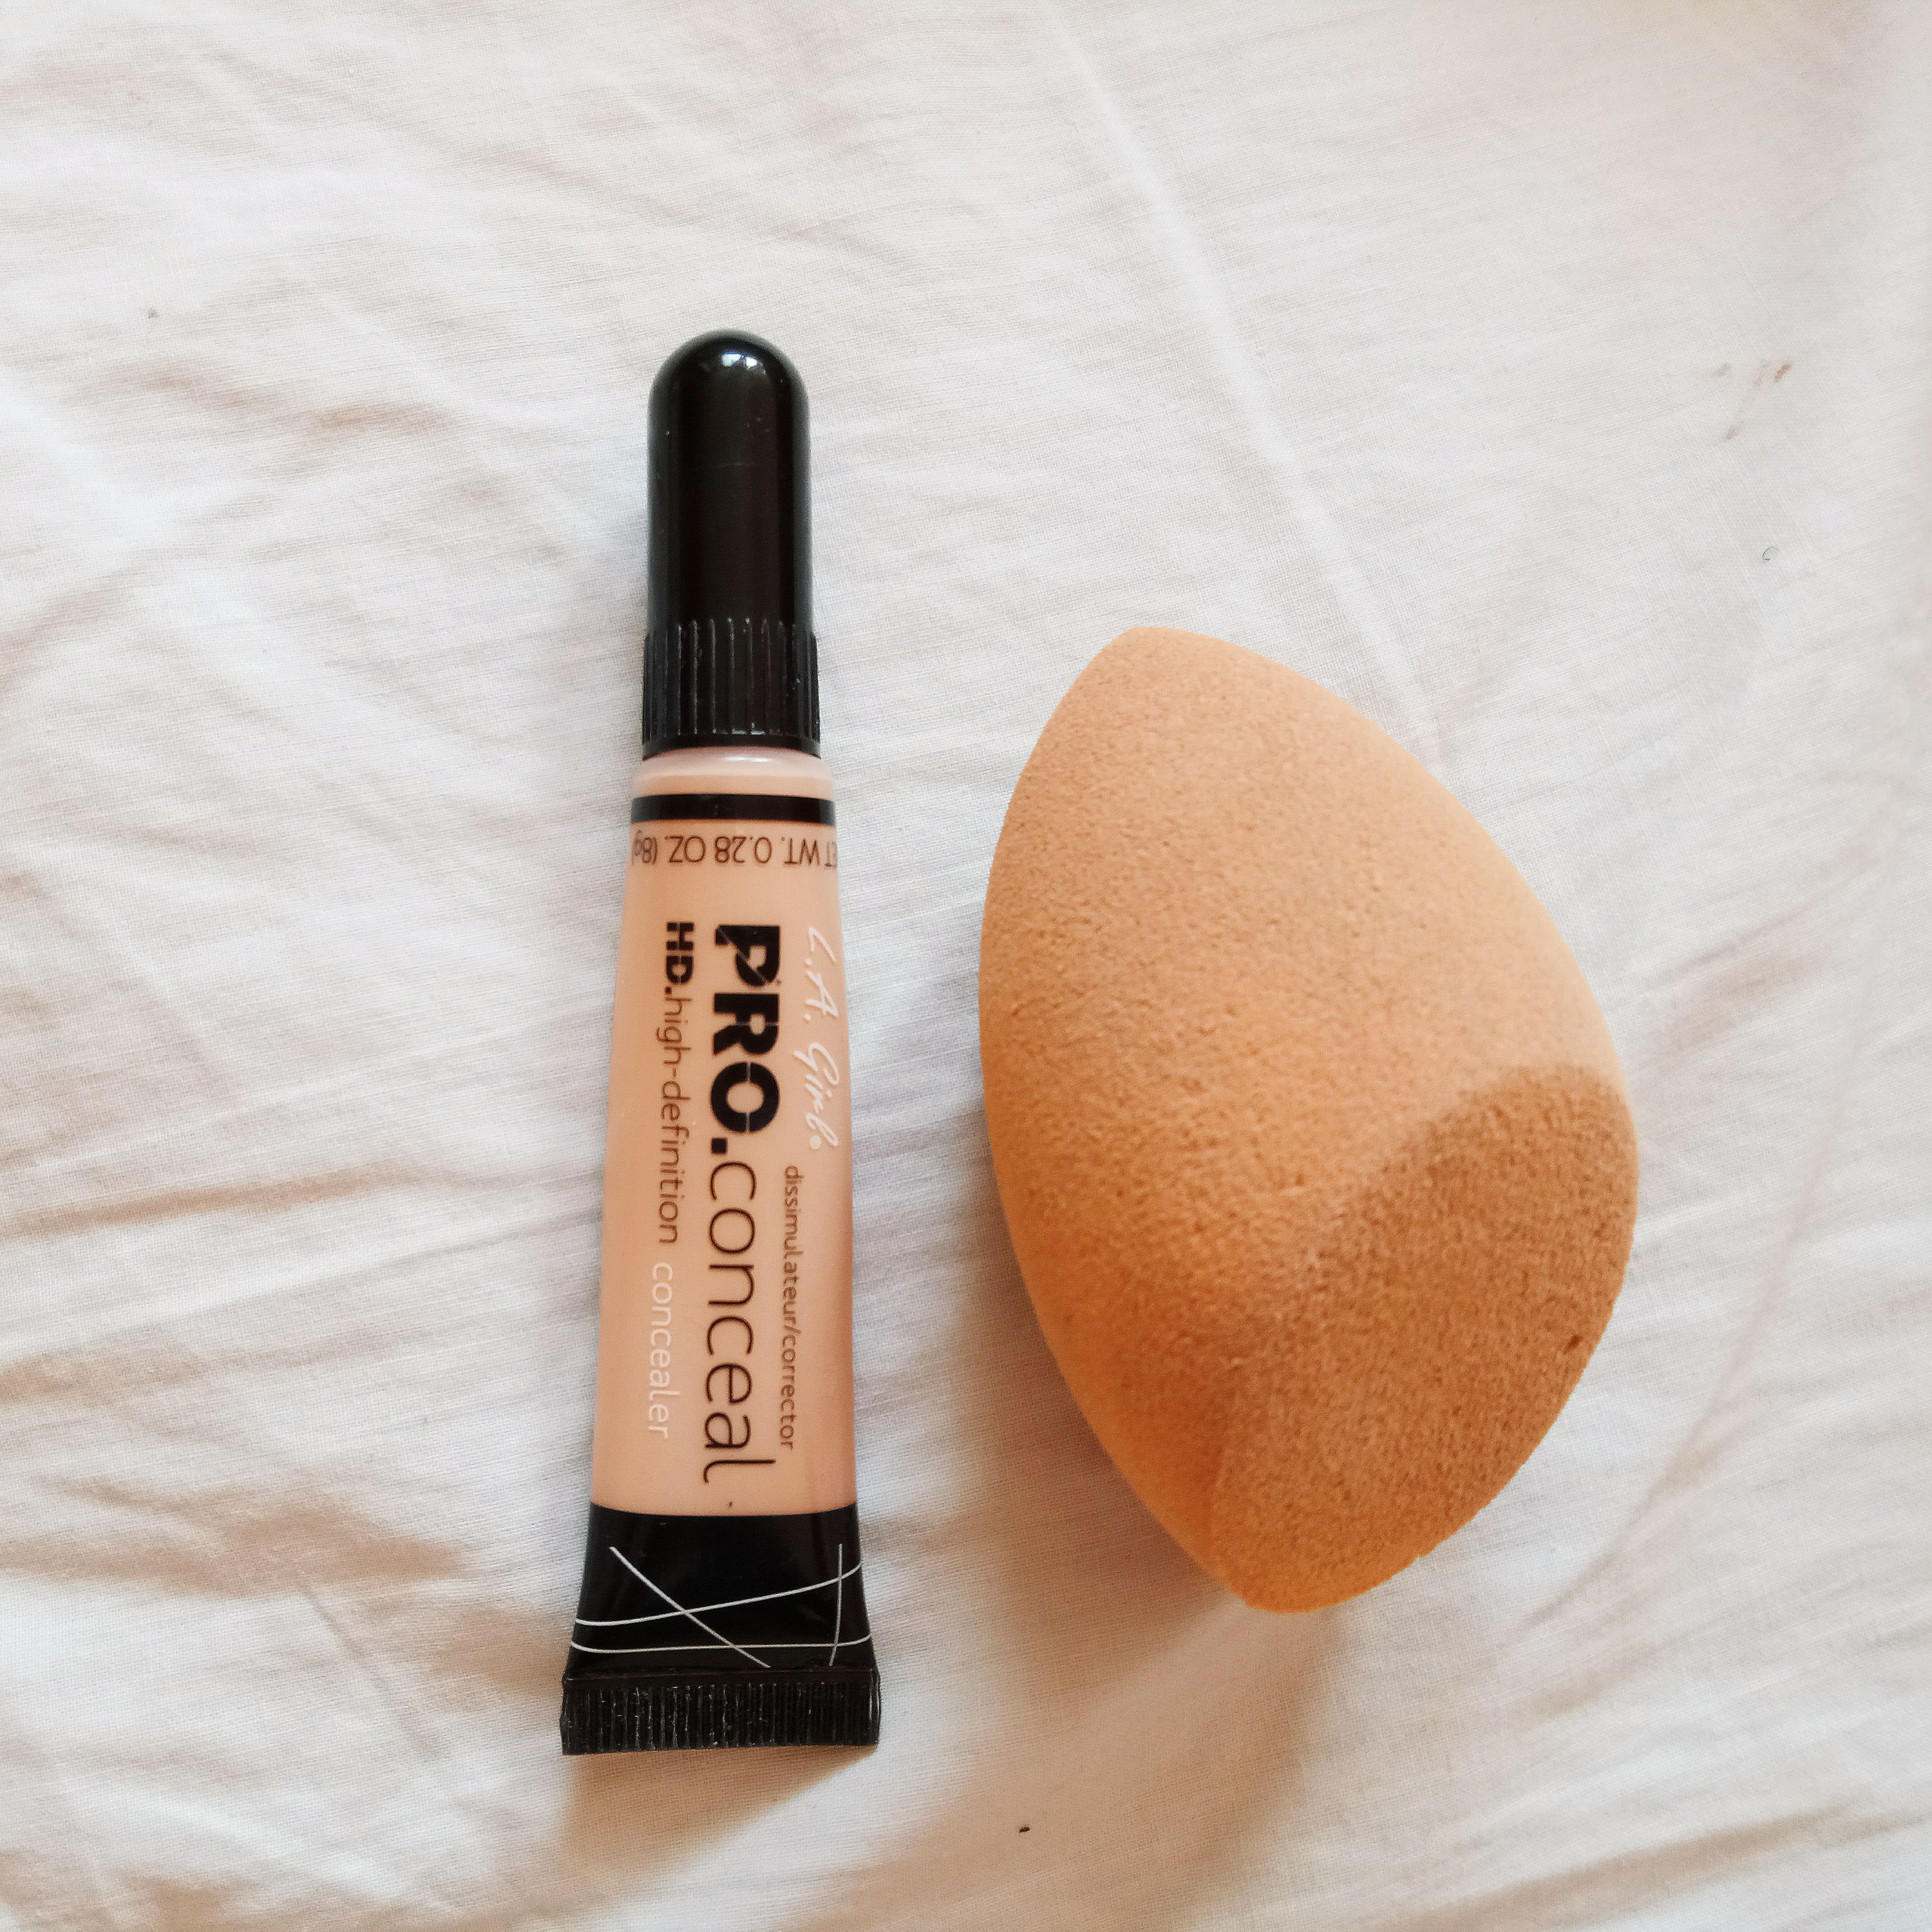
Step 2- Yes I know, you spent countless nights studying for exams and completing those pesky homework but we don't want the stress of it to show on your face! Cover those bad boys with a creamy concealer. Draw on an inverted triangle and again with your damp sponge blend gently to completely cover the darkness and give a lifted highlighted look! You'll look fresh as a daisy.🌼
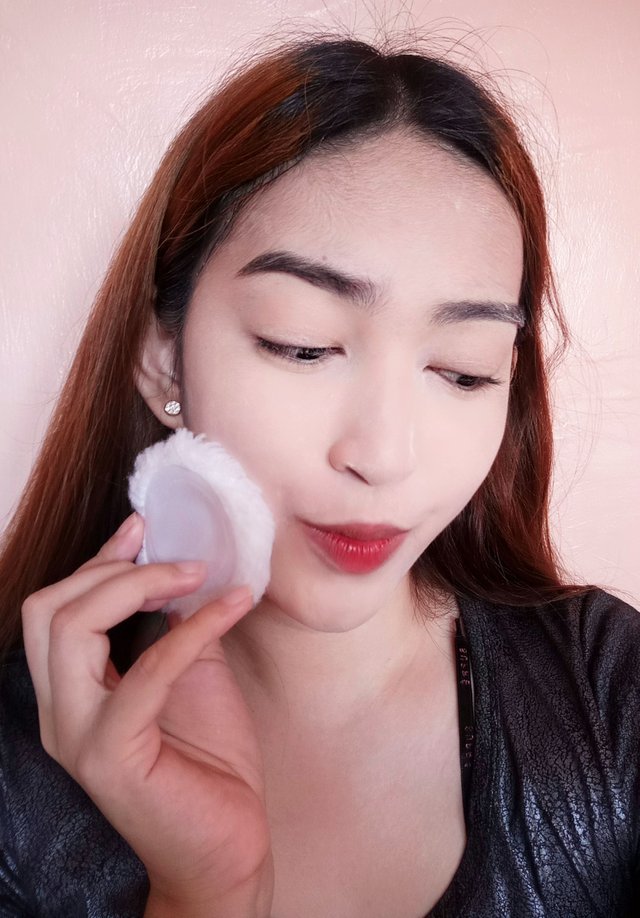
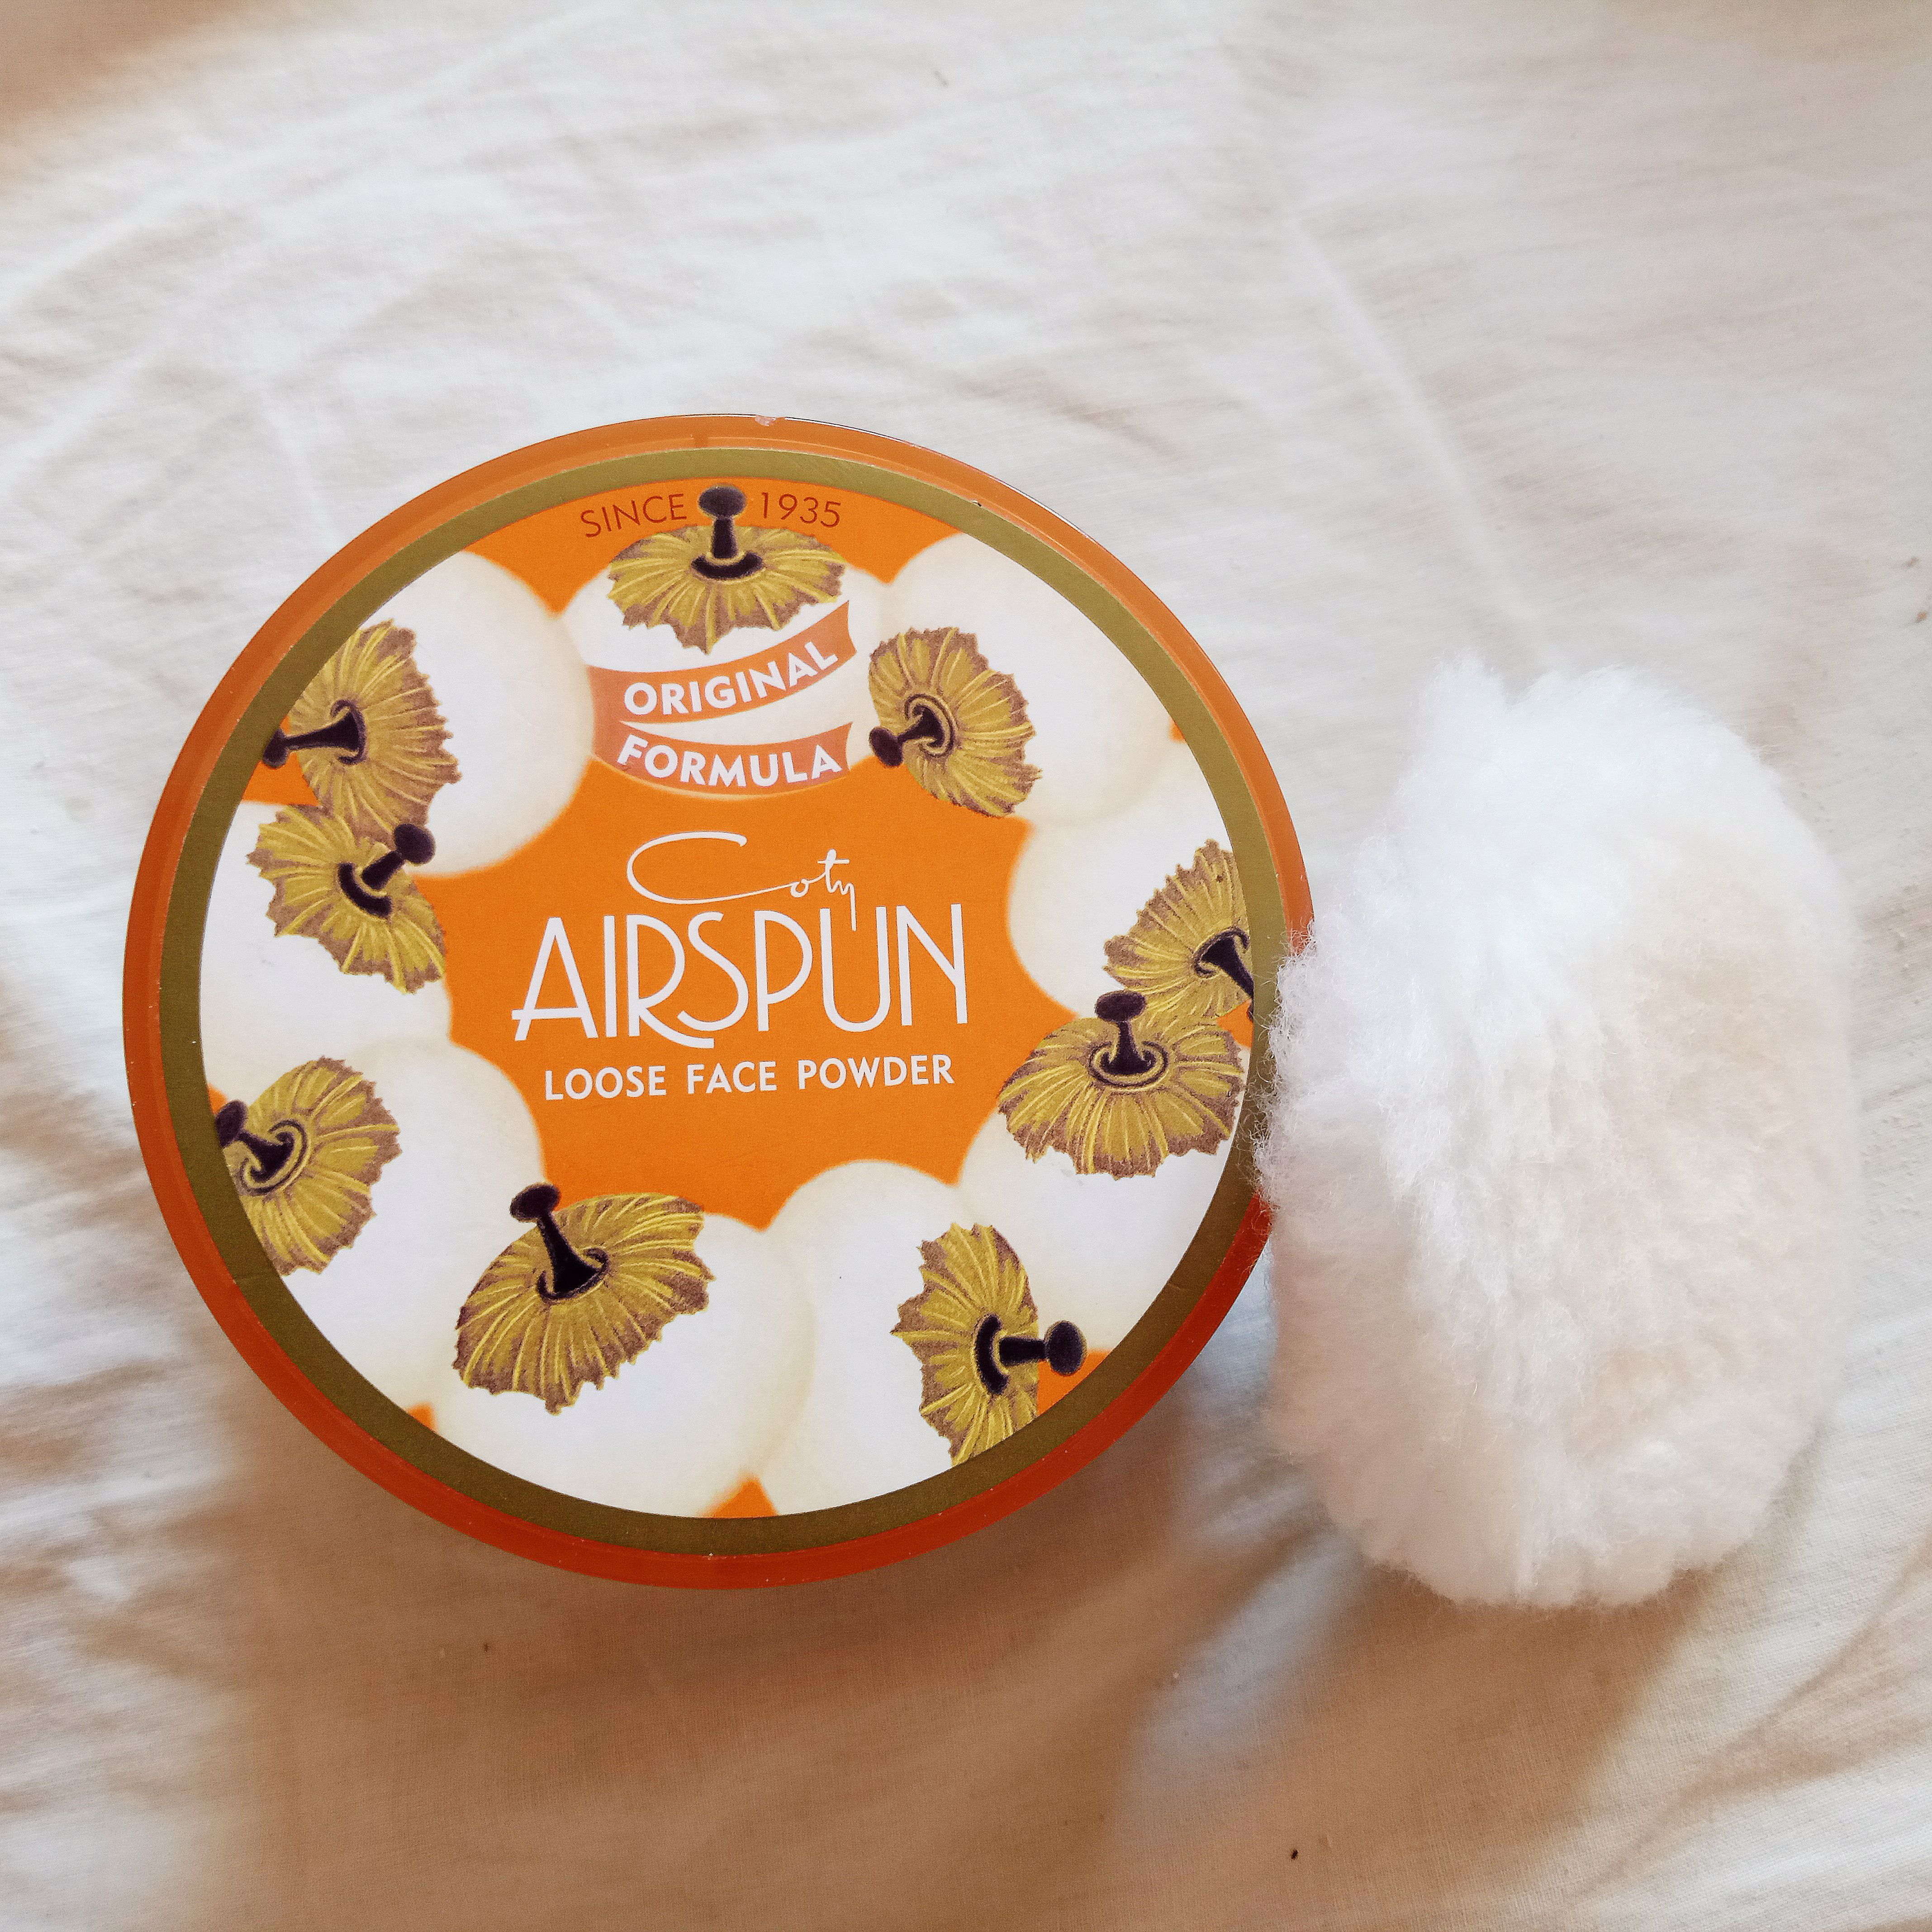
Step 3- Boooooooooo!👻 Scared ya huh?😅I know, you think I look craaaazy! Well, I think I do too but you just need to trust the process. Graduations tend to be hot and sticky feeling. You need all the powder you can have to still look fresh by the end of this event. Again, I'm using the infamous "baking" technique to lock down our base and to prevent it from slipping and sliding around. Let the powder bake there for atleast a minute and then dust off gently with a brush. You are locked and sealed!😉
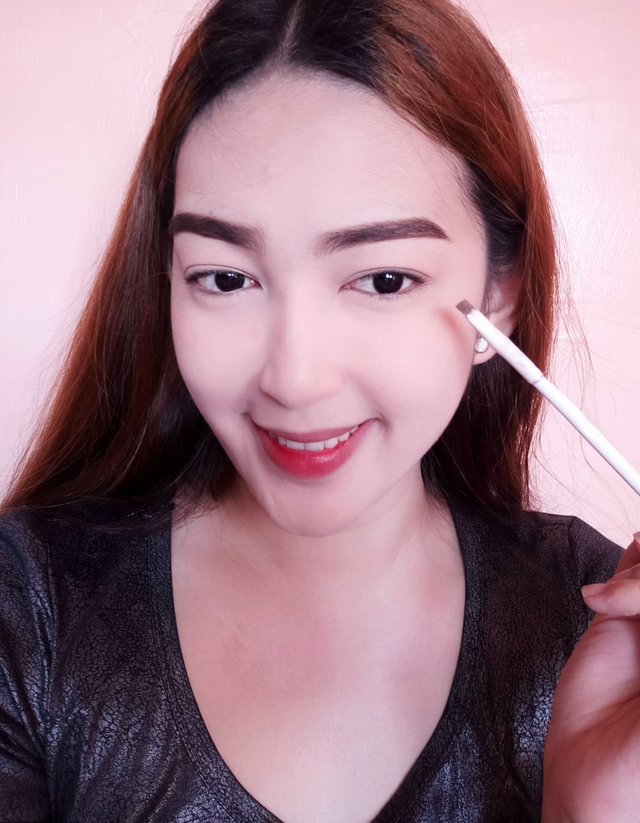
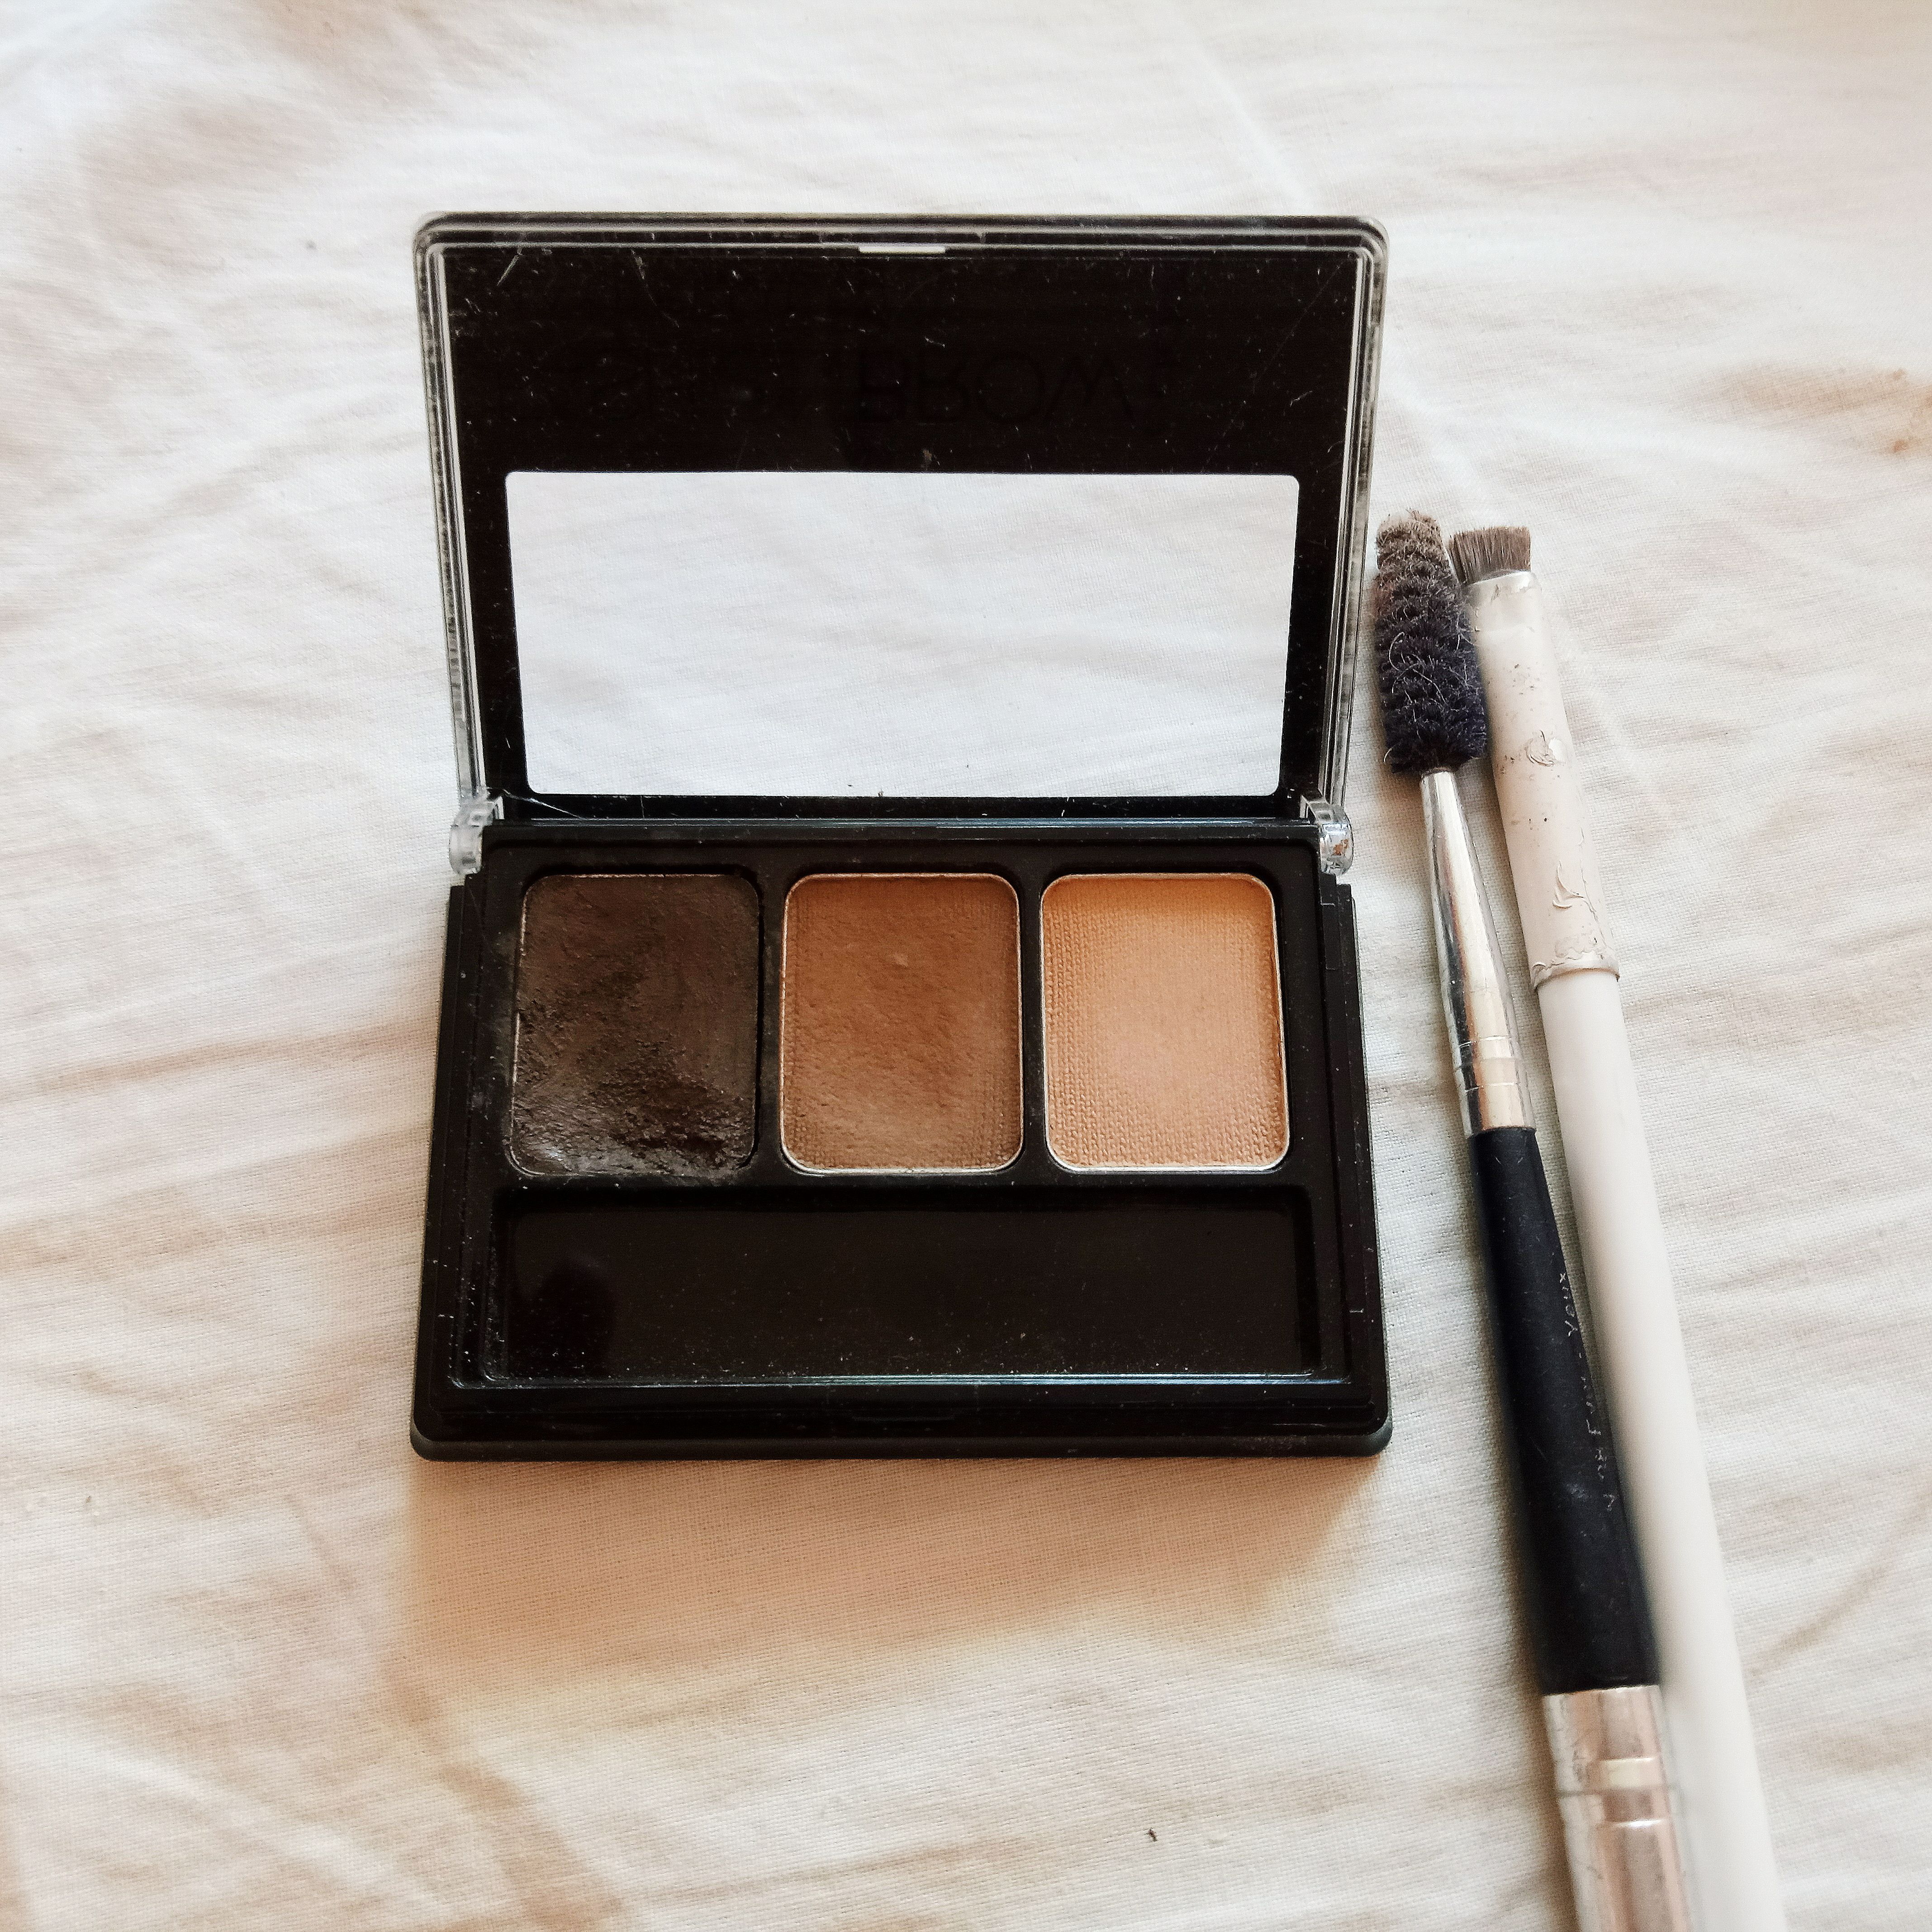
Step 4- Frame those eyebrows as neatly as you can. For my daily brows, I just usually use the powder part of this pallete for a softer finish. But Graduation day is an exemption! For a more defined look, start with the wax side first to outline the shape of your brows and fill in with the powder side. This will give a more "polished" brow, perfect for special events.
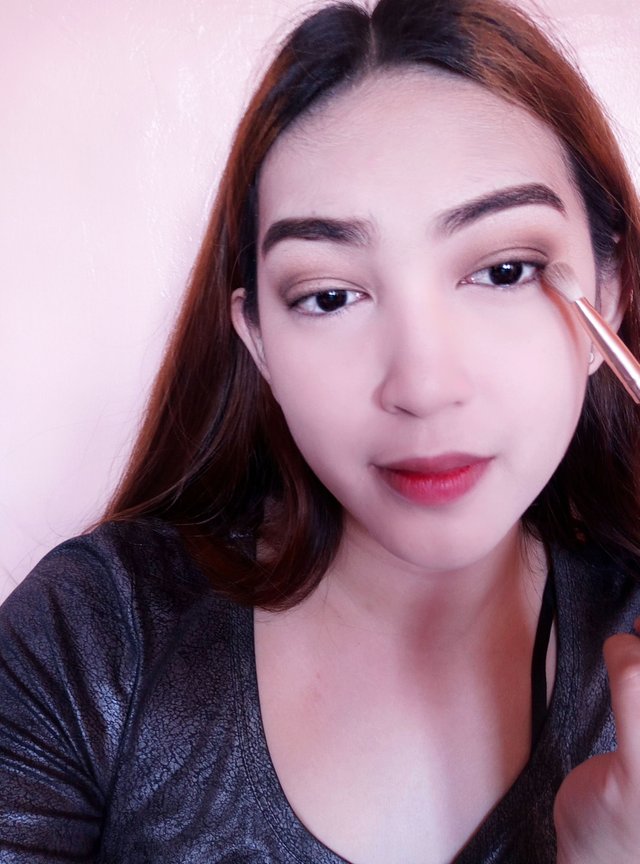
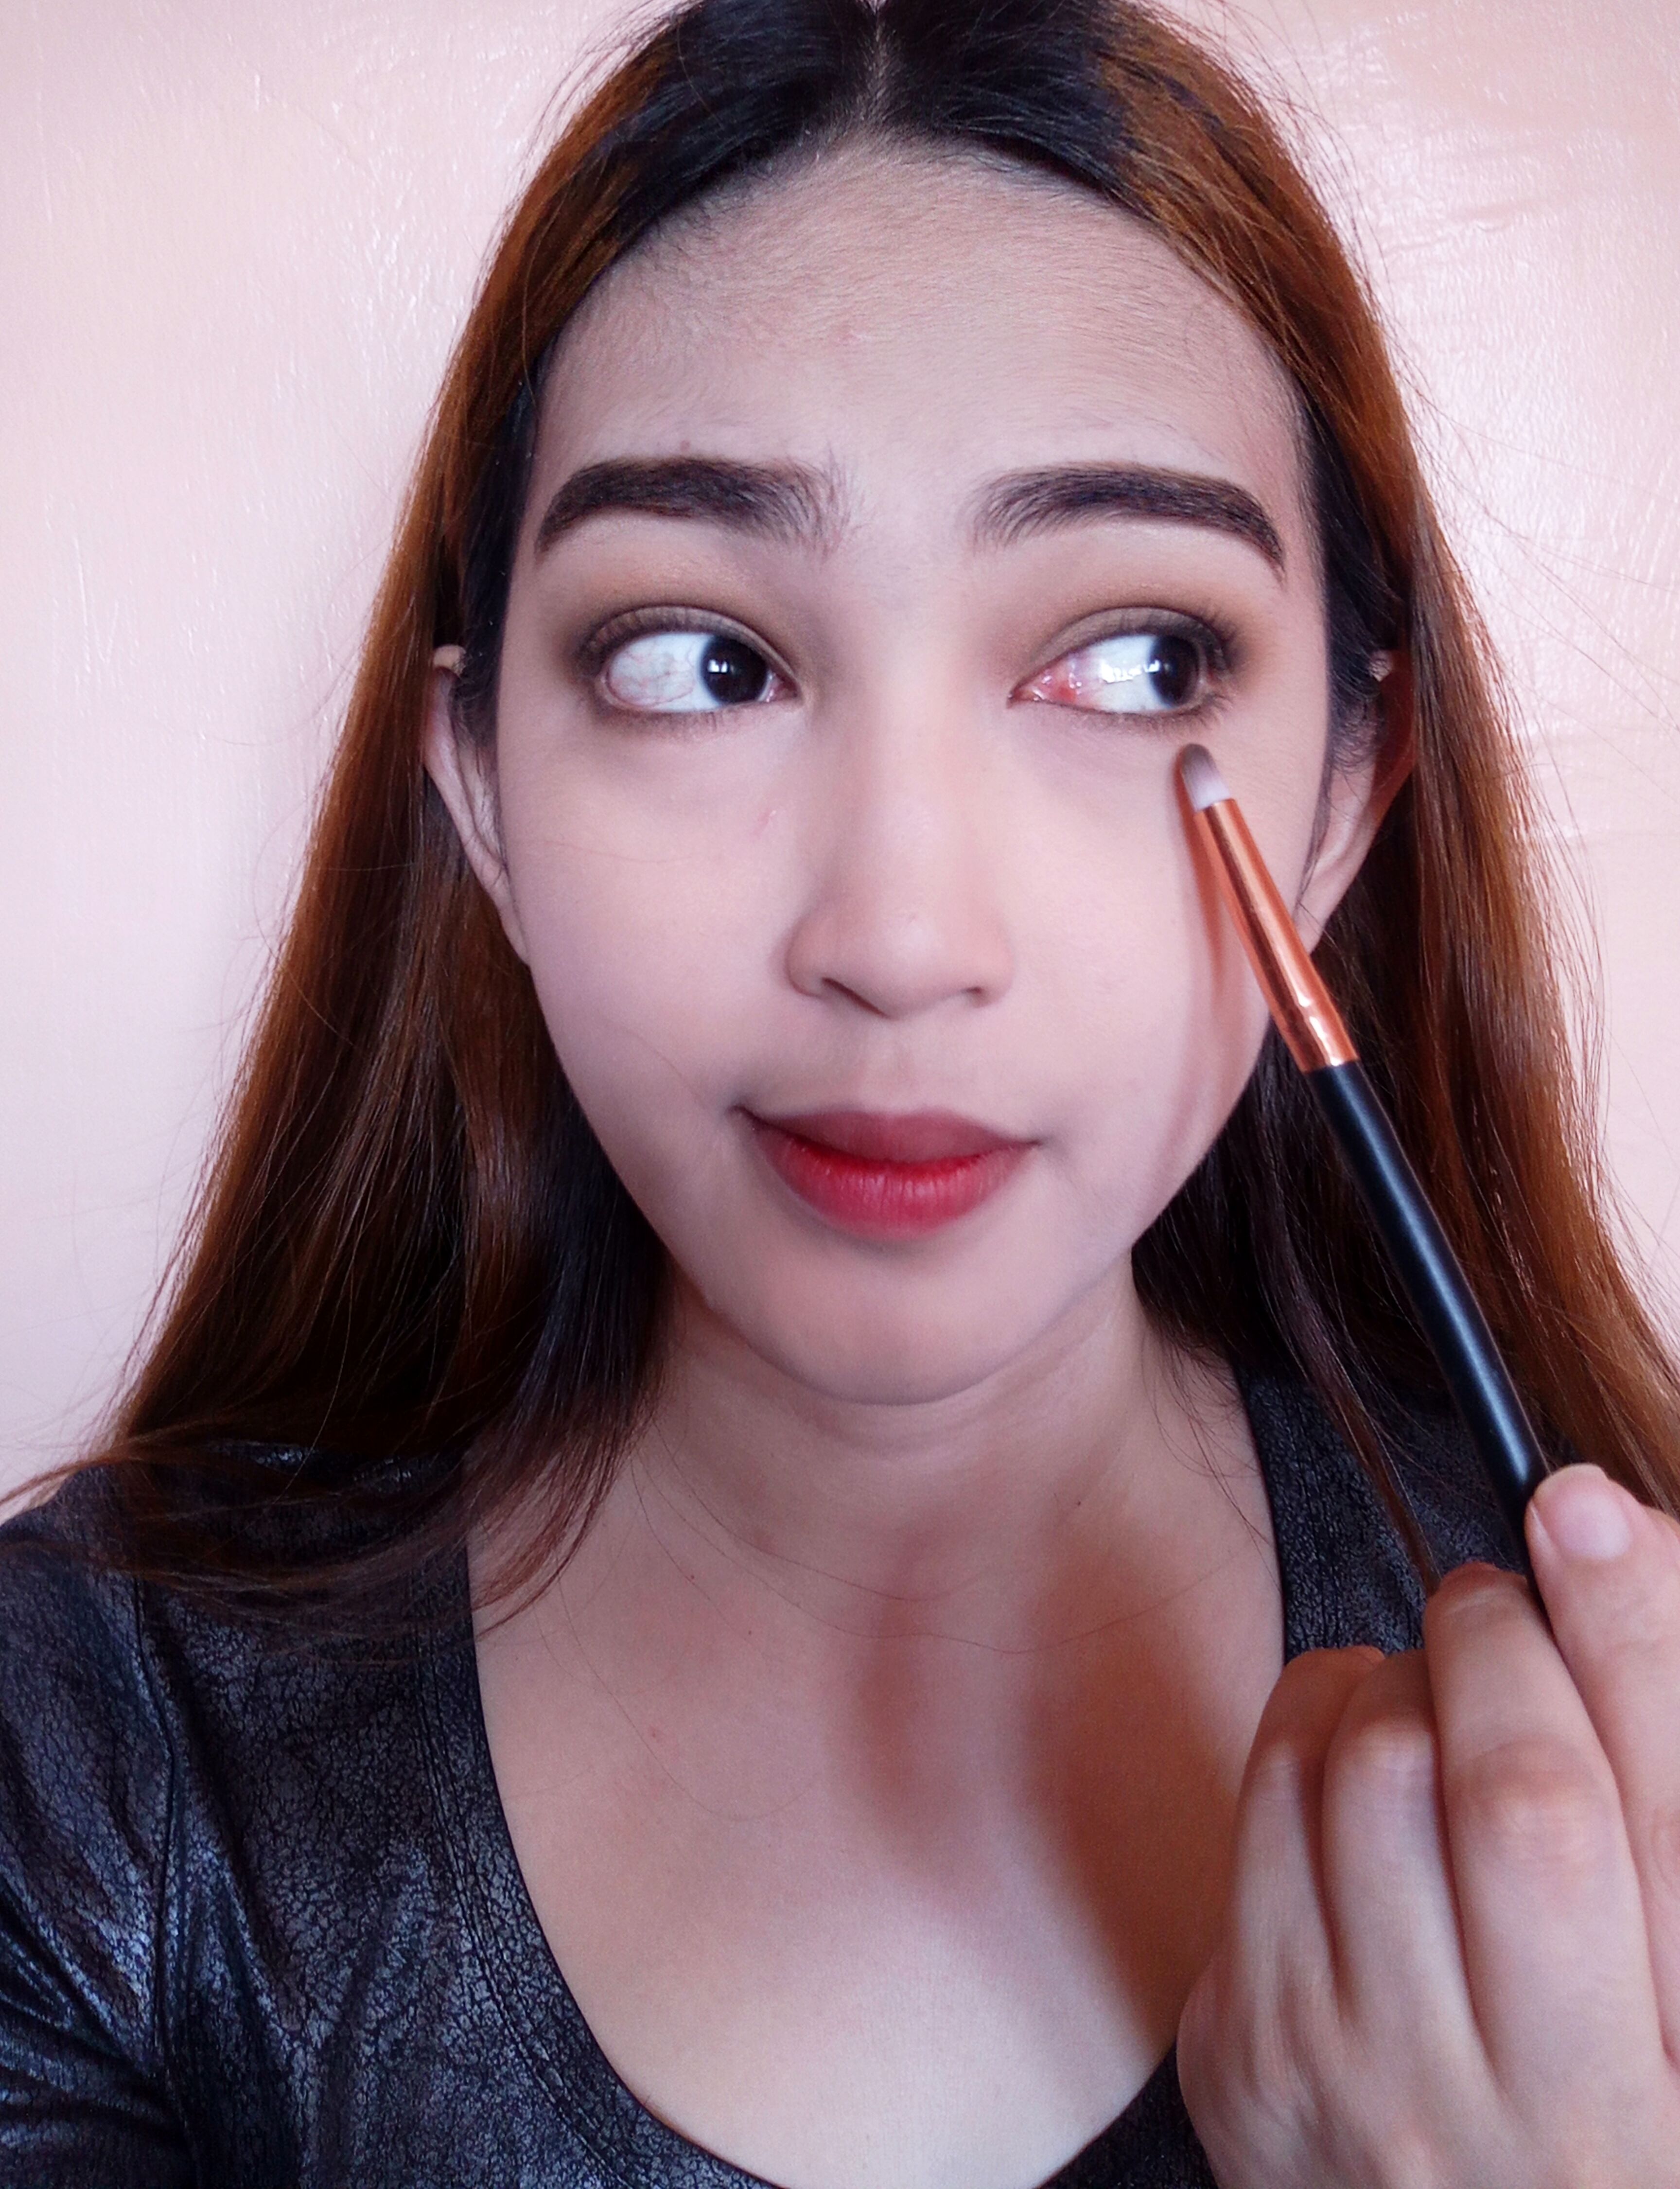
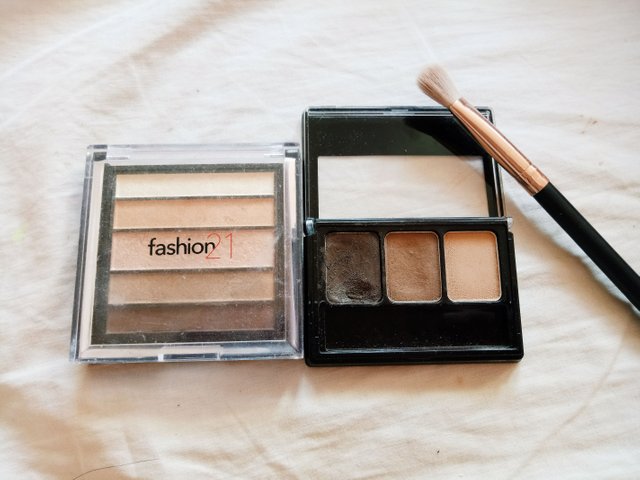
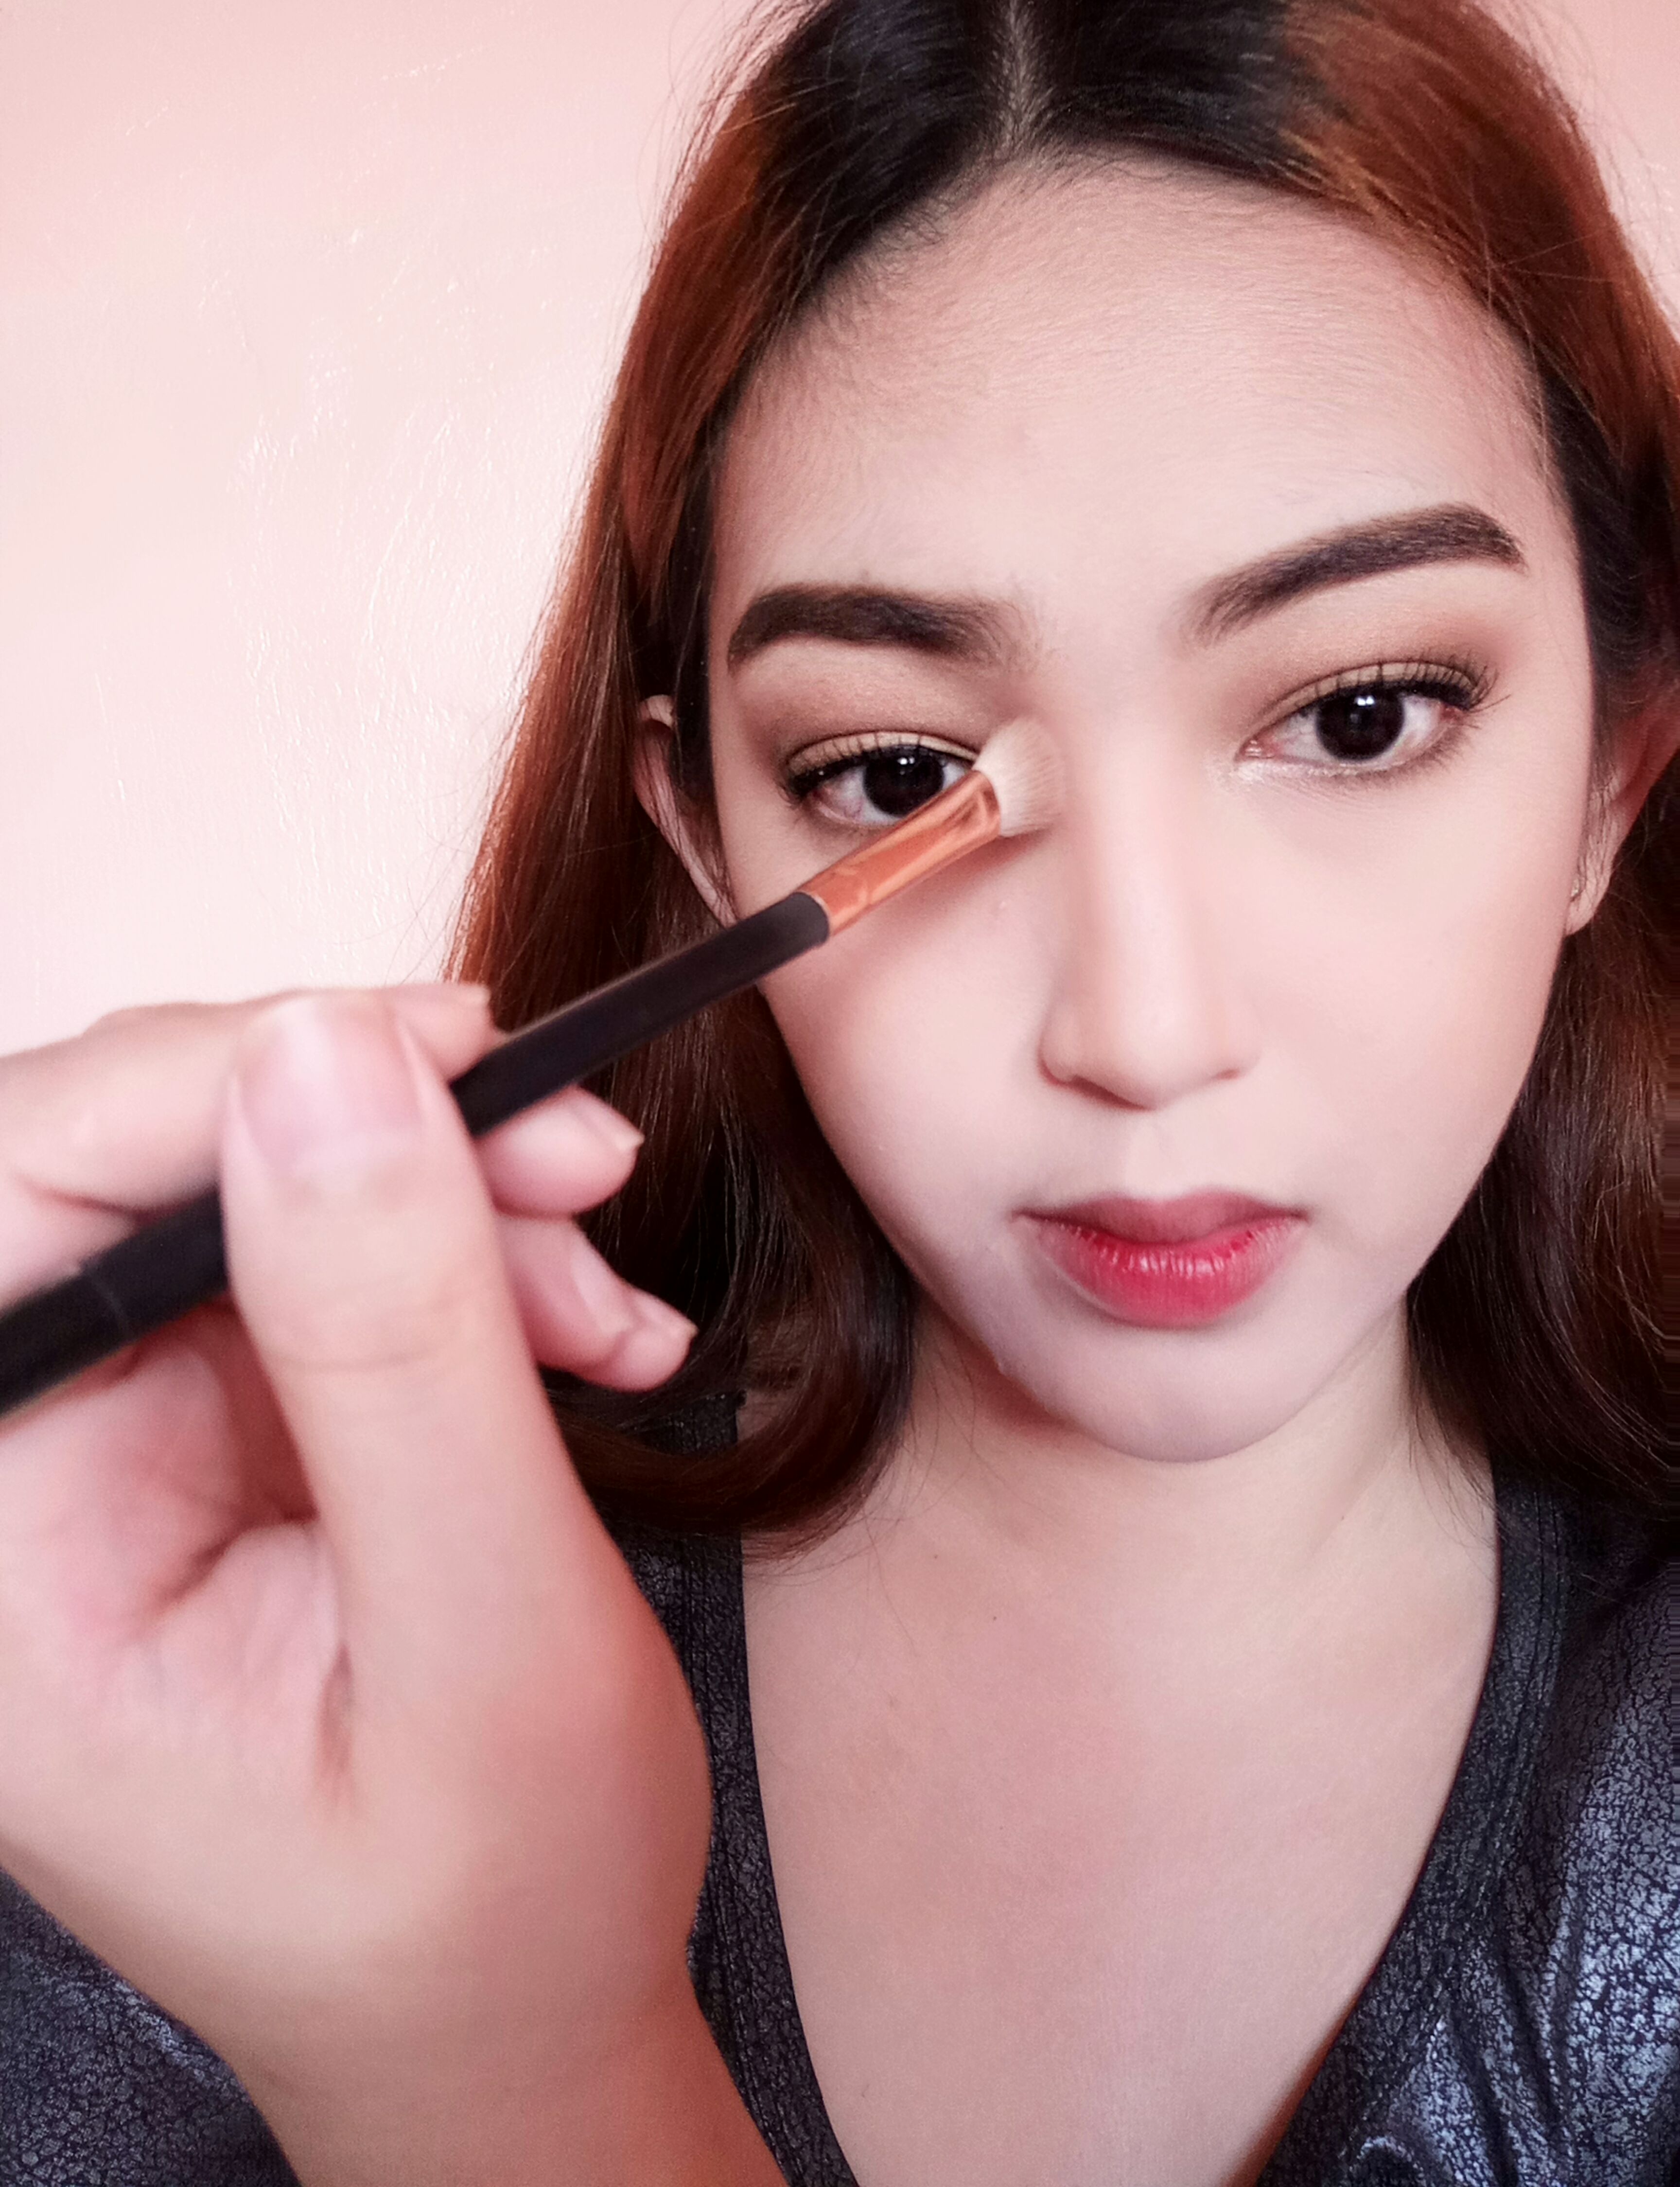
Step 5- It's time to give your eyes some attention! With the same pallete we used earlier for the brows, take the brown powder with a fluffy crease brush and apply it all over the lid area. Yes, you can use this product a number of ways! If you have a more hooded eye shape like mine, you can take the shadow a bit higher than usual. With a darker shade of brown, apply it only to the outer crease area of the lid and a bit on the lower lash line to balance everything out. This will give an illusion of deep set eyes! Ofcourse blend any harsh lines that you see for a softer finish.😉
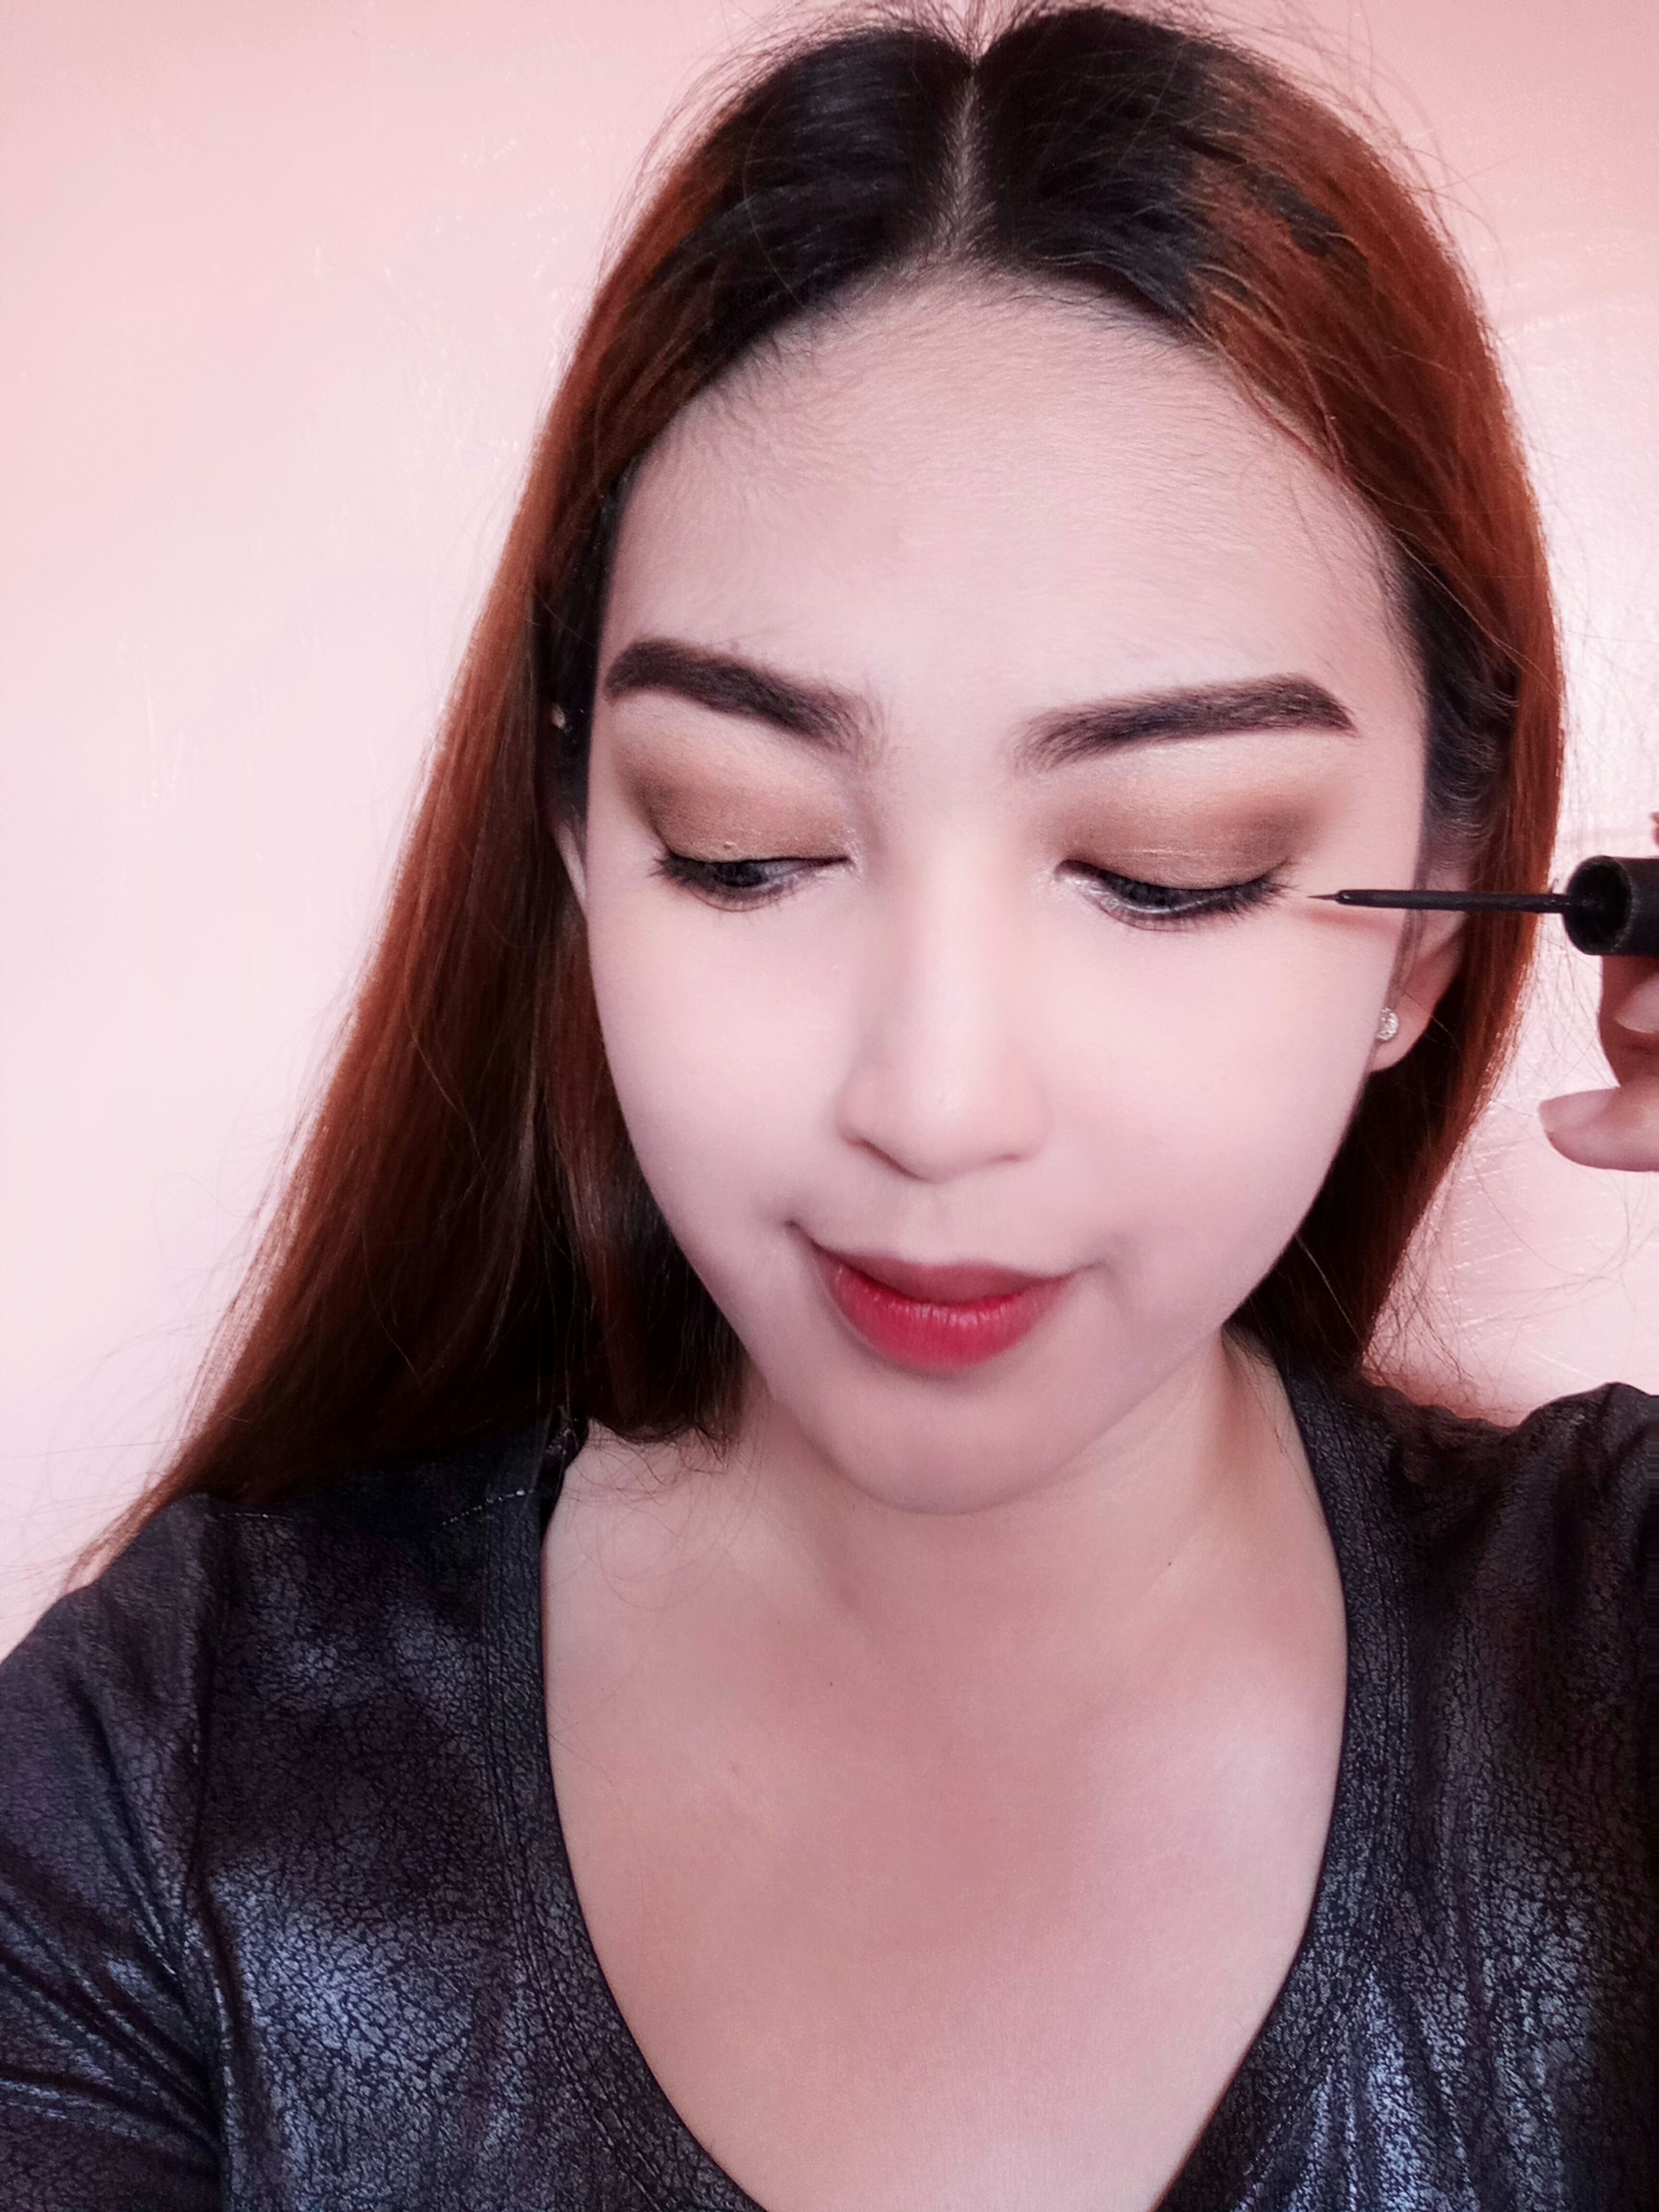
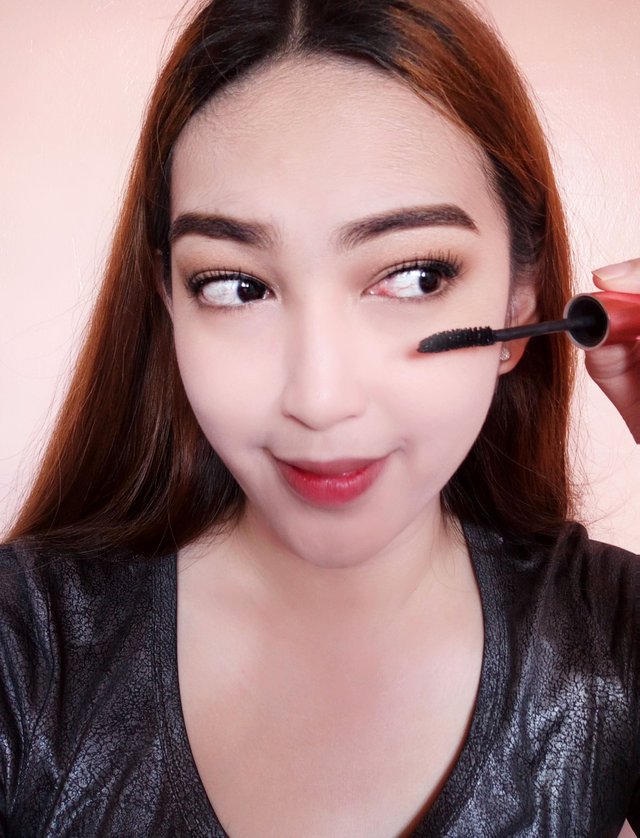
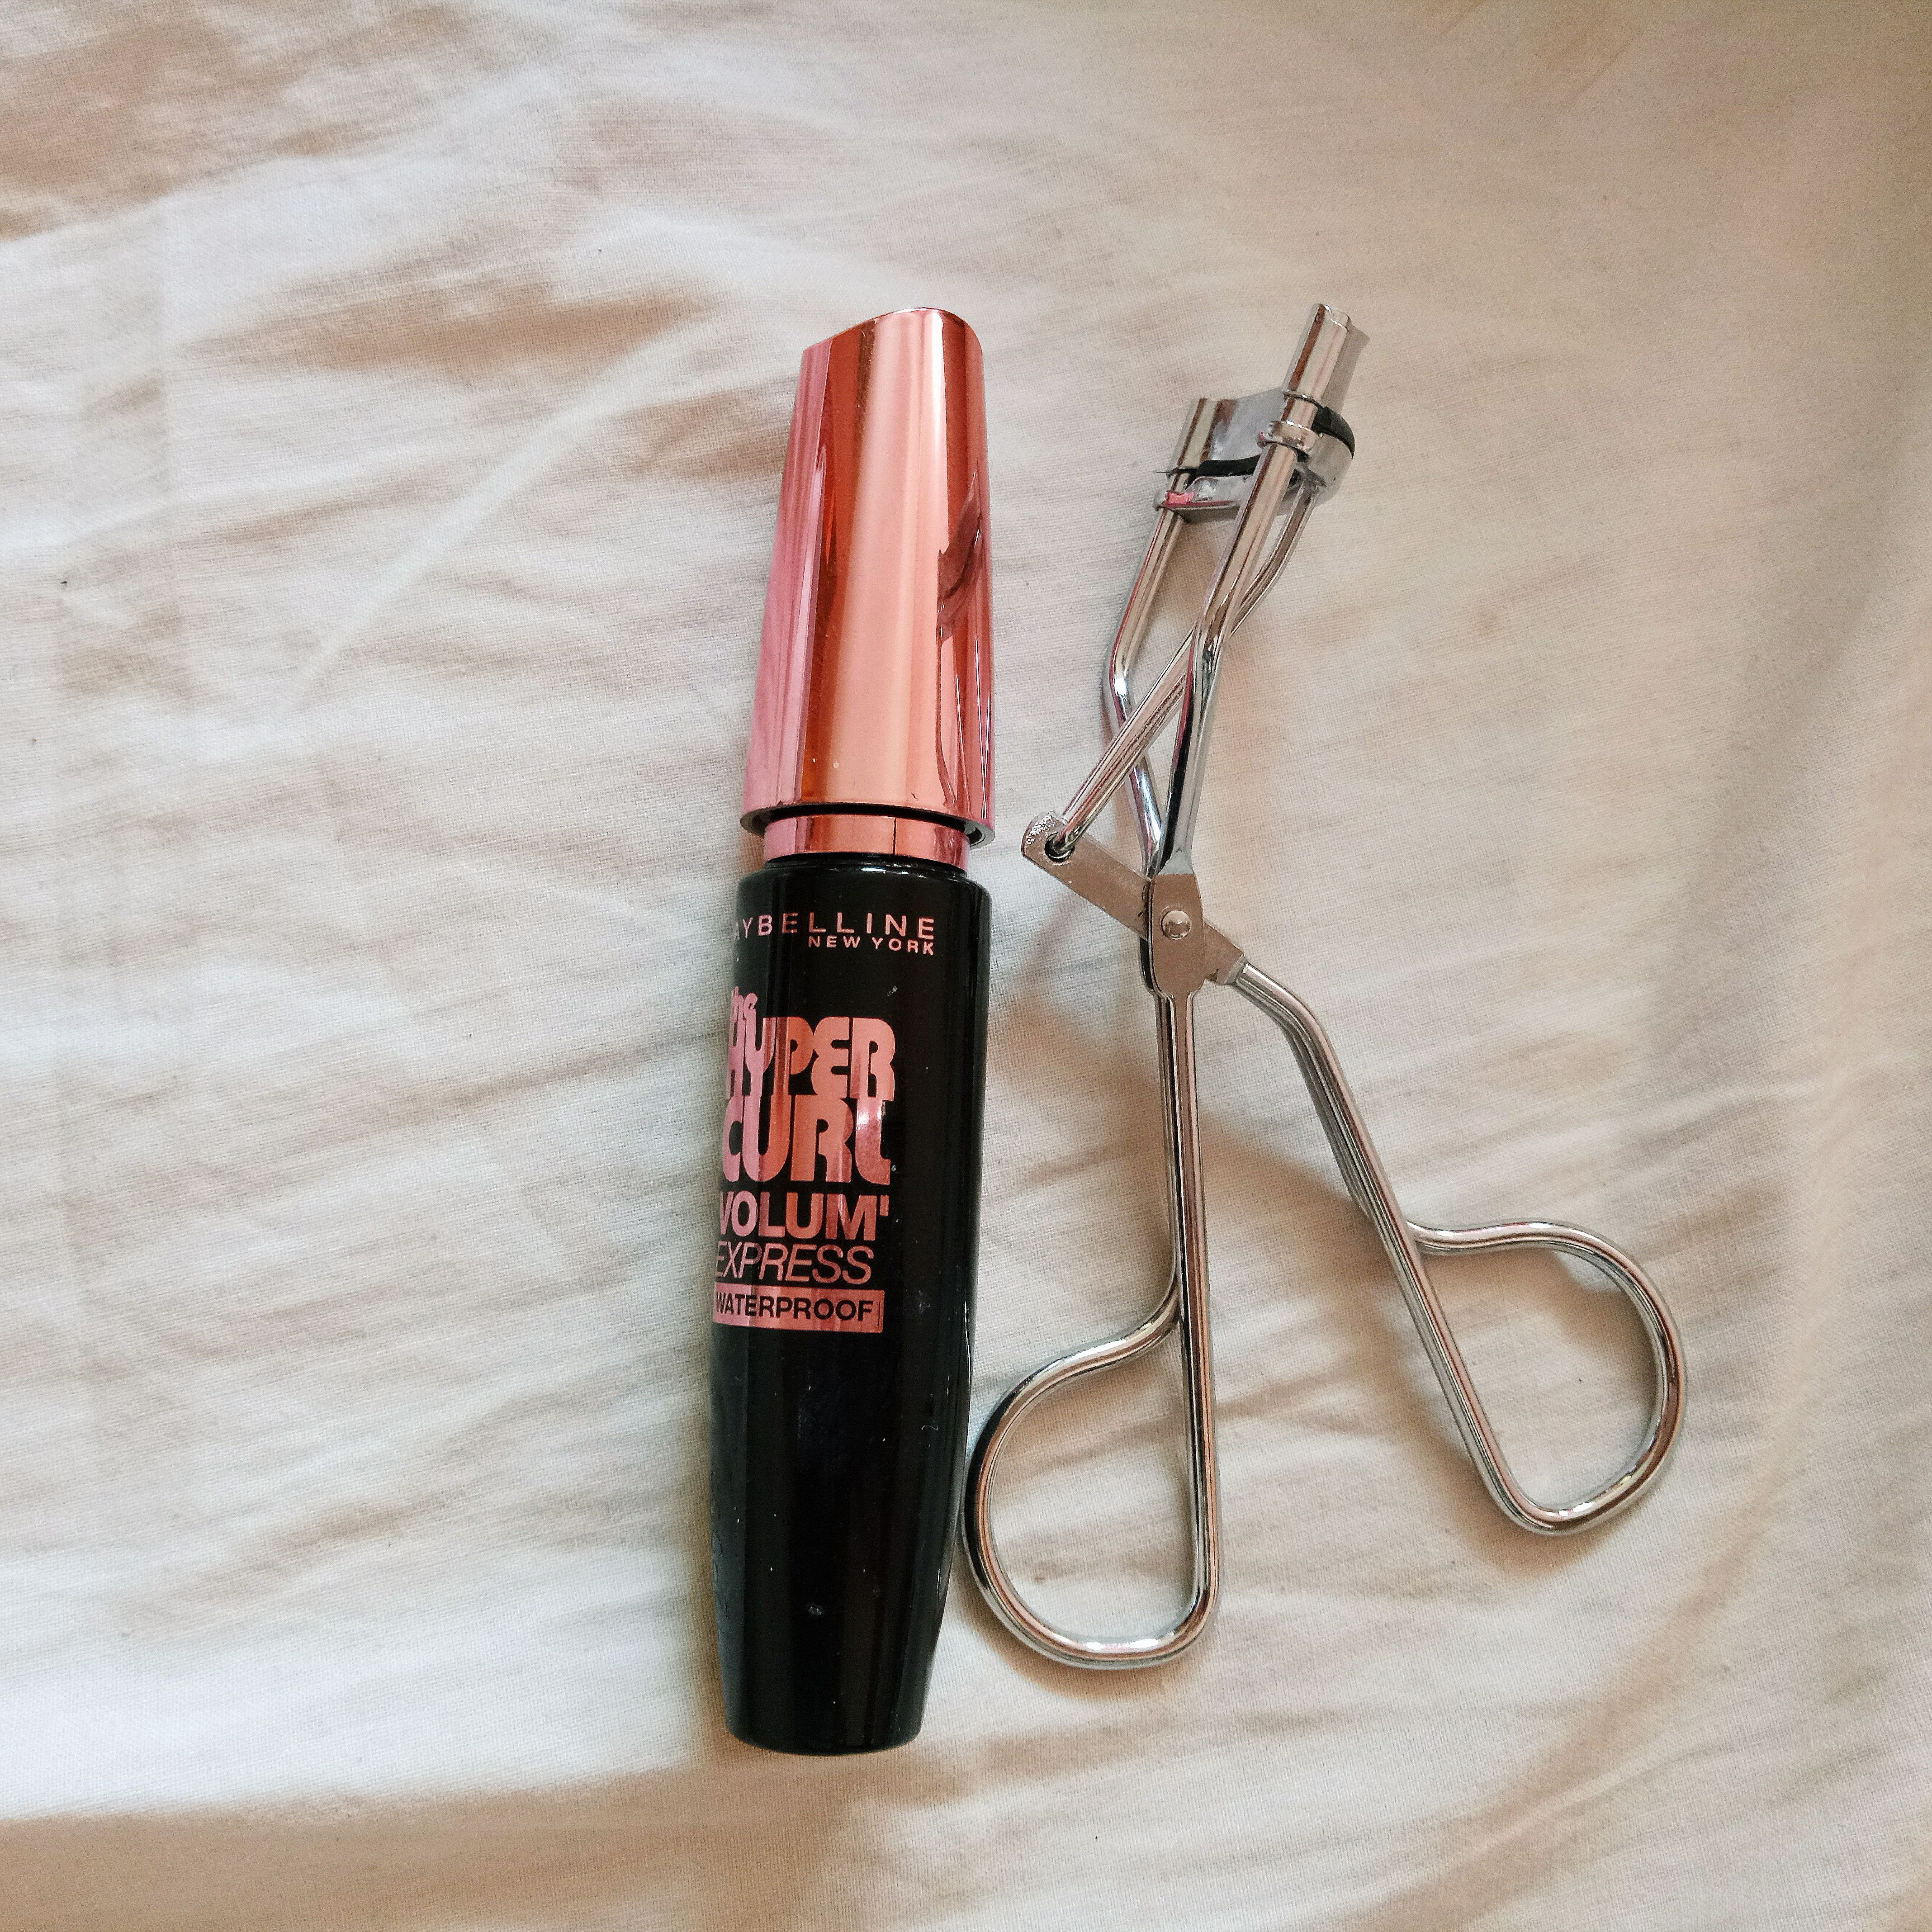
Step 6- Were almost done with the eyes! Just draw a thin "conservative" line close to the upper lashline. I know, I know, we all love a good strong cat eye but this isn't the right occasion to rock it. A simple eyeliner will give off a more neat, day time appropriate look. Lastly finish off the eyes with a good coat of black mascara. Make sure it's waterproof this time😉 You can also add false eyelashes if you wish for a more fluttery lash effect!
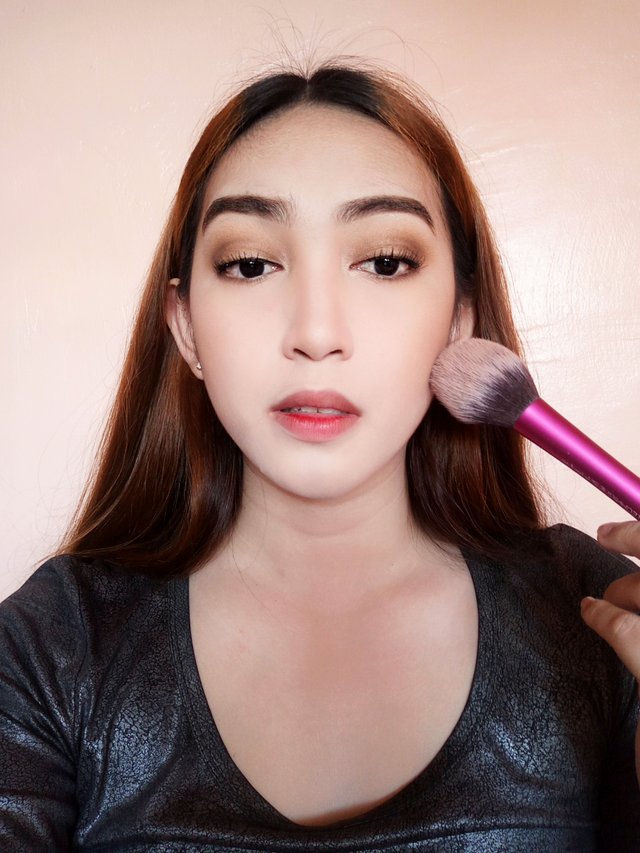
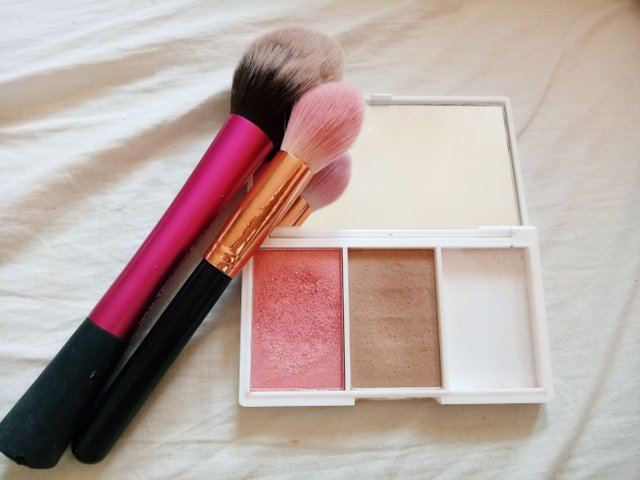
Step 7- Hang in there, were almost finished! This affordable duo that I got for $2 on sale is the bomb. As you can see from the photo above, it already has your blush and bronzer in one compact. Yes to convenient packaging!🙌 Bronze the side of the cheeks first and follow up with this gorgeous glowy blush on to the apples of the cheeks to give pretty rosy flush! Oh and dont forget to add some of that bronzer shade on the sides of your nose to make it look more prominent in photos. You don't want to look like the noseless Voldemort right?😅👃
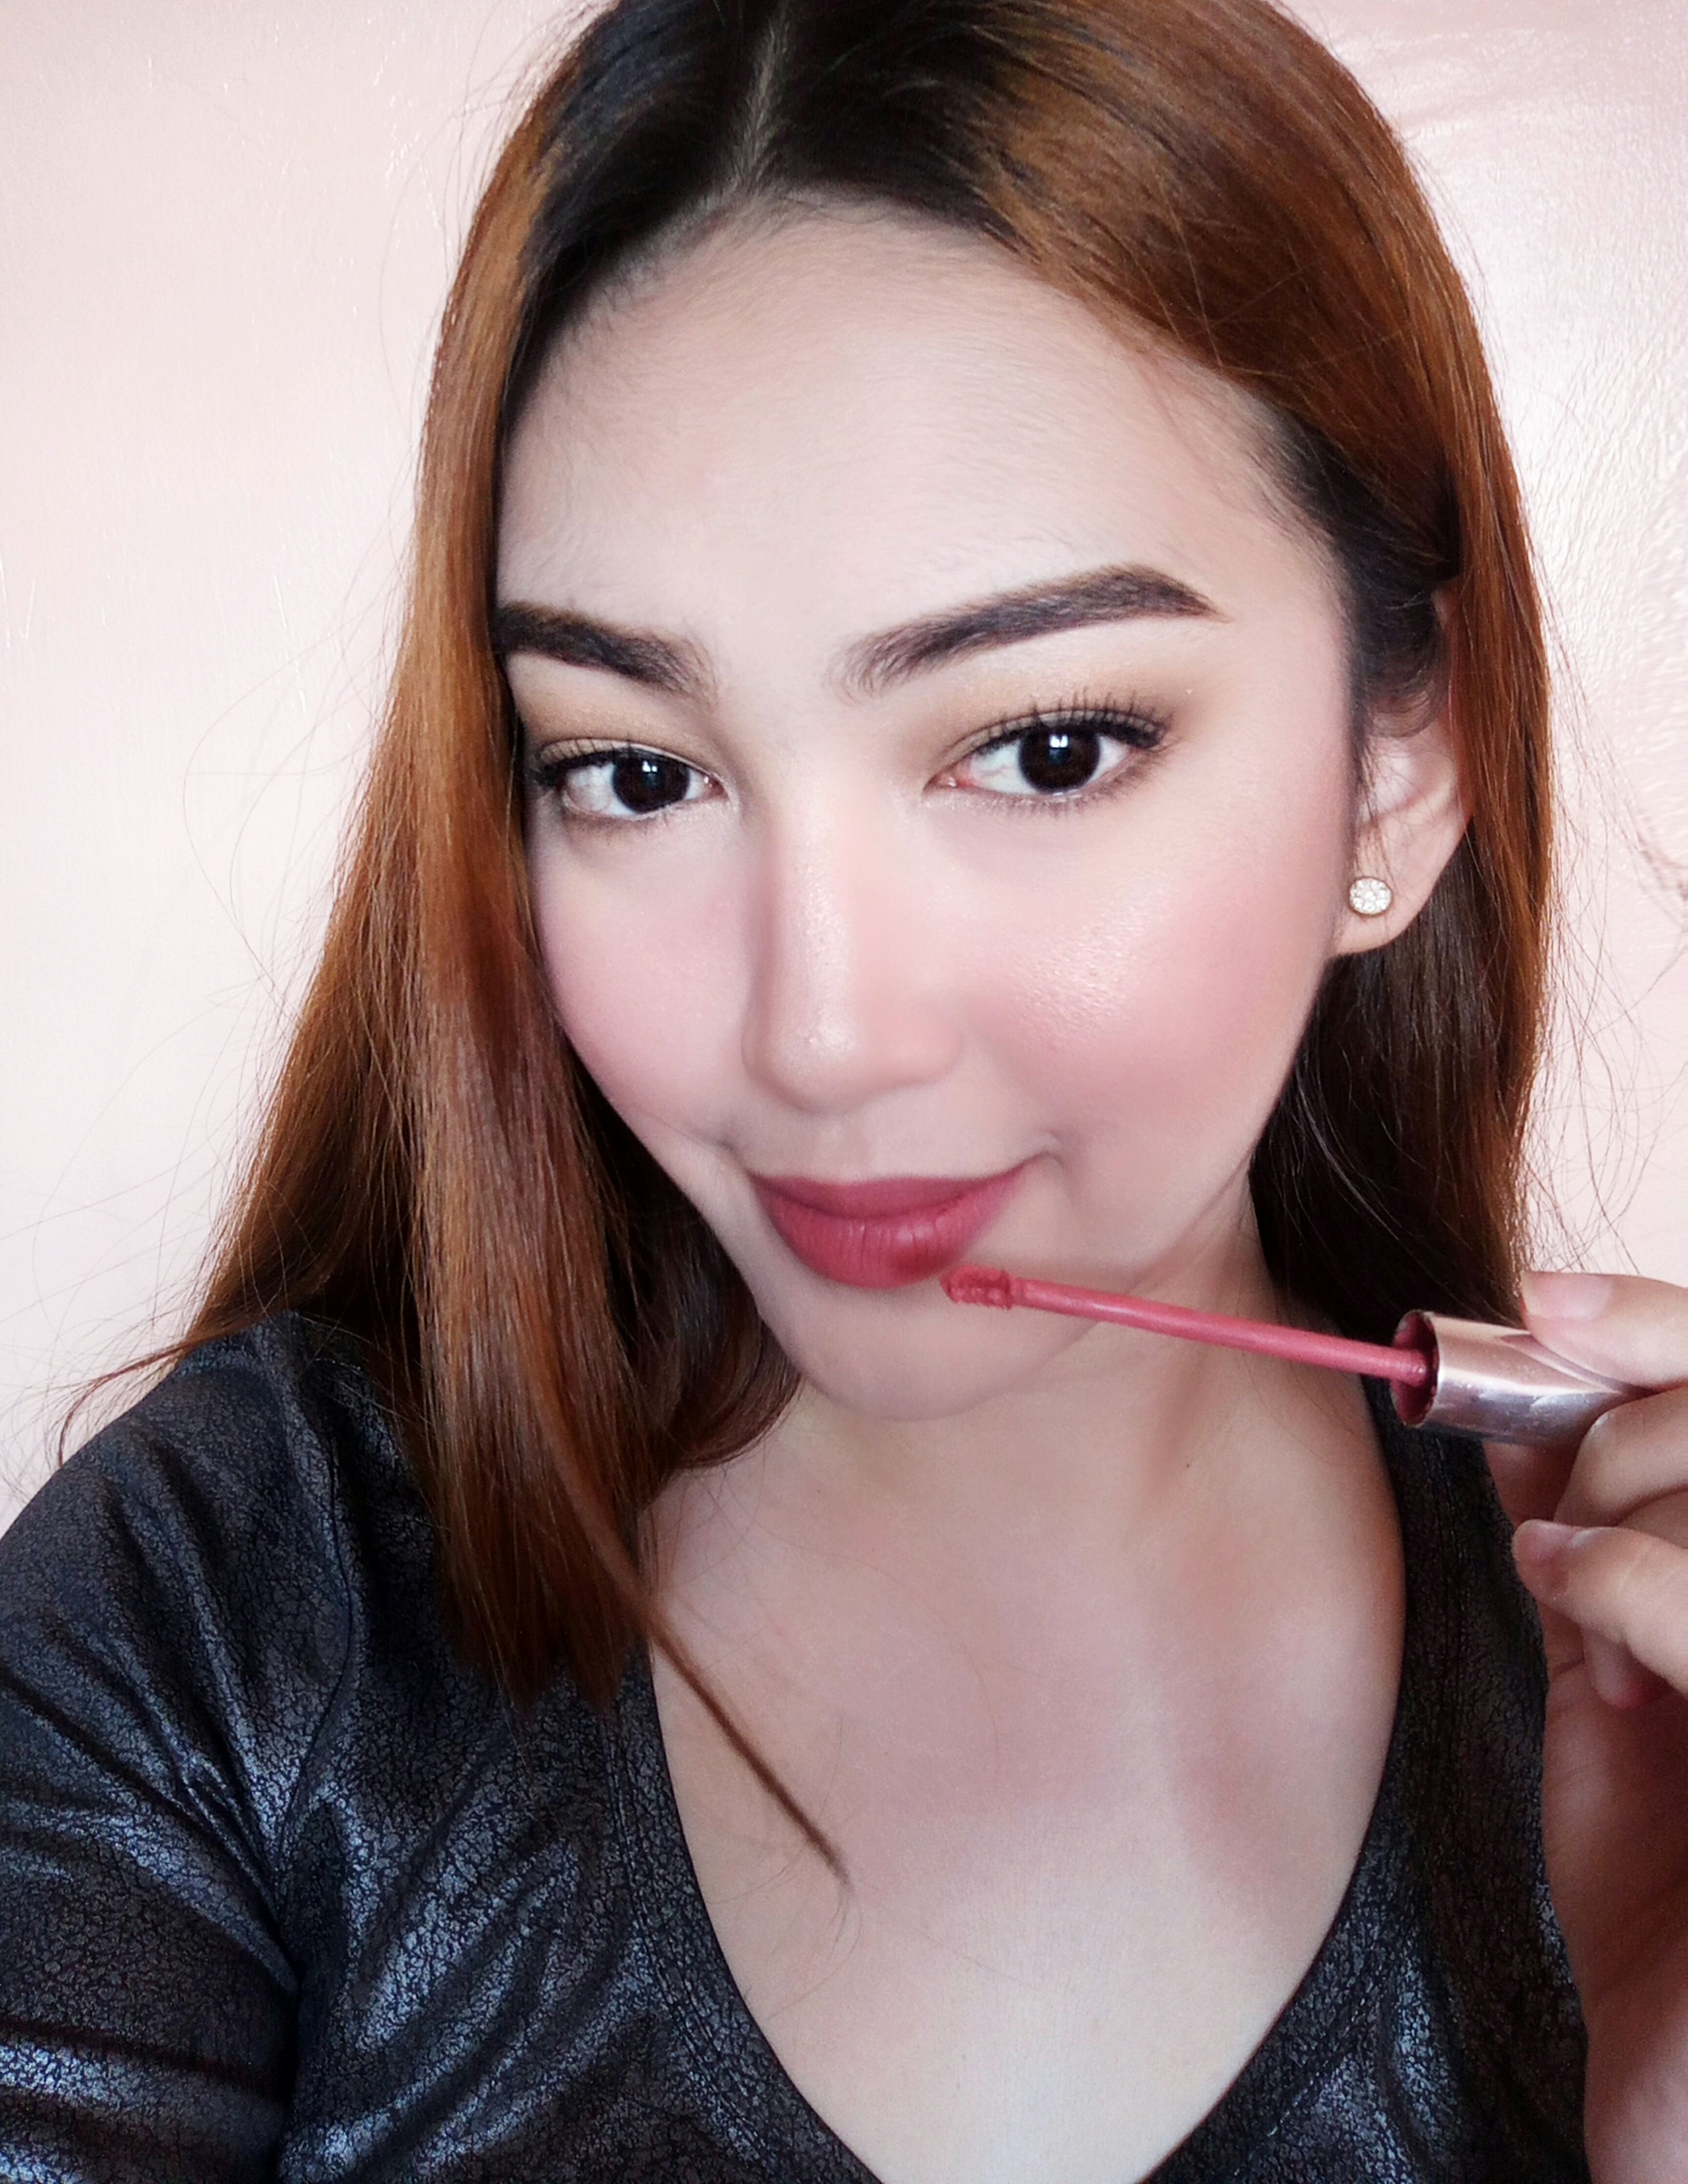
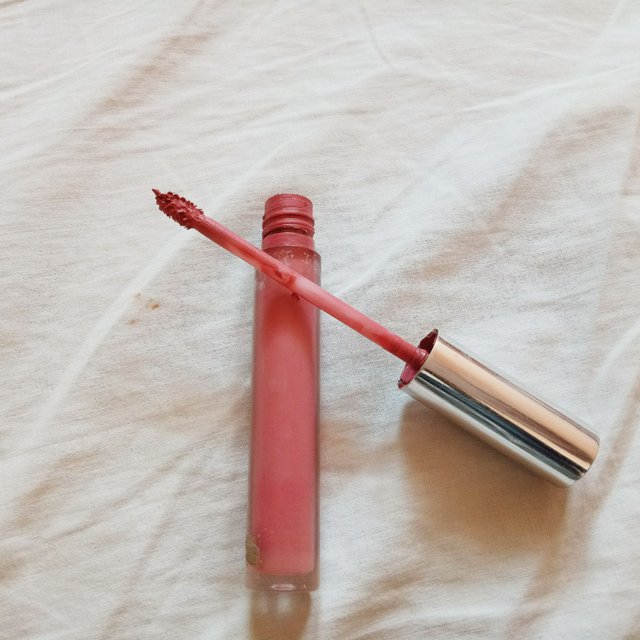
Step 8- Finally the process is complete! Top it all off with a liquid matte lipstick for an extreme all day wear. I picked out a pinky mauve shade, usually this type of color suits every look. Just dont forget to let the liquid lipstick completely dry first to prevent any type of mess, we don't want that on this day!😊💄
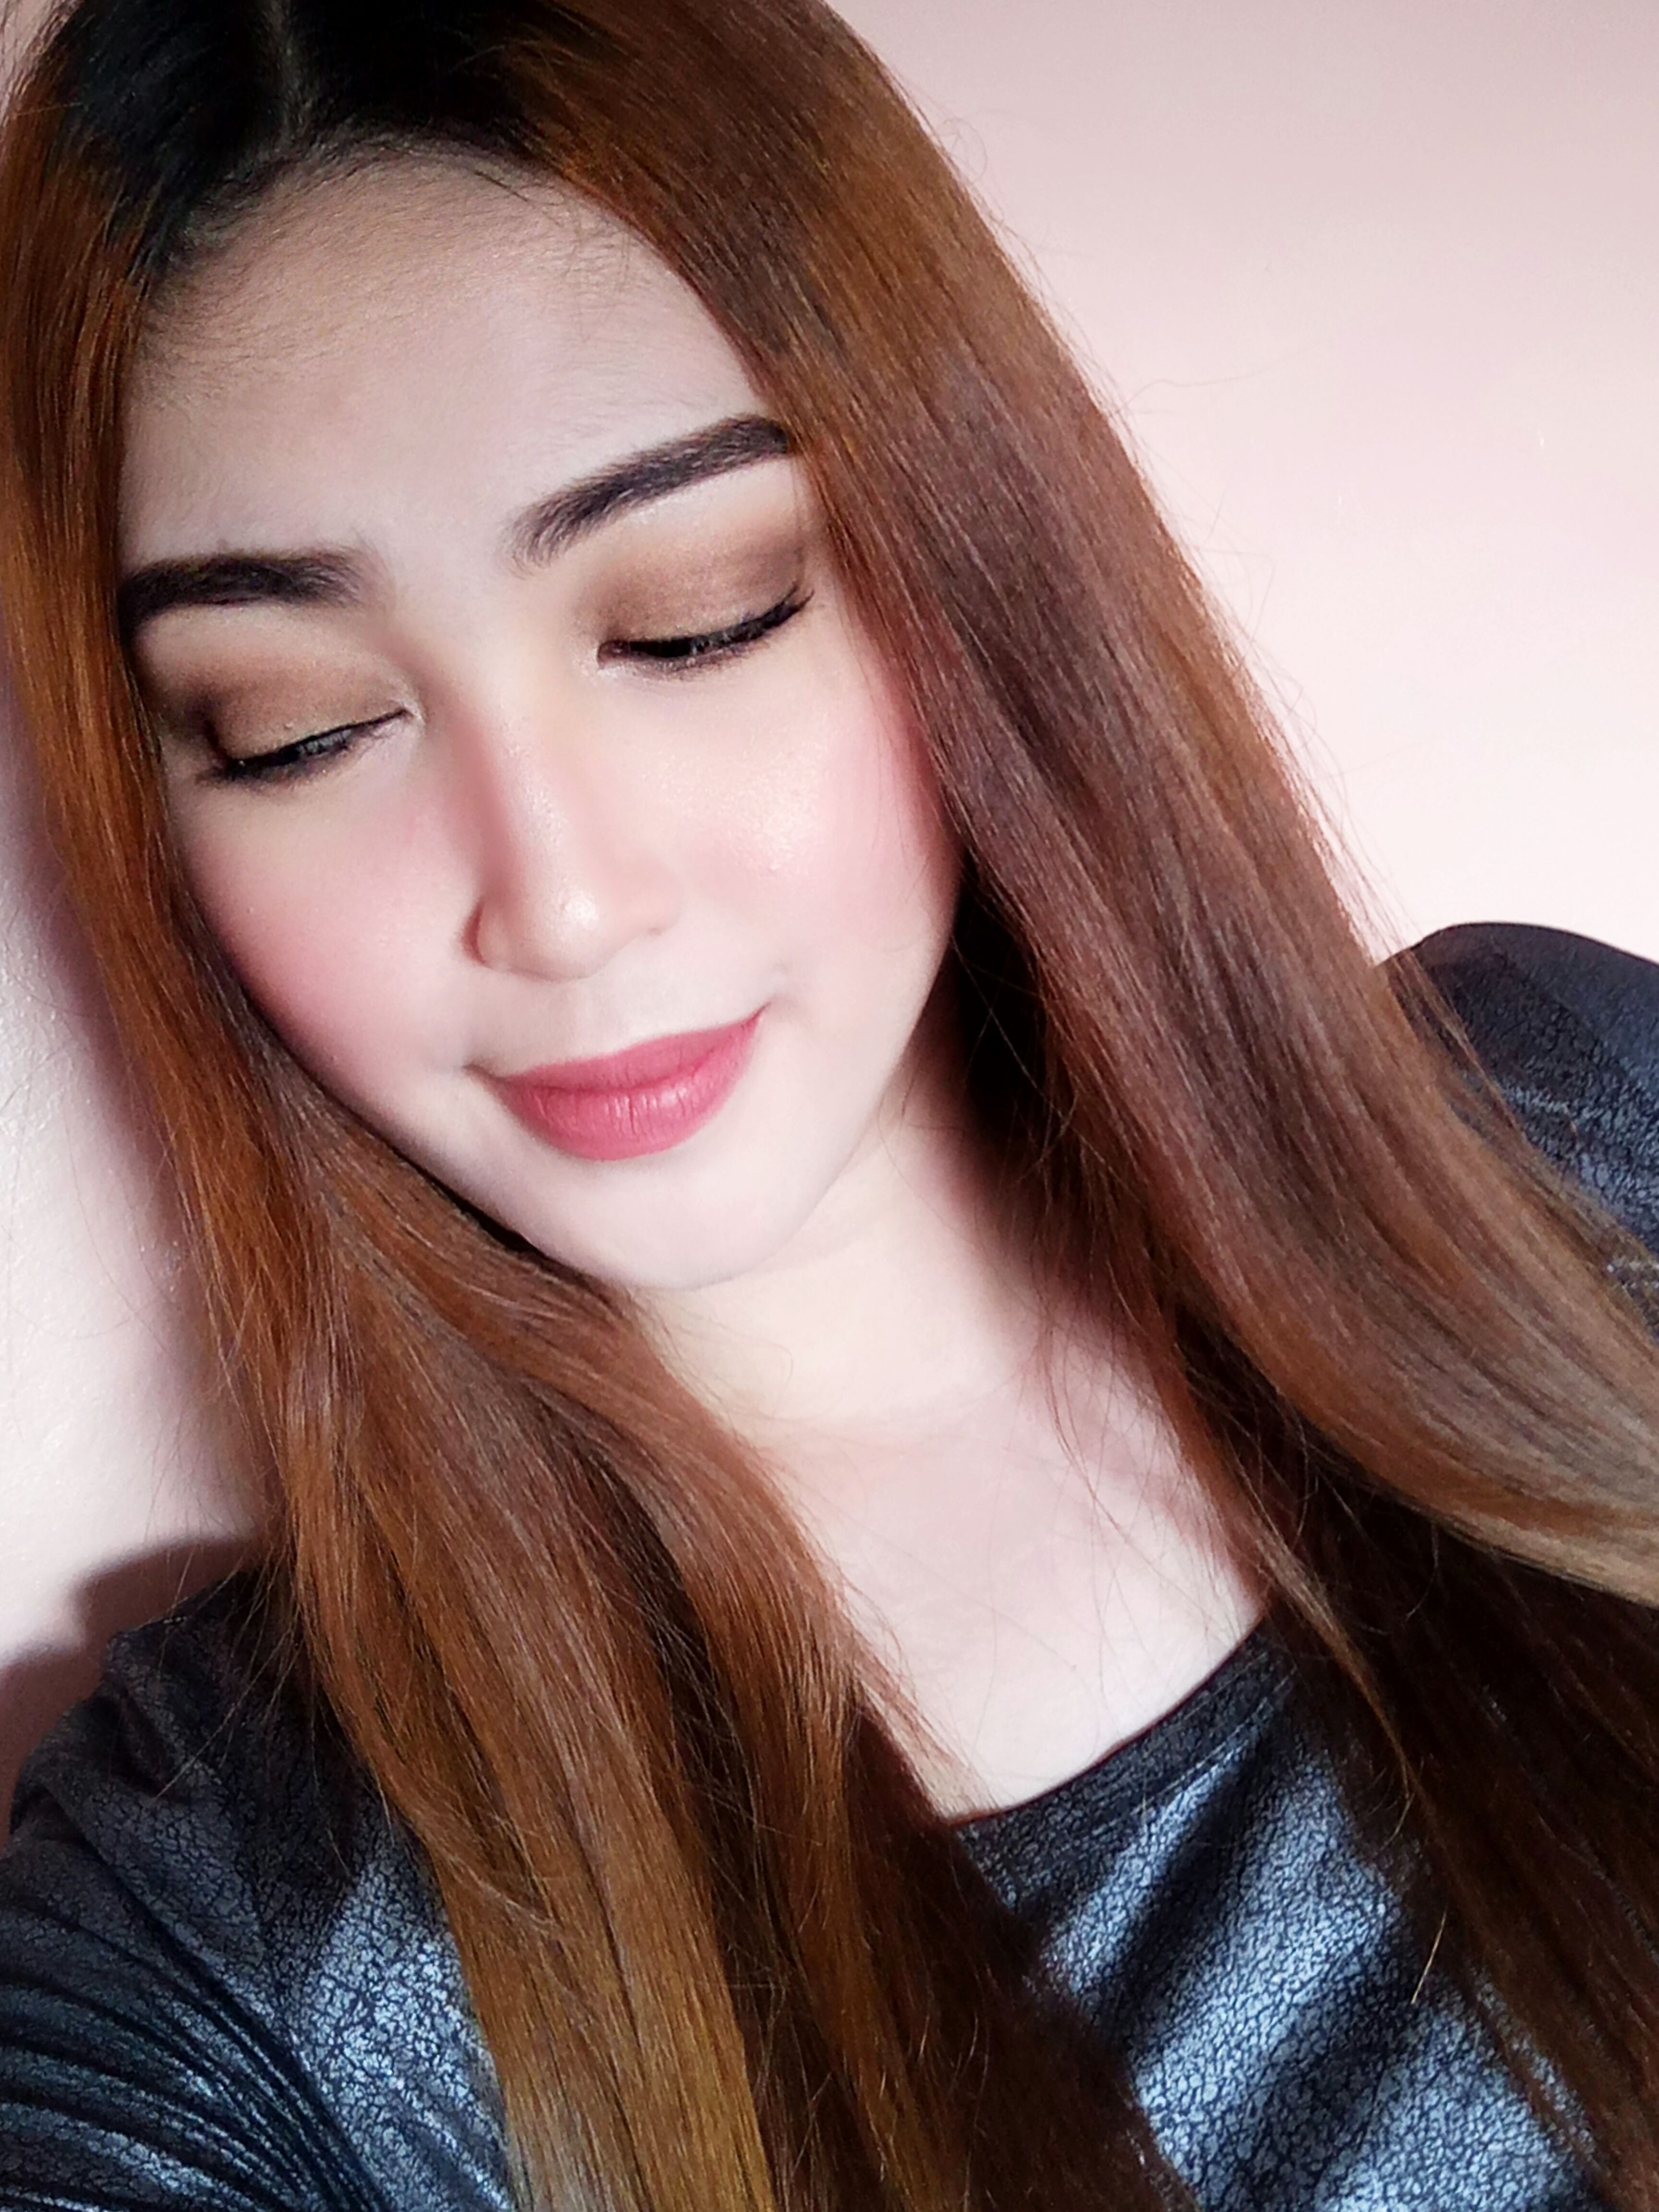
It's really not that hard right? And now that you aleady know how to do your make up for special events, you won't need to hire anyone to do your make up and have the risk of looking like a clown😅
Goodluck to all the graduates of 2018. May you find happiness and sucess in everything you do in life.♥
"The future belongs to those who believe in the beauty of their dreams"
xo,
Kylie
Nice article @kylietorres! :)
Thanks alot @brokemancode😄😄😄
We have the same foundation!!! You look so pretty btw. ;)
Woohooo it's really a good one! Thank you so much for the kind words♥
pretty as always, great post @kylietorres..
Thanks for the support and for dropping by sis♥
Gwapaha jud.. di jud ma-bang2 ning bayhana.. <3 <3 <3
E bang bang nlng kos poste please hahahaha btw thank you @tegoshei best in support!♥
Ayaw... sayang ang poste... i-bangbang tka sa.... ahaha.. ayaw nlng.. :P
You're welcome Kylieee~^^