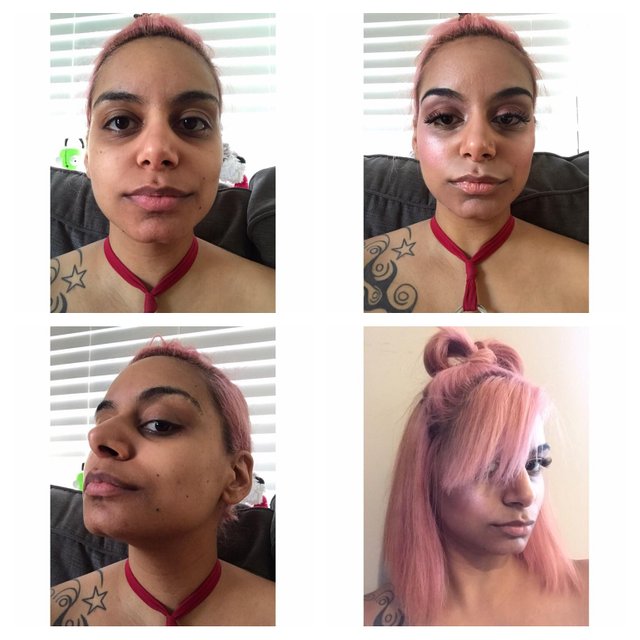
Pretty in Pink; A Makeup Tutorial (lots of pictures)
I am constantly getting compliments on my hair and make up so I figure it's valuable information to people, that I can share here. This is a look I get a lot of compliments on that I'm sporting a lot lately because it really does complete a look having your make up done to match your hair. I've had hair all colors of the rainbow, so if this look doesn't match your complexion, don't worry, I'll publish a post about a look that does.
Here we go. Pretty in pink; a makeup tutorial.
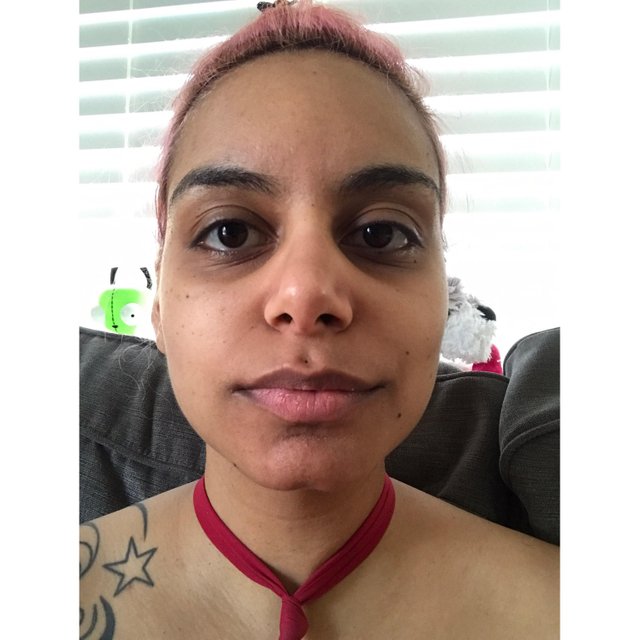
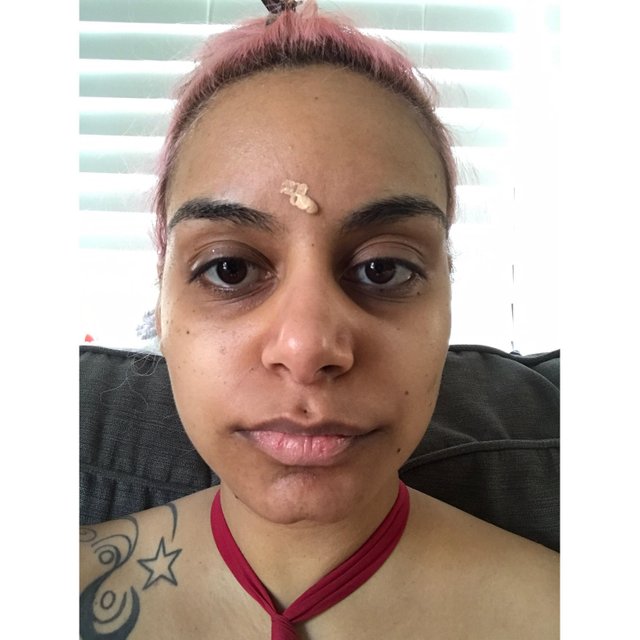
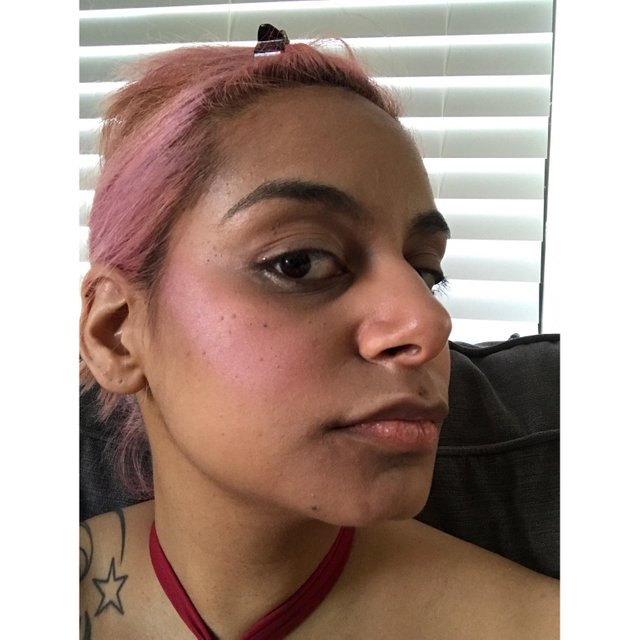
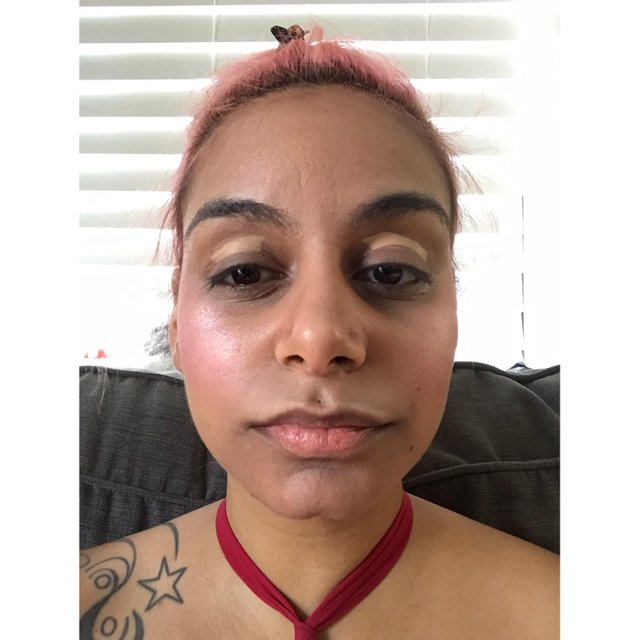
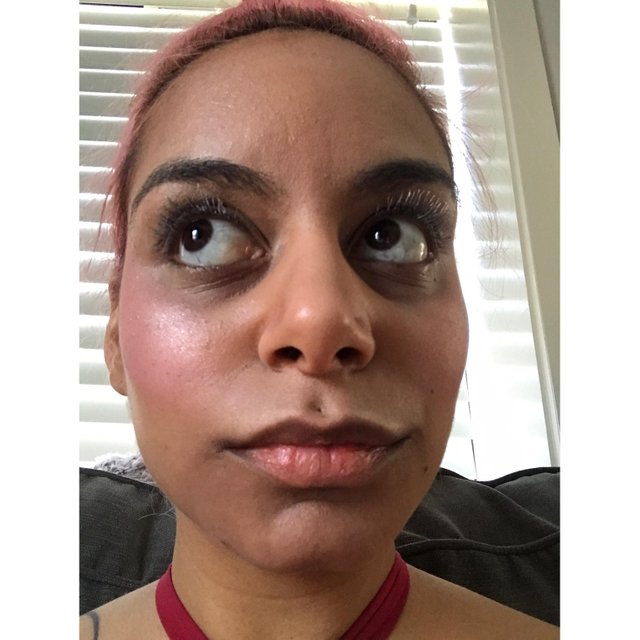
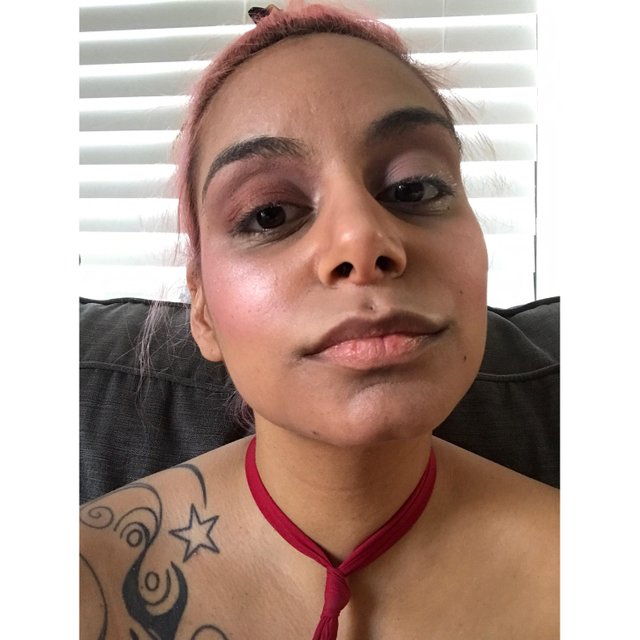
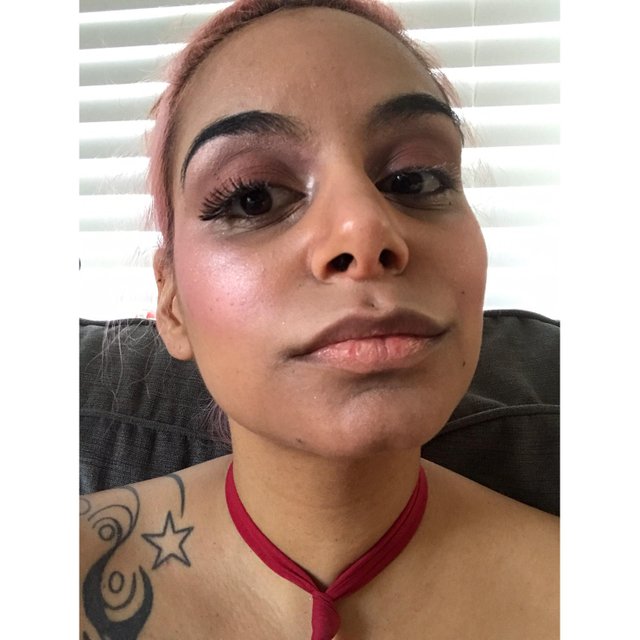
First we are going to start off with a nice clean face to avoid break outs, and avoid pigments of a previous look interfering with this look.
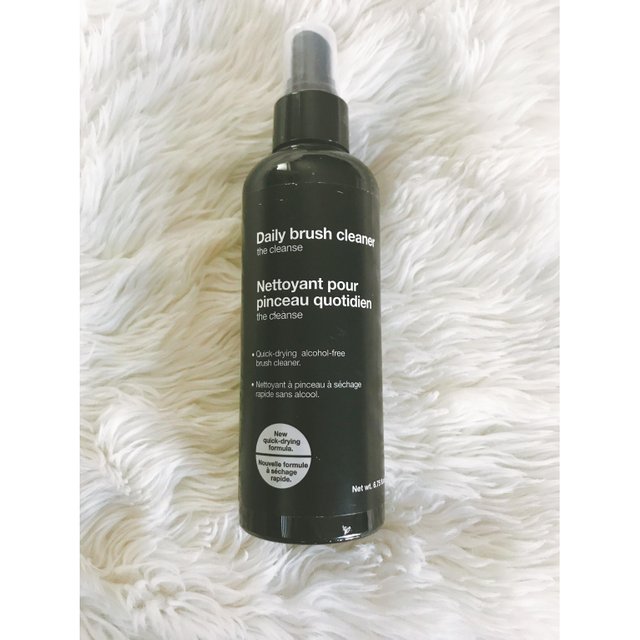
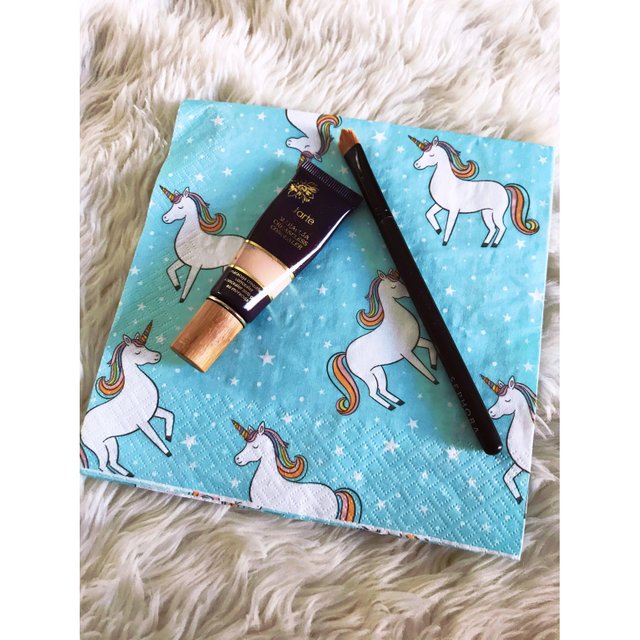
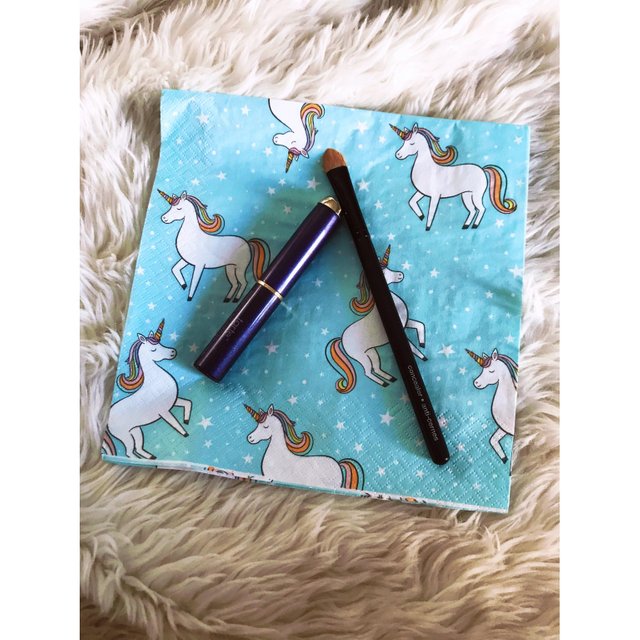
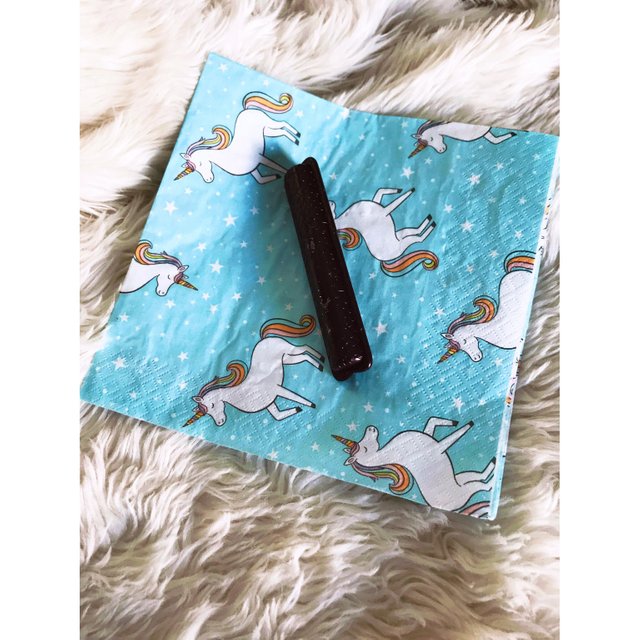
Now that our face is nice and clean, we will clean the tools of our craft, both so any germs and pigments that remain on our brushes from their last use are not an issue. I got this stuff for I think $10 at Sephora and have had for 6 months now and am not even halfway through the bottle. It is oil based so you don't have to wait for your brushes to dry, they dry instantaneously and clean quickly as well. For artificial hair brushes, spray on fabric then swirl you brush in a circular motion to clean. For real hair brushes use a back and forth motion.
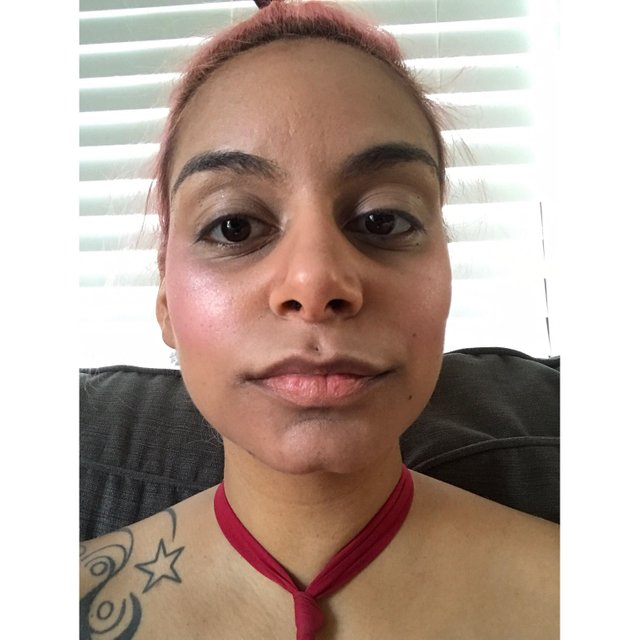
Now that your brushes are clean, it's time to moisturizer your face so that your pores are clogged with something good for them, and not with makeup that will cause acne.

I use this stuff you can buy at any drug store because your moisturizer is one of those things that it's not particularly important if you get the expensive stuff because it doesn't make a huge difference.
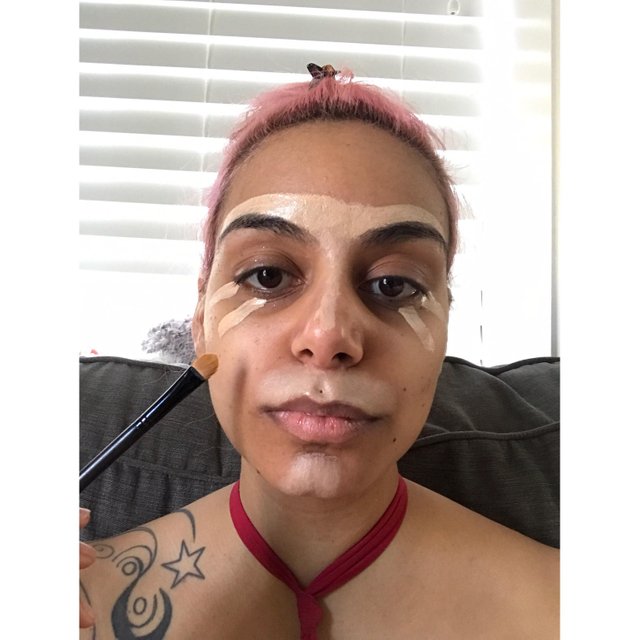
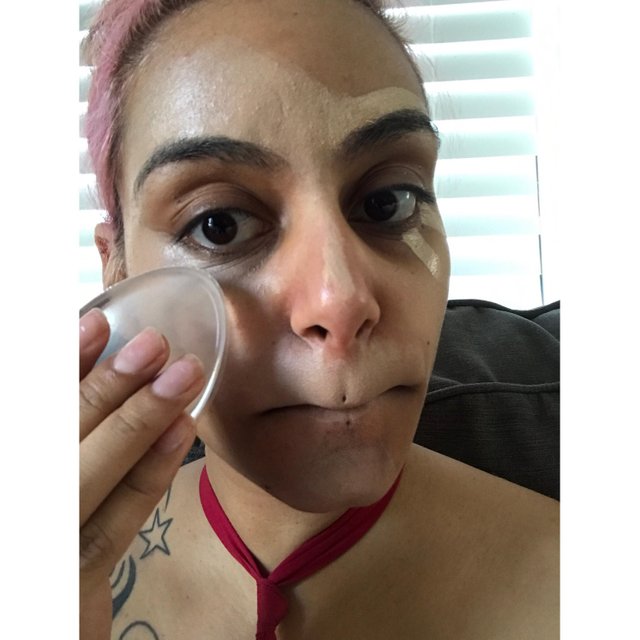
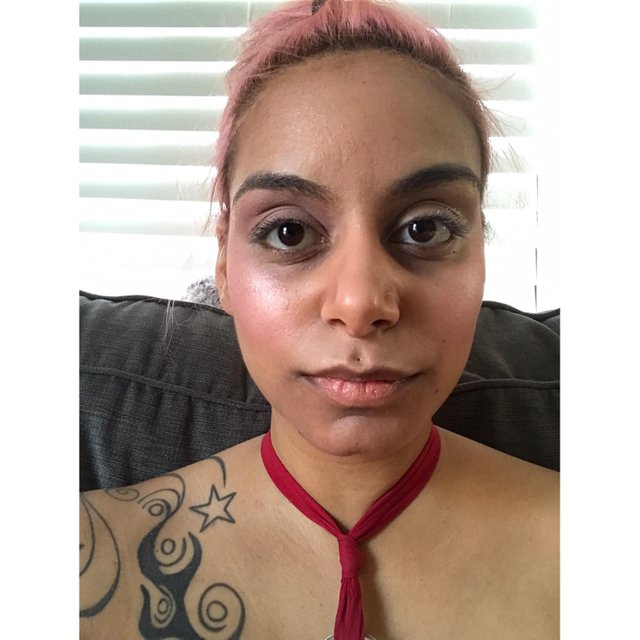
Now that your face is primed and ready to go, we will start building your base, starting with the highlights. I have pretty good skin so I don't have to put an even layer of foundation first, so I don't. If you have a lot of acne, however, or other skin conditions, such as rosatia (sp?) then I advise taking a minute to add this step in. I put a little dot of a full coverage concealer a couple shades lighter than my natural tone, because a little bit goes a long way with this stuff. I apply with a brush specifically made for concealer.
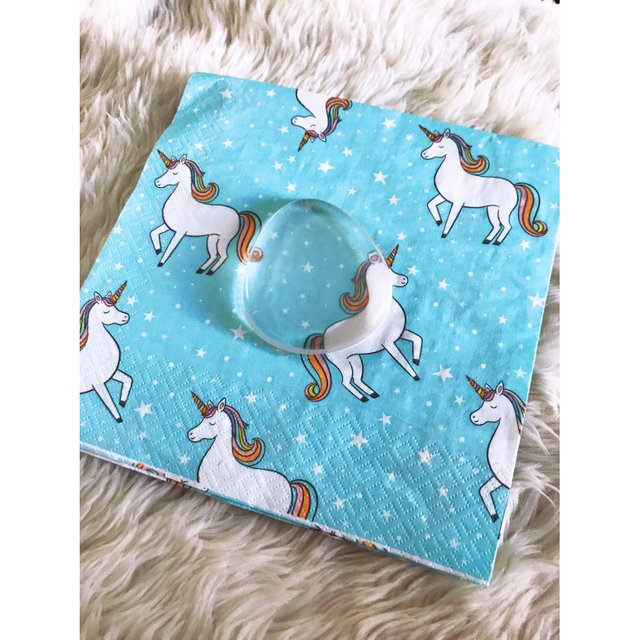
Now that we have placed the concealer we are using as matte highlight in the appropriate places, it is time to blend using a silicon beauty blender.
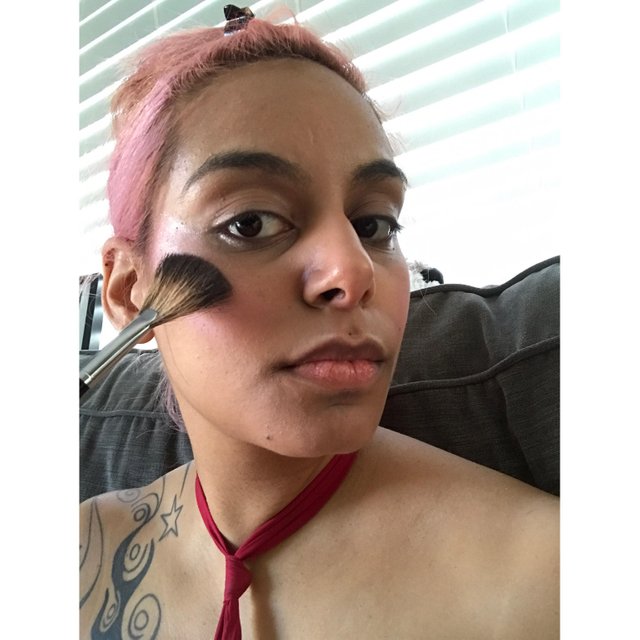
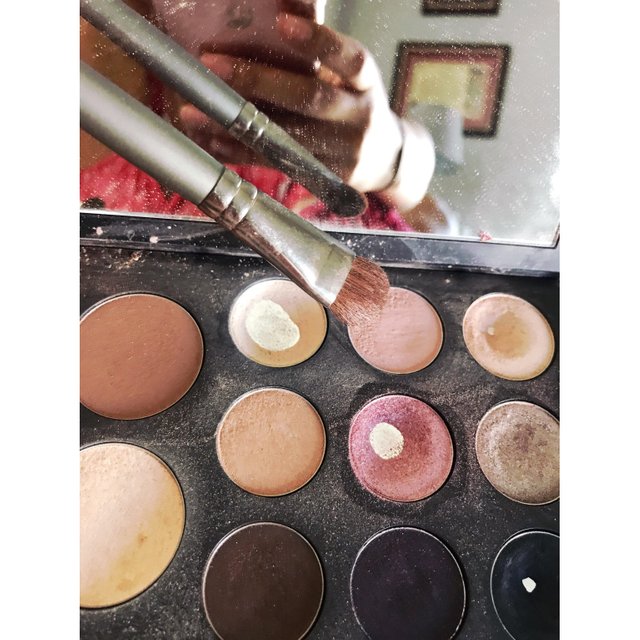
Good job! Now we can add some contour.

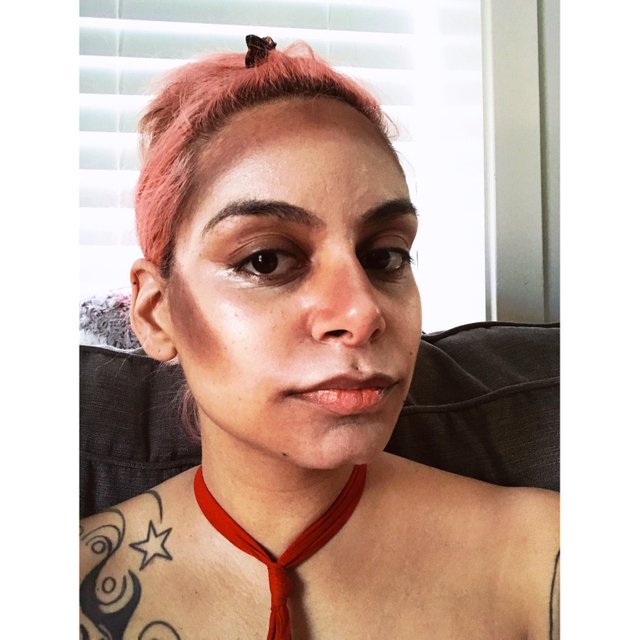
Our contour has been strategically placed. This means it's time for more blending, but this time we are going to use a big, poofy blending brush on out full face, and blend until it looks like we were born this way.

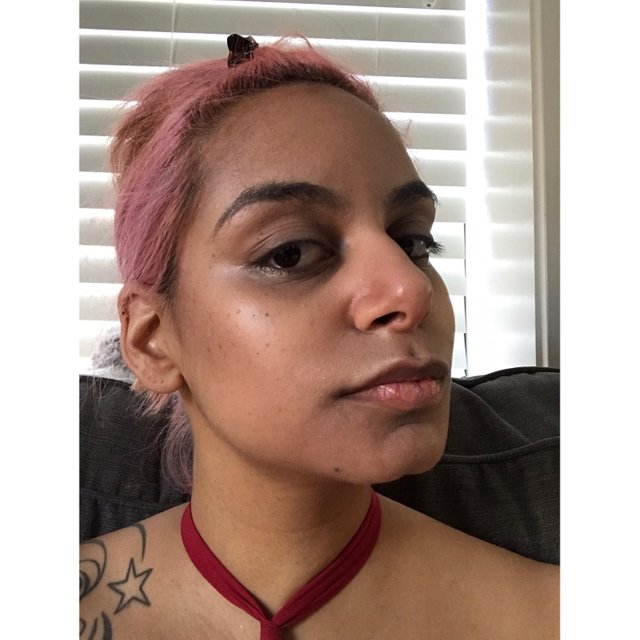
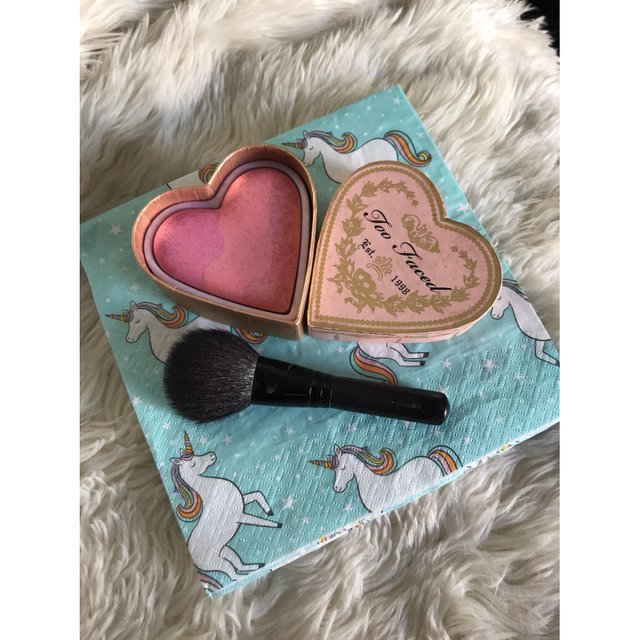
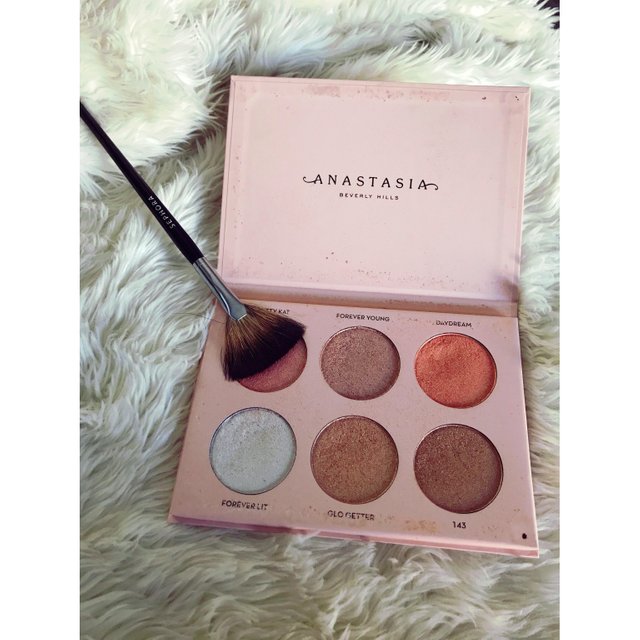
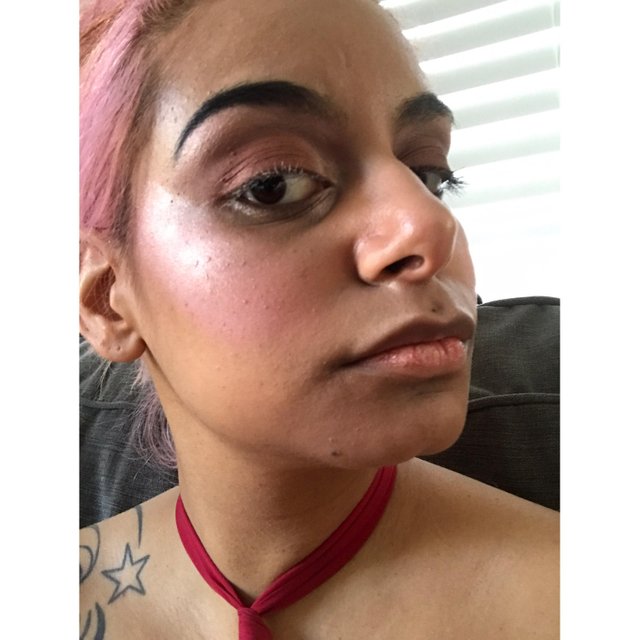
Perfect! Now, the reason the contour appears to be the only used color in that pallet is because it is. I prefer to use blush as a middle color in this pink look, to the things together. I place it directly on my cheeks, up to my temples so that my highlight has an undertone that perfectly matches my blush, and a little over the contoured area, to really tie my contour into my highlight nicely.
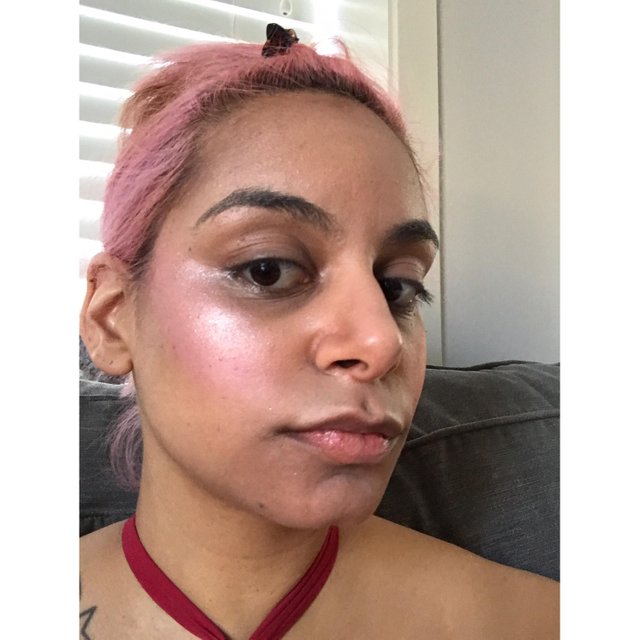
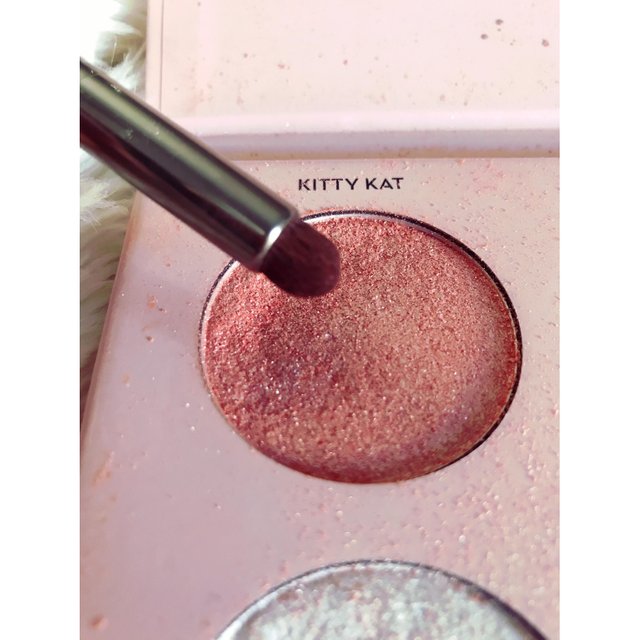
Now a rose gold highlight is applied to the upper cheek area with a fan brush which will make it so your glow is soft and heavenly and not blinding and tacky. Do a light sweep.
That takes care of your face. Now for the eyes. You will start by applying concealer that matches your skin tone to your eye area so that you make up lasts longer, and the pigments show better.
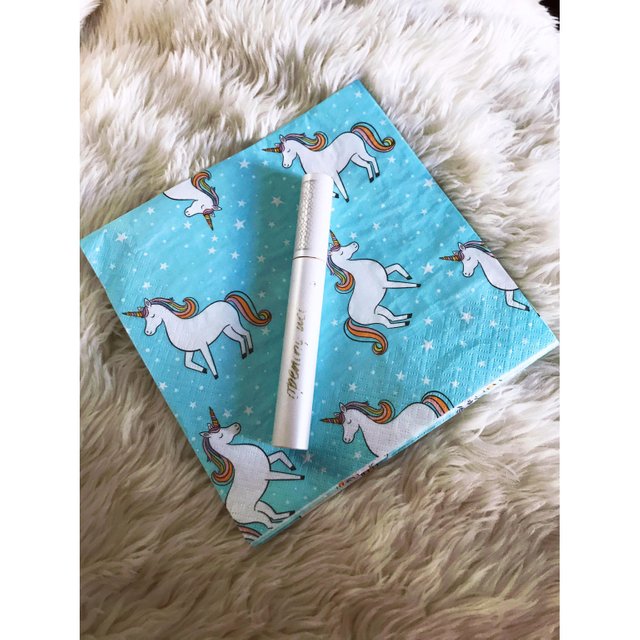
Now I apply eye lash primer so it's done setting by the time you're done your eye make up and ready for mascara.
Now I put a pink tinted, matte, nude shadow all over my eye area with an all over eye brush.
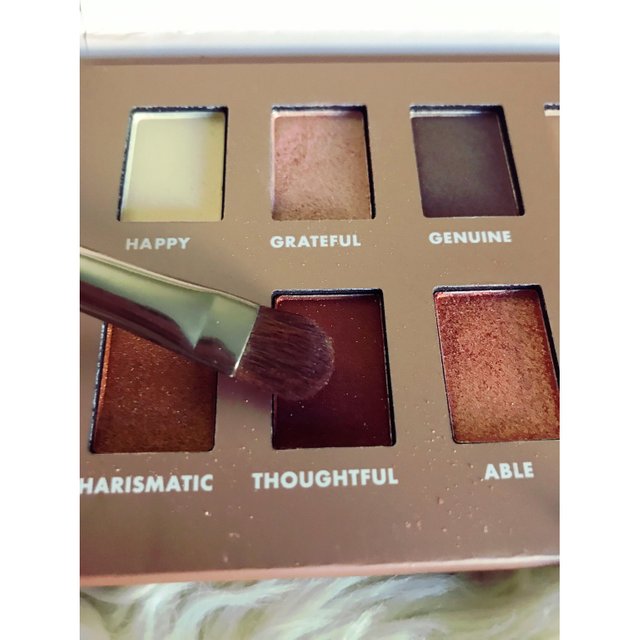
Next I put a red tinted brown on my lid area using an eye shading brush.
To tie my eye makeup into my face make up, I use the same highlight that I used on my cheeks, on my eyes. I place it right under my brows, and on the inside corners of my eyes, using a smudge brush so it blends nicely, and isn't too harsh.
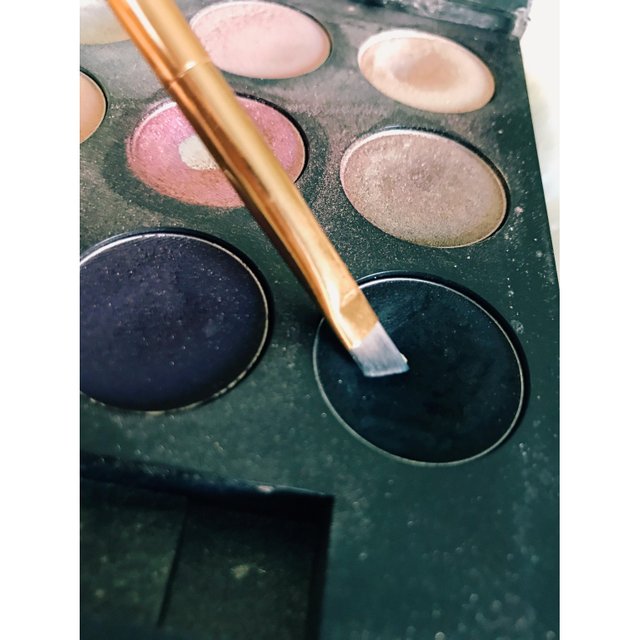
Now it is time too finish up our eye areas by filling in our eyebrow. I start applying black eyeshadow with a pointed lining brush, in the middle of my eyebrow, where the hair is the thickest. You will use whatever color matches your eyebrows.
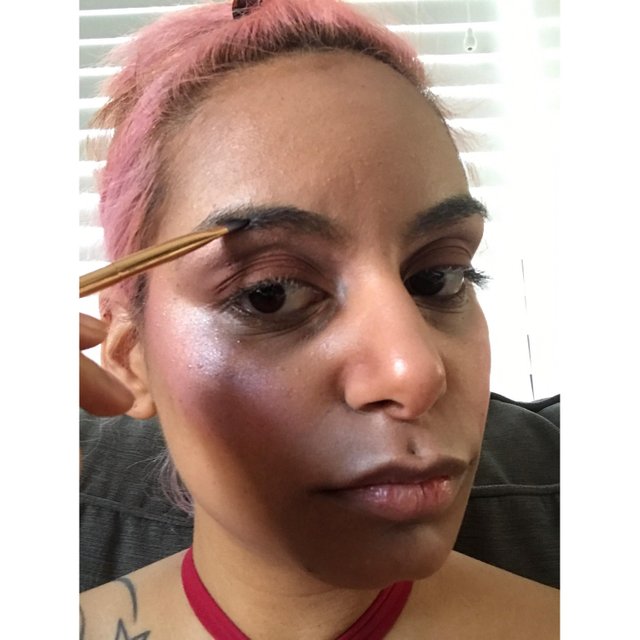
Now that the darkes part is hidden in hair, go on and draw a nice line, following the thickest inner par of your brow to the outer corner of you eye where your brow ends.
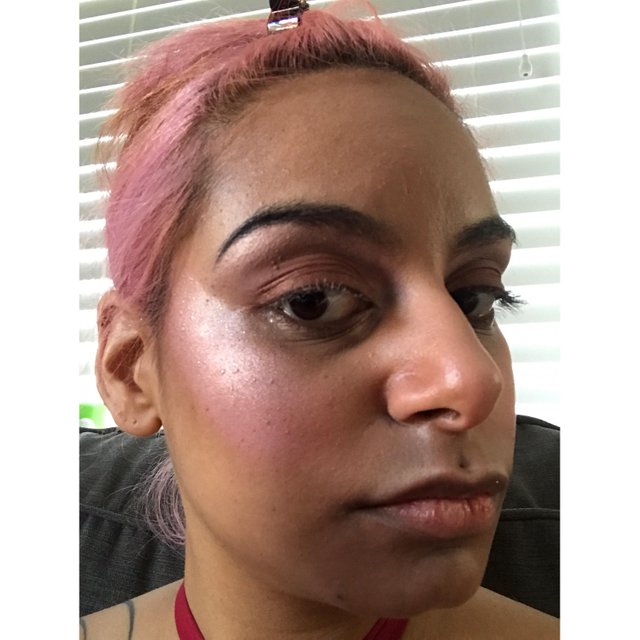
Now that you've used up most of the powder on your brush, you can use the rest to fill in the rest of your brow.
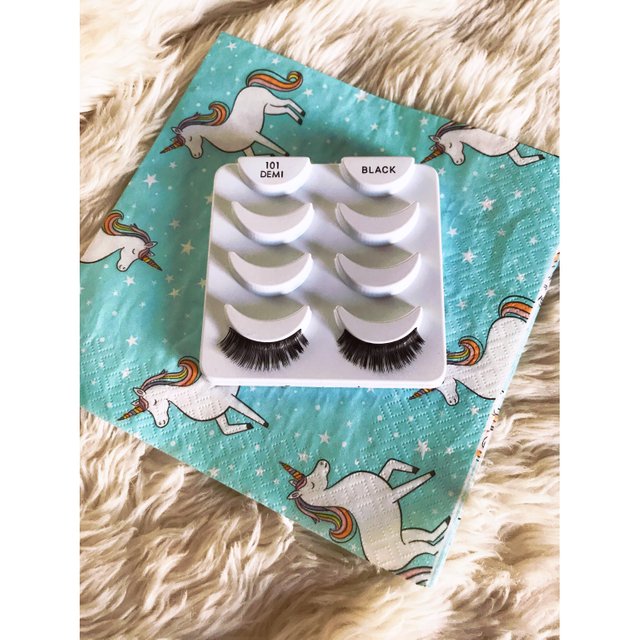
To complete our eyes, we will now glue some fake lashes on our face.
To blend our natural lashes to our fake ones, we will now apply mascara primarily on our natural lashes, getting very little on our fake ones. I choose this mascara by tarts because it thickens without getting too clumpy.
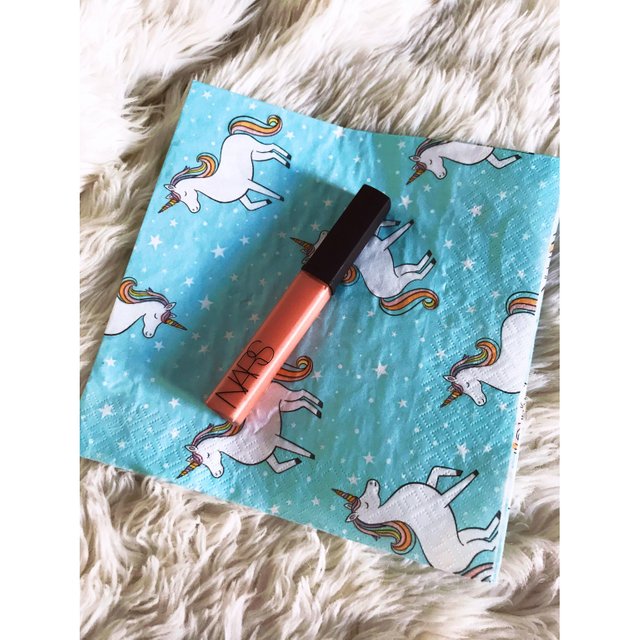
Excellent! Now to put on a lipstick. I was going to take the time to contour my lips to match the rest of my face, but am realizing I'm taking too much time and have places to be, so now I will just apply this medium pink gloss that has a gold shimmer too it, and still matches.
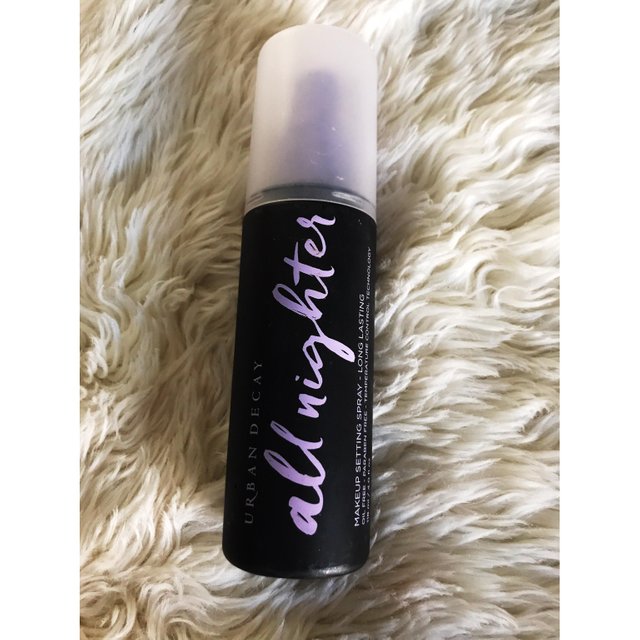
Now spray a setting spray lightly, yet evenly all over your face so it stays perfect all night.
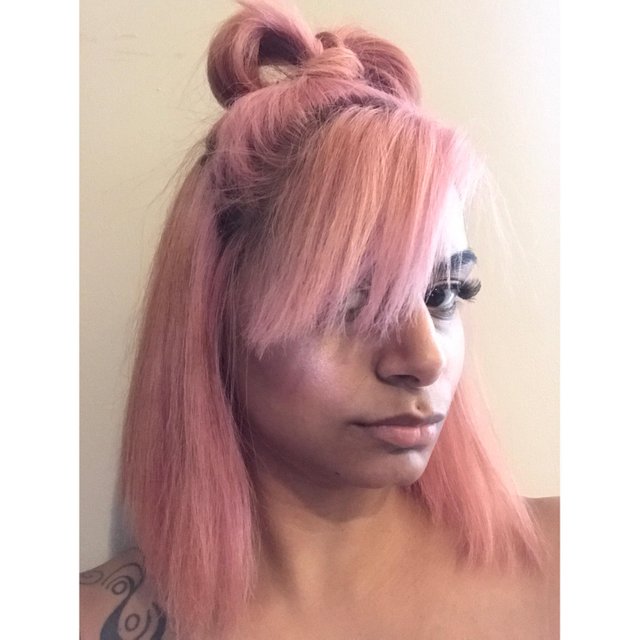
Great! Now that you're already late, and still have to walk your dog and brush your teeth, put your hair up in some sort of manner that makes it look like it took effort, even though you didn't even brush it!

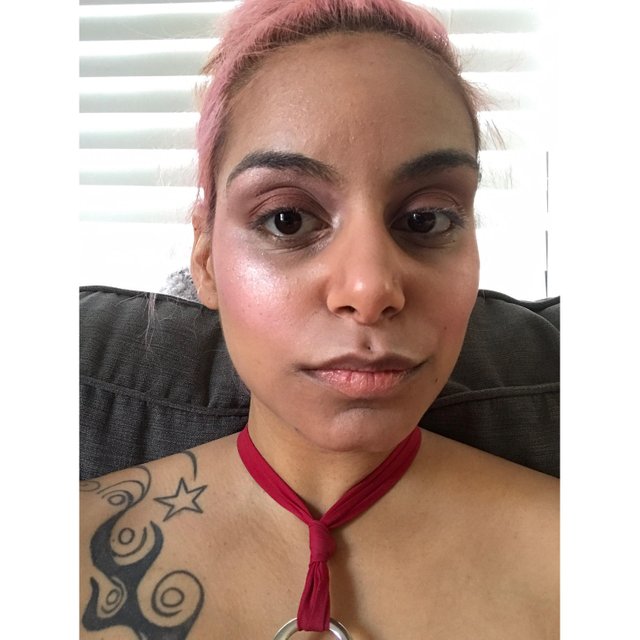
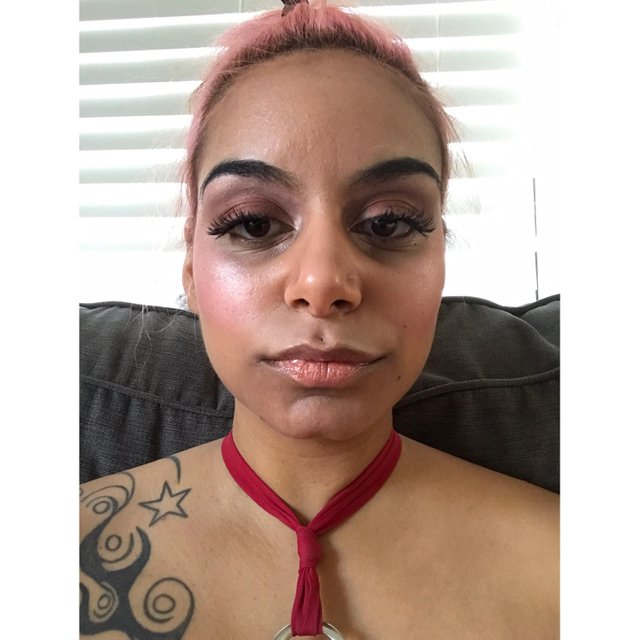
Awesome! Now go be the beautiful, confident, person that you are, and add a little sparkle to the world with your face!
That's all folks!
Bebo Diyaa Galla Pink Pink! Nice Song!!!
Adorable!! I love your look!
@bad.karma
Rate my blog about beauty, health
@putopelatudo