Group mesh in Blender
Keeping things organized is key when it comes to working on a large project.
I was working with another Animation package on a big project that had many assets. All the assets were created according to the physical scale and built. The project had many scenes, I started organizing it by naming mesh and grouping them for easier selection and to have a better workflow.
As I kept working on the project, I started to think, how would I approach this in Blender.
Turns out it is easier than I thought it would be.
To group mesh, you need to select the object,
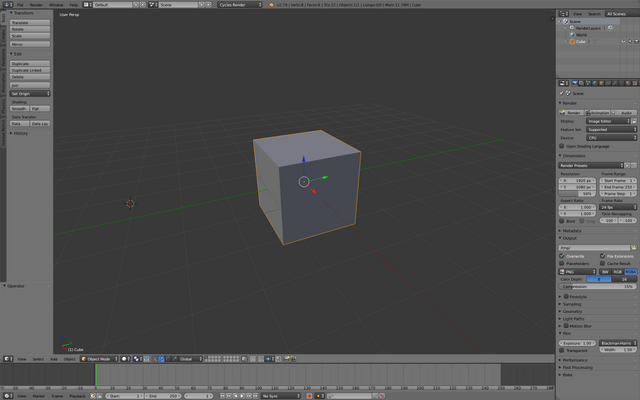
Then go into Object > Group > Create New Group
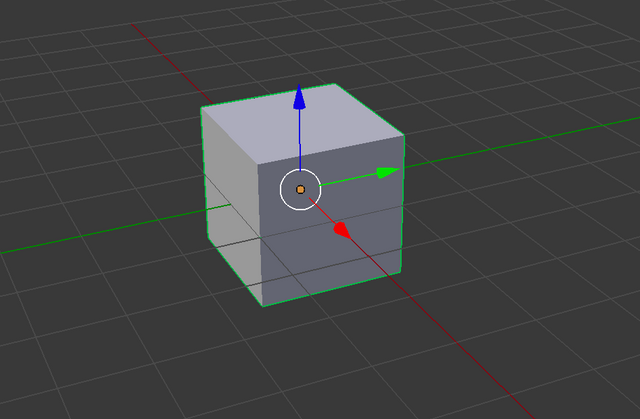
This will group the mesh, It will be named "Group". The selection around the mesh should have turned green.
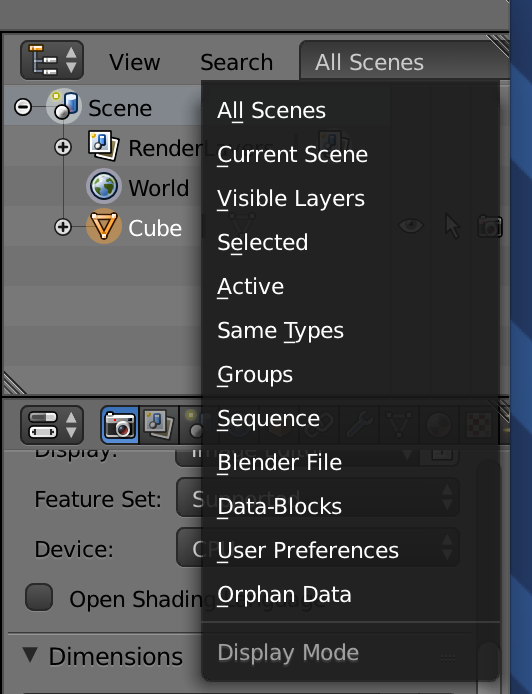
The Outliner does not show the group, by default it is set to show "All Scene".

Switching to "Groups" using the drop down.
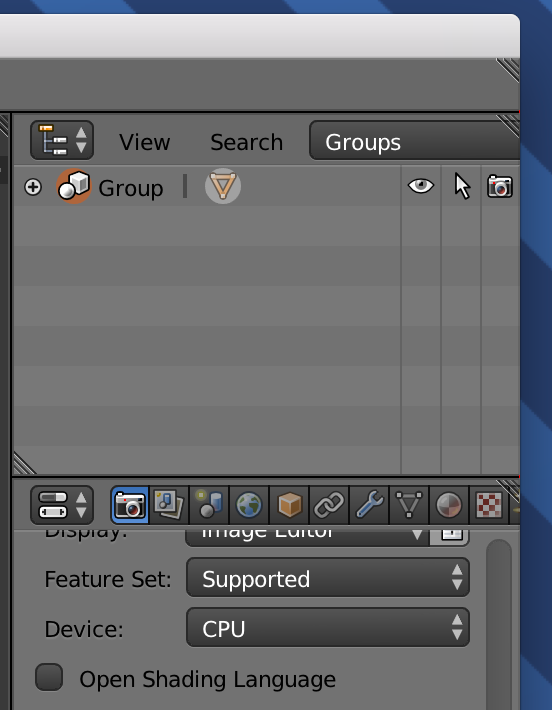
Now when you can select the group in the Outliner, and it will select all the mesh that is inside the group.
Thank you for reading,
Originally published at darryldias.me.
Hello there ... nice to see some Blender users around :)
Thank you :)
Congratulations @darryldias! You have completed the following achievement on the Steem blockchain and have been rewarded with new badge(s) :
Click on the badge to view your Board of Honor.
If you no longer want to receive notifications, reply to this comment with the word
STOPDo not miss the last post from @steemitboard: