Taste of Art | Full Process drawing of a Bunny with gif
| 🐇 Bunny the Rabbit 🐇 |
One of the cutest creature ever found in the animal kingdom don't you think? What I am talking here folks is Rabbit, these cute little fellas are belong to the small mammals of Leporidae of the order Lagamorpha.
Fun Facts:
Did you know? The male species of Rabbit are commonly called as buck while the female one is doe and its offsprings on the other hand are called as kitten or kit
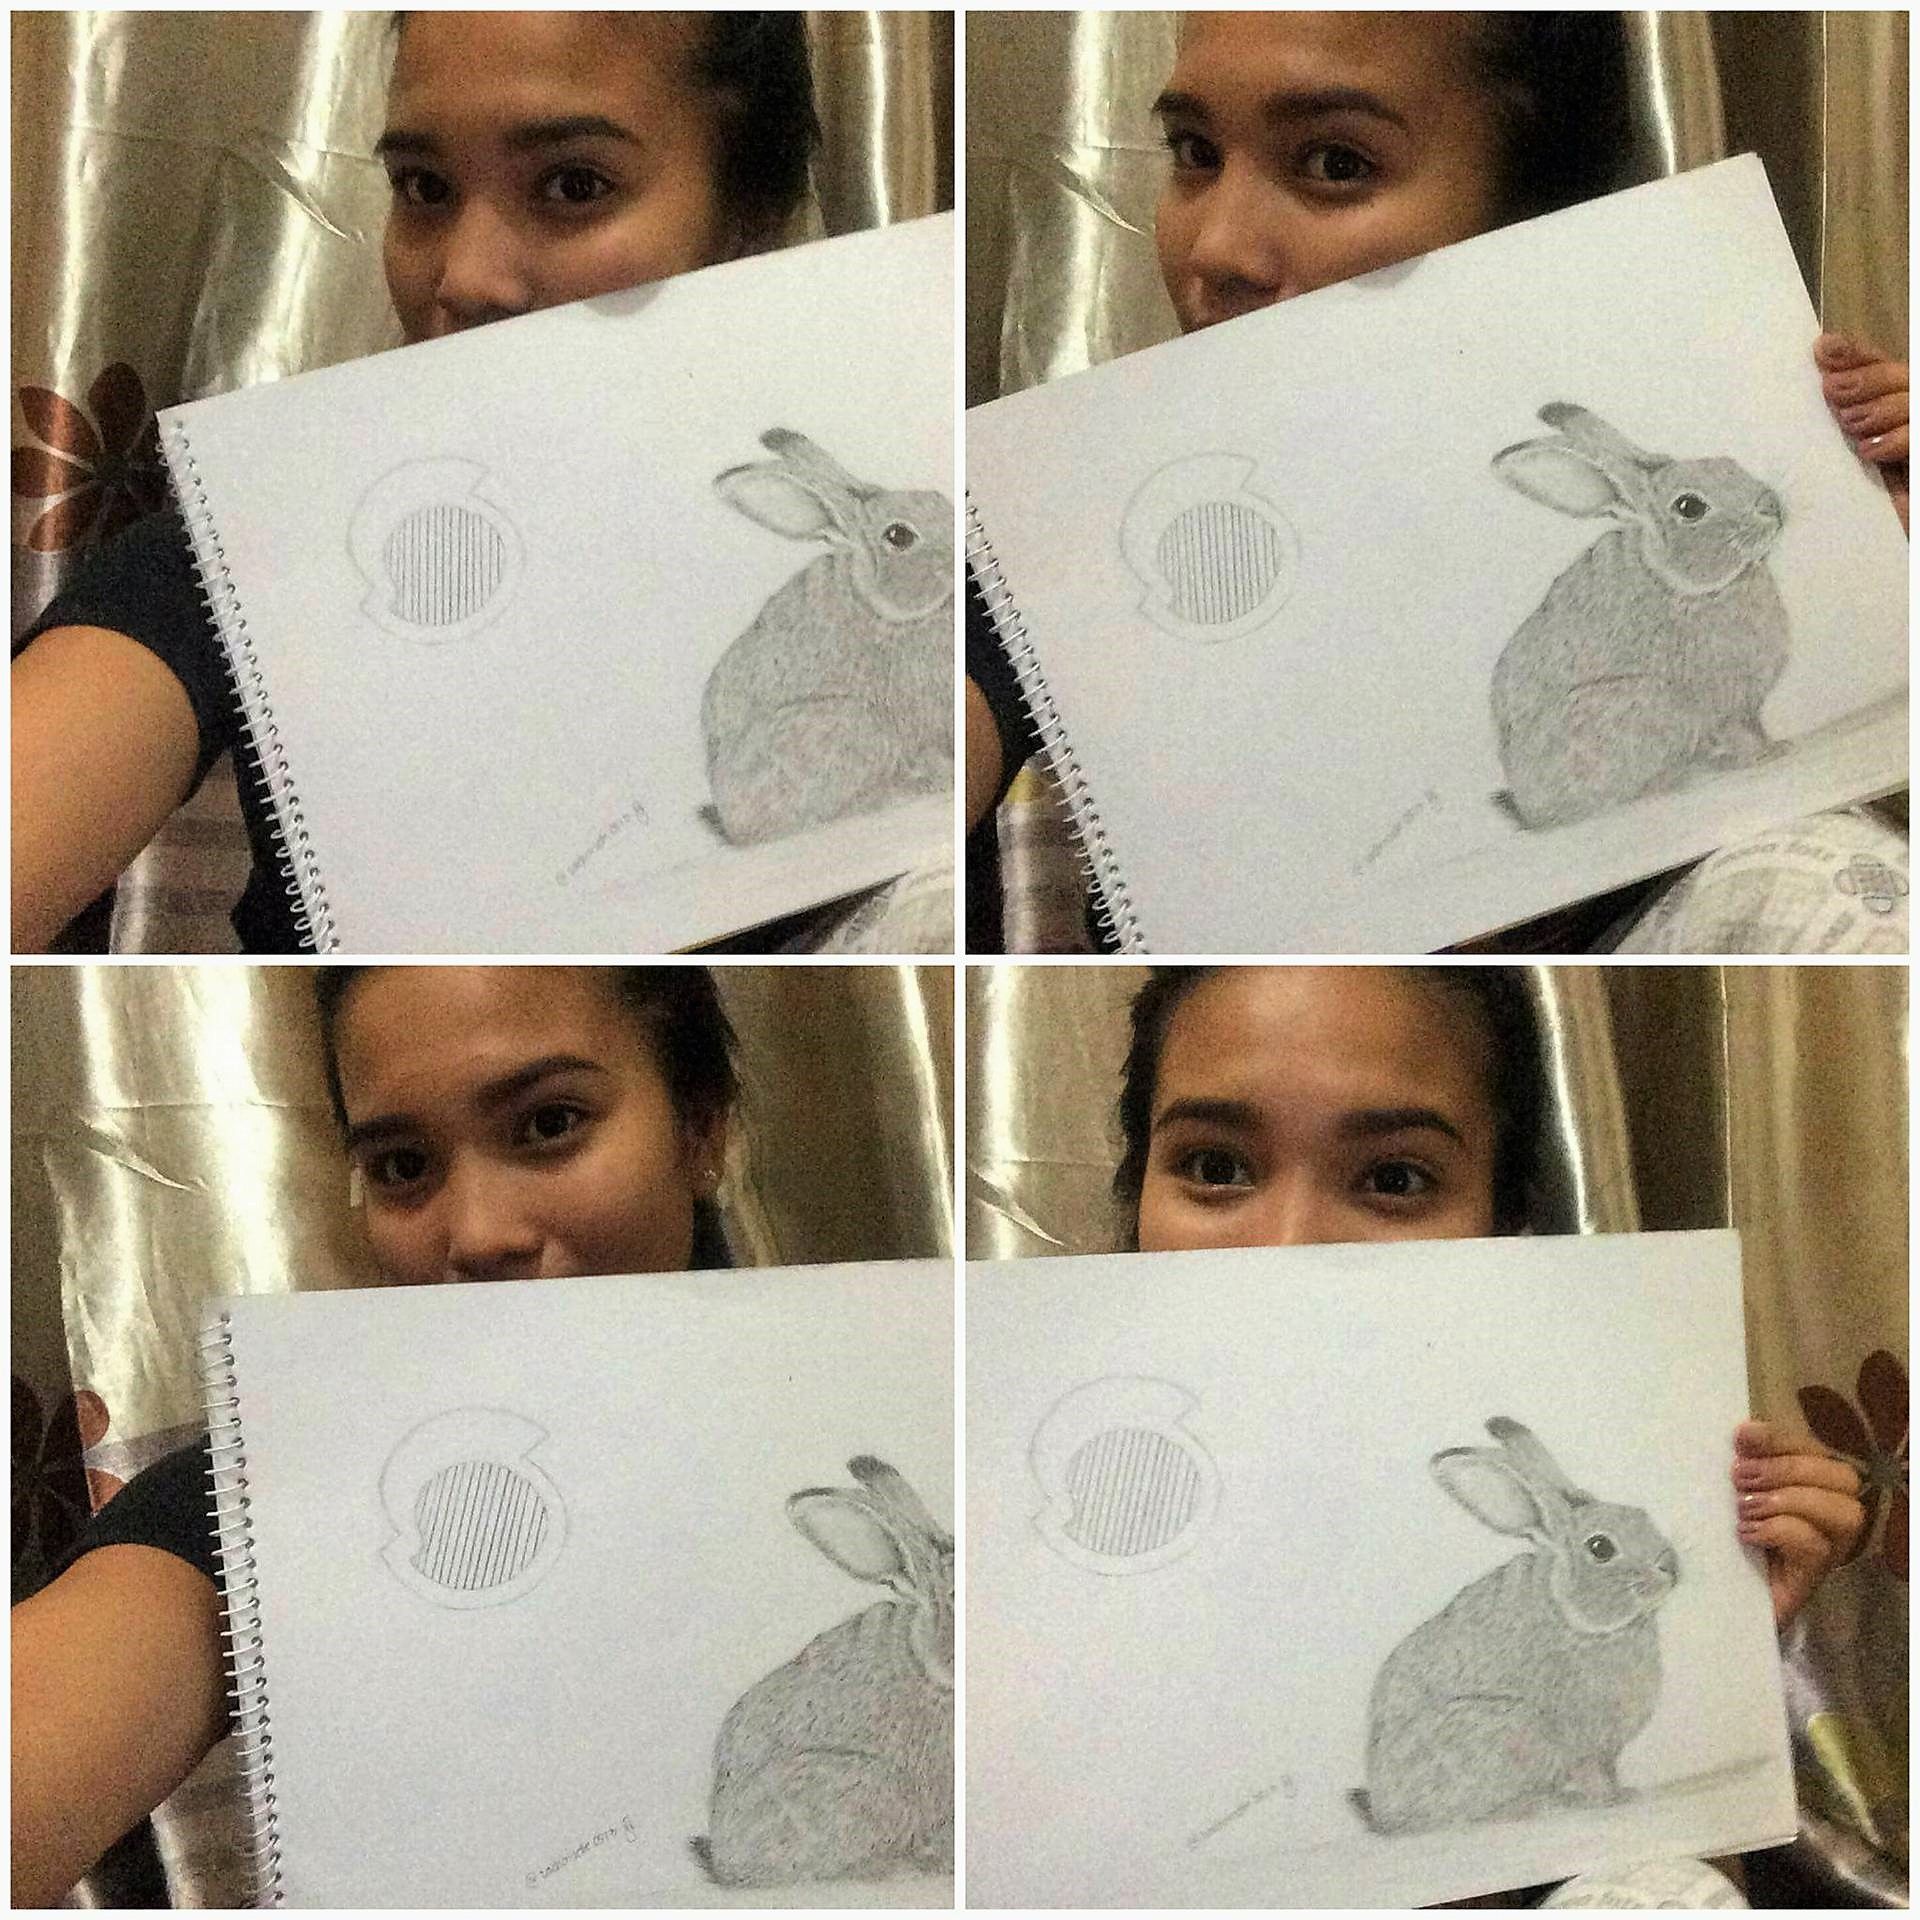
Due to irresistible cuteness of these species I ended up making a step by step drawing of a rabbit. I hope you guys will like it😊
So to start sketching and stroking this cute little fella we must bring out all the materials needed for this drawing and after which is the step by step process.
Materials Used:
- 0.35mm Mechanical Pencil
- 4B Pencil
- Erases
- Sketchpad
- Ruler
Steps of how I made this cute little rabbit:
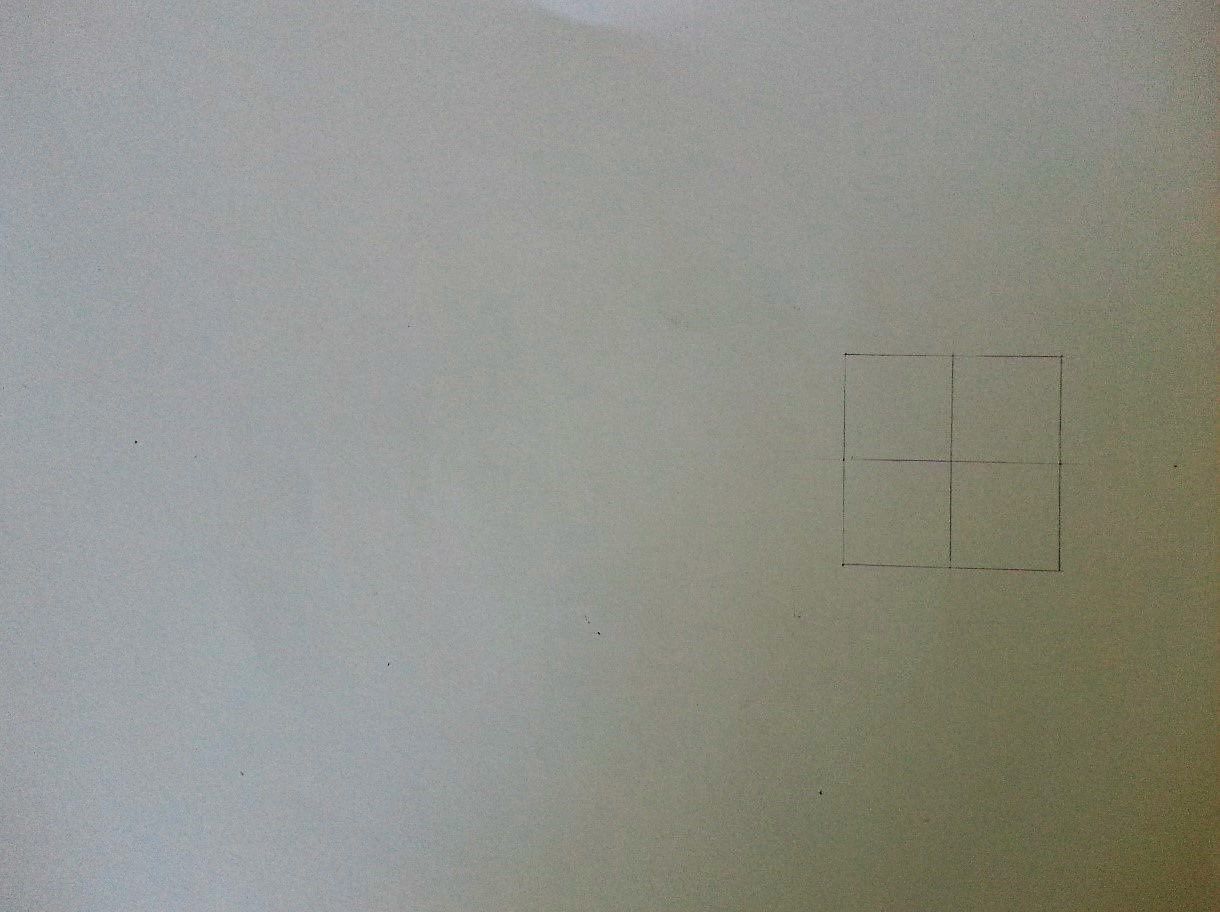
- Drawing of the guidelines
Using the ruler and mechanical pencil, I first drew a box and cut the half of it horizontally and vertically so that I could get the proportions of the head correctly.
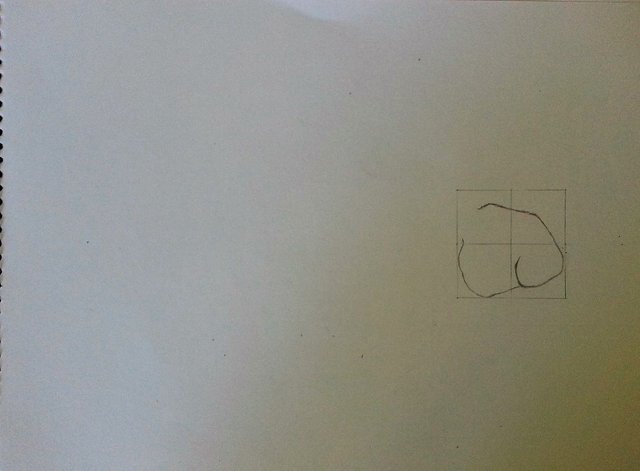
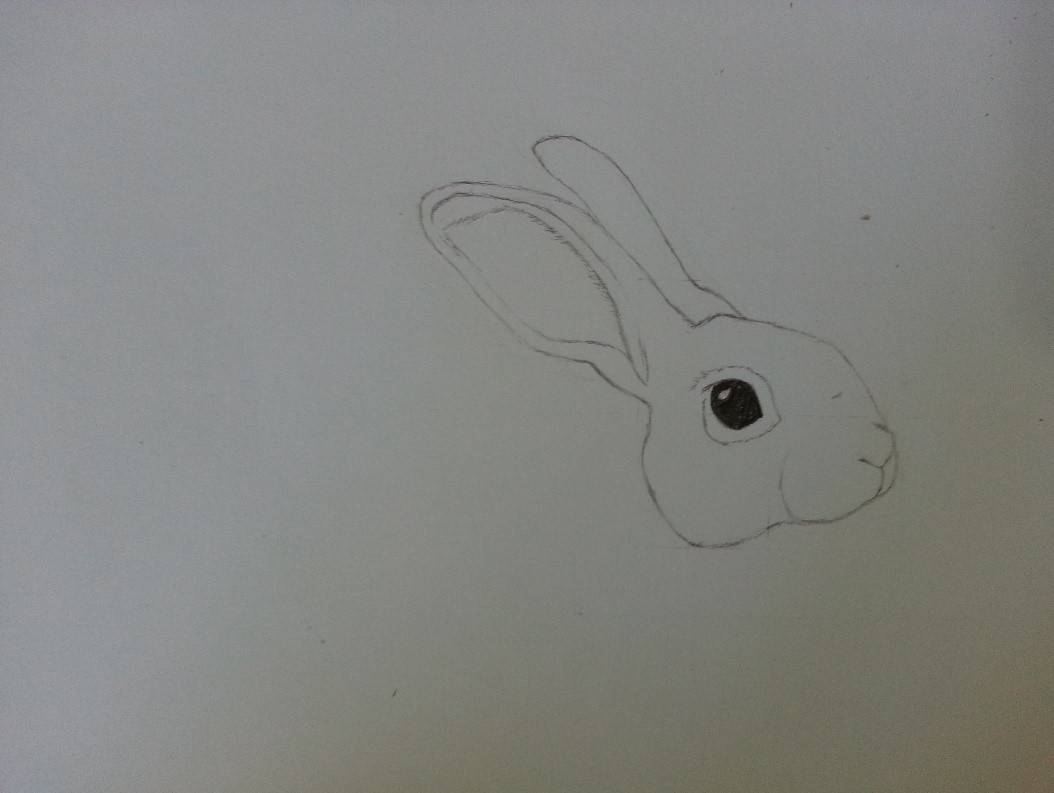
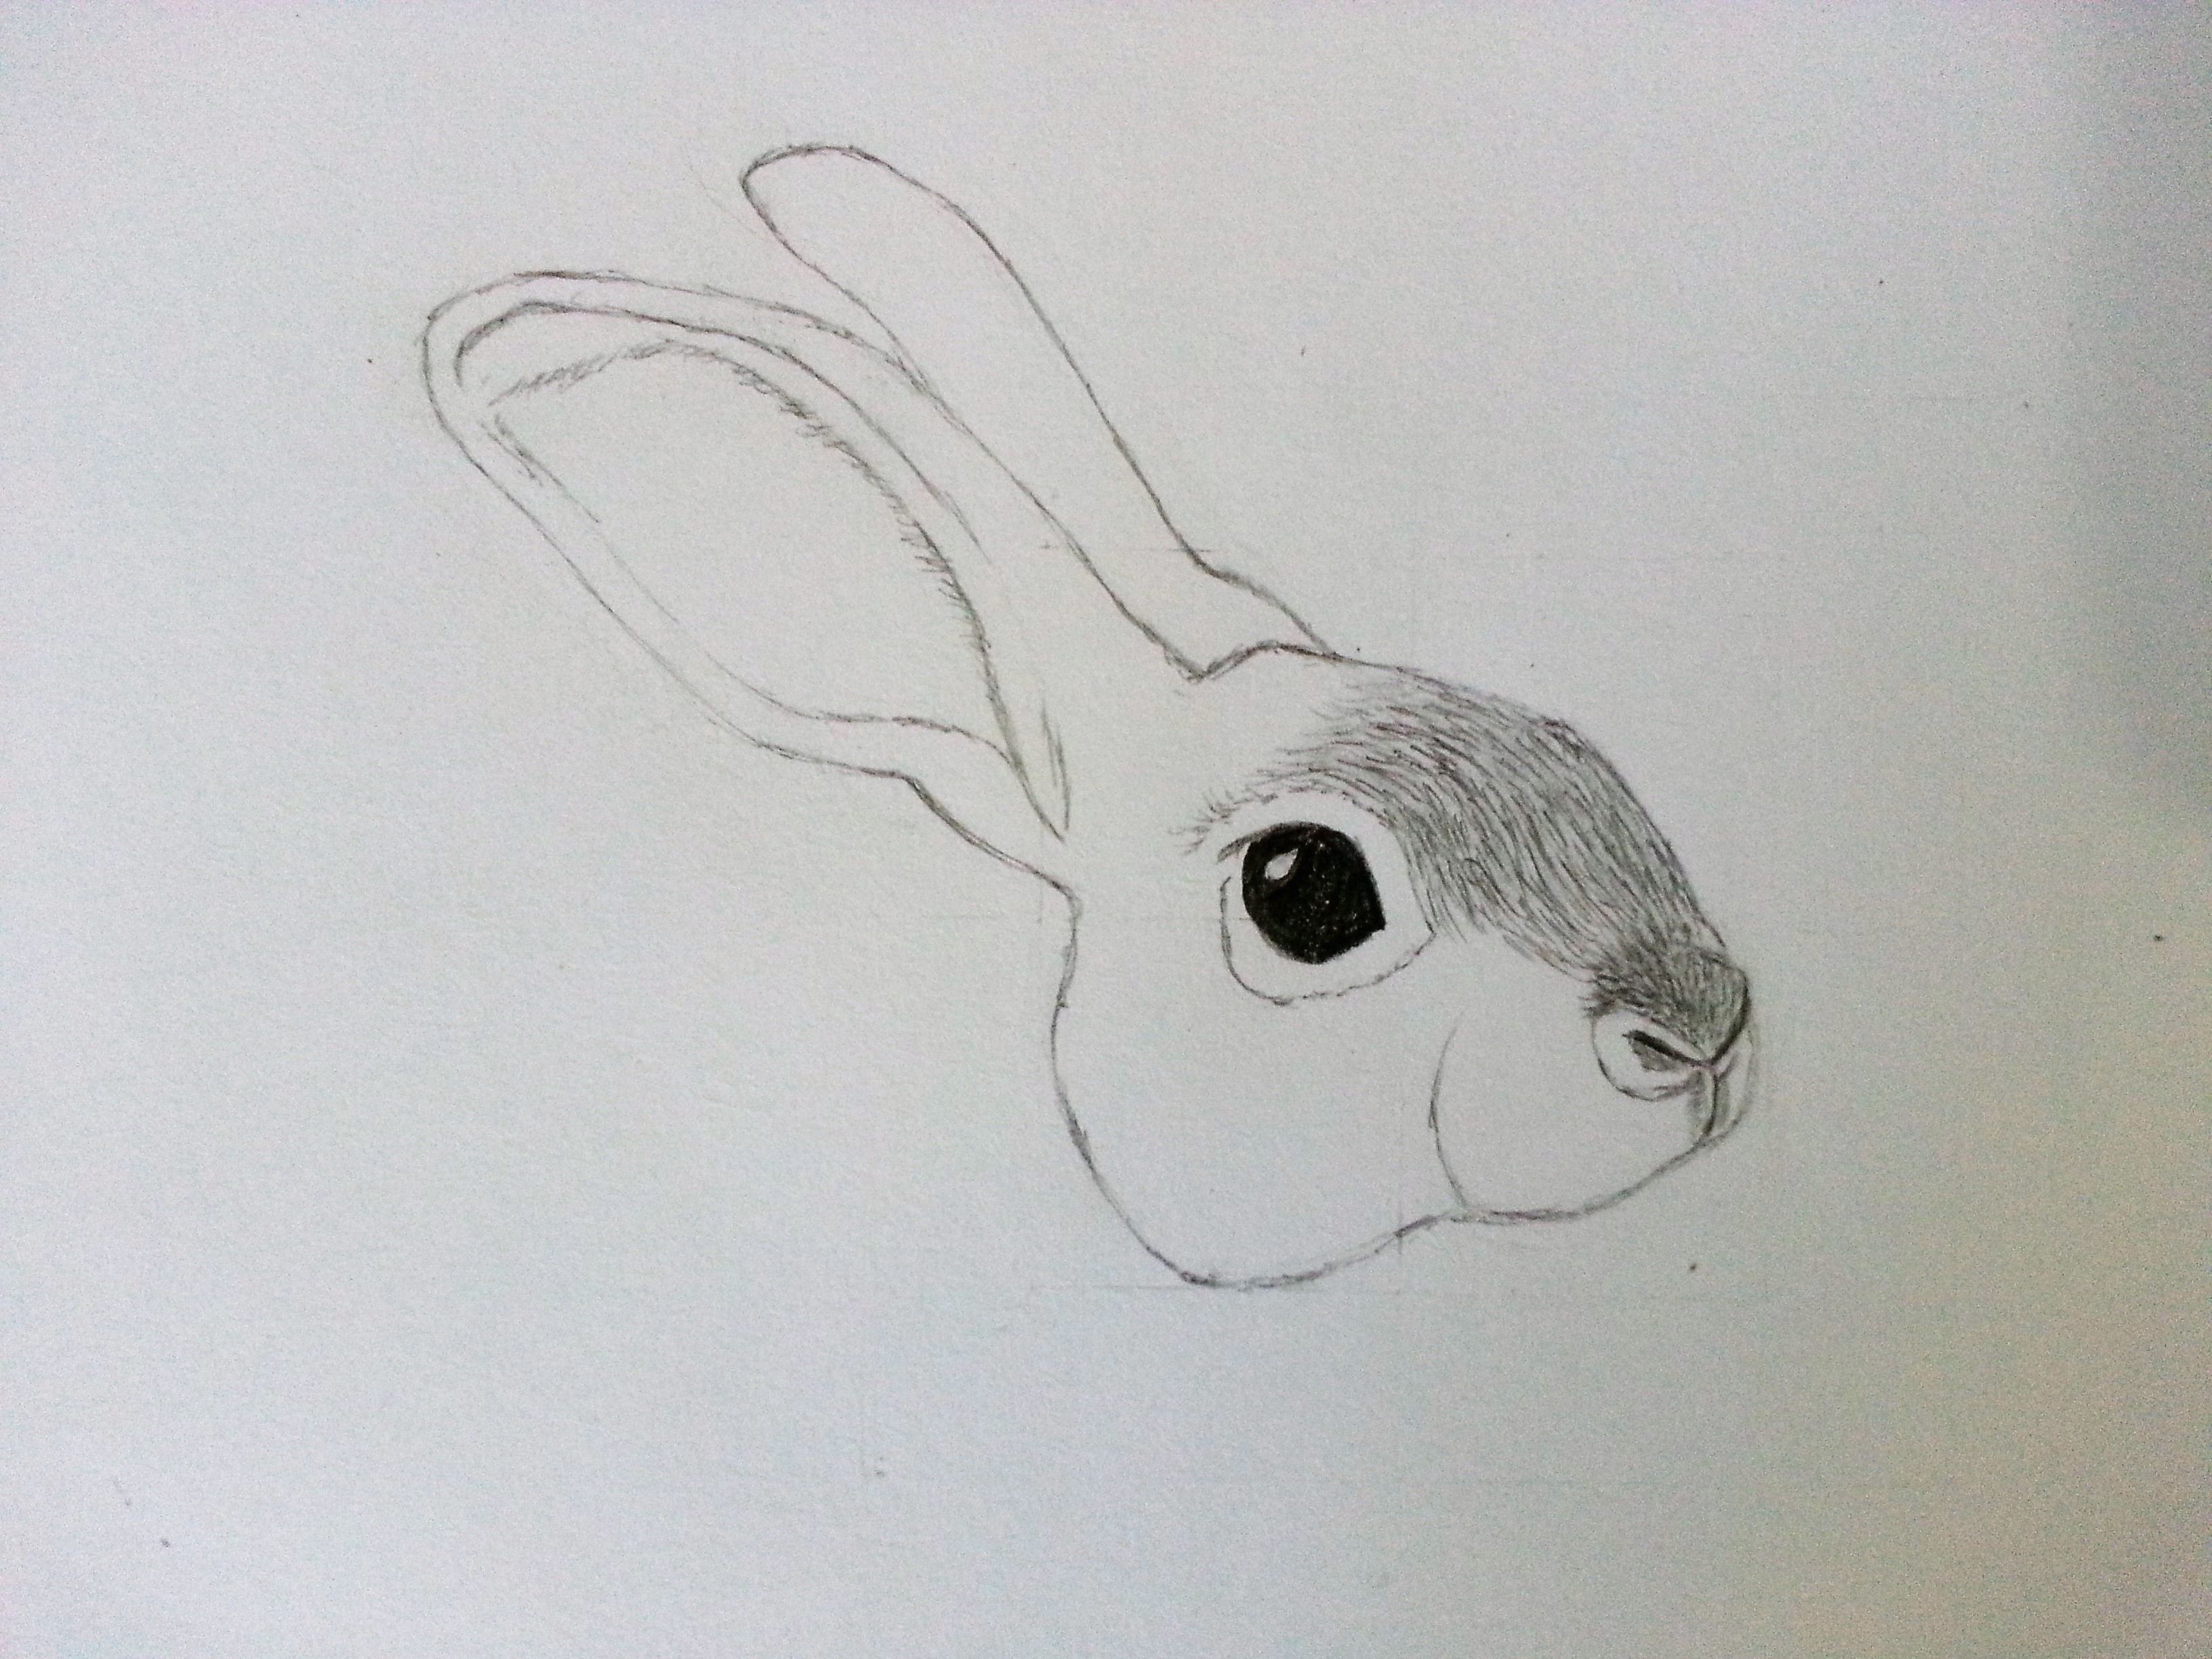
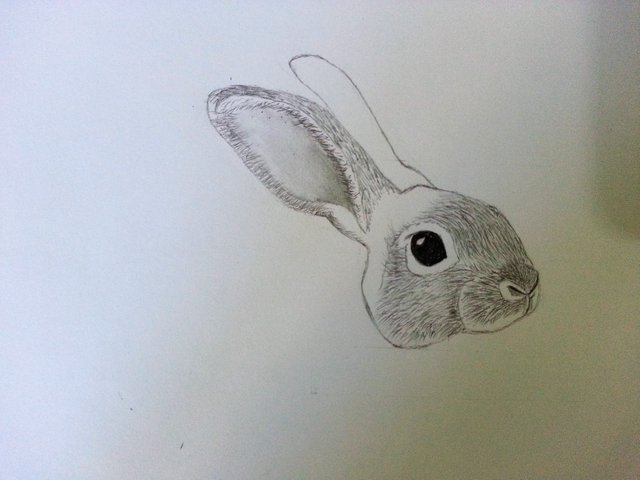
Then, I drew the outline of the rabbit's head while looking at the reference photo. I noticed that the rabbit has some slight curve at its forehead and the nose was a bit diagonal
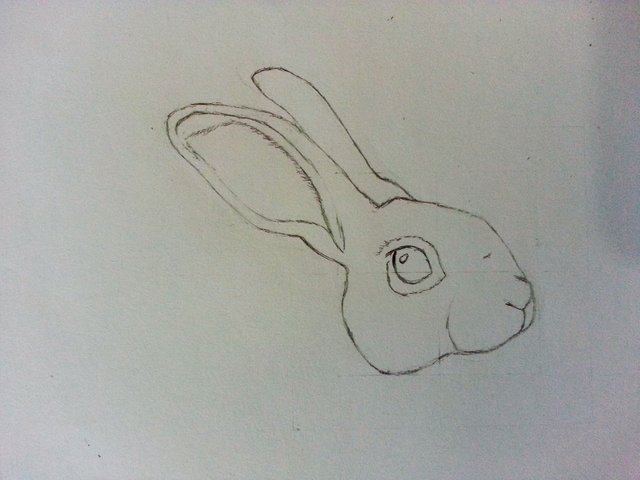
Next is the outline for the rabbit's eye. I only drew one eye because the rabbit is looking sideways, and I drew the nose like a curved letter Y.

Then, I added its long and fluffy ears and a highlight for its eye to finish the outline for the rabbit's head.
- Shading the eyes
Using my 4B Pencil, I darken the eyes of the rabbit except for the highlight because that should stay as white as possible, It is the reflection of the light which gives life our drawing.
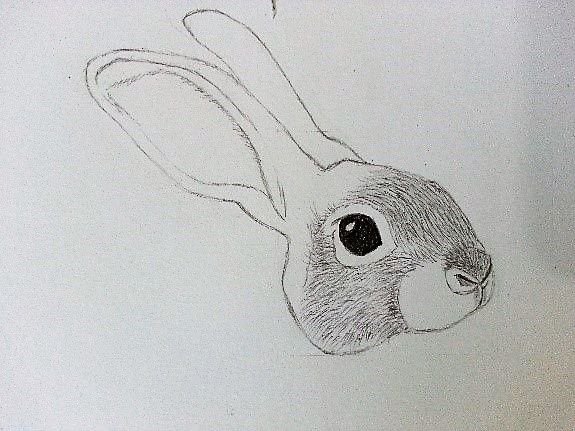
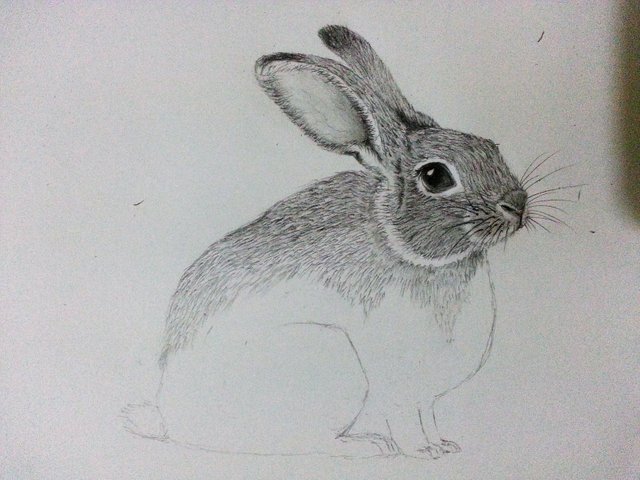
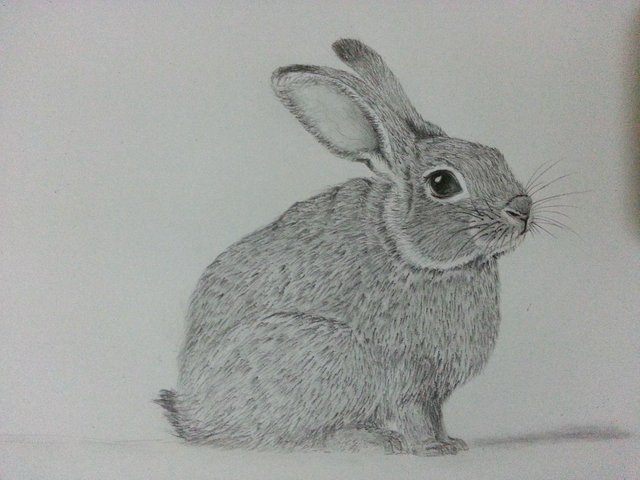
- Adding layers of fur on its head
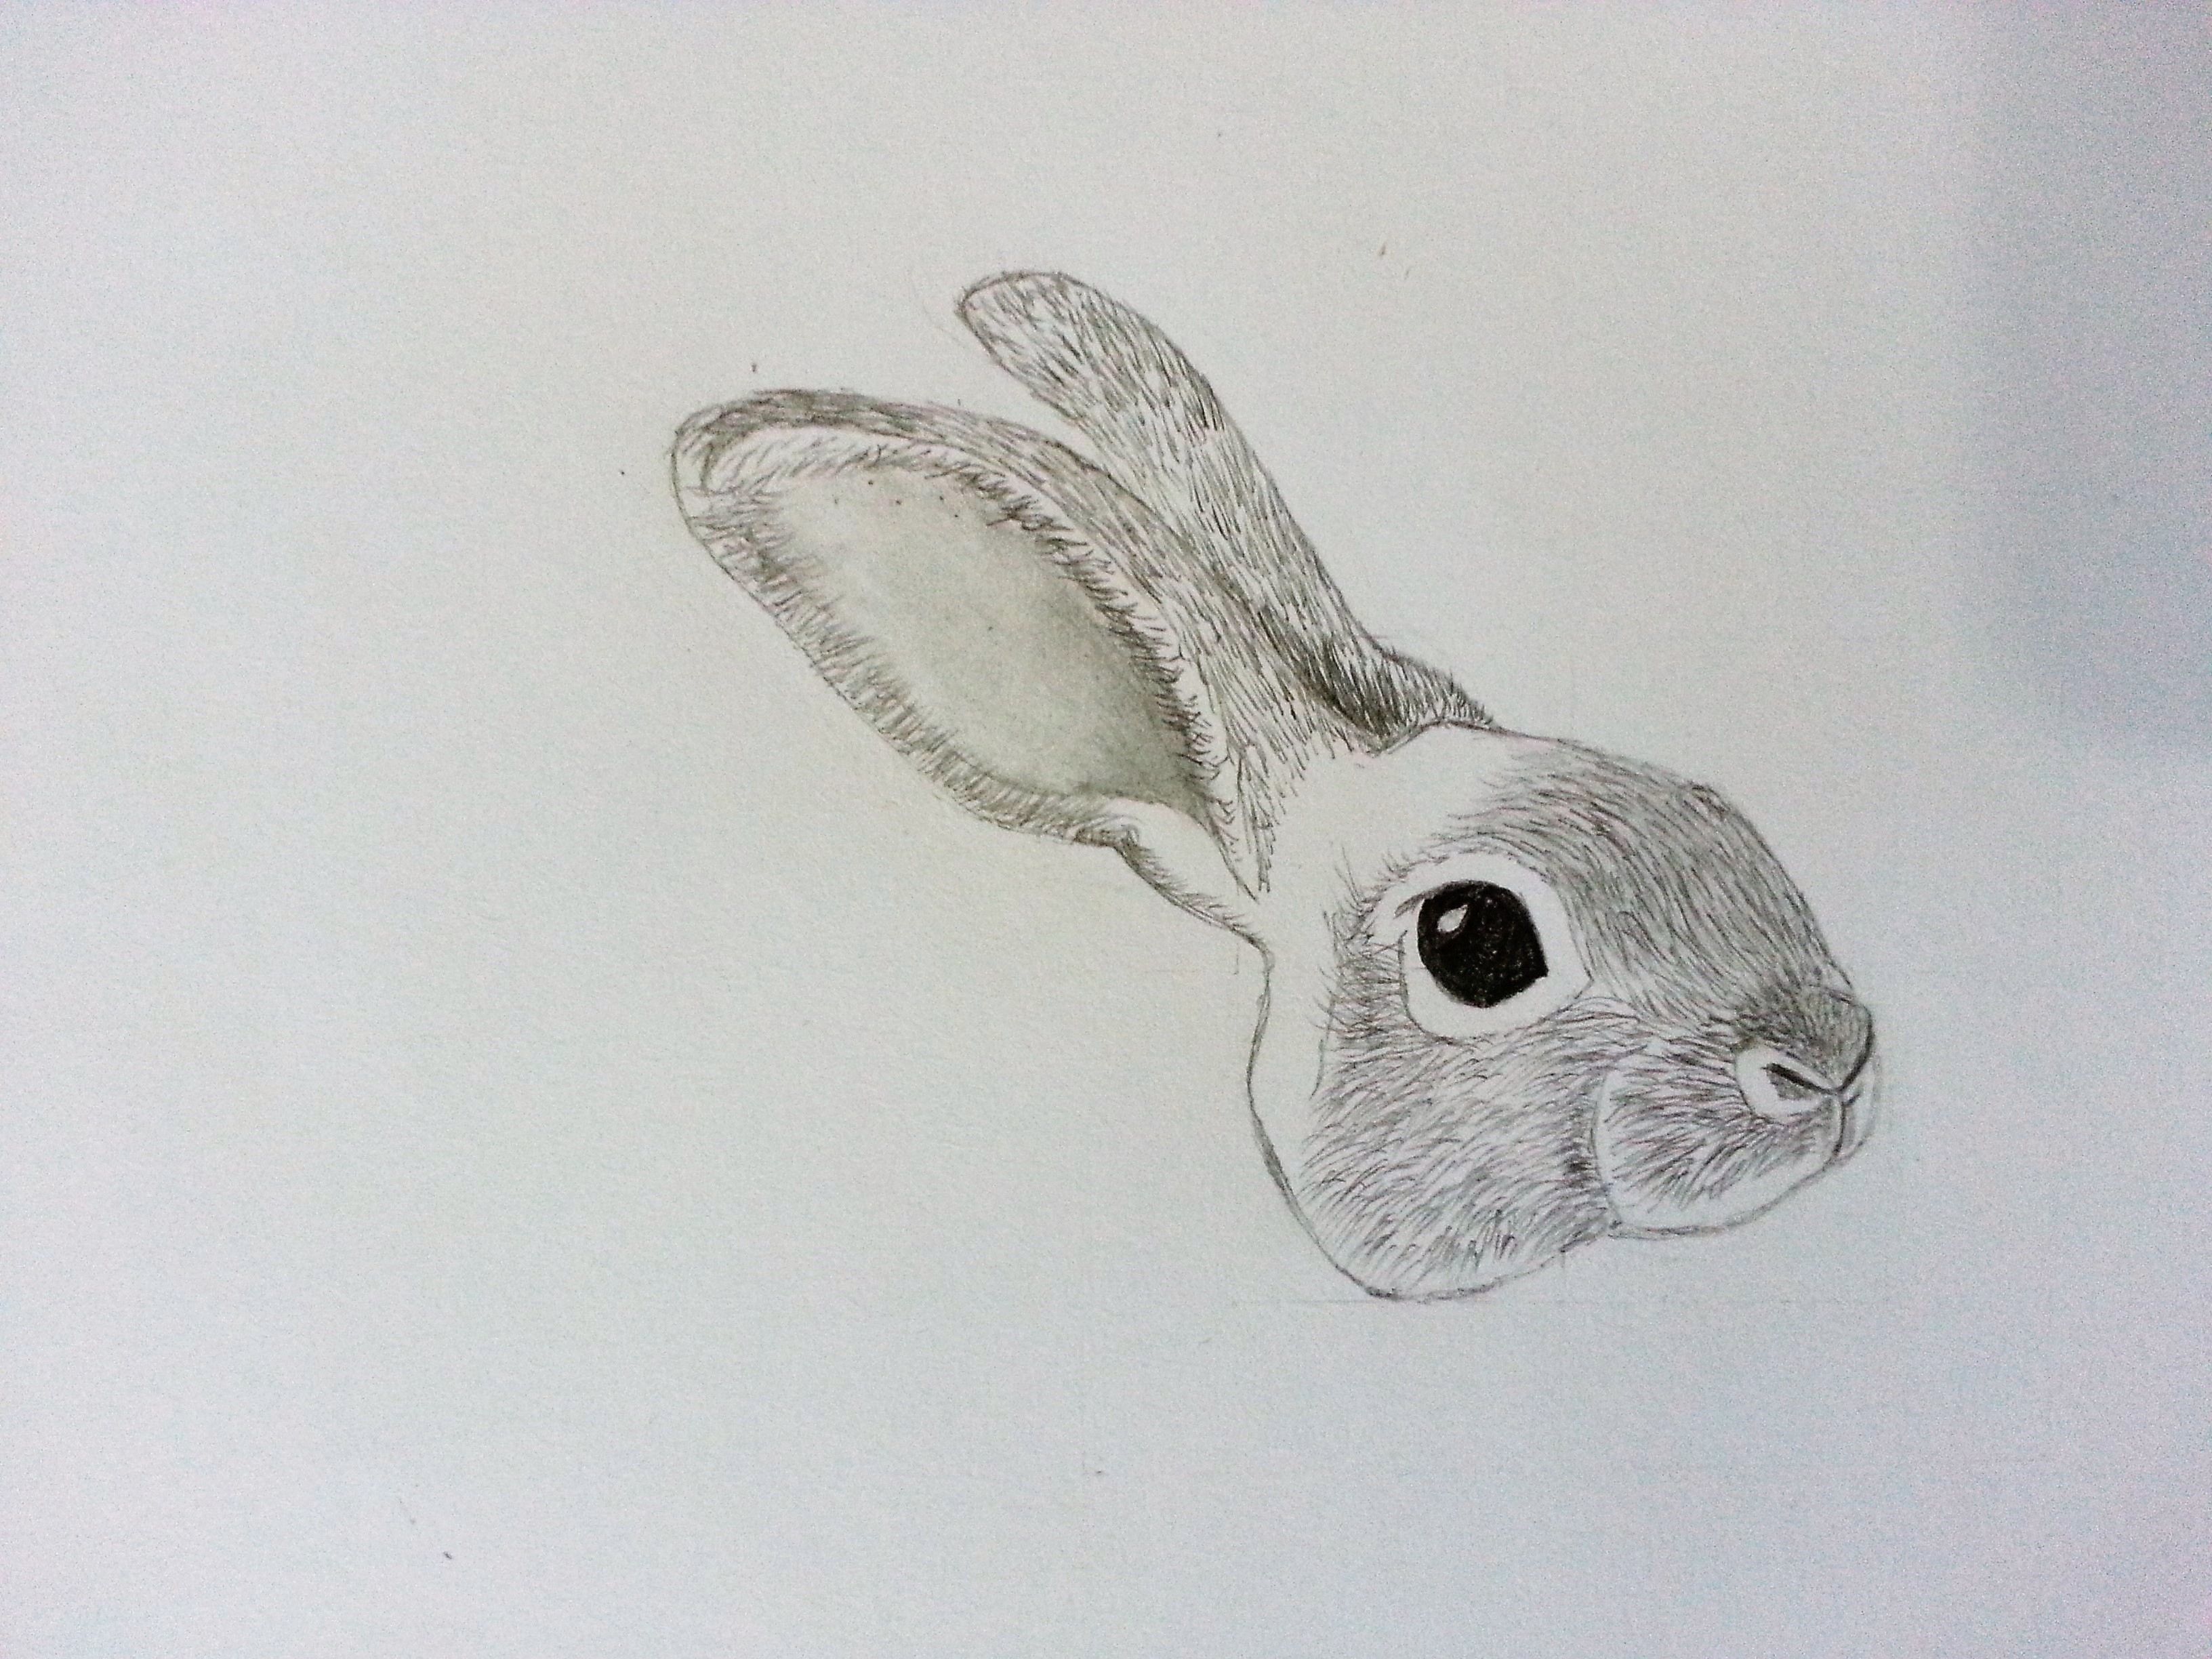
Now that the rabbit's eye are done and it looks lively now, We will now add some layers of fur. The Mechanical Pencil is really helpful in this case because there's no hassle in sharpening the pencil and thus creating fine lines which is great in adding its fur. I first started in the nose bridge using light strokes to create the first layer of fur.
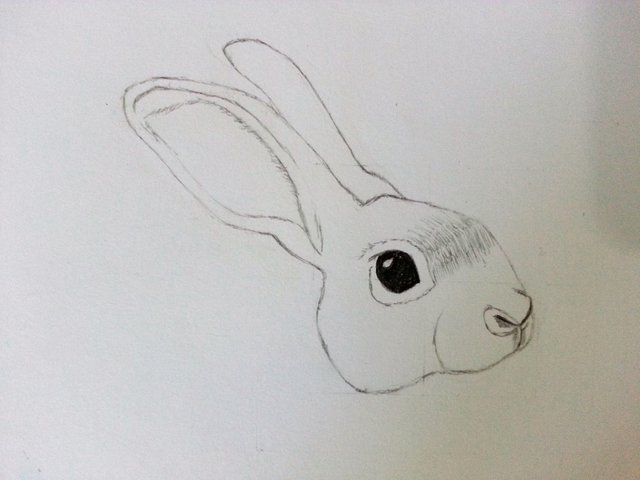
As I moved towards the nose, I made the fur lines even smaller because the furs of the rabbit tends to be shorter around the nose.
Note: When making the fur, you should always take into consideration the direction of the fur because that follows the contour of their body. I left some white parts to serve as white fur because some rabbits have white fur around their head and snout

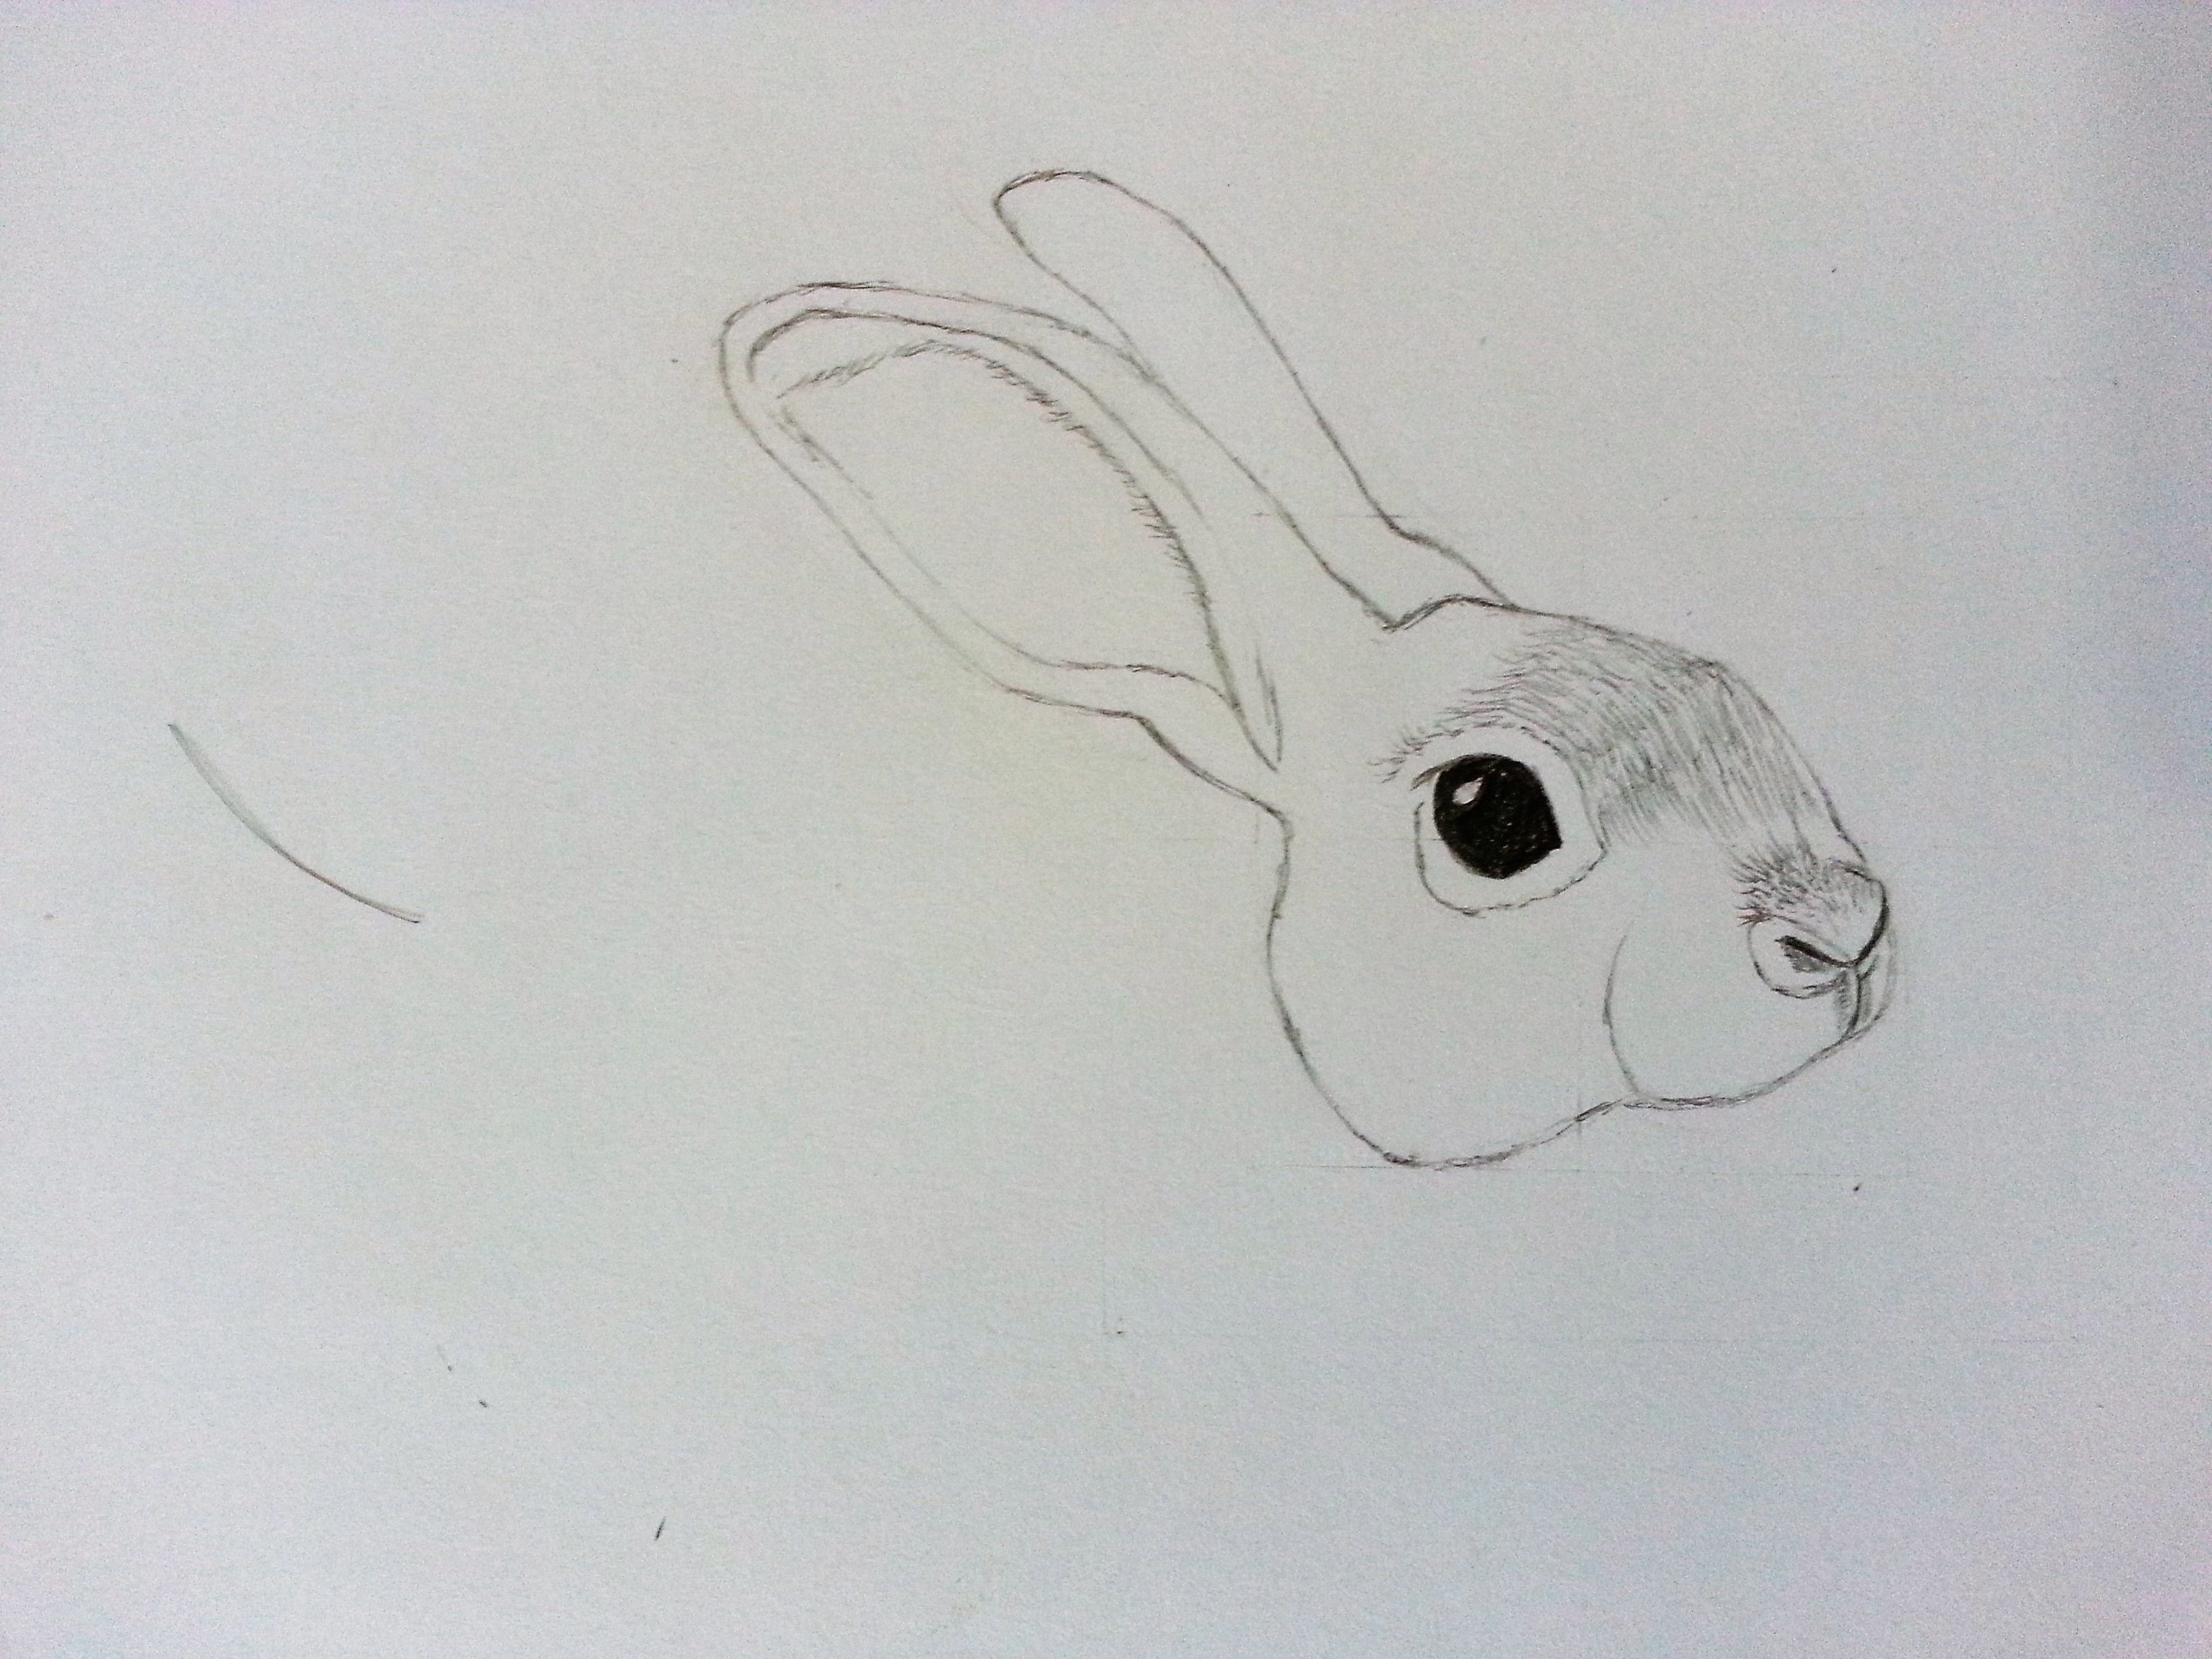
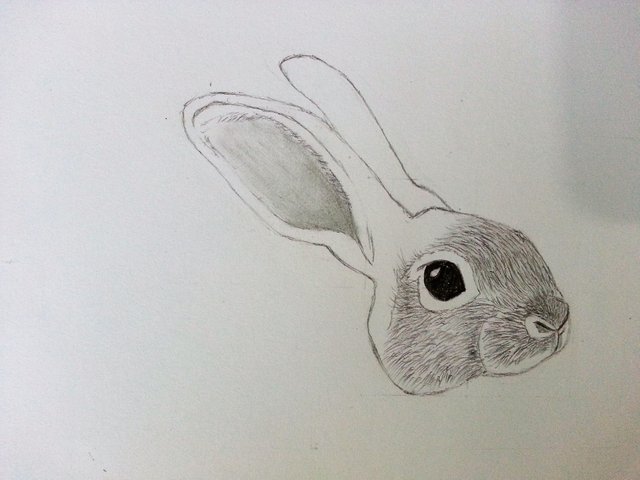
- Ears
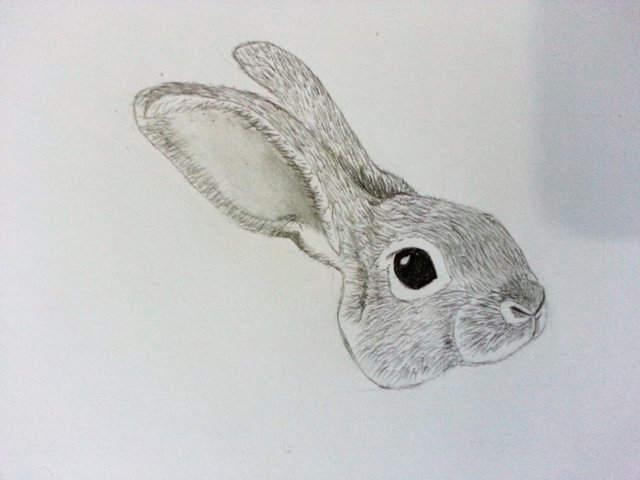
Next is the ears, their very long fluffy ears. I first shaded the inside of their ears using my Mechanical Pencil and blended it using my thumb to have that smooth texture because that part is where their skin is exposed.
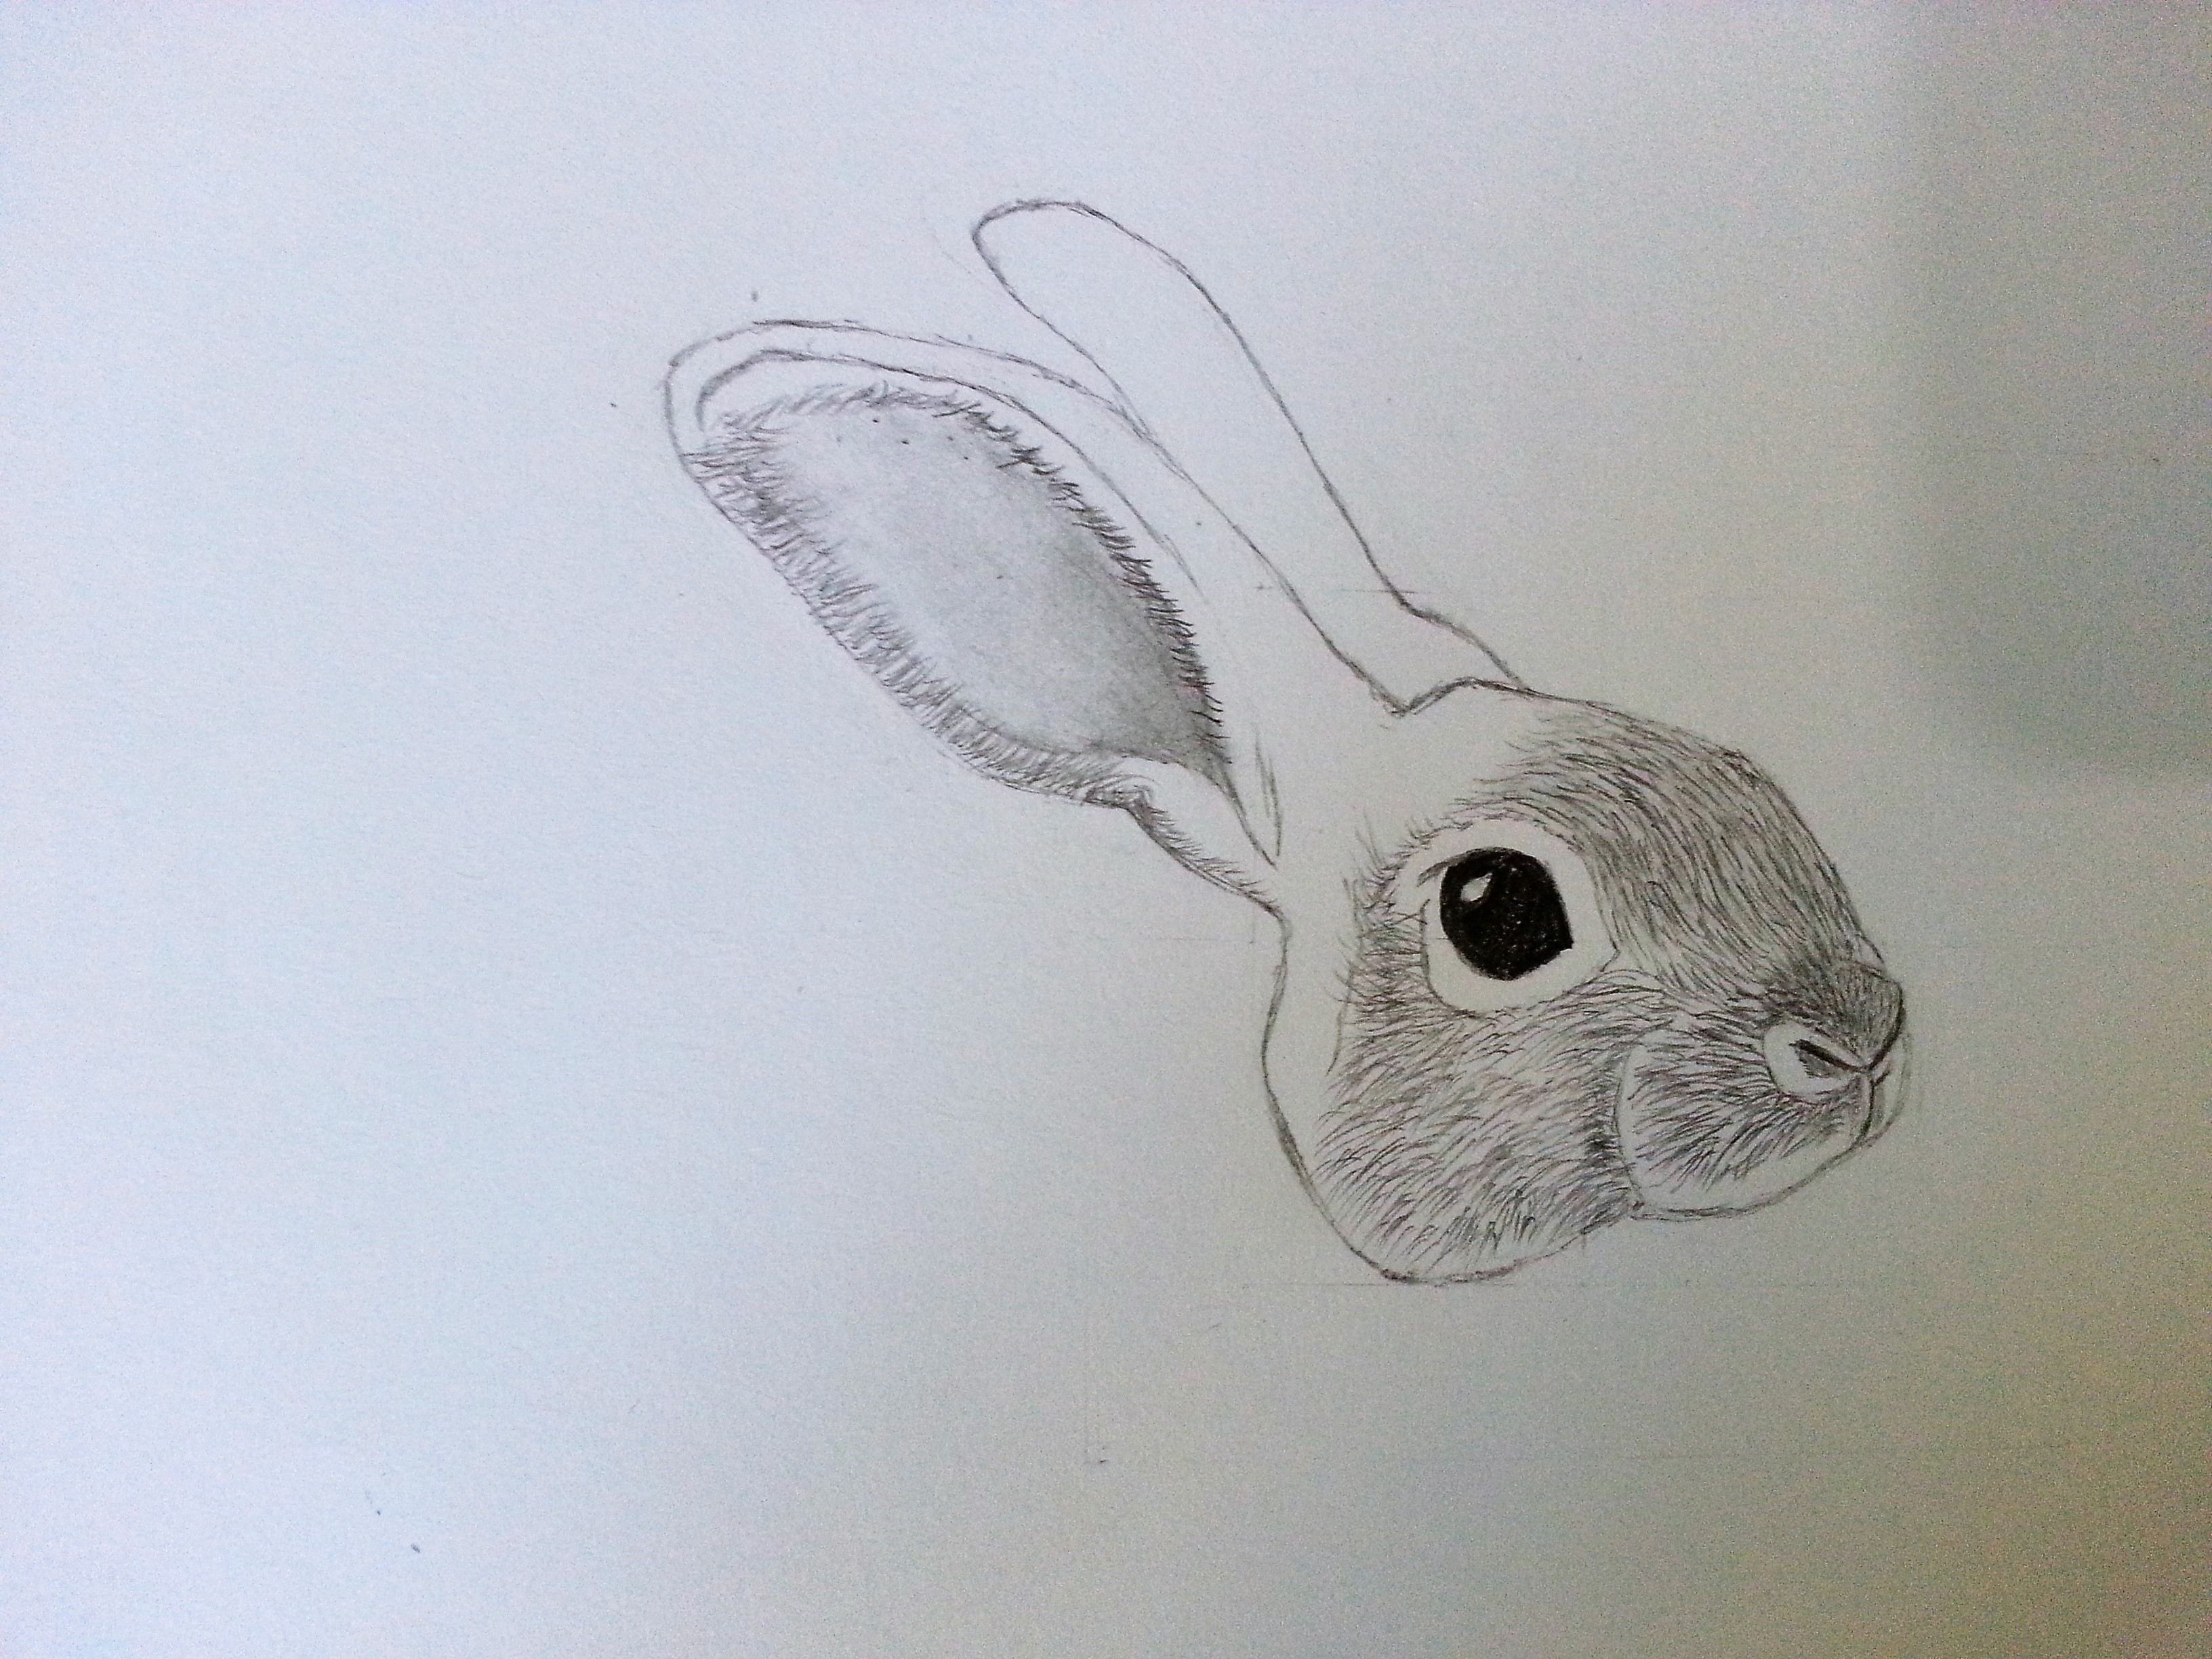
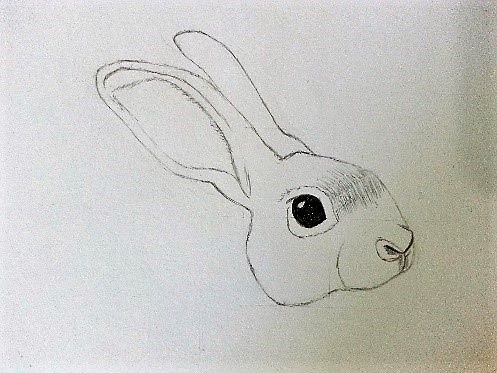
I drew the fur for the ears, this time its direction is going up. I blacken the area between the ears to separate them making it look like the other ear is forward while the other one is behind it. After filling the whole head with fur and adding the whiskers with quick and long strokes of lines the head is now complete.
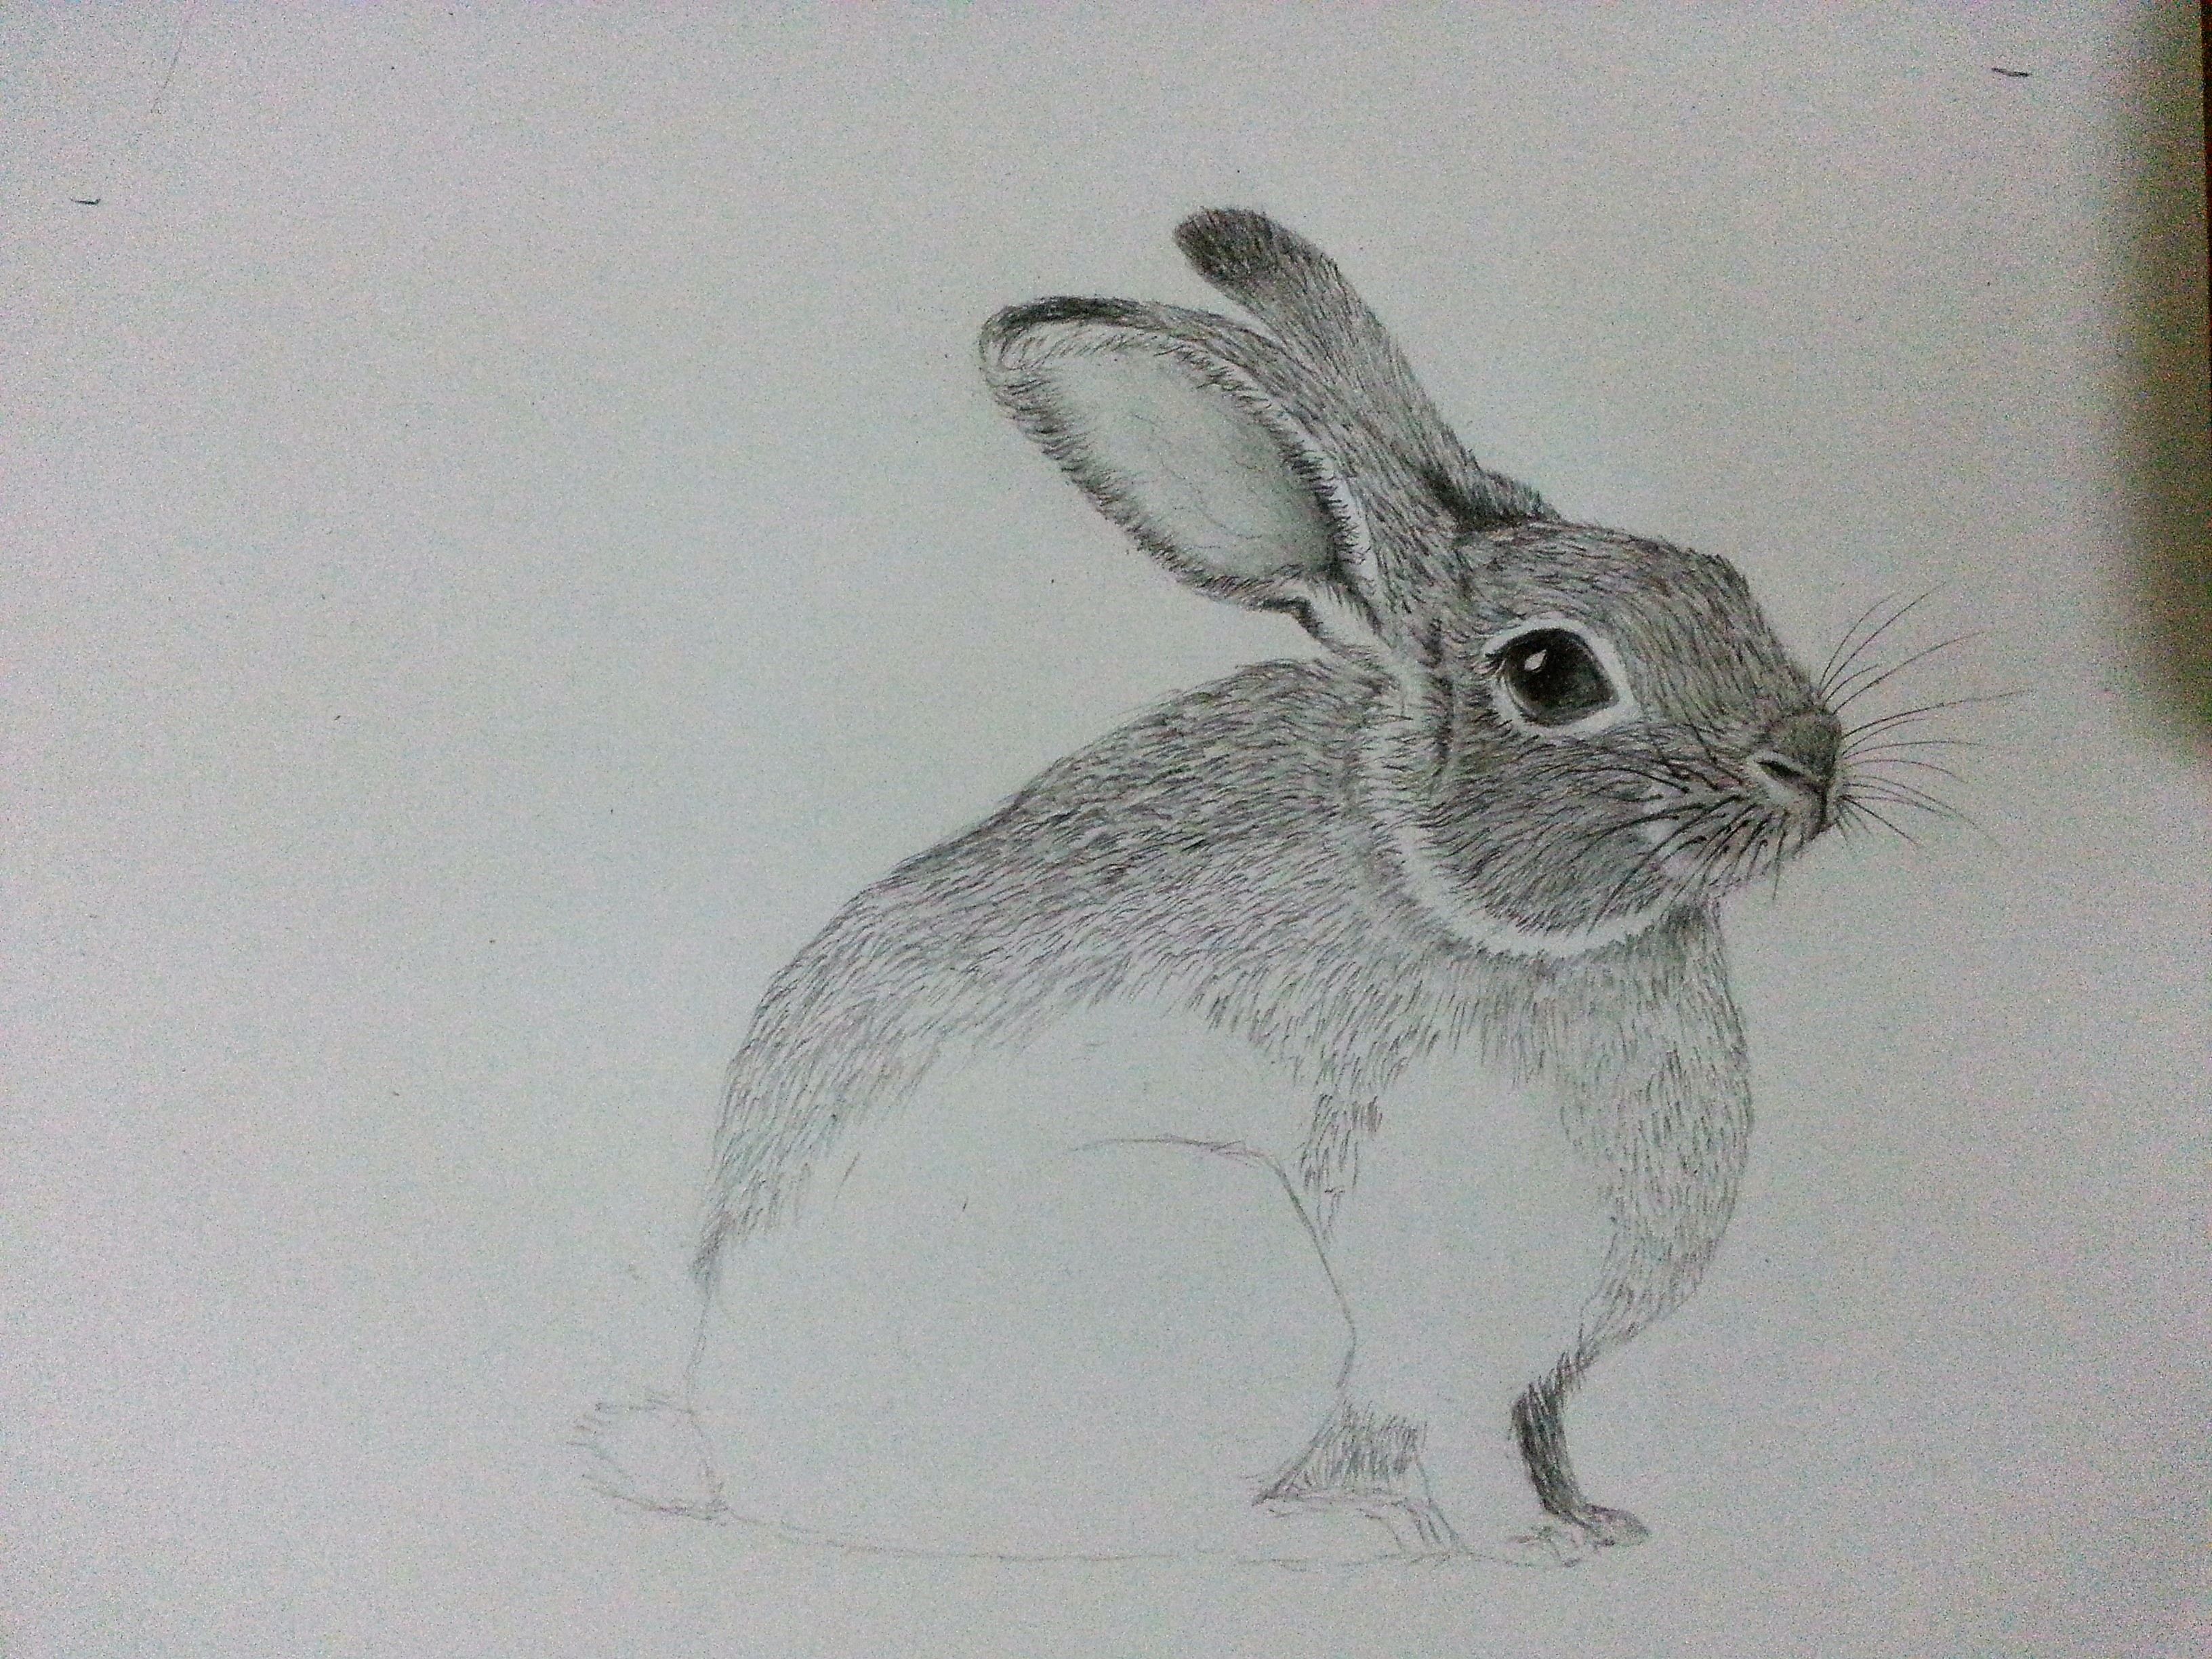
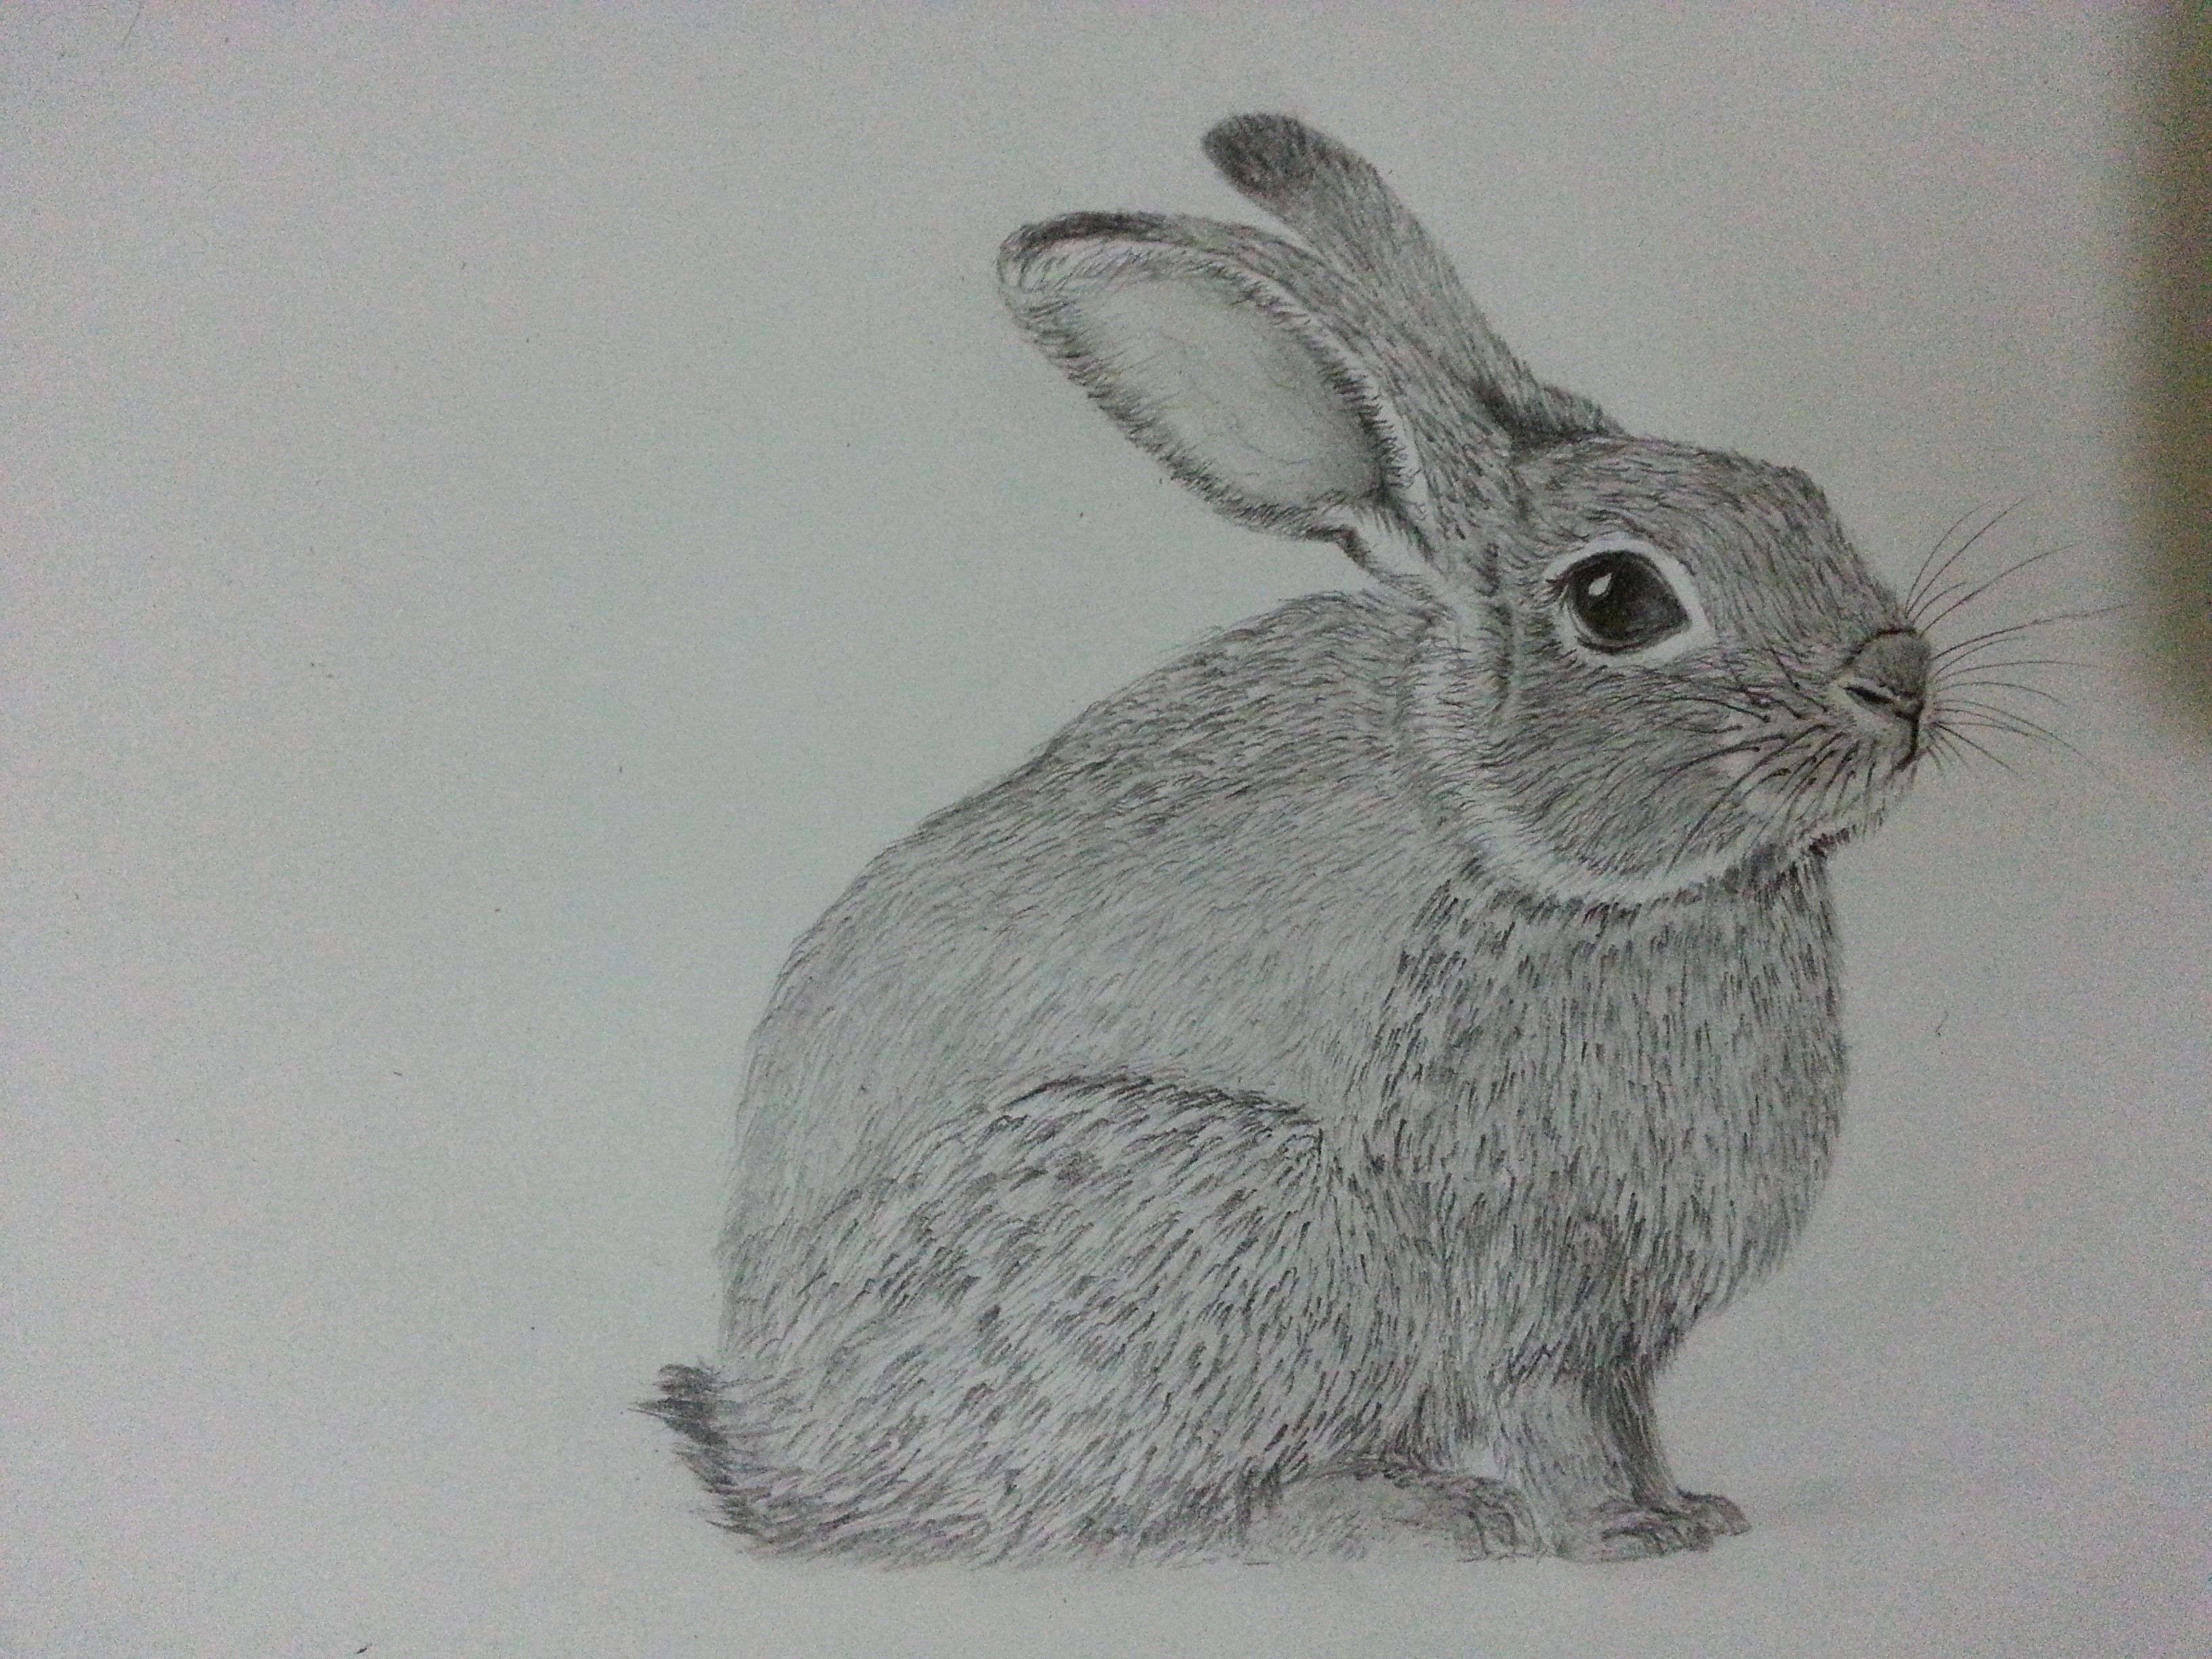
- Drawing of Rabbit's Body
I first drew the outline of the body, this is to guide me on where to put the fur. Then, I drew the first layer of fur using light strokes
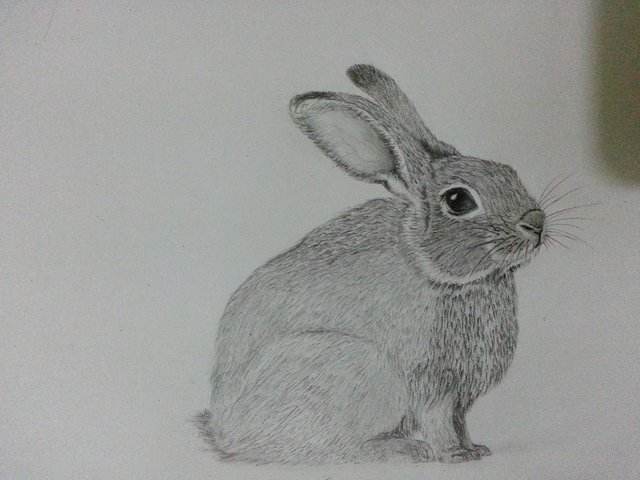
I just kept on rendering the fur until it looks more realistic while keeping in mind the direction of the fur.
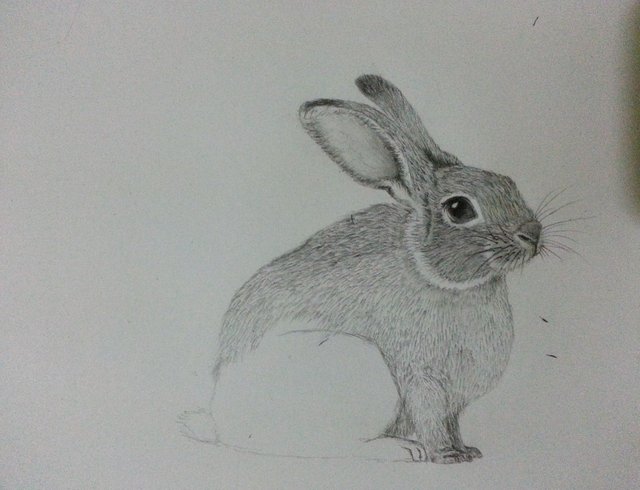
- Adding Darker fur
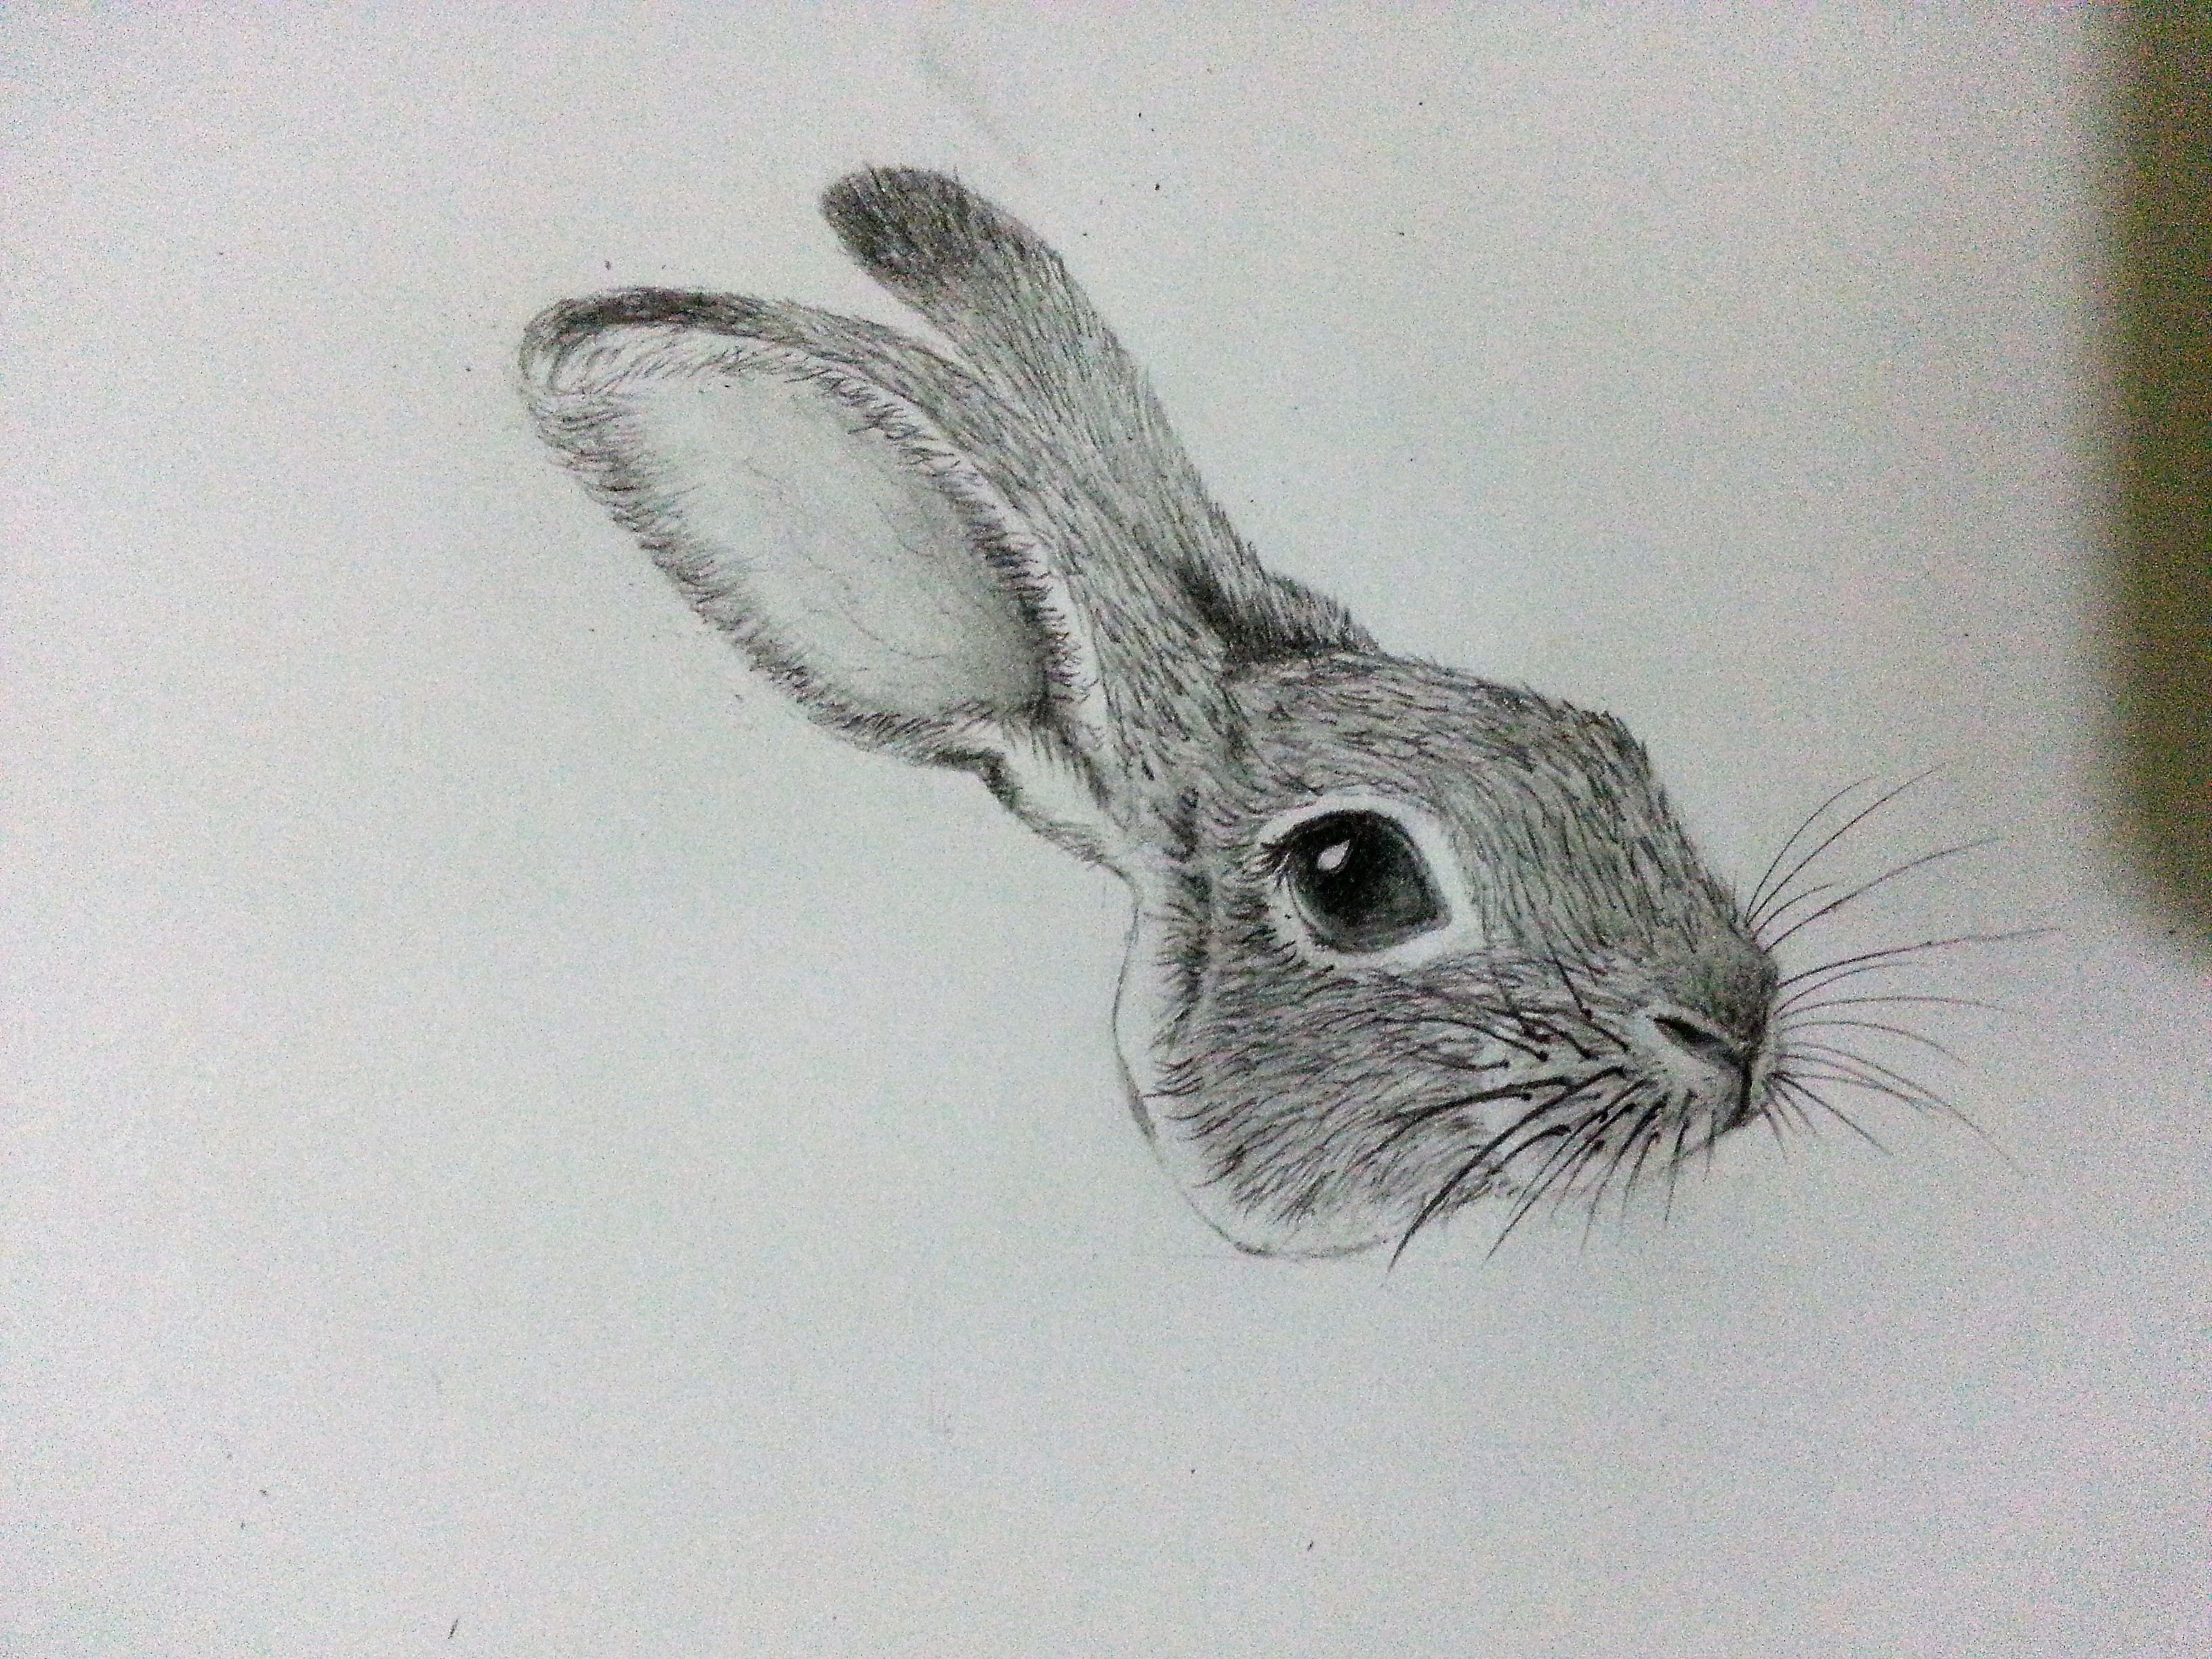
After I have covered the entire body of the rabbit with first and second layers of fur, it is now time to add in more contrast. I used my 4B Pencil to darken the fur. I sharpen the pencil a lot because it easily gets blunted and it will not produce fine lines which will make the drawing less sharp.
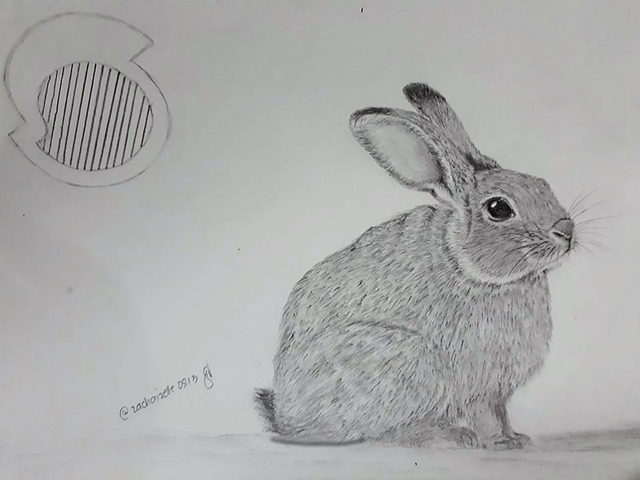
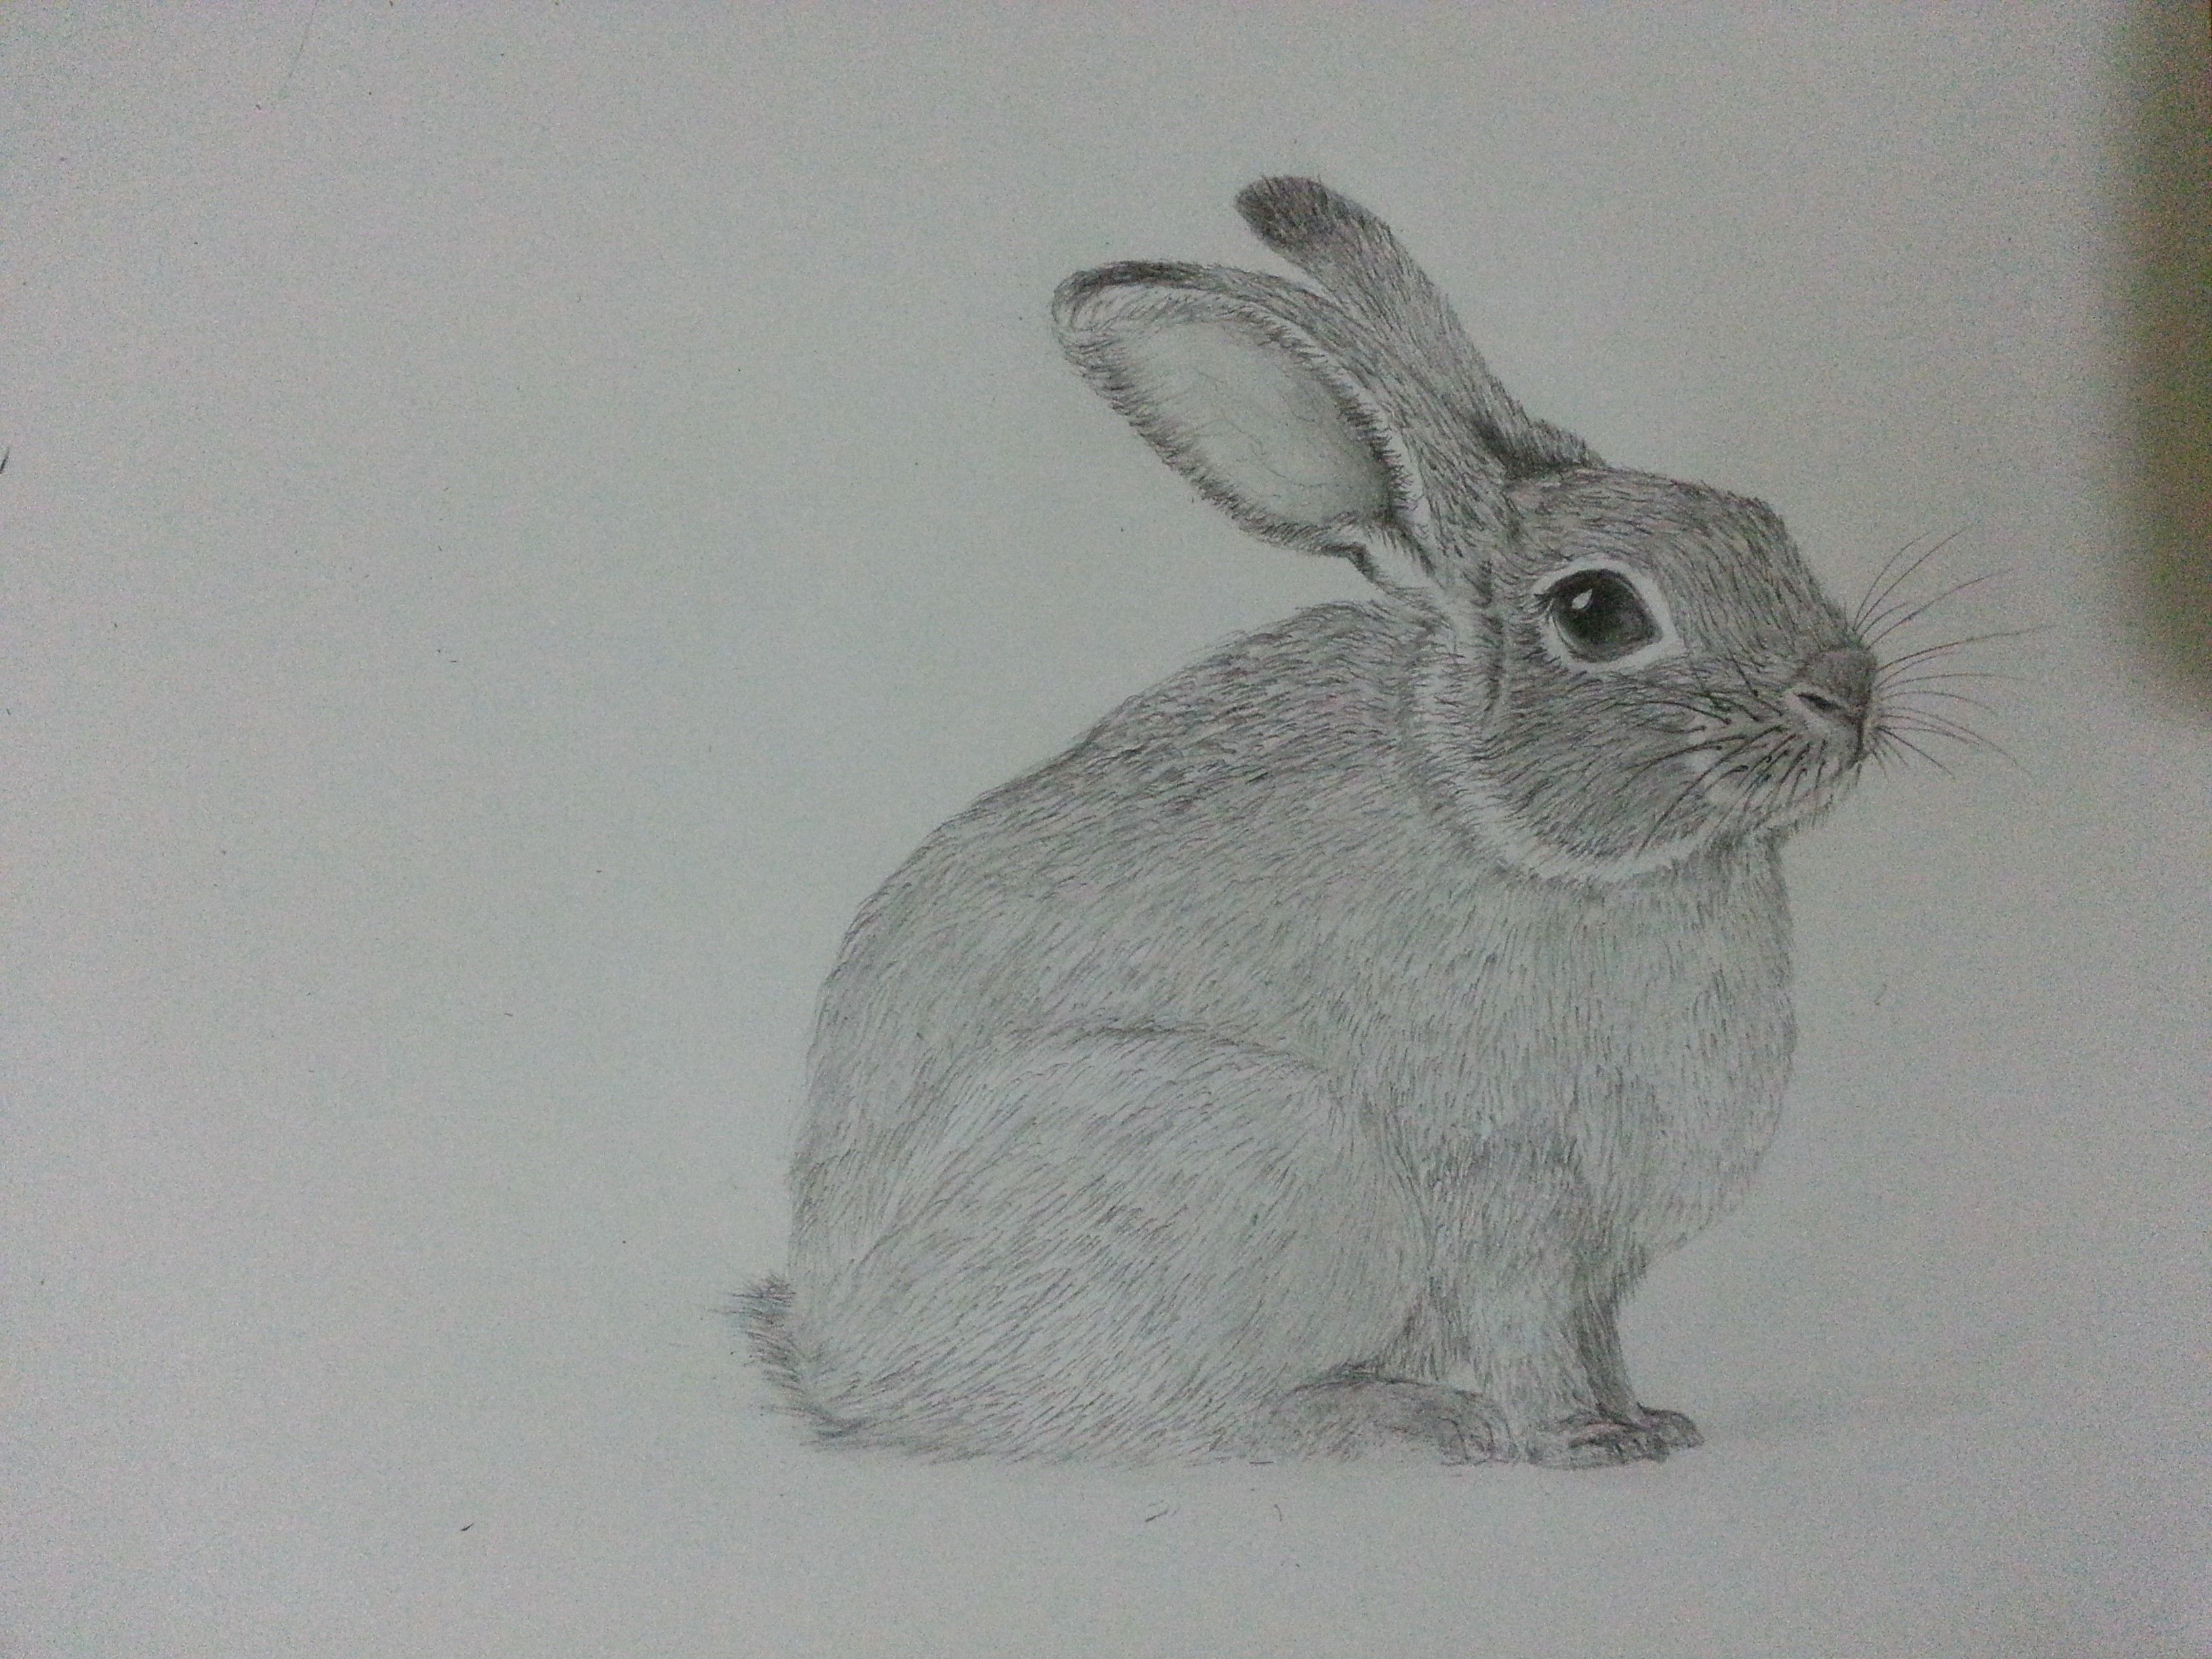
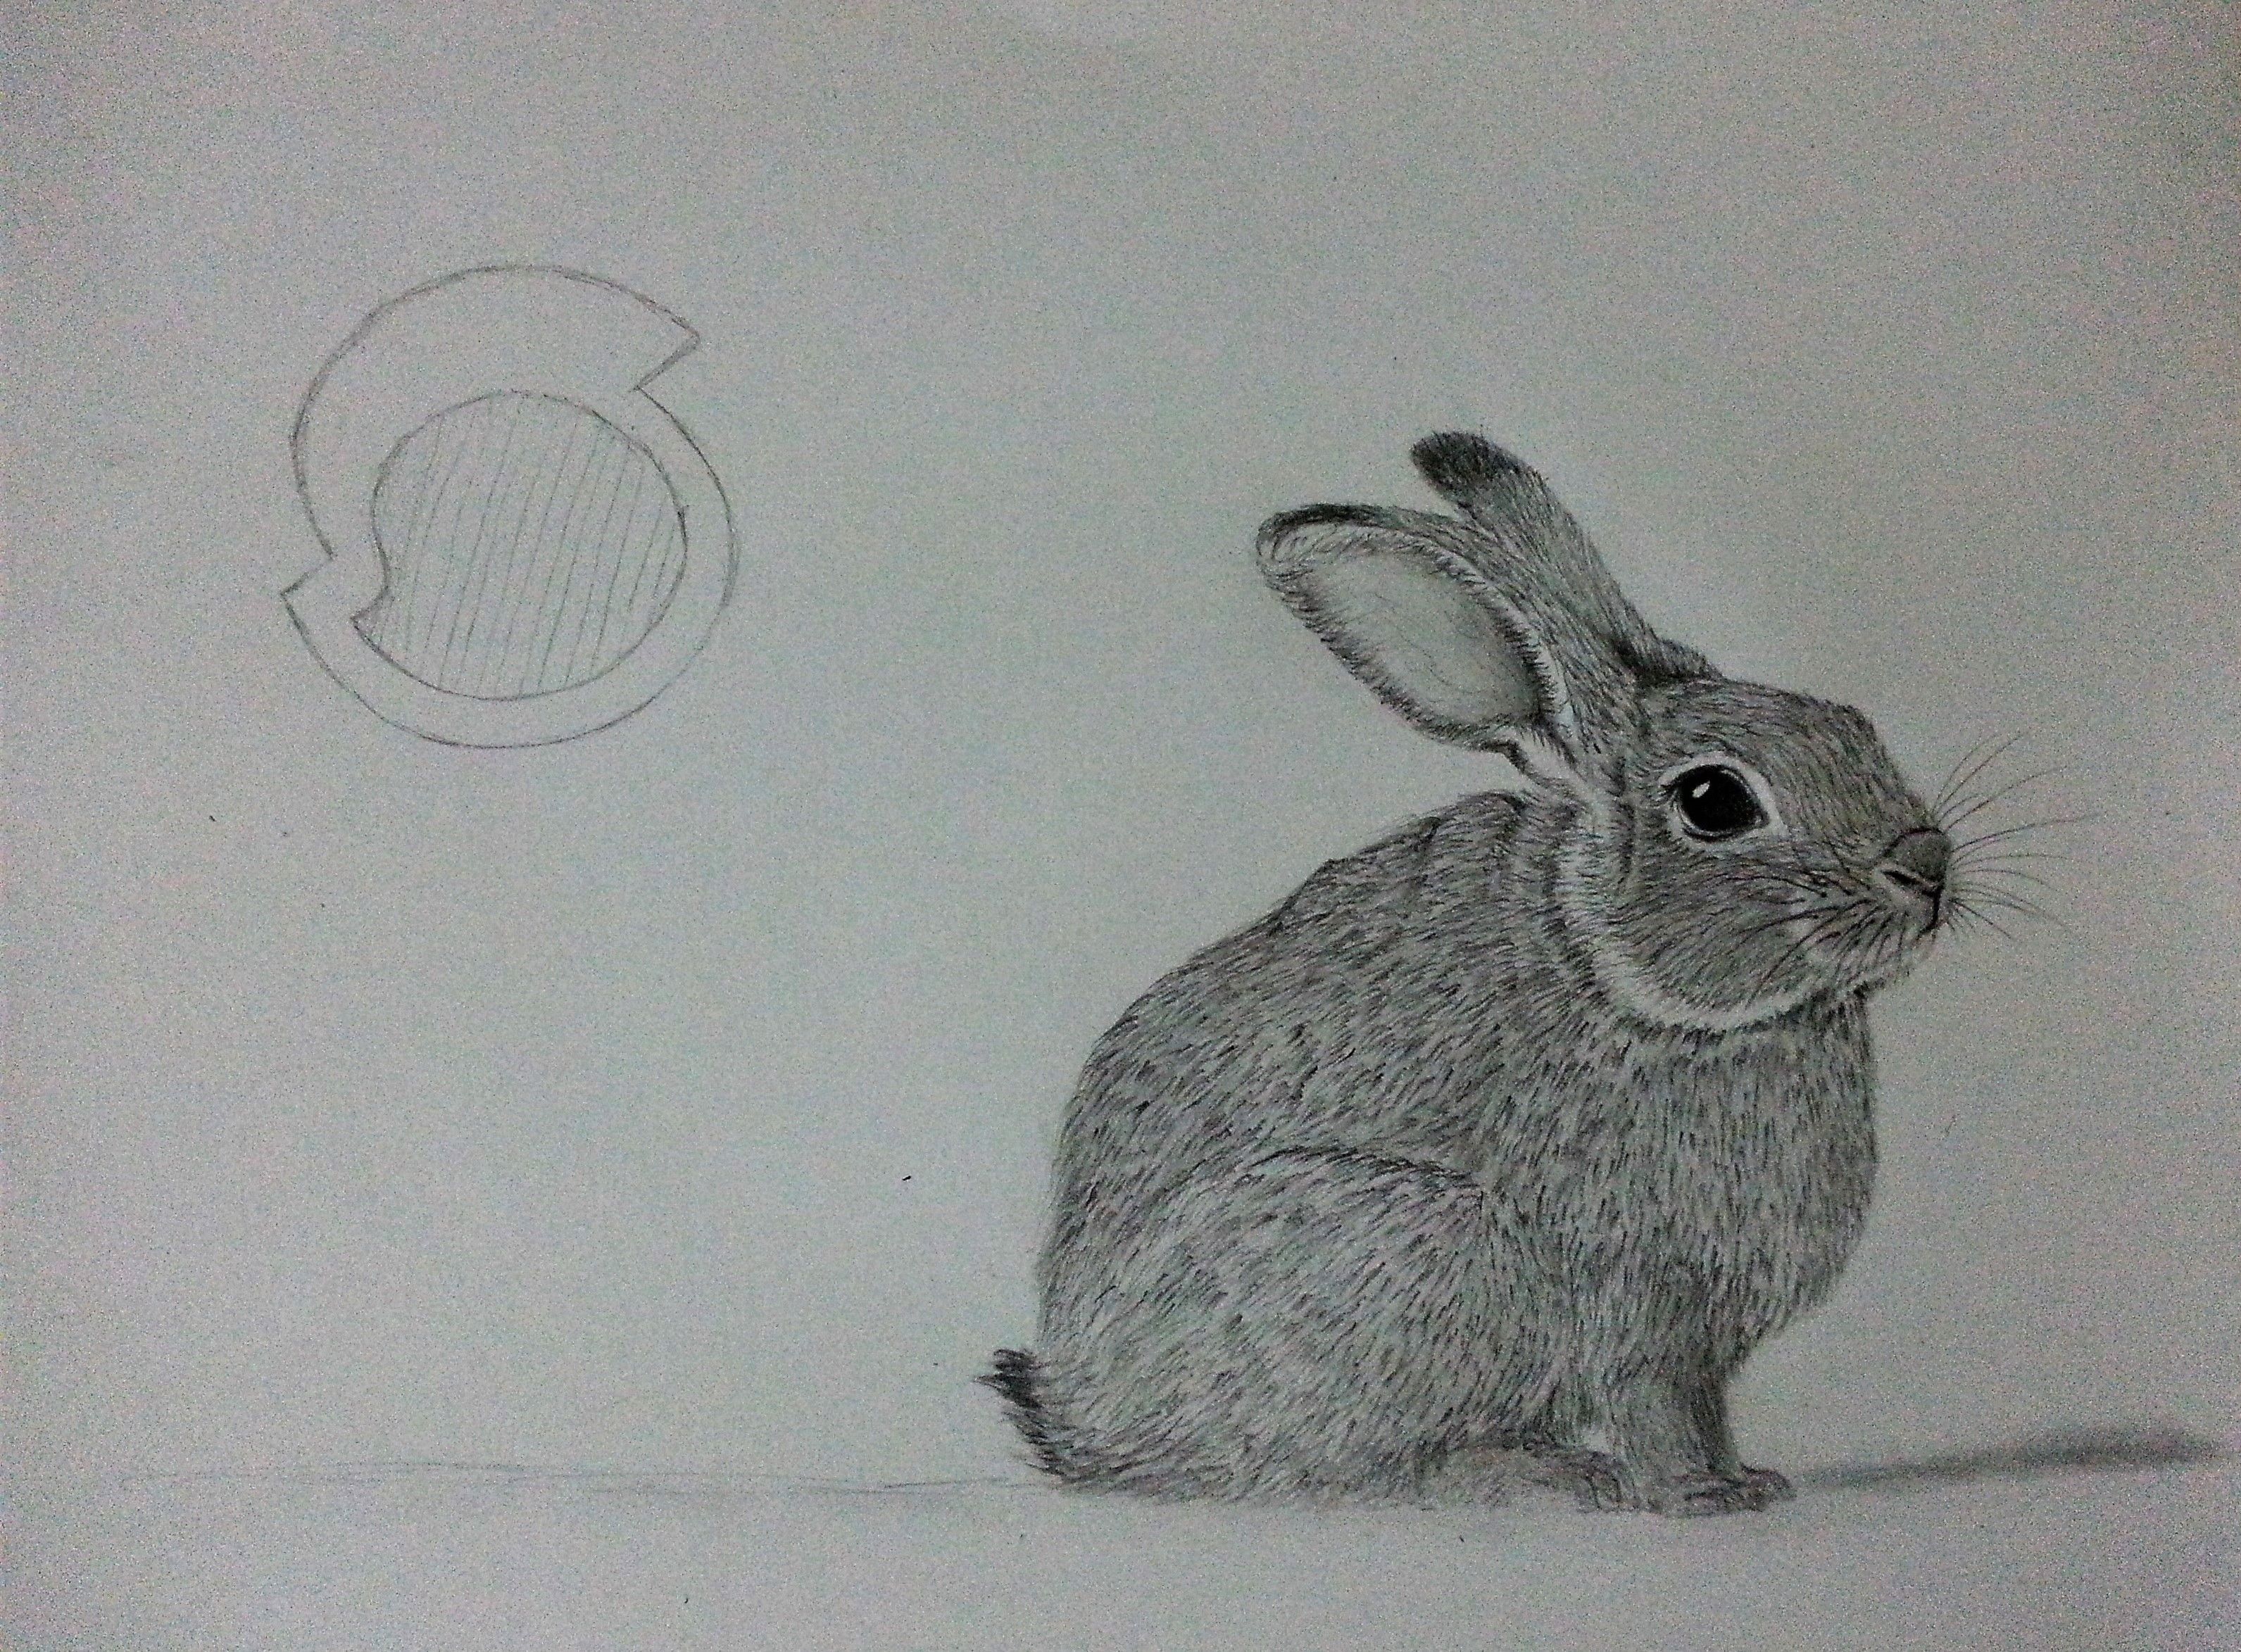
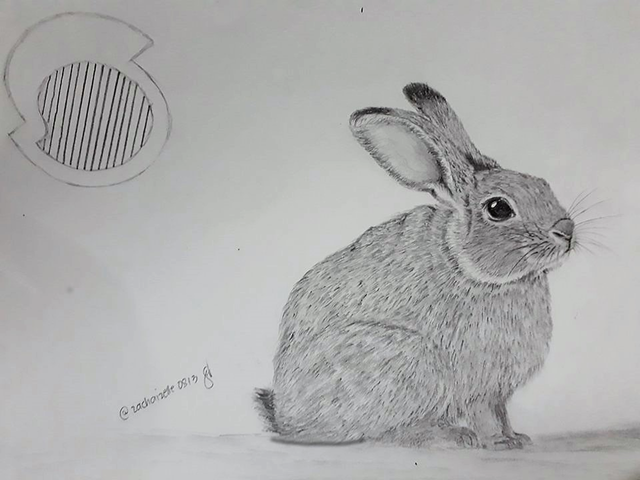
- Finishing up!
After all the fur is done, I add some final touches to it. I added a dark smudge to create the shadow of the rabbit assuming that the light source is coming from the Steemit logo. Then, I added in my signature and Steemit username to serve as my verification
Additional Info for you: Bunnies or Rabbits mostly live in meadows, woods, forests, grassland and also in wetlands. Usually these mammals groups their selves in colonies. One of the adult rabbit in the colony is called as coney though bunny is the most used name for rabbits but in fact this term is commonly used by children.
So that's it, that is the full step by step process of my drawing I added my steemit name in my drawing as well as the new steemit logo on it.
| GIF Process |

References:
image reference for this drawing
https://en.wikipedia.org/wiki/Rabbit
https://www.petcha.com/other-names-for-rabbits-and-hares/

Amazing piece! To be honest, I like the gif part. The way it is processed step by step is amazing!
Thank you for your kind word @jassennessaj🤗
Nice piece you have .. Keep it up !
Thanks @carpieeew I will surely do🤗 Please stay tune for more
Wow! I like the texture of the fur and its elaborate contour of the rabbit that perfectly blend to animate the drawing to look realistic. I also do graphite pencil drawings but I haven't posted my sketches yet here. I love art and the feeling it brings. This is exceptional talent @zachaizelle0813.
I am glad that you like my artwork @japh. It truly feels good doing sketches especially when you are in the mood. I can't wait to see your artwork too here in Steemit
Happy steeming 🤗