Fake Marble Columns- A Venetian Plaster Project (Mistakes Included)
I had everything that I needed to build my new bookcase except for one ingredient: patience.
.jpg)
In the old days, everything was built out of stone, and the giant halls were somehow carved from marble and granite as a matter of routine. Inspired by the stonework of ancient structures, I recently set out to build a new bookcase in my house, but I was in a hurry, and had no time for carving and hauling stone blocks.
Heavy marble columns were really what I wanted to use, but instead of going and sawing a couple of 300-pound blocks of marble from a distant rock quarry, I simply went to the nearby Lowe's hardware center and picked out some lumber, screws, and a can of venetian plaster to build my new bookshelves. Building the columns out of wood was much quicker than sawing rocks.
Here's how I made my fake marble columns, and how my impatience caused a few little problems along the way.

Venetian plaster is always fun to work with, but as excited as I was to start putting the finish on my columns, I had to build them first.
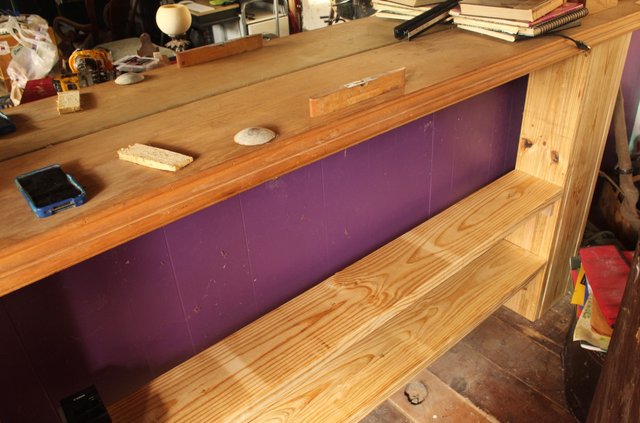
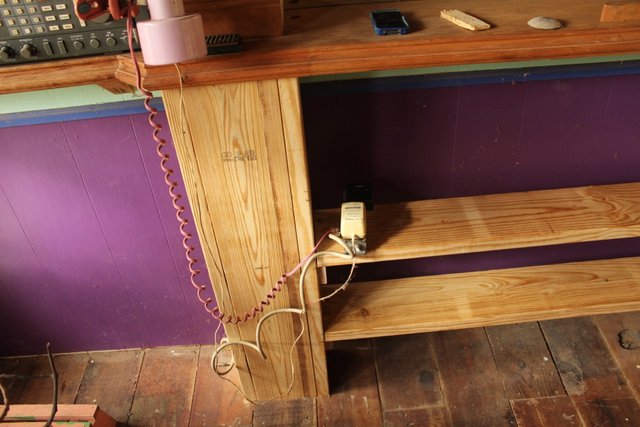
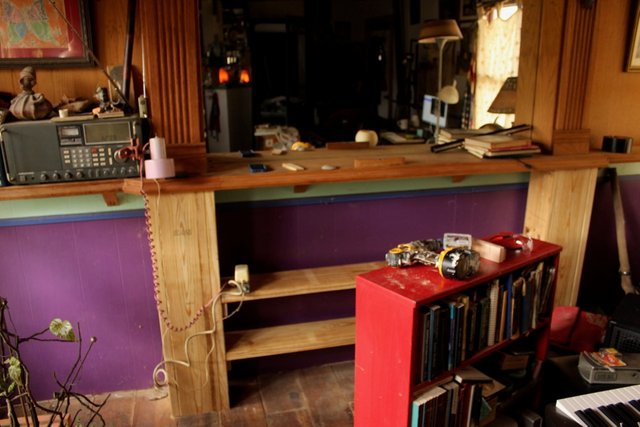
Ok, I really needed to paint that purple wall before going much further on construction-- a slight delay!
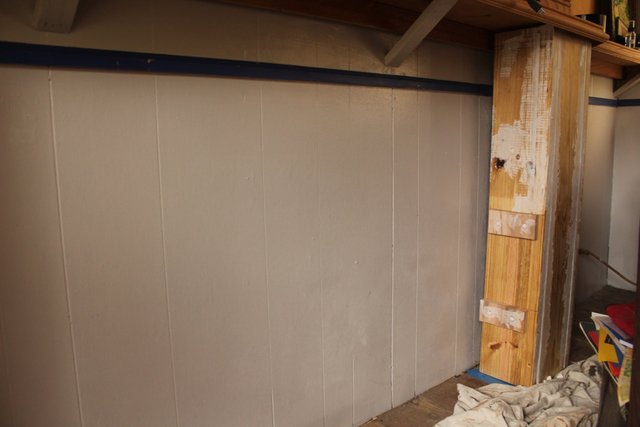
The seams were then filled with joint compound.

More time should have been spent leveling that mud. I wasn't worried that it was rough as a cob, since the venetian plaster would cover it up, I thought.
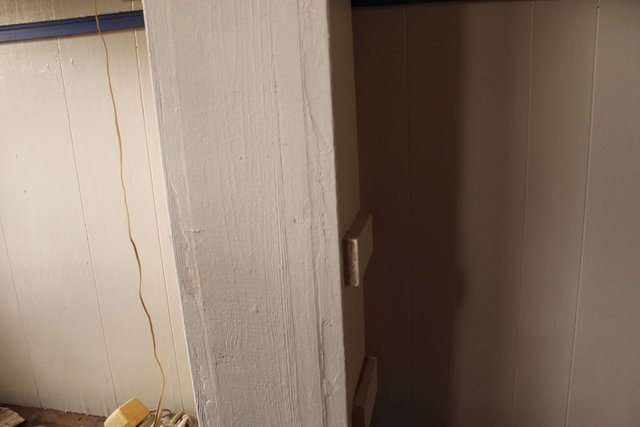
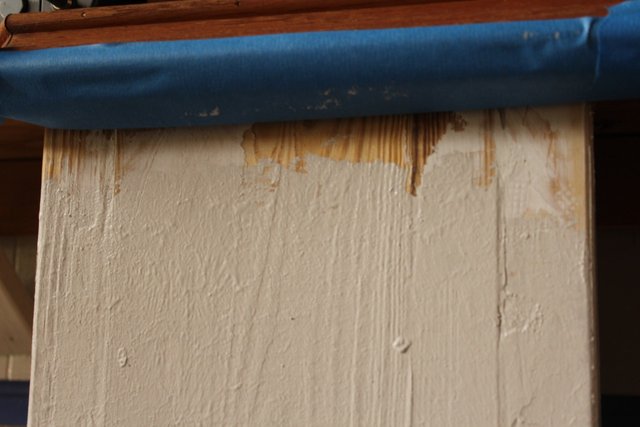
A bit of primer paint, but enough with the prep work, I thought. I was ready to plaster!
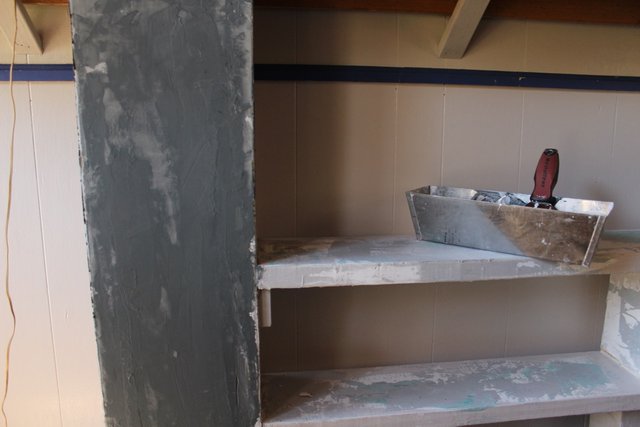
The Formula
Putting two or three knife-fulls of plaster in the pan, I then added a few dollops of acrylic artist's paint for the color.
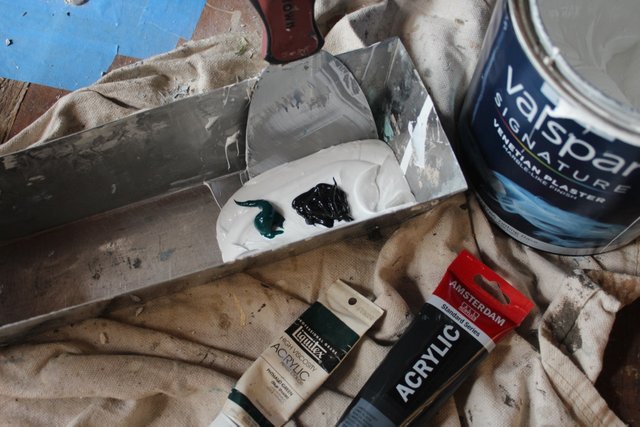
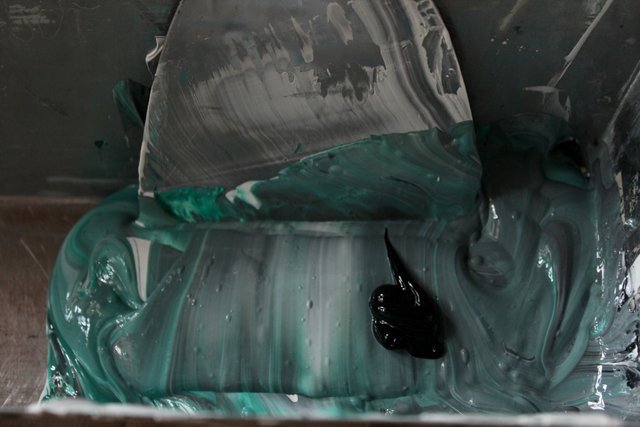

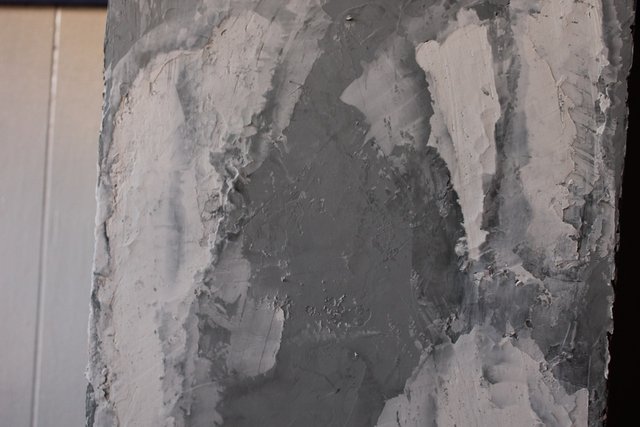
This next photo is sad indeed. As my first coat of plaster dried I remembered that venetian plaster has to be applied in paper-thin layers, so that it won't crack and shrink on the surface. Like this:
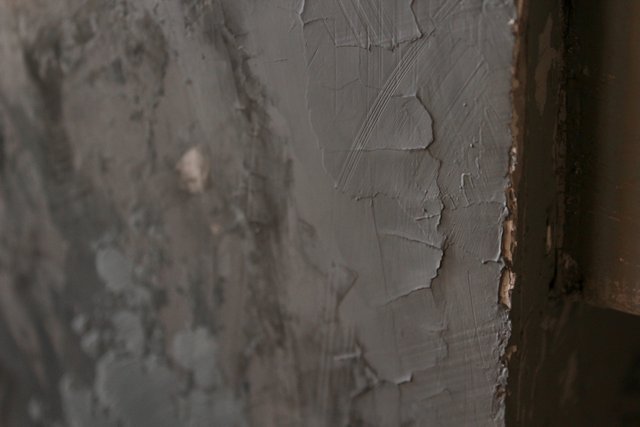
...or like this:
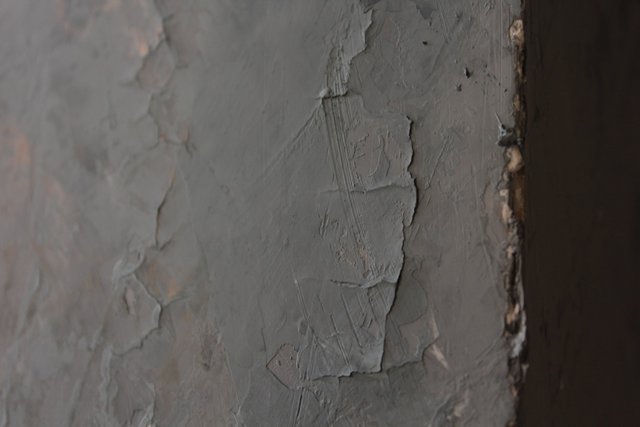
The next day, I scraped the cracked plaster out and resurfaced the seams. Any place that the plaster had built up too thickly had to be redone with good primer paint and joint compound, all the way down to the wood.
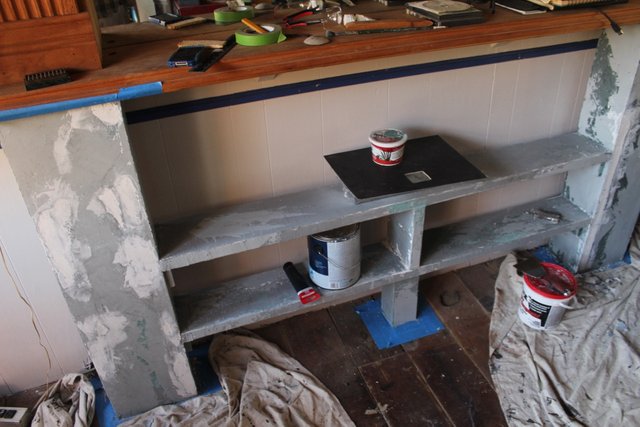
Venetian Plaster
When the repairs all dried, I finally mixed another batch of plaster and started adding layers.
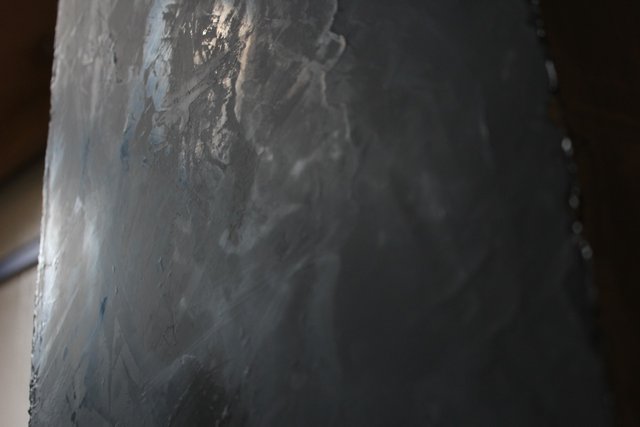
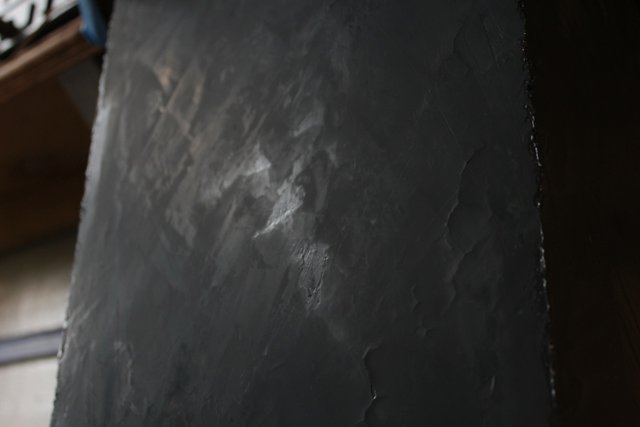
Finished!
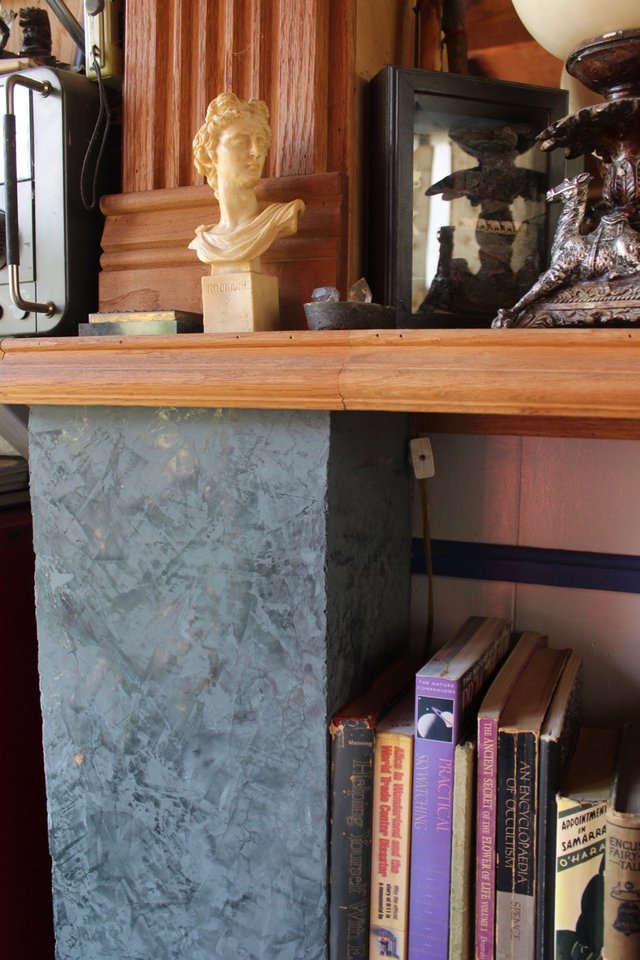
I painted the shelves black, then finally, after four or five days of building, scraping painting and plastering, I was able to load the books in. Here's a few 'finished' shots that I managed to take before life pulled me away from my new fake marble columns and bookshelves project.
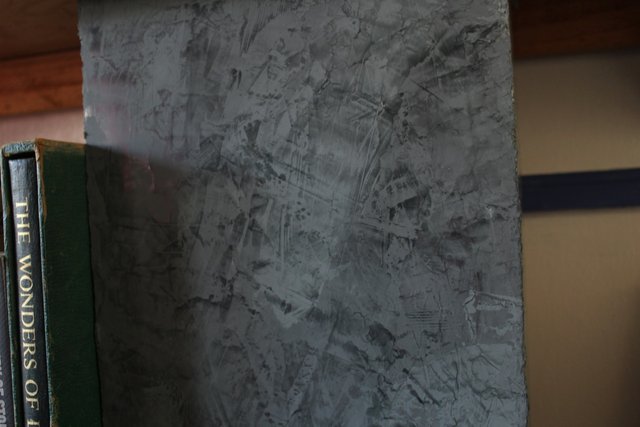
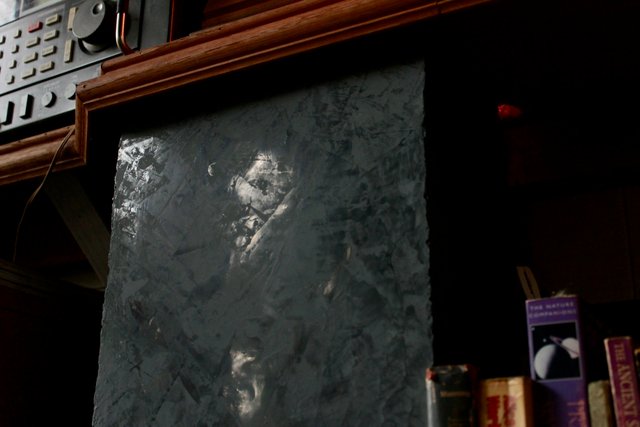
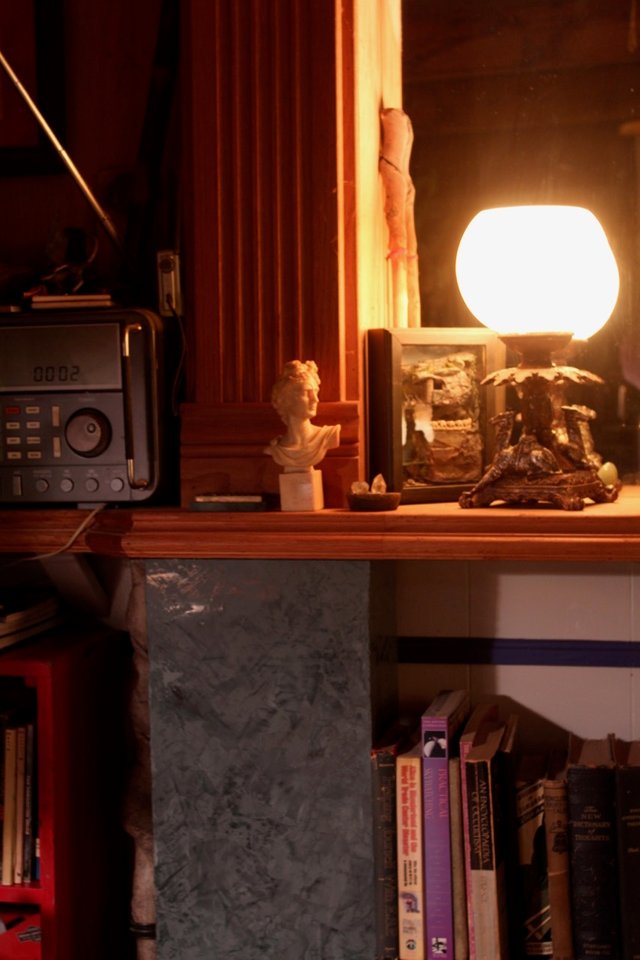
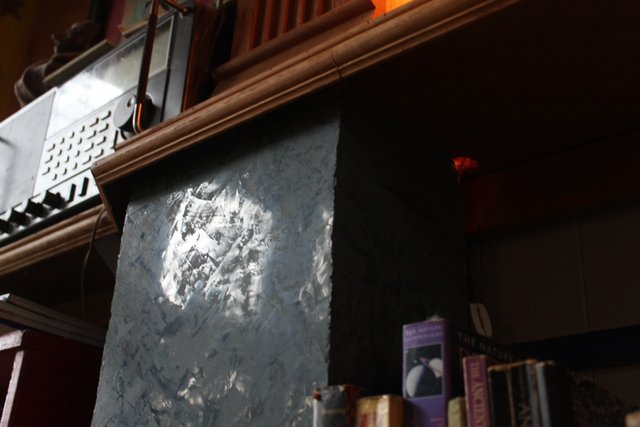
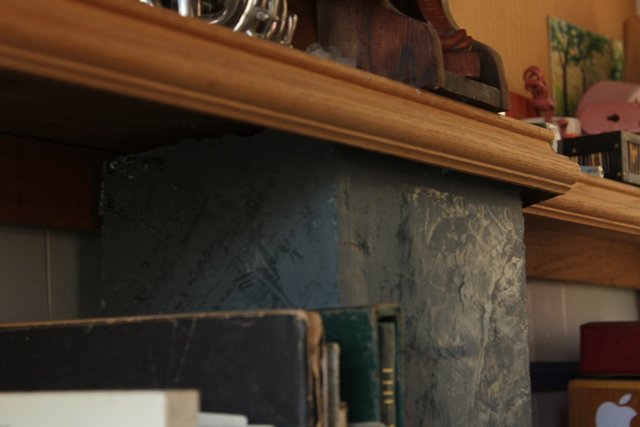

Venetian plaster isn't hard to work with as long as the working surface is smooth. Once the surface is properly prepared, then a multitude of thin layers of this plaster will create a smooth stone-like texture.
The lessons from this post:
Create a smooth working surface
Apply the plaster in paper-thin layers
Be patient!
Have fun

That's pretty cool and it really turned out nice. I've tried to do similar things like paint a countertop to look like granite. It didn't turn out well for me though. Looks like you're better at the DIY stuff than I am. Nice work. You're right, it does beat cutting a 300lb slab of marble lol
Posted using Partiko Android
Venetian plaster is really a lot of fun to use, and is pretty easy once the surface is ready. I have a few things around here now with the fake marble look, the stuff dries quickly and when it's polished with the edge of a knife it looks and feels nice.
Hello @therealpaul, thank you for sharing this creative work! We just stopped by to say that you've been upvoted by the @creativecrypto magazine. The Creative Crypto is all about art on the blockchain and learning from creatives like you. Looking forward to crossing paths again soon. Steem on!
Patience is the Key !!!
Now I remember!