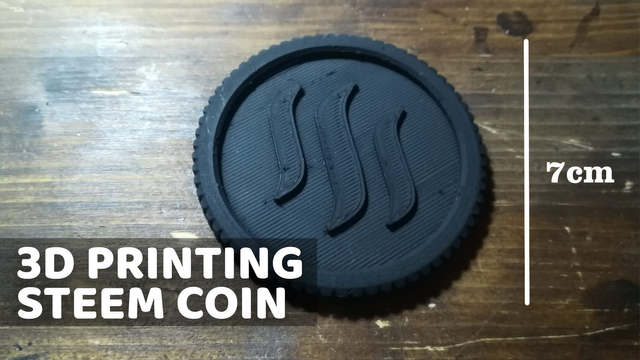
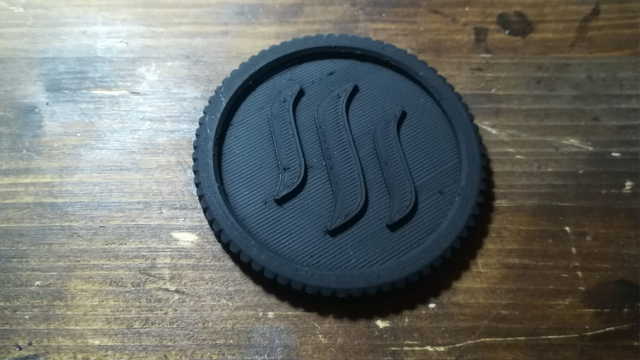
Steem Coin - 3D Modelling , 3D printing & painting ( Silver and Bronze )
First Step : 3D Modelling
I use Google Sketchup Pro 2019 for this model. If you are a beginner I highly recommend Google Sketchup. It's easy to learn and use. When you learn more about modelling you should learn other modelling programs like Blender , fusion 360 etc.

The coin is 7 cm across. I know it's a little big for a coin but I wanted to make it bigger than usual coins. This size in my opinion is best for display purposes. If you want to make it as a key chain you might want to scale it down %50.
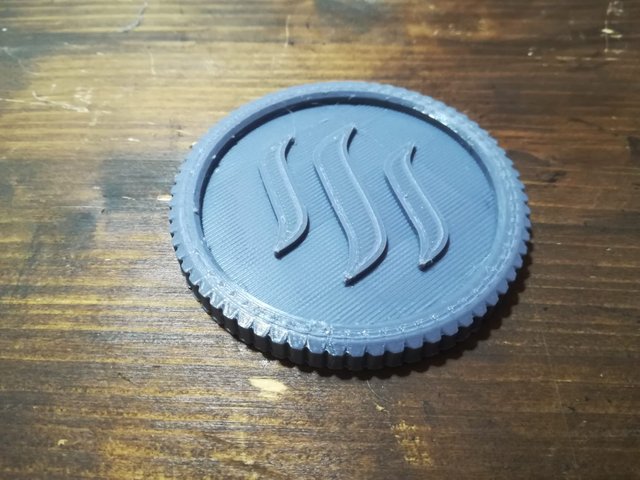
Step Two : Printing

Here is some details about the machine and the printed part.
Printer Brand : Creality Ender 3 Pro
Filament : PLA+
Bed : 60
Nozzle : 210
Glass Bed
Print Time : 2 hours 15 minutes.
Weight : 16 gr
Step Three : Post-Processing
Post-Processing a 3D print is an important part. You need to clean unwanted plastics out of your model. Sometimes you need to use support or brim ( for plate adhesion ) After your print is done you need some tools to clean the part.
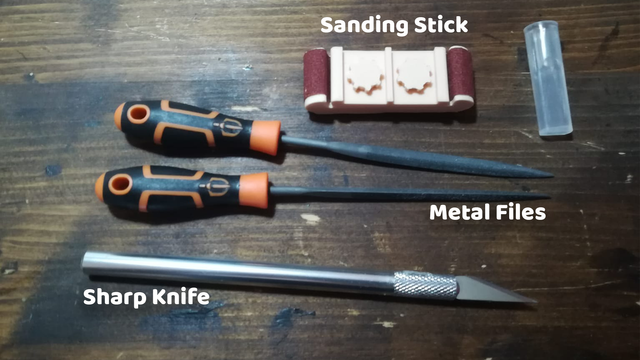
It's good to have files that has different size and shapes. For this coin I use triangle shape for outside and rounded shape for the other rough parts. You may notice the sanding stick there. I 3D printed couple of them from thingiverse by mightynozzle It's a great tool to have. And the last but not the least , a very sharp knife. This is the tool I mostly use to clean the prints.
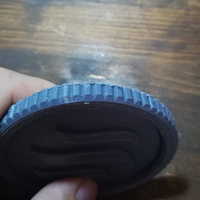
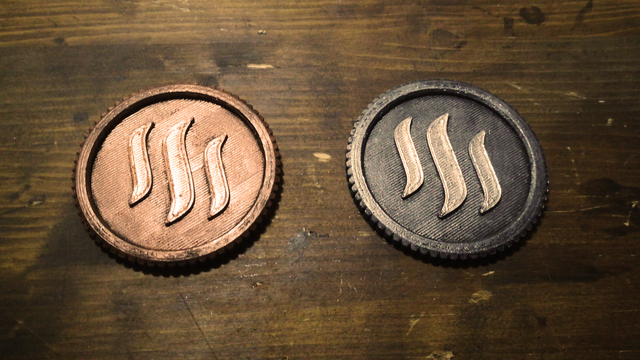
Step Four : Painting
After light sanding and cleaning the mode, I apply a couple of coat with black acrylic spray paint. This is because I wanted to give the coins a rough and old texture. And its helps paint to stick to the plastic better.

I use a ARTDECO Acrylic paint for this one. Its Silver 3722 140ml bottle. The important thing is you need a rough and old brush to paint it like this. Use very little paint at a time and dry brush the model gently. Build up the layers as you go. Dont paint wet.
Here is the result. I printed another one and painted it with bronze color.

seni yeniden buralarda görmek güzeldi:)
çok sessizleşmişti..
ellerine sağlık hoşuma gitti benim, anahtarlık vb steemit hatırası:)
@sudefteri ben de kimseler kalmadı burada diyordum ^^ seni de görmek güzel
This post was shared in the Curation Collective Discord community for curators, and upvoted and resteemed by the @c-squared community account after manual review.
@c-squared runs a community witness. Please consider using one of your witness votes on us here